🍰 Best Yema Cake Recipe Ever Soft Creamy Filipino Dessert
👩🍳 The Busy Home Cook's Arsenal
Consistently cooking incredible meals for your family doesn't mean spending three hours in the kitchen every night. These are the 5 absolute life-saving appliances and culinary tools that dramatically cut down prep time while guaranteeing restaurant-quality results.
🌪️ Ninja 4-Quart Air Fryer
The machine that completely changed weeknight dinners. It preheats in seconds and cooks frozen vegetables, chicken wings, and battered fish to an incredibly crispy, deep-fried texture using 75% less oil and taking half the time of a traditional oven.
⏱️ Instant Pot Duo 7-in-1 Pressure Cooker
Forget slow cookers that take 8 hours. This legendary appliance aggressively pressure cooks tough cuts of meat into melt-in-your-mouth tender roasts, stews, and perfectly fluffy rice in under 45 minutes, saving you when you forget to defrost dinner.
🔪 Victorinox Fibrox Pro 8" Chef's Knife
A dull knife is dangerous and makes chopping vegetables a miserable chore. This exact blade reigns supreme in professional kitchens because it holds a terrifyingly sharp edge, features a non-slip grip, and costs significantly less than heavy German steel.
🌡️ ThermoPro Instant Read Thermometer
The secret difference between dry, rubbery chicken and juicy perfection. Stop nervously slicing your proteins open to check if they're done—this waterproof digital pen gives you a highly accurate temperature reading in less than three seconds.
🥤 Vitamix 5200 Professional-Grade Blender
Whether you are making silky-smooth breakfast smoothies, pureed soups from scratch, or blending absolutely lump-free sauces, this famously indestructible motor pulverizes anything you throw at it. It literally heats soup from the friction of the blades alone.
So you’re craving something soft, fluffy, and dangerously sweet but you’re also too lazy to spend forever in the kitchen? Same. That’s why this yema cake recipe is about to become your new bestie. It’s creamy, it’s nostalgic, it’s Filipino with extra flair, and honestly—it’s the kind of dessert that makes people think you tried harder than you actually did.
If you’ve got a sweet tooth and the emotional stability to whisk something for 30 seconds, congratulations, you’re qualified. Let’s do this.
Why This Recipe is Awesome
Okay, real talk: this yema cake recipe is a game-changer. Why? Because:
- It’s idiot-proof. Seriously, even I didn’t mess it up, and that says a lot.
- The yema frosting is creamy, dreamy perfection. Sweet but not “I-need-a-dentist” sweet.
- The chiffon base stays moist, soft, and cloud-like with minimal effort.
- It’s a guaranteed crowd-pleaser. Bring this to a potluck and watch people suddenly remember your name.
- It tastes like childhood, celebrations, and Filipino love, all in one bite. What could go wrong?
Plus, you don’t need any fancy equipment. If you have a bowl, a whisk, and at least 1 brain cell, you’re good.
Ingredients You’ll Need
For the Chiffon Cake
- 2 cups cake flour — because we want soft, not brick-like
- 1 ½ cups sugar — sweetness = happiness
- 1 tbsp baking powder — the cake won’t rise from motivation alone
- ½ tsp salt — just a pinch of attitude
- 7 large egg yolks — yolks for richness
- 7 large egg whites — whites for that fluffy, angel-like texture
- ½ cup vegetable oil — keeps things moist
- ¾ cup water — basic but important
- 1 tsp vanilla extract — for aroma supremacy
- ½ tsp cream of tartar — helps the meringue behave
For the Creamy Yema Frosting
- 1 can (14oz) sweetened condensed milk — the star of the show
- 1 can (12oz) evaporated milk — creamy backup vocals
- 4 egg yolks — richness x2
- ¼ cup butter — butter makes life better
- 1 tsp vanilla extract — because we’re classy
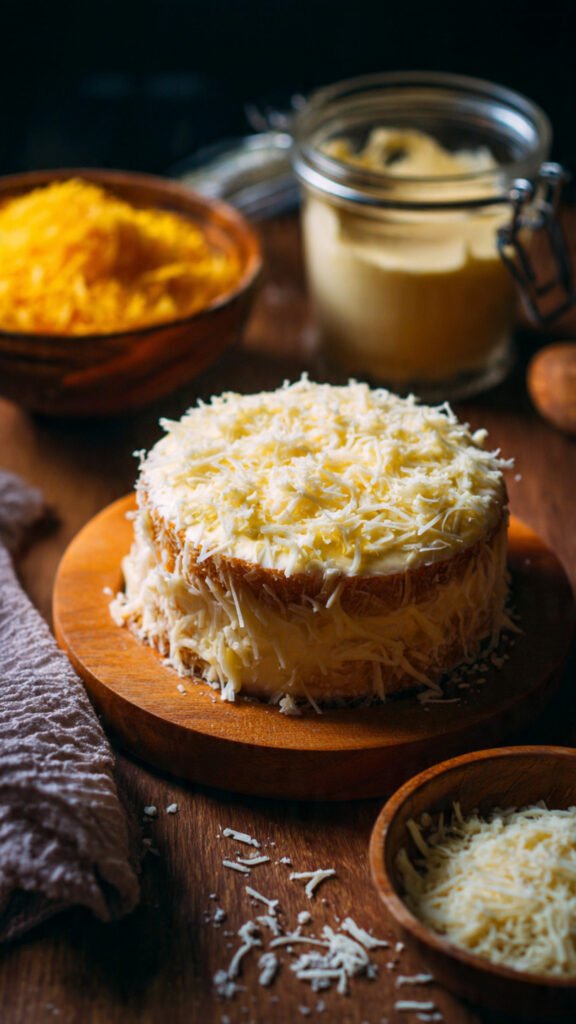
- Optional: grated cheese — trust me, it slaps
For Garnish (Optional but Highly Recommended)
- More grated cheese
- Cake crumbs
- A sprinkle of love (cheesy but necessary)
Step-by-Step Instructions
1. Prepare Your Baking Setup
Preheat your oven to 325°F (160°C). Don’t skip this. Thinking you don’t need to preheat the oven? Rookie mistake. Line your pans with parchment paper or lightly grease them. Easy.
2. Make the Dry Mixture
In a big bowl, combine cake flour, sugar, baking powder, and salt. Mix it like you’re casually stirring chismis.
3. Mix the Wet Ingredients
In another bowl, whisk egg yolks, oil, water, and vanilla. No need to overthink it—just keep whisking until it looks smooth and mildly attractive.
4. Combine Wet + Dry
Pour the wet mixture into the dry mixture. Mix until no lumps remain. Do not overmix unless you enjoy rubbery cake (please don’t).
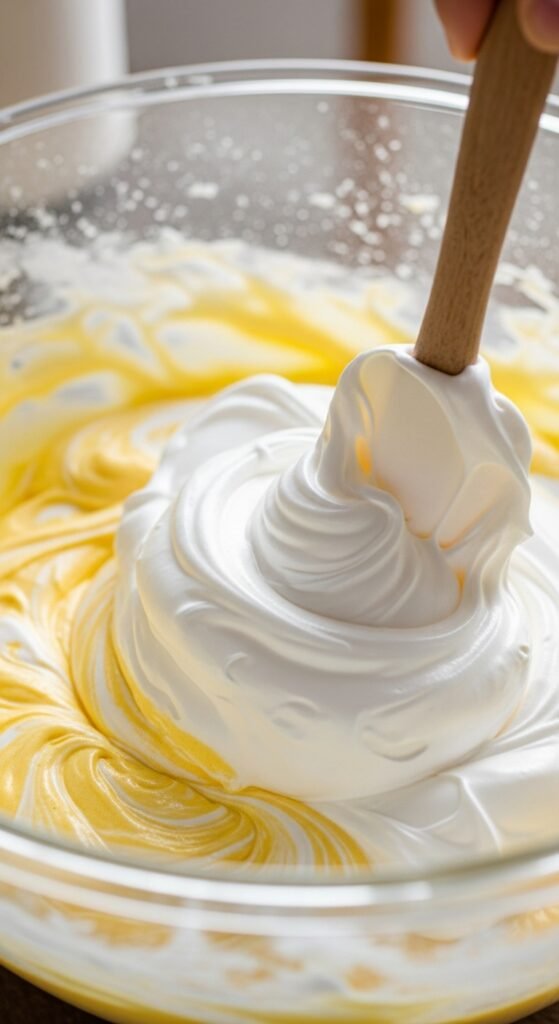
5. Make the Meringue (Egg Whites Time!)
In a clean bowl, whisk egg whites + cream of tartar until soft peaks form.
Then keep whisking until stiff peaks appear—if it looks like clouds that can stand up straight, you nailed it.
6. Fold, Don’t Punch
Gently fold the meringue into the batter. Gently. You’re folding cake batter, not beating someone in an argument.
7. Bake
Pour the mixture into your prepared pans.
Bake for 35–40 minutes or until a toothpick comes out clean.
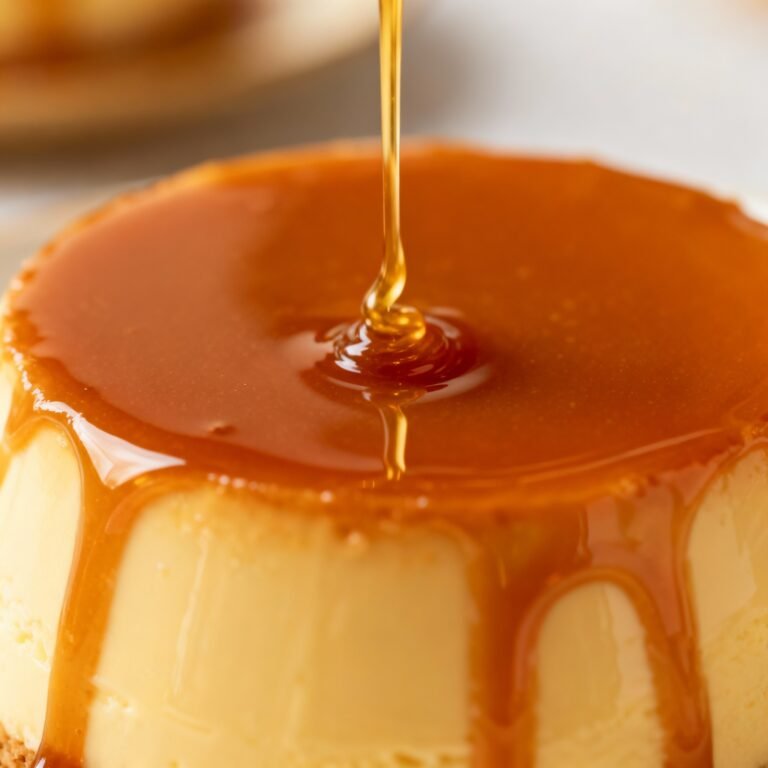
8. Make the Yema Frosting
In a nonstick pan, combine condensed milk, evaporated milk, egg yolks, butter, and vanilla.
Cook over low heat while stirring nonstop (yes, nonstop—no scrolling on your phone).
When the mixture thickens into a spreadable consistency, remove from heat.
This is the moment when you’ll be tempted to eat it with a spoon. Don’t. (Or do. I won’t judge.)
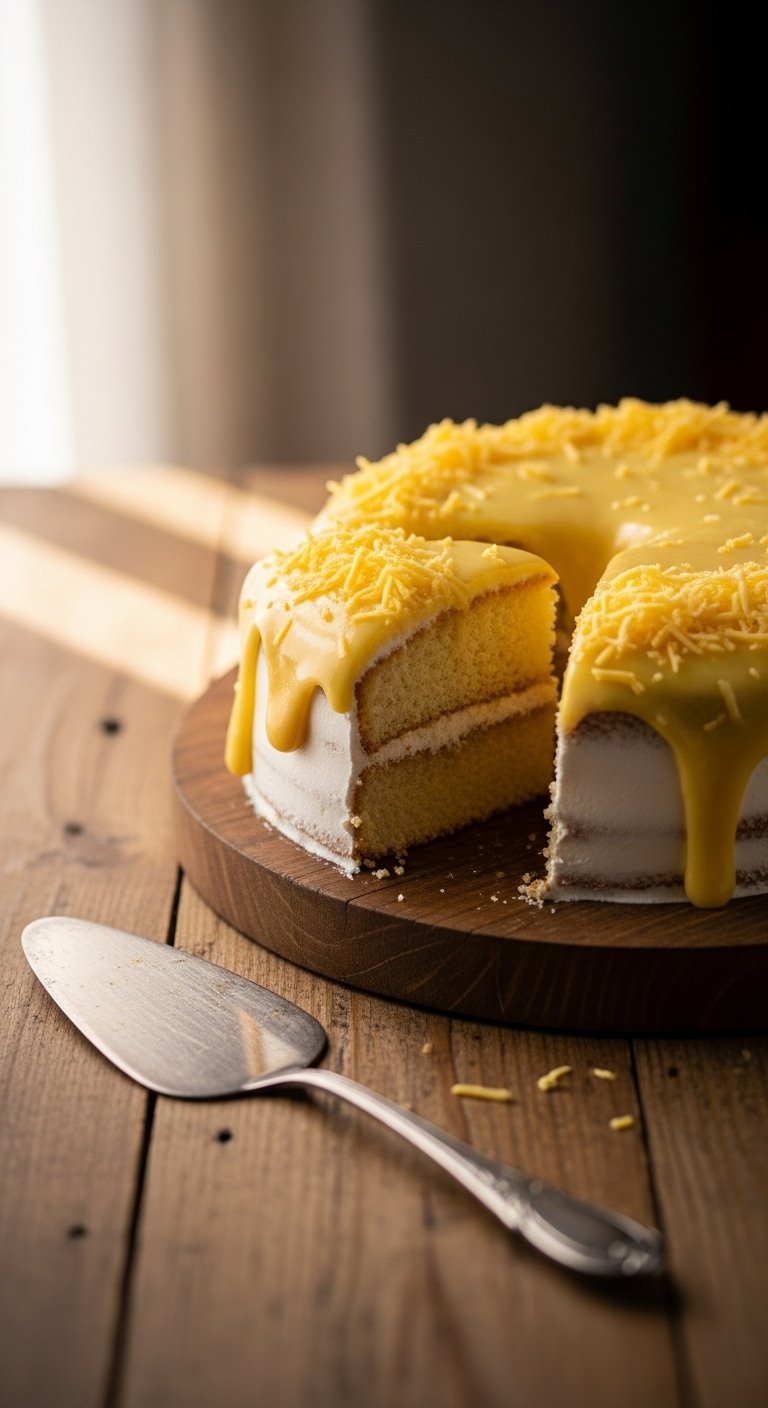
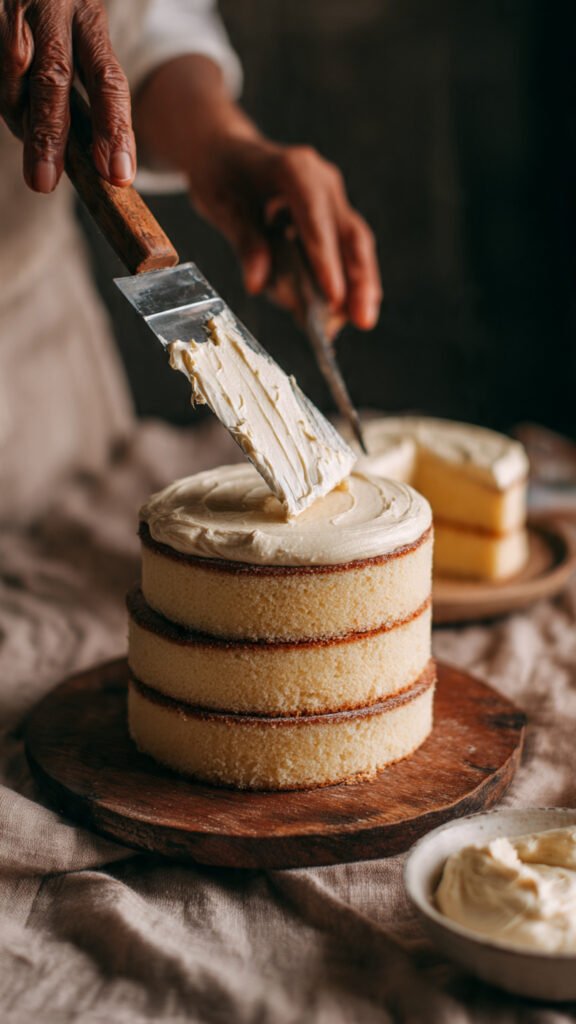
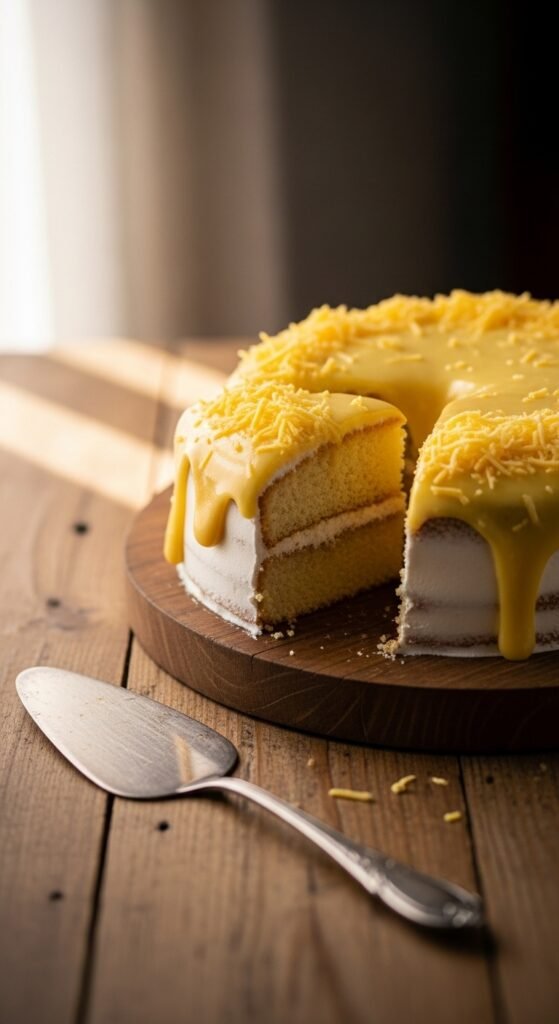
9. Assemble the Cake
Once your chiffon is fully cooled, spread a generous amount of yema frosting on top.
Add cheese if you’re feeling extra.
Stack layers if you want a taller cake or keep it single if life feels simple today.
10. Chill and Serve
Refrigerate for at least 1 hour so everything sets.
Slice, serve, and wait for compliments. Pretend you weren’t stressed at all.
Common Mistakes to Avoid
- Skipping the preheating. Seriously, don’t sabotage yourself.
- Overmixing the batter. You want soft, not chewy. This isn’t mochi.
- Whipping egg whites in a greasy bowl. The meringue will flop harder than your ex’s promises.
- Cooking yema on high heat. Unless you enjoy burnt sadness, keep the heat low.
- Not letting the cake cool before frosting. Hot cake + yema = creamy landslide.
Alternatives & Substitutions
- No cake flour? Use all-purpose flour plus 2 tbsp cornstarch per cup. Boom. Instant cake flour.
- No cream of tartar? Lemon juice or vinegar works. We’re improvising like true kitchen warriors.
- Want less sweetness? Add more evaporated milk or reduce condensed milk slightly.
- No cheese? First, are you okay? Second, you can use grated white chocolate instead.
- Gluten-free? Swap in a GF flour blend. Yema frosting is naturally gluten-free, so yay.
IMO, the best version always includes cheese, but you do you.
FAQ (Frequently Asked Questions)
1. Can I use all-purpose flour instead of cake flour?
You can, but why hurt your cake like that? Use the cornstarch hack above.
2. Can I reduce the sugar?
Technically yes, but you’re making yema cake. Sweetness is part of the contract.
3. Do I really need cream of tartar?
Yes. It keeps the meringue stable. Think of it as moral support for egg whites.
4. Can I store this cake overnight?
Absolutely! In fact, it tastes even better the next day. Store it in the fridge.
5. Can I freeze yema cake?
You can freeze the chiffon, but the yema frosting? Meh. It doesn’t love freezing.
6. Can I use margarine instead of butter?
Well… you can. But why hurt your soul like that?
7. Why is my cake dense?
You probably overmixed or deflated the meringue. It happens. Try again, champ.
Final Thoughts
And there you go — your full yema cake recipe that’s soft, creamy, nostalgic, and straight-up happiness-inducing. Now go impress someone—or yourself—with your new dessert-making skills. You’ve earned this moment of culinary glory.
The best part? You can remake this whenever life needs a little sweetness (which is like… always). Grab a fork and enjoy every bite!