🥒 Easy Pickled Squash Recipe You’ll Make Every Week
👩🍳 The Busy Home Cook's Arsenal
Consistently cooking incredible meals for your family doesn't mean spending three hours in the kitchen every night. These are the 5 absolute life-saving appliances and culinary tools that dramatically cut down prep time while guaranteeing restaurant-quality results.
🌪️ Ninja 4-Quart Air Fryer
The machine that completely changed weeknight dinners. It preheats in seconds and cooks frozen vegetables, chicken wings, and battered fish to an incredibly crispy, deep-fried texture using 75% less oil and taking half the time of a traditional oven.
⏱️ Instant Pot Duo 7-in-1 Pressure Cooker
Forget slow cookers that take 8 hours. This legendary appliance aggressively pressure cooks tough cuts of meat into melt-in-your-mouth tender roasts, stews, and perfectly fluffy rice in under 45 minutes, saving you when you forget to defrost dinner.
🔪 Victorinox Fibrox Pro 8" Chef's Knife
A dull knife is dangerous and makes chopping vegetables a miserable chore. This exact blade reigns supreme in professional kitchens because it holds a terrifyingly sharp edge, features a non-slip grip, and costs significantly less than heavy German steel.
🌡️ ThermoPro Instant Read Thermometer
The secret difference between dry, rubbery chicken and juicy perfection. Stop nervously slicing your proteins open to check if they're done—this waterproof digital pen gives you a highly accurate temperature reading in less than three seconds.
🥤 Vitamix 5200 Professional-Grade Blender
Whether you are making silky-smooth breakfast smoothies, pureed soups from scratch, or blending absolutely lump-free sauces, this famously indestructible motor pulverizes anything you throw at it. It literally heats soup from the friction of the blades alone.
So you want a snack that’s tangy, crunchy, easy, and makes you feel like someone who actually uses the vegetables in their fridge instead of letting them turn into mushy regret? Same. That’s why pickled squash exists — it’s like the universe looked at your leftover yellow squash and said, “Let’s glow you up, baby.”
Making pickled squash is the kind of kitchen magic that takes minimal effort, delivers maximum flavor, and makes you look like you know what you’re doing… even if your usual cooking style is more “chaotic neutral.”
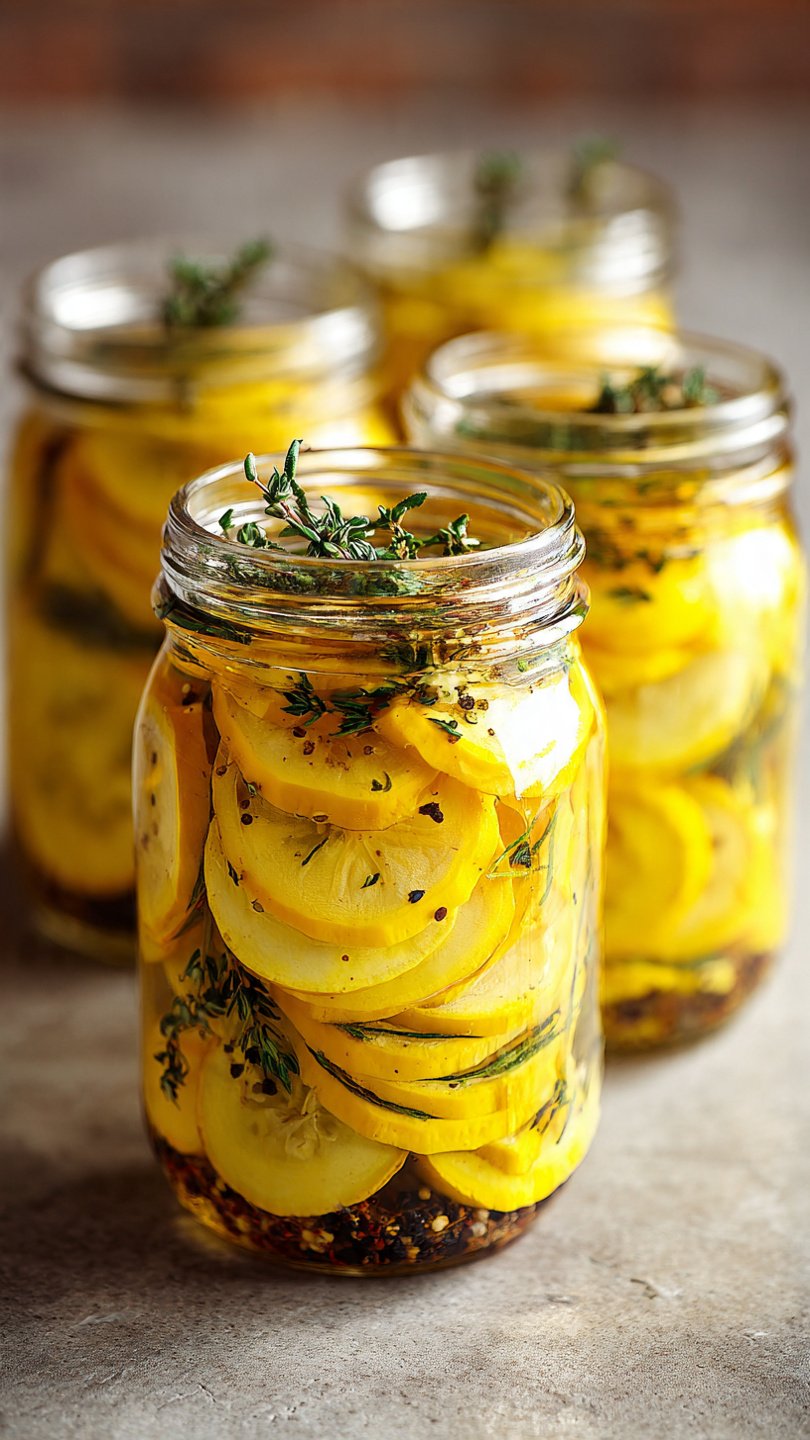
Let’s turn those gorgeous golden squash slices into jars of zesty, crunchy happiness.

Why This Recipe Is Awesome
Look, I’m not saying this recipe will change your life… but it might change your sandwich game, which is basically the same thing.
Here’s why this pickled squash recipe is going to be your new obsession:
- It’s stupidly easy. Like, you could make it half-asleep and still win.
- It’s fast. No canning equipment. No drama. Just slice, brine, and chill.
- It goes with EVERYTHING. Tacos, salads, burgers, charcuterie boards — go wild.
- Zero waste energy. Got too much squash? Perfect.
- It tastes ridiculously good. Tangy, slightly sweet, crunchy, and fresh.
- It’s fail-proof. If I didn’t mess it up, trust me… you won’t either.
This is the kind of recipe that makes you feel like a homesteader without needing to actually grow things or own chickens.
Ingredients You’ll Need
For the Squash
- 2–3 medium yellow squash thinly sliced
- 1 small onion sliced (optional, but delicious)
- 2–3 garlic cloves smashed for full attitude
- 1–2 fresh chilies sliced (if you want a spicy personality)
For the Pickling Brine
- 1 cup white vinegar classic pickle energy
- 1 cup water to tone down the chaos
- ⅓ cup sugar sweet but not too sweet
- 1 tbsp salt because flavor is life
- 1 tsp mustard seeds pickling essential
- 1 tsp black peppercorns whole
- ½ tsp turmeric for that golden glow
- ½ tsp crushed red pepper flakes optional, but highly recommended
- 2–3 dill sprigs fresh or dried, your call
Feel free to add other aromatics if you’re feeling fancy — bay leaves, coriander seeds, whatever your heart desires.
Step-by-Step Instructions
1. Slice the squash like a pro.
Grab your squash, wash it, and slice it thin — about ⅛ to ¼ inch thick. Circles, half-moons, whatever shape your soul calls for. Thin slices = better crunch. Trust me.
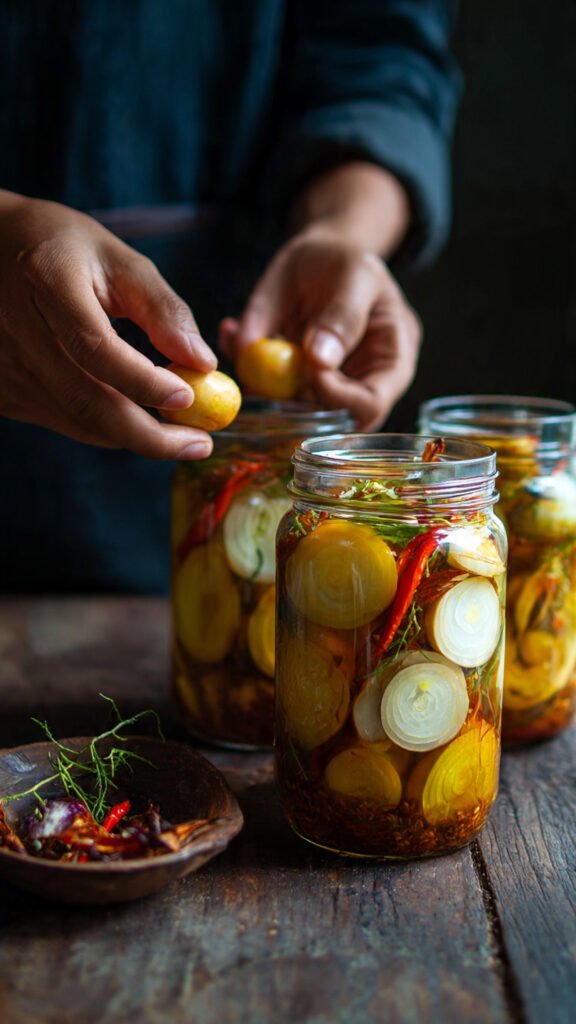
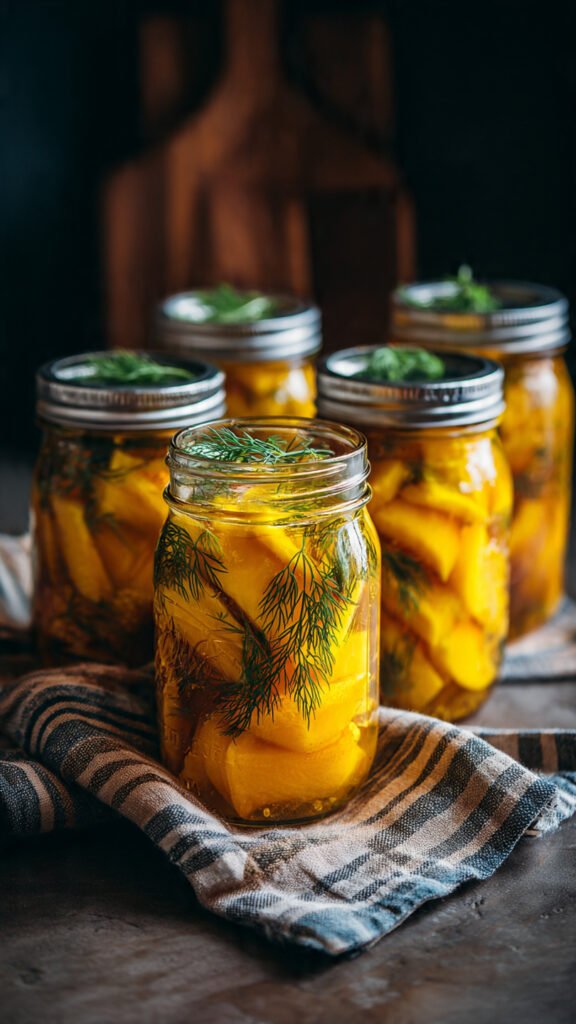
2. Layer everything in jars.
Grab clean jars (no need for canning-level sterilization). Layer the squash, onion, garlic, chilies, and dill. Stack them like you’re building the world’s cutest pickling tower.
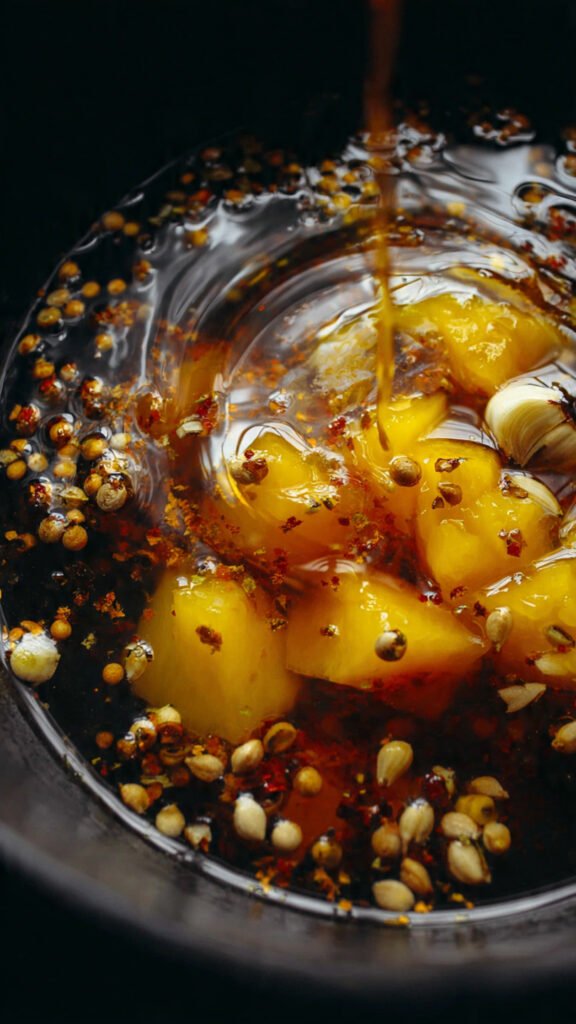
3. Make the brine.
In a small pot, combine vinegar, water, sugar, salt, mustard seeds, turmeric, peppercorns, and red pepper flakes.
Heat until the sugar dissolves completely.
Don’t boil it aggressively — we’re pickling, not summoning demons.
4. Pour the hot brine over the squash.
Carefully fill each jar until the squash is fully submerged.
If it floats a bit, that’s okay — squash has commitment issues.
5. Let it cool, then chill.
Let the jars sit out until they reach room temperature.
Once cool, refrigerate them for at least 24 hours.
Yes, you have to wait. Yes, it’s worth it.
6. Eat with reckless joy.
The next day, open the jar and snack, top your sandwiches, or throw it into everything like the chaotic foodie you are.
Common Mistakes to Avoid
1. Cutting the squash too thick.
Thick slices turn mushy. Don’t do it. Thin is in.
2. Adding raw squash to cold brine.
Nope. The brine needs to be hot to help set the color and start the softening process.
3. Overpacking the jars.
If you cram them in like a suitcase before vacation, the brine won’t circulate.
4. Skipping the sugar.
This is pickled squash, not vinegar punishment. Sugar = balance.
5. Eating it too soon.
Yes, I know patience is a scam. But give it 24 hours to become glorious.
Alternatives & Substitutions
- No yellow squash? Use zucchini — same vibe, slightly greener.
- No dill? Try thyme, rosemary, bay leaf, or nothing at all.
- Want it sweeter? Add up to ½ cup sugar.
- Want it spicier? Add more chili, cayenne, or jalapeño slices.
- Avoiding sugar? Use honey or monk fruit sweetener (but taste as you go).
- No mustard seeds? Skip them — the world won’t end.
- Prefer a stronger vinegar hit? Swap water for vinegar 100%. Bold move. Respect.
This recipe is flexible — like yoga, but tastier.
FAQ (Frequently Asked Questions)
1. How long does pickled squash last?
Up to 2–3 months in the fridge… if you don’t eat it first.
2. Can I use apple cider vinegar instead of white vinegar?
Absolutely — ACV adds a sweeter, fruitier vibe. Go for it.
3. Do I need to peel the squash?
Nope. The peel is soft and edible. Save your time and your sanity.
4. Can I can this recipe for shelf storage?
Technically yes, but this version is designed for quick refrigerator pickles. If you want shelf-stable, you need a tested canning recipe.
5. My squash turned soft — what happened?
You sliced it too thick or kept it too long in warm brine before cooling. Thin slices + quick chill = perfection.
6. Can I make this with other veggies?
100%. Try cucumbers, carrots, onions, cauliflower — go full pickle party.
7. Why did my brine turn yellow?
Turmeric, baby. Totally normal. That’s the glow-up effect.
Final Thoughts
There you go — gorgeous, crunchy, golden pickled squash that takes almost no effort but tastes like something you’d brag about bringing to a potluck. This recipe is fun, flexible, and seriously addictive.
Now go impress someone — or just impress yourself, because honestly, that counts too.
Grab that squash, heat that brine, and get pickling. You’ve got this!