🥧 The No-Tears Pie Meringue Recipe: Tall, Fluffy & Foolproof
👩🍳 The Busy Home Cook's Arsenal
Consistently cooking incredible meals for your family doesn't mean spending three hours in the kitchen every night. These are the 5 absolute life-saving appliances and culinary tools that dramatically cut down prep time while guaranteeing restaurant-quality results.
🌪️ Ninja 4-Quart Air Fryer
The machine that completely changed weeknight dinners. It preheats in seconds and cooks frozen vegetables, chicken wings, and battered fish to an incredibly crispy, deep-fried texture using 75% less oil and taking half the time of a traditional oven.
⏱️ Instant Pot Duo 7-in-1 Pressure Cooker
Forget slow cookers that take 8 hours. This legendary appliance aggressively pressure cooks tough cuts of meat into melt-in-your-mouth tender roasts, stews, and perfectly fluffy rice in under 45 minutes, saving you when you forget to defrost dinner.
🔪 Victorinox Fibrox Pro 8" Chef's Knife
A dull knife is dangerous and makes chopping vegetables a miserable chore. This exact blade reigns supreme in professional kitchens because it holds a terrifyingly sharp edge, features a non-slip grip, and costs significantly less than heavy German steel.
🌡️ ThermoPro Instant Read Thermometer
The secret difference between dry, rubbery chicken and juicy perfection. Stop nervously slicing your proteins open to check if they're done—this waterproof digital pen gives you a highly accurate temperature reading in less than three seconds.
🥤 Vitamix 5200 Professional-Grade Blender
Whether you are making silky-smooth breakfast smoothies, pureed soups from scratch, or blending absolutely lump-free sauces, this famously indestructible motor pulverizes anything you throw at it. It literally heats soup from the friction of the blades alone.
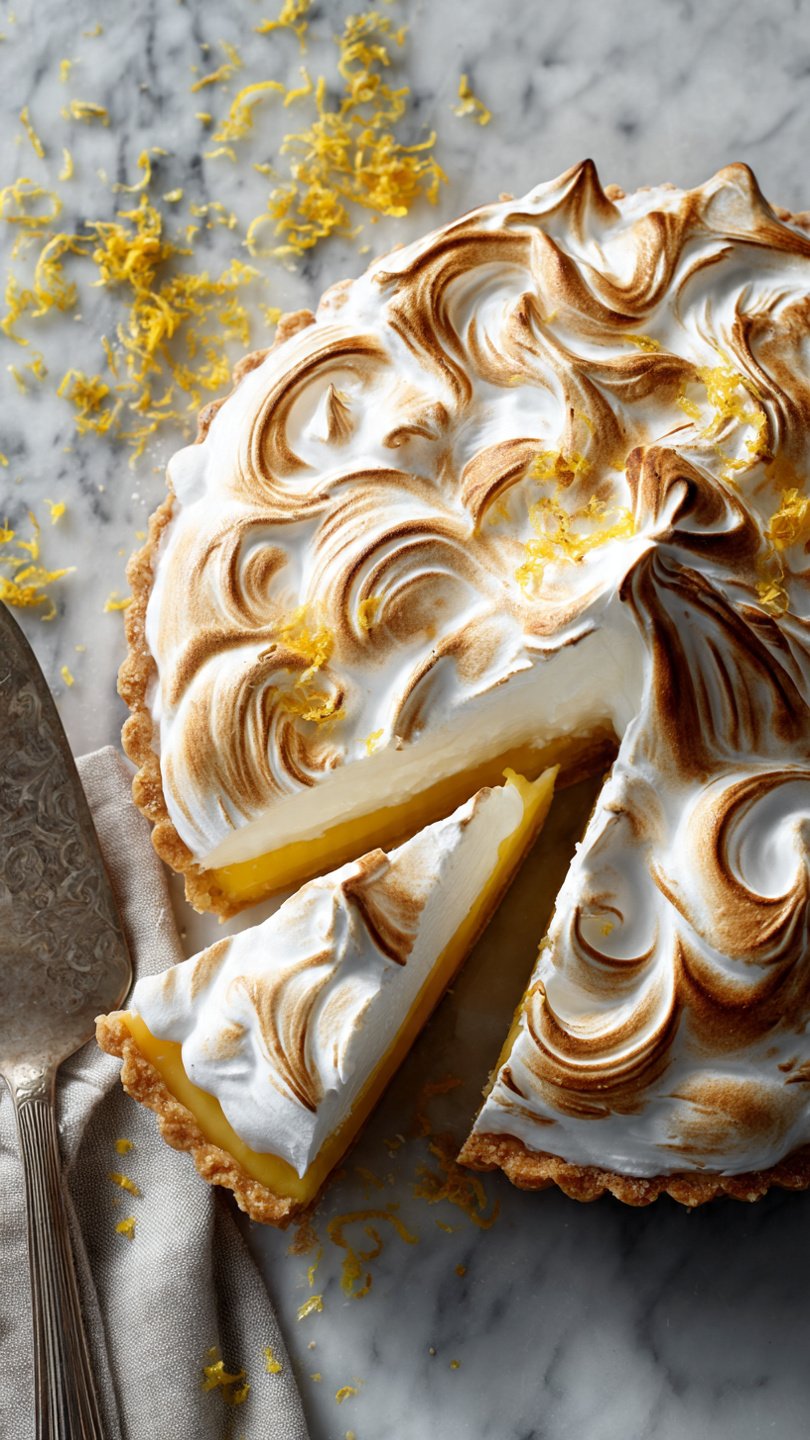
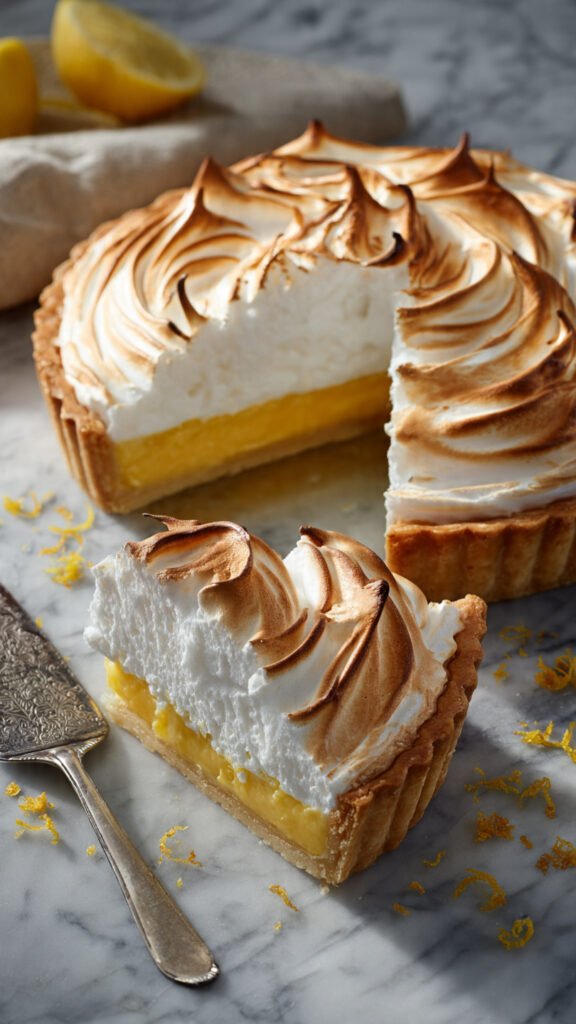
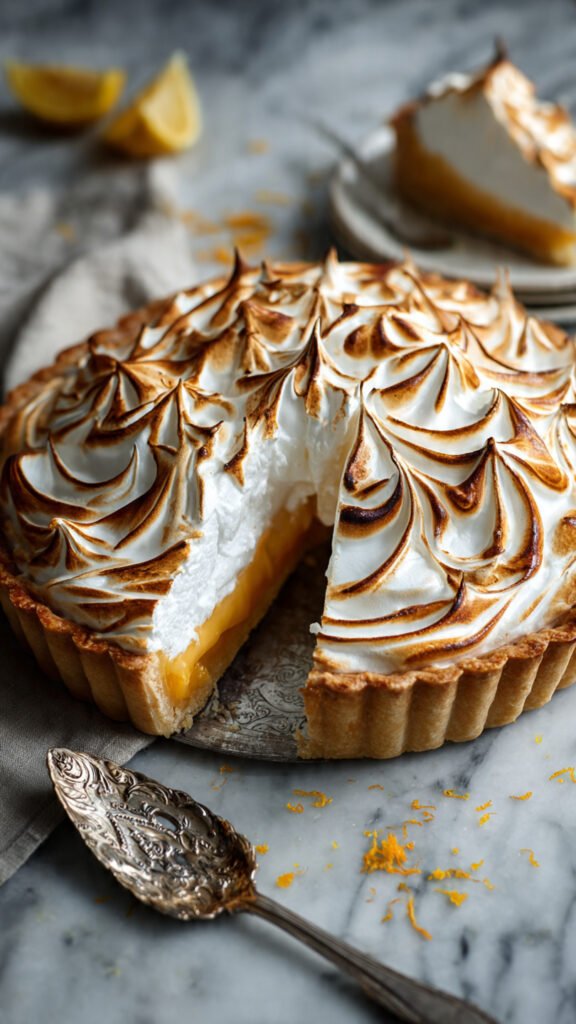
Look, we need to talk. You’ve probably stared at those diners’ pies—the ones with the mile-high, toasted white clouds sitting on top—and thought, “There is no way I can do that without burning my house down or ending up with a sad, sugary puddle.”
I get it. Meringue has a bad reputation. It’s the diva of the baking world. It cries (weeps), it shrinks, it throws tantrums if it’s raining outside. But here’s the secret: You don’t need a degree in chemistry or a prayer circle to get it right. You just need the right technique and a little bit of patience.
If you are craving that marshmallow-soft, toasted-sugar goodness but are too lazy to deal with a double-boiler situation, this is your safe space. We are making a “Never-Weep” Meringue. It’s stable, it’s shiny, and it’s going to make you look like a pastry wizard. Let’s get fluffy.
Why This Recipe is Awesome
Okay, let’s be real. Most Pie Meringue Recipe attempts fail because of two things: over-beating or the dreaded “weeping” (that gross layer of water that forms between the pie filling and the topping). It ruins the crust, it ruins the texture, and frankly, it ruins my day.
This recipe is awesome because it uses a secret weapon: Cornstarch.
Wait, don’t click away! I know it sounds weird, like we’re making gravy, but hear me out. By creating a simple cornstarch gel (a technique often used by professional bakeries but rarely shared), we are stabilizing the egg whites. This does three magical things:
- It prevents shrinking: Your meringue will stay attached to the crust like it’s holding on for dear life.
- It stops the weeping: The cornstarch binds the water in the egg whites, meaning no soggy bottom.
- It cooks the whites: Because we add a hot gel, we are essentially pasteurizing the whites slightly, which makes for a sturdier structure.
It’s idiot-proof. Seriously, even I have tried to mess this up by aggressively over-whipping it, and it still came out looking like a cloud from a Renaissance painting. Plus, the texture is less “airy foam” and more “marshmallow fluff,” which is objectively the superior texture. IMO, this is the only way to top a lemon pie.
Ingredients You’ll Need
We are keeping it simple, but specific. Don’t go rogue on me here.
- 1 Tbsp Cornstarch: The structural engineer of the recipe. Do not skip this unless you enjoy sadness.
- 1/3 Cup Water: Just good ol’ tap water to make the slurry.
- 1/2 Cup Granulated Sugar: Standard white sugar. If you have “superfine” or caster sugar, that dissolves faster, but regular sugar works if you add it slowly.
- 4 Large Egg Whites: Crucial Rule: These must be at room temperature. Cold eggs don’t whip up as high. Also, if you get even a speck of yolk in there, the meringue won’t rise. It’s tragic. Be careful.
- 1/2 tsp Vanilla Extract: Clear vanilla is best if you want a stark white look, but regular vanilla tastes better.
- 1/4 tsp Cream of Tartar: This is an acid that helps stabilize the egg foam. It’s the difference between a meringue that holds its shape and one that collapses when you look at it wrong.
- Pinch of Salt: To balance the intense sweetness.
Step-by-Step Instructions
Ready to make some magic? Let’s do this.
1. The Science Experiment (The Slurry) Grab a small saucepan. Whisk together the 1 tbsp cornstarch and 1/3 cup cold water until the lumps are gone. Turn the heat to medium-high and whisk constantly. Suddenly, it will turn from cloudy water into a thick, clear gel. It happens fast! Once it’s clear and thick, remove it from the heat and set it aside. Let it cool slightly, but it needs to be warm when we use it.
2. Prep Your Gear While your gel is cooling, wipe down your mixing bowl with a paper towel dipped in a little vinegar or lemon juice. Why? Grease is the enemy of meringue. If your bowl has leftover butter residue from last night’s cookie binge, your whites won’t whip.
3. Frothy Beginnings In your super-clean bowl, beat the 4 egg whites, 1/4 tsp cream of tartar, and the pinch of salt on medium-low speed. We aren’t racing yet. You just want to get things foamy and bubbly, like the top of a latte.
4. The Sugar Rain Increase the speed to medium-high. Start adding the 1/2 cup sugar, but do it slowly. I’m talking one tablespoon at a time. Let it dissolve for a few seconds between adds. If you dump it all in at once, you’ll deflate the air you just worked so hard to create. Beat until soft peaks form (the tips flop over like a weary wizard’s hat).
5. The Secret Weapon Integration Now, grab that cornstarch gel you made earlier. With the mixer running, add the gel one tablespoon at a time. Add the vanilla now, too. Crank the mixer up to high.
6. Stiff Peaks Only Beat the living daylights out of it until stiff peaks form. This means when you pull the beater out and turn it upside down, the meringue stands straight up and points at the ceiling proudly. It should look glossy, shiny, and luscious. Rub a little between your fingers—if it feels gritty, keep beating. If it’s smooth as silk, you’re done.
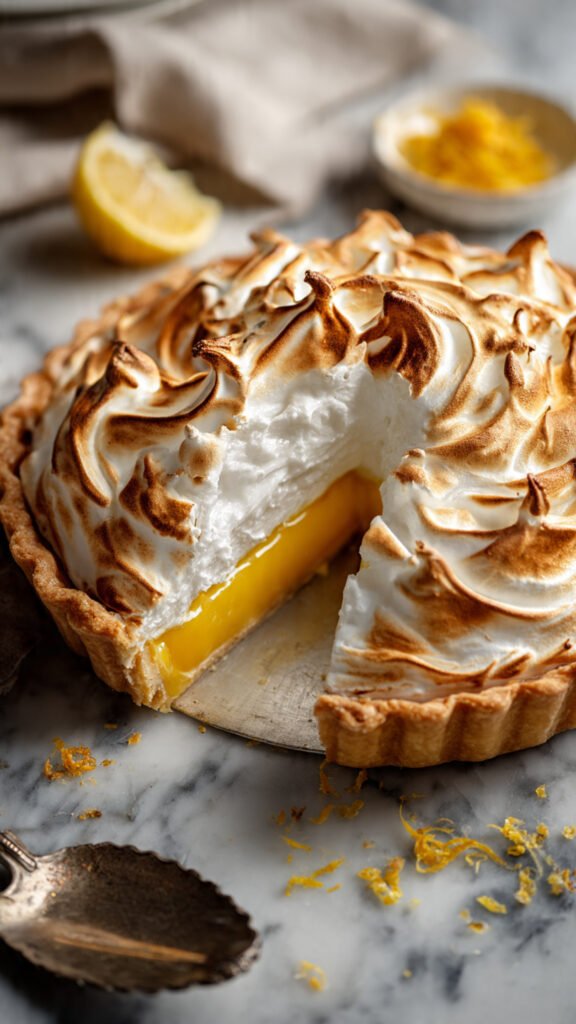
7. The Seal Spread the meringue over your hot pie filling. (Yes, putting it on hot filling helps cook the bottom of the meringue!). Important: Spread the meringue all the way to the edge of the crust. You want it touching the crust. This creates a “seal” that prevents the meringue from shrinking back as it cools. Use the back of a spoon to create those iconic swirls and spikes.
8. The Toast Bake at 350°F (175°C) for about 10 to 15 minutes. You aren’t really “baking” it as much as you are browning it. Watch it like a hawk. It goes from “golden goddess” to “charcoal briquette” in about 30 seconds. Remove when the peaks are golden brown.
9. The Hardest Part Let it cool completely at room temperature. Do not put it in the fridge yet! If you shock it with cold air, it will weep. Let it sit on the counter for at least an hour (preferably 3-4) before slicing.
Common Mistakes to Avoid
Even the best of us trip up sometimes. Here is a list of crimes against Pie Meringue Recipe etiquette:
- Using Old Eggs: Fresh eggs actually have a tighter protein structure, which creates a more stable foam. If your eggs have been in the fridge since the dawn of time, buy a new carton.
- The Yolk Incident: Fat kills foam. If you crack an egg and a tiny bit of yellow yolk falls into the white, do not try to fish it out. You have to start over. I know, it hurts. Use the yolk-tainted white for an omelet and grab a fresh bowl.
- Thinking Humidity is a Myth: Sugar is hygroscopic (fancy word for “it loves water”). If it is raining cats and dogs outside with 100% humidity, your meringue will absorb moisture from the air and become sticky. Maybe bake cookies on a rainy day instead.
- Rushing the Sugar: If you taste the finished meringue and it’s crunchy or gritty, you added the sugar too fast and it didn’t dissolve. Patience, grasshopper.
- Cooling in a Draft: If you open the window next to the cooling pie, the temperature shock will cause the meringue to crack. Treat the pie like a sleeping baby—no sudden drafts or loud noises (okay, noises are fine, but you get the point).
Alternatives & Substitutions
Maybe you don’t have cream of tartar, or you’re feeling adventurous. Here are some tweaks:
- Cream of Tartar Sub: No cream of tartar? No problem. Use an equal amount of lemon juice or white vinegar. It provides the same acidic stabilizer. It might add a tiny tang, but in a lemon pie, who cares?
- The Italian Method: If you are terrified of raw eggs (even though the hot filling cooks them usually), you can look up an Italian Meringue. This involves boiling sugar syrup to 240°F and pouring it into the whites. It’s much harder and involves potential third-degree burns, but it’s very stable. FYI, the cornstarch method in this recipe is the easier hack for similar stability.
- Flavor Swaps: Vanilla is standard, but have you tried Almond Extract? It adds a cherry-like nutty vibe that is killer on a chocolate cream pie. Coconut extract is also a vibe for coconut cream pies.
- Brown Sugar? Technically you can use brown sugar, but your meringue will be beige and taste like caramel. It’s not traditional, but it’s not illegal.
FAQ (Frequently Asked Questions)
1. Why is my meringue weeping (leaking liquid)? Usually, this is because of undissolved sugar or over-beating. However, if you used the cornstarch method above and it still wept, you likely didn’t spread the meringue on the filling while the filling was hot. The steam from the filling helps cook the bottom of the meringue.
2. Can I make this ahead of time? Meringue is a “live in the moment” kind of food. It is best eaten the day it is made. However, because of the cornstarch stabilizer, this specific recipe will hold up in the fridge for about 2–3 days without dissolving into a puddle. That’s a win in my book.
3. Can I use the egg whites from a carton? Please don’t. Carton egg whites are pasteurized in a way that messes with their whipping ability. They will foam up a little, but they will never reach those stiff, glossy peaks you need. Crack the real eggs. It’s worth the effort.
4. Why did beads of syrup form on top of the pie? Ah, the dreaded “beading.” This usually means you overcooked it. If the oven is too hot or you left it in too long, the proteins squeeze out the sugar syrup. Next time, lower the temp or pull it out a minute sooner.
5. Can I use a blowtorch instead of the oven? Absolutely! If you want to feel like a professional chef, skip the oven baking. Pile the meringue on, fire up your kitchen torch, and toast the edges manually. Just be careful—sugar burns fast under a direct flame.
6. What do I do with the leftover yolks? Make the pie filling! Most custard or curd fillings (like Lemon Curd or Coconut Cream) require yolks to thicken. It’s the circle of life. If you’re just making meringue for fun, make a Carbonara or homemade mayo.
7. Is this safe to eat for everyone? Since we are baking this in the oven (and using the hot gel), the egg whites reach a temperature that is generally considered safe. However, if you are serving someone who is pregnant or immunocompromised, you should ensure the internal temp of the meringue reaches 160°F to be 100% safe.
Final Thoughts
And there you have it! The mystery of the perfect Pie Meringue Recipe is officially solved. It’s not magic; it’s just a little bit of cornstarch and a lot of air.
The texture of this topping is going to blow your mind. It cuts cleanly, it melts in your mouth, and it looks absolutely stunning on a holiday table. Don’t be afraid to really pile it high—life is too short for flat pies.
Now go impress someone—or yourself—with your new culinary skills. You’ve earned it! (And save me a slice, seriously).