🍰 Cake Glaze Recipe: The Perfect 2-Minute Topping
👩🍳 The Busy Home Cook's Arsenal
Consistently cooking incredible meals for your family doesn't mean spending three hours in the kitchen every night. These are the 5 absolute life-saving appliances and culinary tools that dramatically cut down prep time while guaranteeing restaurant-quality results.
🌪️ Ninja 4-Quart Air Fryer
The machine that completely changed weeknight dinners. It preheats in seconds and cooks frozen vegetables, chicken wings, and battered fish to an incredibly crispy, deep-fried texture using 75% less oil and taking half the time of a traditional oven.
⏱️ Instant Pot Duo 7-in-1 Pressure Cooker
Forget slow cookers that take 8 hours. This legendary appliance aggressively pressure cooks tough cuts of meat into melt-in-your-mouth tender roasts, stews, and perfectly fluffy rice in under 45 minutes, saving you when you forget to defrost dinner.
🔪 Victorinox Fibrox Pro 8" Chef's Knife
A dull knife is dangerous and makes chopping vegetables a miserable chore. This exact blade reigns supreme in professional kitchens because it holds a terrifyingly sharp edge, features a non-slip grip, and costs significantly less than heavy German steel.
🌡️ ThermoPro Instant Read Thermometer
The secret difference between dry, rubbery chicken and juicy perfection. Stop nervously slicing your proteins open to check if they're done—this waterproof digital pen gives you a highly accurate temperature reading in less than three seconds.
🥤 Vitamix 5200 Professional-Grade Blender
Whether you are making silky-smooth breakfast smoothies, pureed soups from scratch, or blending absolutely lump-free sauces, this famously indestructible motor pulverizes anything you throw at it. It literally heats soup from the friction of the blades alone.
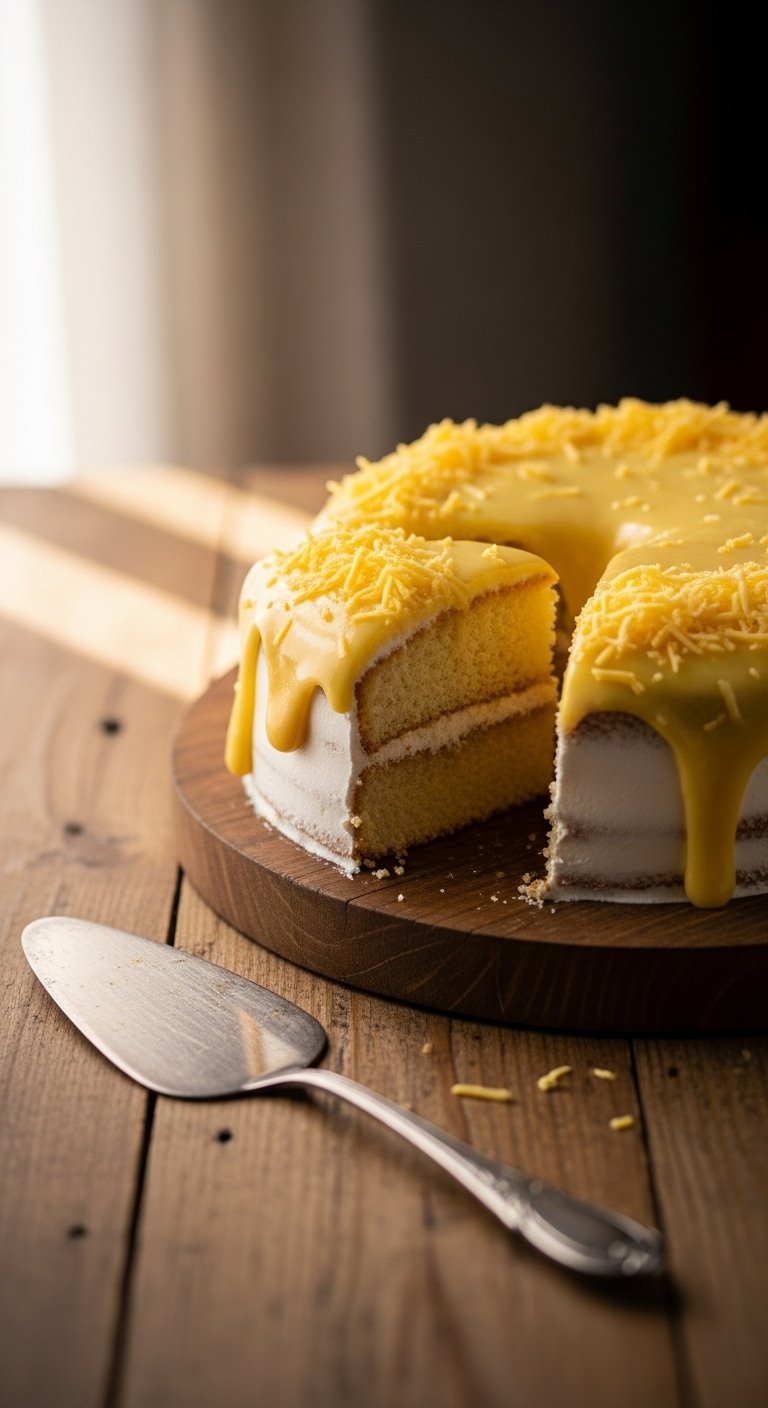
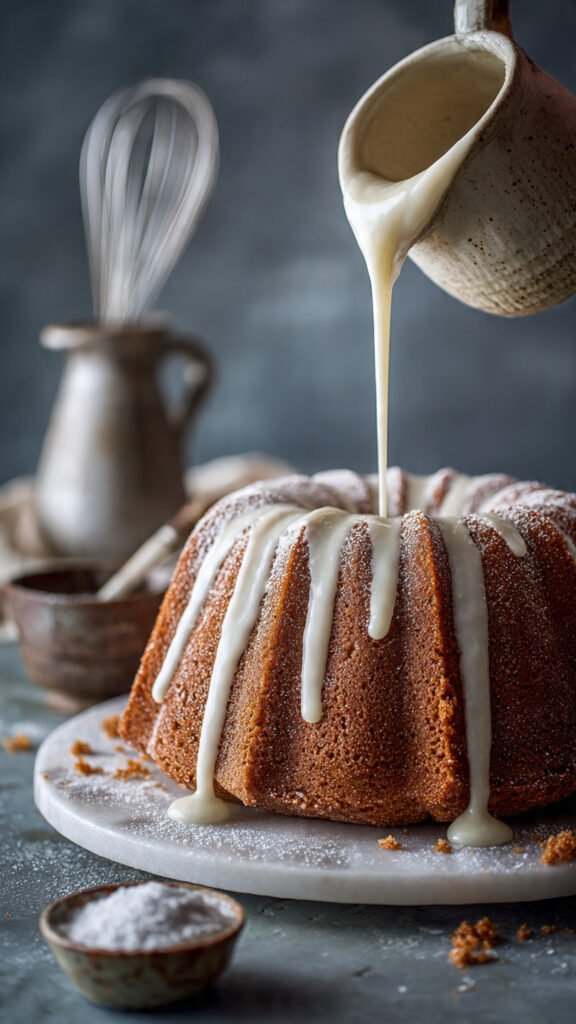
Let’s be real for a second. You’ve just spent an hour (or three) baking. The kitchen is a mess, there is flour in places flour should never be, and you are staring at a cake that looks… well, a little naked. It tastes good, sure, but it lacks that pizzazz. It needs a finishing touch that says, “I didn’t just bake this; I crafted it.”
Enter the humble cake glaze recipe.
So you’re craving something tasty but too lazy to whip up a full buttercream or Swiss meringue? Same. A glaze is the lazy baker’s secret weapon. It’s the difference between a “nice try” and a “wow, did you buy this?” And the best part? It takes about three minutes and requires zero culinary school degrees. Let’s get sticky.
Why This Recipe is Awesome
Look, I know the internet is full of recipes claiming to be “life-changing.” Most of them are lying. But this one? This one is actually the real deal for a few very specific reasons (IMHO).
It’s the “Little Black Dress” of Baking
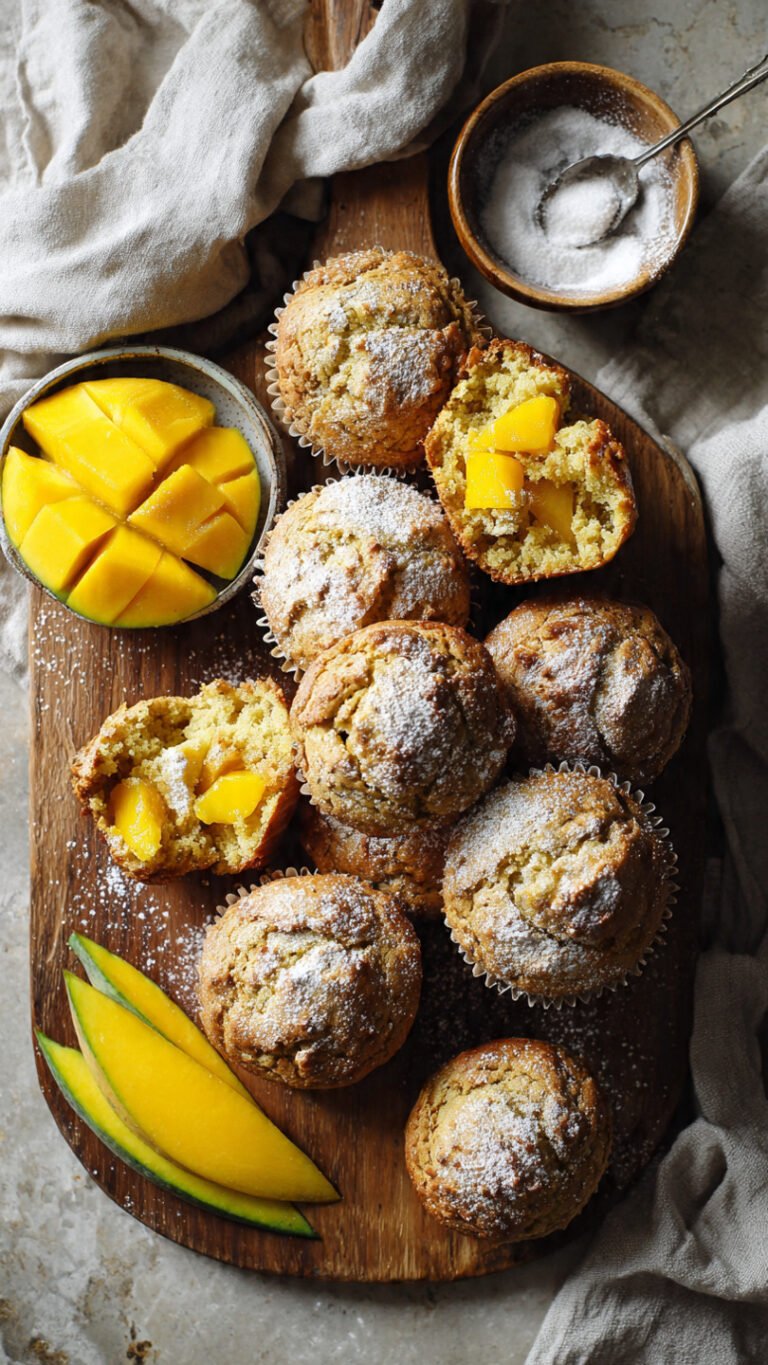
This isn’t just a cake glaze recipe; it’s a donut glaze, a muffin drizzle, a scone topper, and a cookiedipper. It is the universal donor of the pastry world. Whether you made a dense pound cake, a light chiffon, or those store-bought cinnamon rolls that came in a tube (no judgment here, we love those), this glaze elevates it.
The “Idiot-Proof” Factor
I have burned toast. I have curdled milk. I have made cookies that were structurally harder than diamonds. But even I haven’t messed up this glaze. It is incredibly forgiving. Too thin? Add sugar. Too thick? Add milk. It’s the Bob Ross of recipes—there are no mistakes, just happy little accidents that still taste like pure sugar.
The Science of the “Crust”
Here is where we get a little nerdy (but keep it cool). A great glaze needs to pour like a liquid but set like a solid. This recipe strikes the perfect balance of sugar-to-liquid ratio to ensure that after about 15 minutes, a microscopic crystallization process happens on the surface.
This creates that satisfying, delicate “crackle” when you bite into it. You know that texture? The one where your teeth break the shell and sink into the soft cake beneath? That is what we are chasing here. It seals in the moisture of the cake while adding a textural contrast that is honestly addictive.
It Hides Your Mistakes
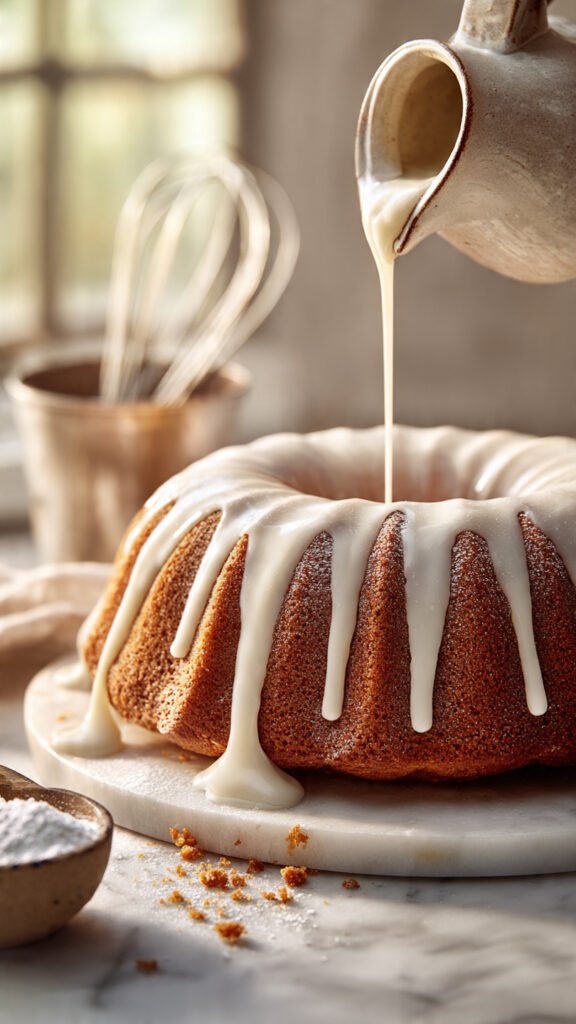
Did your cake crack coming out of the pan? Is the top a little uneven? Did you accidentally poke it with your finger to see if it was done? Pour this glaze over it. It’s basically edible spackle. Suddenly, your cratered Bundt cake looks like a rustic, intentional masterpiece.
Ingredients You’ll Need
You probably have all of these in your pantry right now. If you don’t, you need to have a serious talk with your grocery shopping list.
- Powdered Sugar (Confectioners’ Sugar): This is the base. Do not try to use granulated sugar unless you want a gritty, crunchy nightmare. We want smooth, baby.
- Liquid (Milk, Cream, or Water):
- Milk/Cream: Makes it opaque, creamy, and white. Best for that classic “bakery” look.
- Water: Makes it more translucent and purely sweet.
- Lemon Juice: If you want a tart kick (highly recommended for blueberry or lemon cakes).
- Vanilla Extract: Use the real stuff if you can afford it. Imitation vanilla is fine in a pinch, but pure vanilla brings those floral, warm notes that make people hum when they eat.
- A Pinch of Salt: Yes, salt. In a dessert. Don’t skip this. Sweetness without salt is flat and boring. The salt wakes up your tongue and makes the sugar taste less cloying and more complex.
- Optional: Melted Butter: Just a tablespoon. This adds a silky mouthfeel and helps the glaze set softer rather than rock hard.
- Optional: Corn Syrup: A tiny splash gives the glaze a glossy, high-shine finish, like a freshly waxed car, but edible.
Step-by-Step Instructions
Ready to transform your baking? Let’s do this.
1. Sift Like Your Life Depends on It
Grab a medium bowl and a sieve. Dump in your powdered sugar (start with about 2 cups).
- Why? Powdered sugar loves to clump. If you don’t sift, you will have tiny white explosions of dry powder in your smooth glaze. It looks gross and ruins the vibe. Sifting aerates the sugar and guarantees smoothness.
2. The Liquid Drizzle
Add your liquid of choice (milk, cream, etc.) slowly. Start with 2-3 tablespoons.
- Pro Tip: You can always add more liquid, but you can’t take it out. Go slow. We are looking for a thick paste at first, which we will thin down.
3. Flavor Town
Toss in your vanilla extract and that crucial pinch of salt. If you are using melted butter or corn syrup for shine, add those now too.
4. Whisk It Good
Use a whisk (a fork works if you’re a student or a minimalist) and beat the mixture. You want to whisk it vigorously.
- The Science: Agitation helps dissolve the sugar completely into the liquid. It also knocks out large air bubbles that could ruin the finish.
5. The Consistency Check (Crucial Step!)
Lift your whisk out of the bowl. The glaze should fall back into the bowl in a “ribbon.”
- The 5-Second Rule: When the glaze hits the surface of the mixture in the bowl, the ribbon should hold its shape for about 3 to 5 seconds before dissolving back into the rest.
- Too fast? It’s too thin (add more sugar).
- Stays forever? It’s too thick (add a teaspoon of milk).
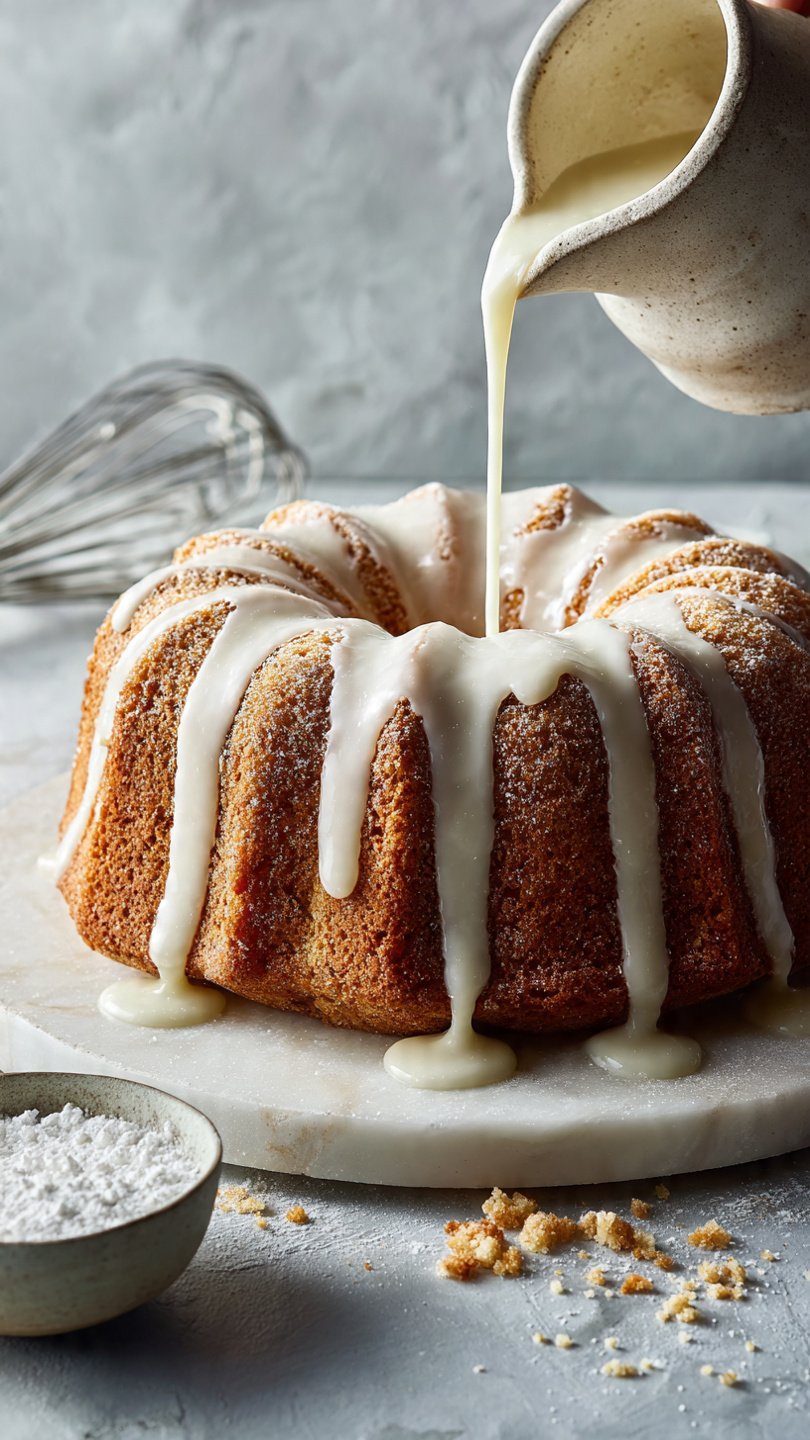
6. The Pour
Place your cooled cake on a wire rack with a baking sheet or parchment paper underneath (to catch the drips—don’t make a mess you have to scrub later). Pour the glaze right in the center and let gravity do the work. Gently nudge it to the edges with a spoon if it’s being shy.
Common Mistakes to Avoid
Even though I said this was idiot-proof, there are a few ways to sabotage yourself. Let’s avoid them, shall we?
- Glazing a Hot Cake (The Cardinal Sin): If your cake is even slightly warm, the glaze will not sit on top. It will melt, turn into a translucent syrup, and soak into the cake. Delicious? Yes. Pretty? Absolutely not. Patience is a virtue—wait until the cake is cool.
- Skipping the Salt: I mentioned this before, but I’m mentioning it again because it’s that important. Without salt, it’s just sweet sludge. With salt, it’s a glaze.
- Using Granulated Sugar: I once saw someone try to make glaze by just mixing water and table sugar. It was crunchy water. Don’t be that person.
- Over-Coloring: If you add food coloring, add literally one drop at a time. Glaze takes color very quickly, and you don’t want your elegant lemon cake to look like radioactive slime (unless it’s Halloween, in which case, carry on).
Alternatives & Substitutions
Variety is the spice of life, and this cake glaze recipe is totally customizable.
1. The Citrus Bomb: Swap the milk entirely for fresh lemon, lime, or orange juice. Add some zest (grated peel) into the glaze for little speckles of color and an explosion of aromatic oils. This cuts through the sweetness of dense pound cakes perfectly.
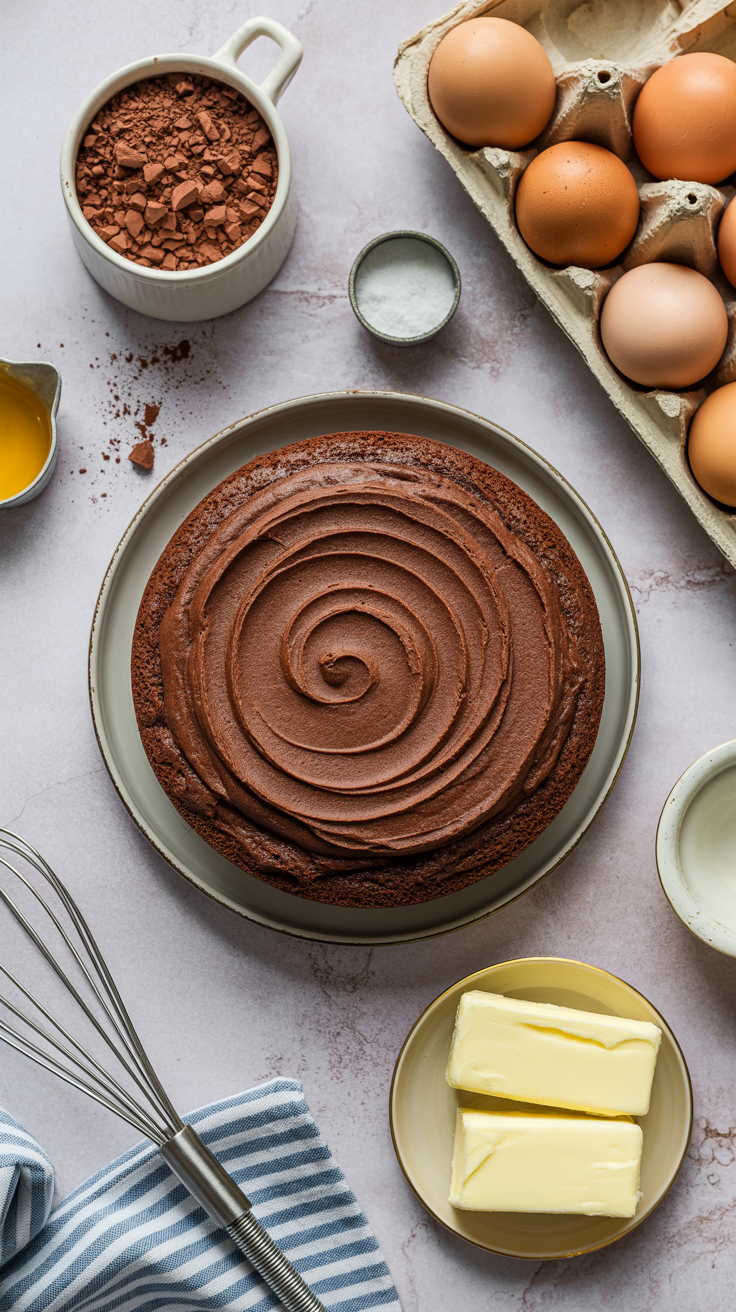
2. The Chocoholic: Sift in 2 tablespoons of cocoa powder with your sugar. You might need an extra splash of milk to get the consistency right because cocoa is thirsty. Boom—instant chocolate glaze.
3. The Maple twist: Swap the vanilla extract for maple extract, or replace half the liquid with pure maple syrup. This on a spice cake? Chef’s kiss.
4. The “Grown-Up” Glaze: Replace the milk with Bourbon, Rum, or Amaretto. The alcohol gives it a sharp, warming kick. Just maybe don’t serve this one at the kid’s birthday party.
5. Veganize It: Use oat milk, almond milk, or just water. Use vegan butter or coconut oil if you want the fat content. It works exactly the same way.
FAQ (Frequently Asked Questions)
Q: How long does it take for the glaze to harden? A: Depending on your humidity and how thick you made it, usually about 15 to 30 minutes. If you live in a swamp (high humidity), it might take longer. You can pop the cake in the fridge to speed it up.
Q: Can I use margarine instead of butter? A: Well, technically yes, but why hurt your soul like that? Butter adds flavor; margarine just adds grease. But if it’s all you have, it won’t break the chemistry of the recipe.
Q: My glaze is too runny and keeps sliding off! Help! A: You added too much liquid, you eager beaver. Just whisk in more sifted powdered sugar, a tablespoon at a time, until it thickens up. Also, make sure your cake isn’t hot!
Q: Can I make this in advance? A: You can, but sugar dries out. If you make it ahead, press plastic wrap directly onto the surface of the glaze so it doesn’t form a crust in the bowl. If it hardens, microwave it for 5 seconds and whisk again.
Q: Why is my glaze see-through? A: It’s likely too thin or your cake was too warm. A thicker glaze (more sugar, less liquid) creates that opaque, white bakery look. A thinner glaze acts more like a wash.
Q: Can I freeze a cake with glaze on it? A: Surprisingly, yes! Let the glaze set completely hard first. Then wrap the cake tightly. When you thaw it, the glaze might get a little sticky (sugar hates condensation), but it will still taste amazing.

Final Thoughts
Cooking doesn’t have to be serious, and baking doesn’t have to be stressful. This cake glaze recipe is your back-pocket trick to making anything look finished and fabulous with minimal effort.
Whether you are trying to impress your mother-in-law, bring something to a potluck that doesn’t look store-bought, or just treating yourself at 10 PM on a Tuesday (my personal favorite scenario), this glaze has your back.
Now go impress someone—or yourself—with your new culinary skills. You’ve earned it! And remember, if it looks messy, just call it “rustic” and everyone will believe you.