🥟 The Best Rolled Dumplings Recipe Ever
So, you’re craving something tasty but too lazy to spend forever in the kitchen, huh? Same.
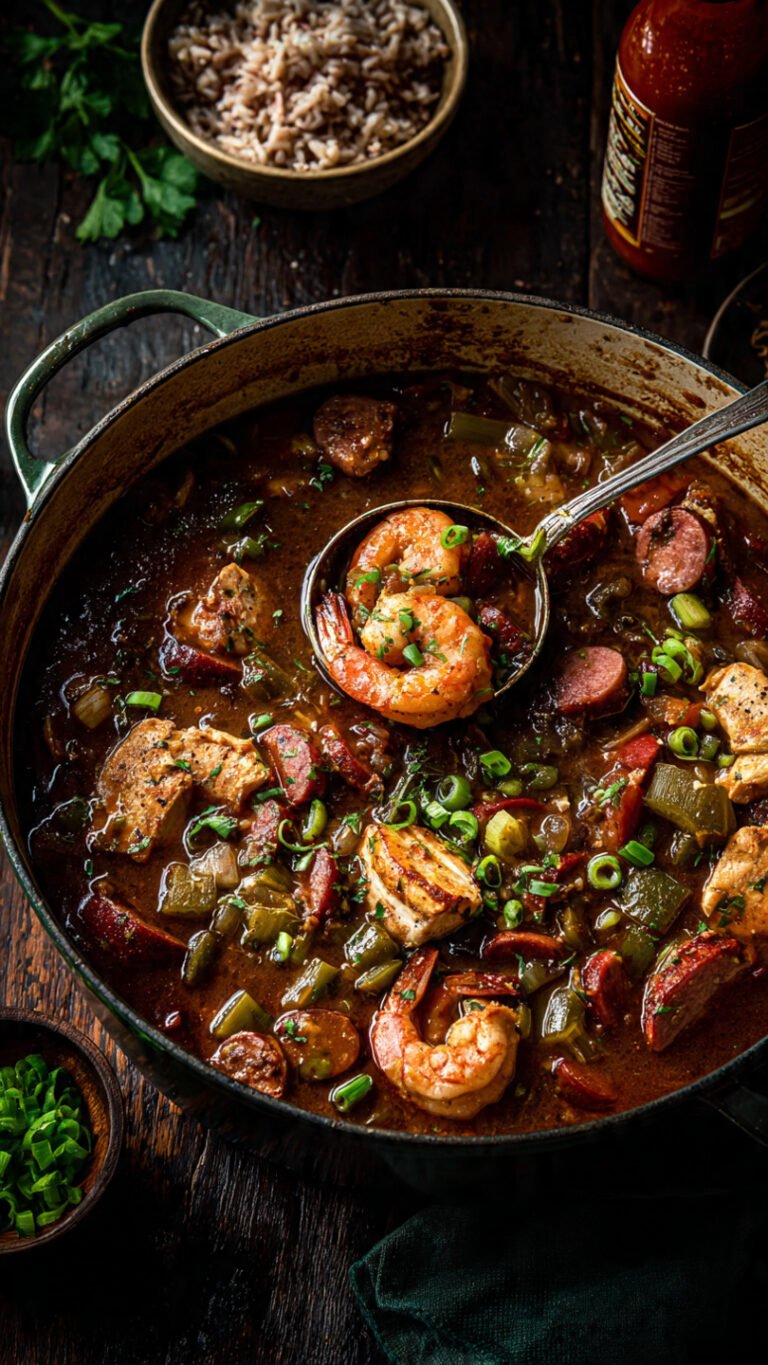
Listen, there comes a time in every human’s life when a salad just won’t cut it. You don’t want crunch; you want a warm, savory hug in a bowl. You want carbs. Specifically, you want the kind of carbs that swim in a rich broth and make you forget about your unread emails. You want rolled dumplings.
If you grew up thinking dumplings were only those fluffy, biscuit-like clouds that float on top of stew (drop dumplings), prepare to have your mind blown. We are making old-fashioned rolled dumplings today. These are the flat, chewy, slippery little squares of dough that slide right off the spoon and basically melt in your mouth. They are superior. Yeah, I said it.
Let’s get flour on our shirts.
Why This Recipe is Awesome
Okay, let’s be real for a second. Why should you make this specific rolled dumplings recipe when there are a million others on the internet?
First off, it is idiot-proof. Even I didn’t mess it up the first time I tried it, and I once burned toast while staring directly at it. This dough is forgiving. It’s not like making croissants where you need a degree in engineering and a prayer circle. It’s flour, fat, and liquid. That’s it.
Secondly, let’s talk about texture. This is where the magic happens. Unlike drop dumplings, which can sometimes end up doughy in the middle (nobody likes raw dough centers, gross), rolled dumplings are thin. This means they cook evenly every single time. But here is the science-y part that makes them awesome: as they cook, the excess flour on the outside of the dumpling thickens your broth naturally. You don’t need cornstarch slurry or a roux. The dumplings do the heavy lifting for you, turning plain broth into a creamy, velvety gravy that coats the back of a spoon.
We also need to address the nostalgia factor. Even if you didn’t grow up in the American South, there is something universally comforting about flat noodles in broth. It hits that primal “I am safe and warm” button in your brain. It’s budget-friendly comfort food at its absolute finest. You are taking the cheapest ingredients in your pantry—flour and broth—and turning them into a five-star meal.
Finally, this recipe is a blank canvas. While traditionalists (like my imaginary Grandma) swear by chicken broth, these dumplings don’t discriminate. They will happily swim in beef stew, vegetable soup, or even a turkey carcass broth post-Thanksgiving. They absorb flavor like a sponge. You can add herbs to the dough, crack black pepper into them, or keep them pure and simple.
Ingredients You’ll Need
We are keeping this classic. No weird ingredients you have to order online. If you have a kitchen, you probably have this stuff already.
- All-Purpose Flour: The MVP. Don’t get fancy with bread flour or cake flour here. We want a moderate protein content for that perfect chew.
- Baking Powder: Just a smidge. We aren’t making biscuits, but we want them to have a tiny bit of lift so they aren’t tough leather strips.
- Salt: Essential. Unsalted dumplings taste like wet cardboard. Don’t do that to yourself.
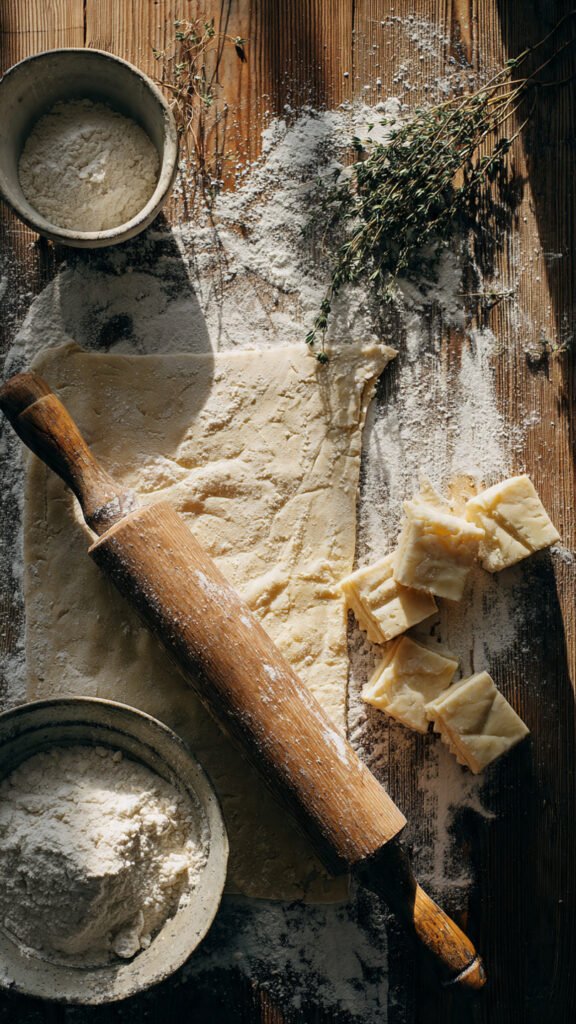
- Cold Butter (or Lard): This is controversial. Lard is traditional and makes them super tender. Butter tastes better (IMO). Shortening works if you want them ultra-flaky. I use butter because I usually have it on hand. Make sure it is cold.
- Milk or Buttermilk: Buttermilk adds a nice tang and tenderness due to the acid. Regular whole milk works fine too.
- Broth: Chicken broth is the gold standard. Homemade is best, but if you use store-bought, I won’t call the police. Just get the low-sodium kind so you can control the salt level.
- Cooked Chicken (Optional): If you want to turn this into a full meal (“Chicken and Dumplings”), shred some rotisserie chicken. If you just want dumplings in broth (also valid), skip it.
Step-by-Step Instructions
Alright, apron on. Wash your hands. Let’s make magic happen.
1. The Dry Mix Grab a large mixing bowl. Whisk together your 2 cups of all-purpose flour, 1 teaspoon of baking powder, and 1 teaspoon of salt. Whisking it ensures you don’t bite into a clump of baking powder later (yuck).
2. Cut in the Fat Take your 2 tablespoons of cold butter (or lard/shortening). Cut it into small cubes. Toss them into the flour. Now, using a pastry blender or just your clean fingers, snap and rub the butter into the flour. You want the mixture to look like coarse crumbs.
- Pro Tip: Don’t melt the butter with your warm hands! Work quickly. You want little pockets of fat—that creates the texture.
3. The Liquid Landing Make a well in the center of your flour crumbs. Pour in ¾ cup of buttermilk (or milk). Now, grab a wooden spoon or a rubber spatula. Stir just until the dough comes together.
- Warning: Do. Not. Overmix. As soon as it looks like a shaggy, messy ball, stop. If you keep stirring, you activate the gluten too much, and your dumplings will be tough enough to shingle a roof.
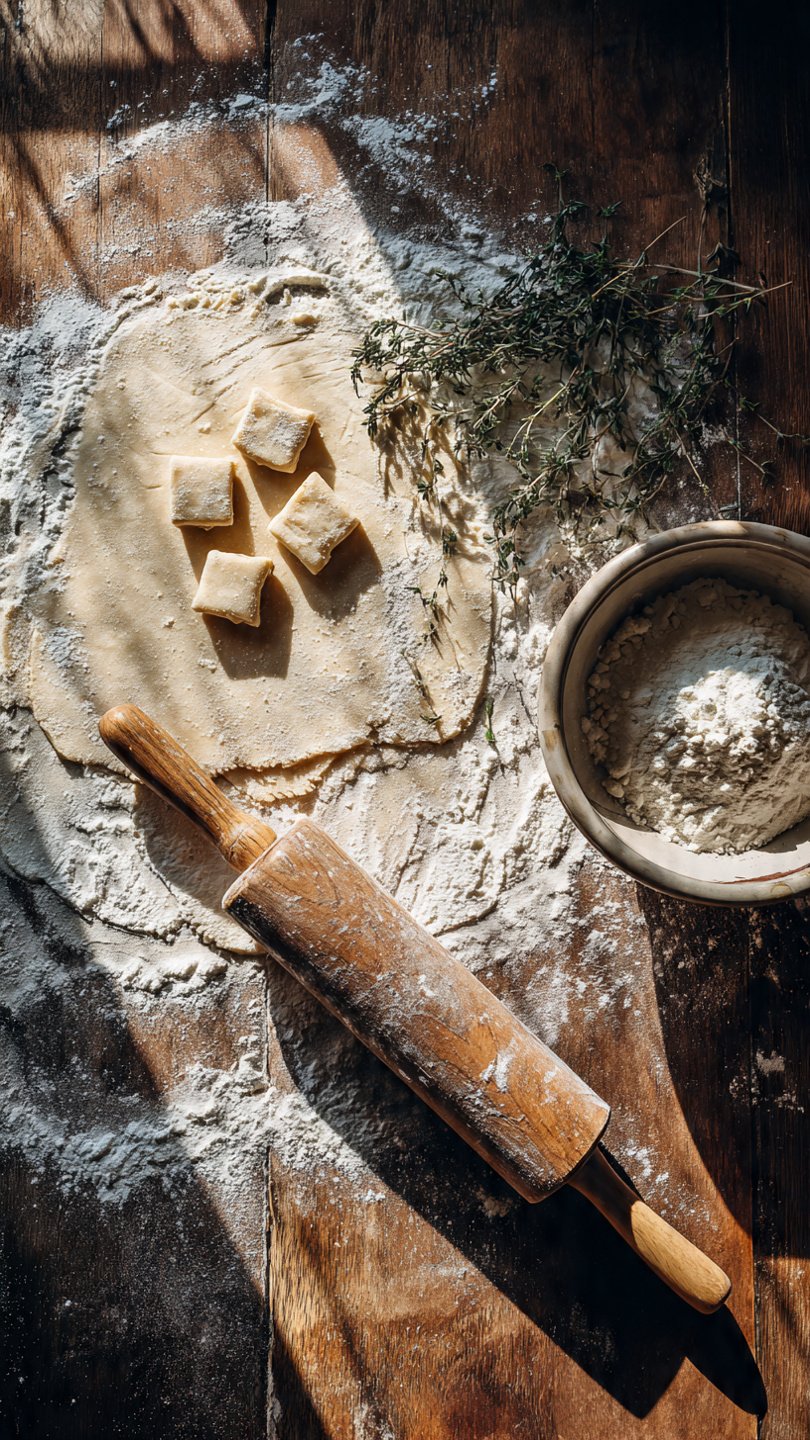
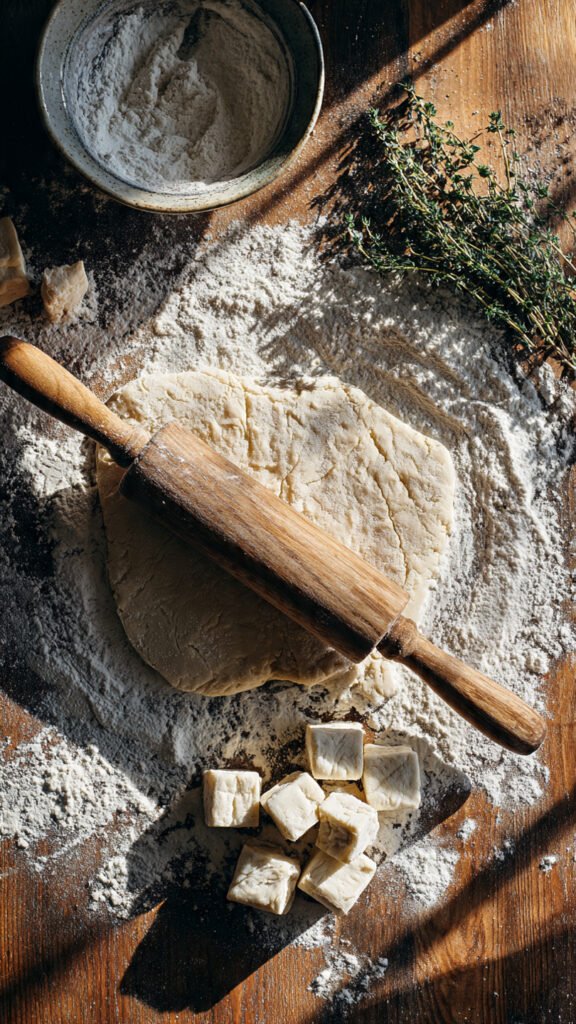
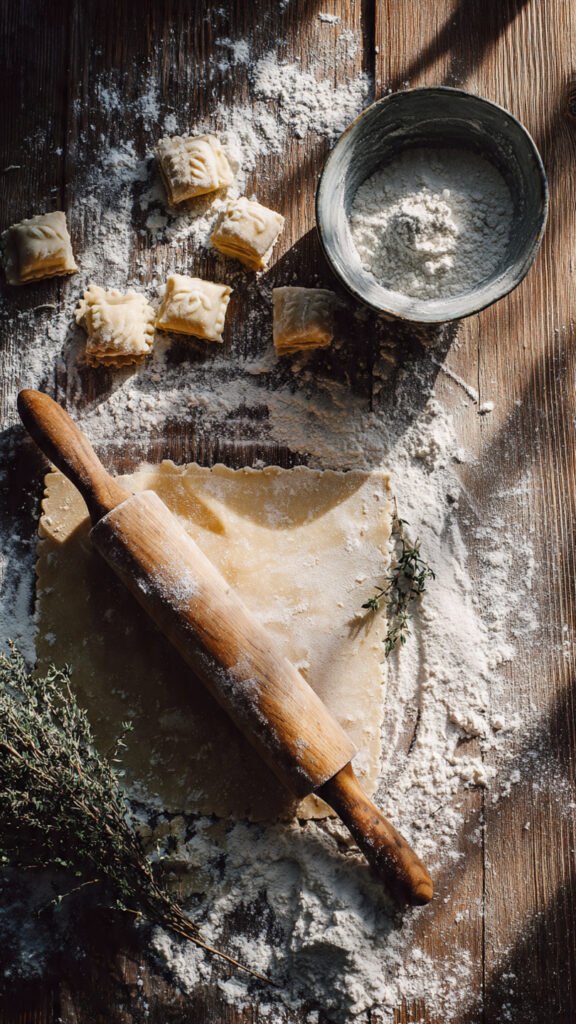
4. Roll It Out Generously flour your clean countertop. I mean, make it look like a winter wonderland. Dump the dough out. Sprinkle more flour on top of the dough. Using a rolling pin, roll the dough out thin. We are aiming for about 1/8th of an inch thick. If it sticks to the pin, throw more flour at it. Who cares about the mess? We’ll clean later.
- Sensory Check: The dough should feel cool and soft, like a very relaxed earlobe. (Weird comparison? Maybe. Accurate? Yes.)
5. Slice and Dice Now for the fun part. You can use a knife, but a pizza cutter is the secret weapon here. Slice the dough into strips, about 1 inch wide. Then cut across to make squares or rectangles (roughly 1×2 inches). They don’t have to be perfect; rustic is the vibe we are going for.
- Crucial Step: Let them sit on the counter for about 10-15 minutes while your broth heats up. This dries the outside slightly, which helps them hold their shape in the hot bath.
6. The Hot Bath Bring your pot of 6 cups of broth to a rolling boil. Once it’s boiling, drop the heat to a simmer. Do not throw all the dumplings in at once. They will stick together into a giant dumpling ball of doom. Drop them in one by one, or a few at a time, scattering them around the pot.
7. The Simmer Down Once all the dumplings are in, give it a gentle stir to make sure nothing is stuck to the bottom. Put a lid on the pot, reduce heat to low, and let them simmer for 15–20 minutes.
- The Smell: By now, your kitchen should smell like savory heaven. The starch is thickening the soup, the butter is melting… perfection.
8. Taste and Serve Take the lid off. The broth should be creamy and thickened. Taste a dumpling. It should be chewy but tender, not raw in the middle. Taste the broth and add pepper or more salt if needed. Ladle into bowls immediately.
Common Mistakes to Avoid
Look, I believe in you, but let’s just cover the bases so you don’t end up crying over a pot of boiling flour water.
- The “Hot Tub” Crowding: Dropping all the dough in at once. I mentioned this before, but it bears repeating. If you dump the whole batch in instantly, the temperature of the broth drops, the dough clumps, and you get sludge. Patience, grasshopper.
- The Over-Knead: Treating the dough like stress relief. If you knead this like pizza dough, you will get chewy rubber bands. Treat the dough like a fragile antique—gentle touches only.
- Boiling Like a Volcano: Boiling the dumplings vigorously. You want a simmer, not a violent boil. A violent boil will tear your beautiful dumplings apart, and you’ll end up with porridge.
- Skimping on Flour During Rolling: If you don’t use enough flour on the board, the dumplings will stick to the counter. Then you have to scrape them up, re-ball them, and re-roll them. This overworks the dough. Use more flour than you think you need.
Alternatives & Substitutions
Cooking is jazz, baby. Improvise.
- Gluten-Free: Can you make these GF? Yes, use a high-quality 1:1 GF flour blend (like King Arthur or Bob’s Red Mill). They might be slightly more delicate, so simmer them gently.
- Herbed Dumplings: Feeling fancy? Add a teaspoon of dried thyme, cracked black pepper, or chopped fresh parsley into the dry flour mix in Step 1. It looks pretty and tastes amazing.
- Dairy-Free: Swap the butter for vegetable shortening or vegan butter, and use a plant-based milk (oat milk works surprisingly well because it’s creamy) or just extra broth for the liquid.
- The “Stock” Swap: If you don’t have chicken broth, vegetable broth is great. Beef broth makes a very hearty, dark dish that pairs well with mushrooms.
- Shortcut Method: Okay, don’t tell anyone I told you this. In a dire emergency, you can use store-bought flour tortillas cut into strips. It is not the same, but it mimics the texture of rolled dumplings in a pinch.
FAQ (Frequently Asked Questions)
1. Can I make the dough ahead of time? You can mix the dry ingredients, but once you add the liquid, you gotta commit. The baking powder starts reacting immediately. If you let the wet dough sit in the fridge for hours, they won’t puff up right.
2. Why did my dumplings dissolve? You probably boiled them too hard or stirred them too aggressively. They are dumplings, not pasta. Be gentle! Or, you rolled them paper-thin. They need a little substance.
3. Can I freeze these? Uncooked? Yes! Freeze them flat on a baking sheet, then bag them up. You can drop them frozen right into the boiling broth (just add a few minutes to cooking time). Cooked? Eh, they tend to get a bit mushy when reheated, but they are still edible.
4. Can I use water instead of milk/buttermilk? Technically, yes. But why hurt your soul like that? Milk adds richness and tenderizes the gluten. Water makes them blander and tougher.
5. My broth is too thick! What do I do? Congratulations, you did a great job rolling them in flour! Just splash in a little extra water or broth to thin it out to your liking.
6. Can I use self-rising flour? Yes! If you use self-rising flour, skip the baking powder and the salt in the recipe. It already has that stuff in it.
7. How do I know when they are done? Taste test! It’s the only way. The texture should be consistent all the way through, with no “gummy” raw flour taste in the center.
Final Thoughts
And there you have it. You have successfully navigated the world of Rolled Dumplings.
Hopefully, your kitchen is a mess of flour, your windows are steamed up, and you are about to eat a bowl of pure comfort. Whether you serve these alongside a roast, throw some shredded chicken in the pot, or just eat them straight out of the saucepan like a goblin (no judgment), you’ve done good.
Cooking doesn’t have to be perfect to be delicious. It just has to be warm and made with a little bit of intention. Now go impress someone—or yourself—with your new culinary skills. You’ve earned it!