🚀 Idly Podi Recipe: Best Homemade Spicy Gunpowder
👩🍳 The Busy Home Cook's Arsenal
Consistently cooking incredible meals for your family doesn't mean spending three hours in the kitchen every night. These are the 5 absolute life-saving appliances and culinary tools that dramatically cut down prep time while guaranteeing restaurant-quality results.
🌪️ Ninja 4-Quart Air Fryer
The machine that completely changed weeknight dinners. It preheats in seconds and cooks frozen vegetables, chicken wings, and battered fish to an incredibly crispy, deep-fried texture using 75% less oil and taking half the time of a traditional oven.
⏱️ Instant Pot Duo 7-in-1 Pressure Cooker
Forget slow cookers that take 8 hours. This legendary appliance aggressively pressure cooks tough cuts of meat into melt-in-your-mouth tender roasts, stews, and perfectly fluffy rice in under 45 minutes, saving you when you forget to defrost dinner.
🔪 Victorinox Fibrox Pro 8" Chef's Knife
A dull knife is dangerous and makes chopping vegetables a miserable chore. This exact blade reigns supreme in professional kitchens because it holds a terrifyingly sharp edge, features a non-slip grip, and costs significantly less than heavy German steel.
🌡️ ThermoPro Instant Read Thermometer
The secret difference between dry, rubbery chicken and juicy perfection. Stop nervously slicing your proteins open to check if they're done—this waterproof digital pen gives you a highly accurate temperature reading in less than three seconds.
🥤 Vitamix 5200 Professional-Grade Blender
Whether you are making silky-smooth breakfast smoothies, pureed soups from scratch, or blending absolutely lump-free sauces, this famously indestructible motor pulverizes anything you throw at it. It literally heats soup from the friction of the blades alone.
So, you’re craving something tasty but you are way too lazy to spend forever in the kitchen, huh? Same.
Look, I love a good coconut chutney as much as the next person. But let’s be real—waking up, fighting with a coconut, hoping the blender doesn’t wake the neighbors, and then having to wash said blender immediately? Hard pass on a Tuesday morning.
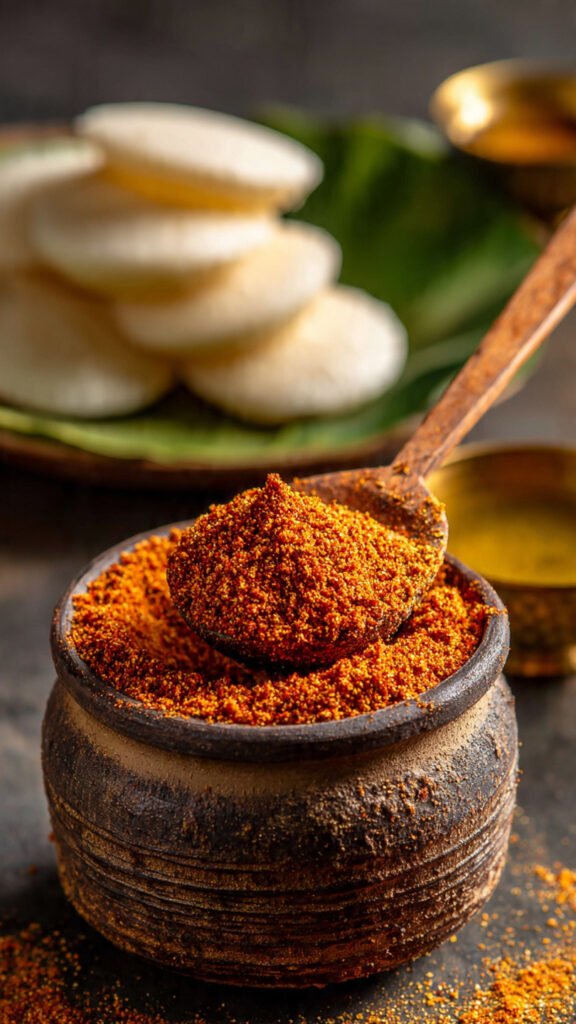
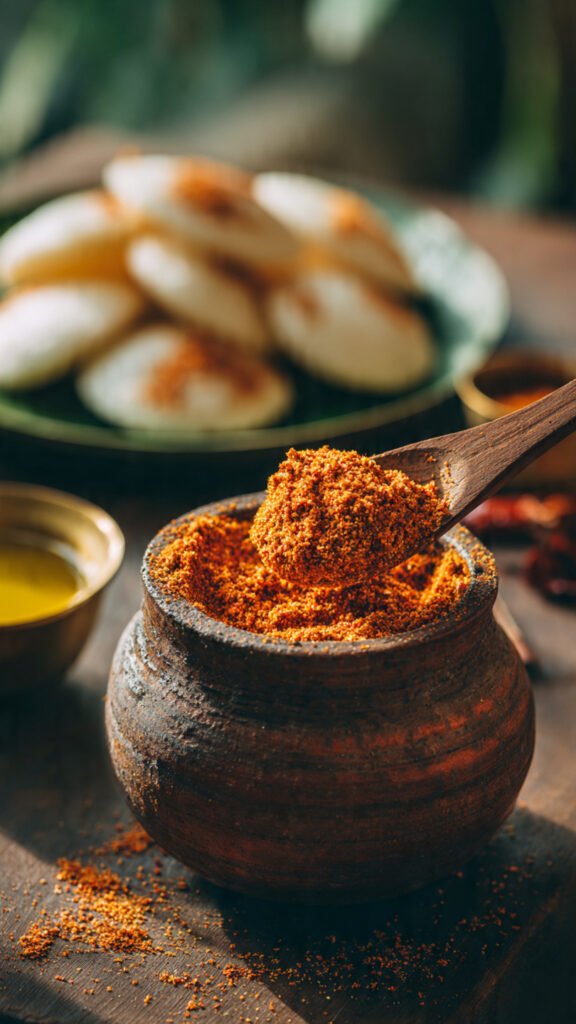
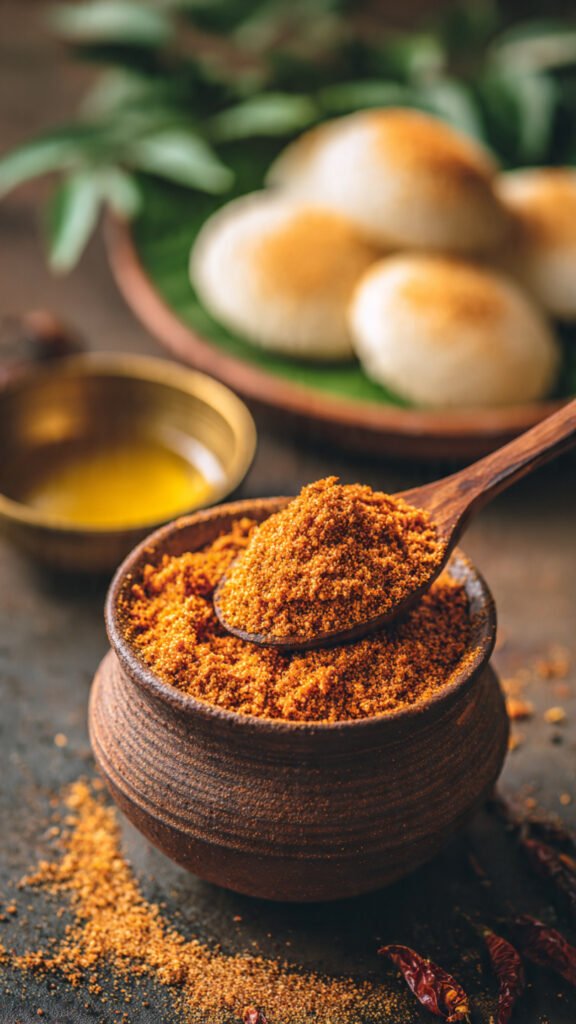
Enter Idly Podi. Or as the cool kids (and terrified tourists) call it: Gunpowder.
This isn’t just “spicy dust.” This is the magical condiment that saves your breakfast, lunch, and sometimes your dinner. It’s that gritty, spicy, nutty, savory powder that transforms a bland rice cake into a vehicle for pure joy. Once you make a jar of this, you can basically survive any culinary emergency for the next three months.
Let’s get roasting.
Why This Recipe is Awesome
You might be thinking, “Why can’t I just buy the packet from the store?”
Well, you can. But store-bought podi tastes like sawdust and disappointment. Homemade Idly Podi is a spiritual experience. Here is why you need to stop scrolling and start heating up a pan:
- It’s the Savior of Leftovers: Have cold idlis? Toss them in this podi with some ghee, and suddenly you have “Podi Idli,” which costs $12 at a fancy bistro but cost you pennies to make.
- It Lasts Forever (Almost): Unlike chutney, which goes bad if you look at it wrong, this stuff sits in your pantry like a loyal friend, waiting for you to get hungry. It has a shelf life that outlasts most celebrity marriages.
- The “Gunpowder” Factor: It’s called Gunpowder for a reason. It’s an explosion of flavor. You control the spice level. Want to blow smoke out of your ears? Add more Guntur chilies. Want a mild, nutty hug? Dial it back. You are the master of your own destiny here.
- Texture is King: Store-bought versions are ground into a fine dust that sticks to the roof of your mouth. This recipe focuses on that coarse, crunchy texture that gives you a little bite with every dip.
- It’s Idiot-Proof: Seriously. If you can stir a spoon and tell the difference between “brown” and “black/burnt,” you can nail this recipe. Even I didn’t mess it up on the first try, and I once burned water.
Ingredients You’ll Need
This relies on pantry staples. If you cook Indian food even semi-regularly, you probably have all of this. If not, a quick trip to the grocery store is in your future.
- Urad Dal (Split Black Gram): The backbone of the recipe. It provides the bulk and that distinct nutty flavor. Use the white, whole, or split variety (skinless).
- Chana Dal (Bengal Gram): The crunch factor. It adds an earthy depth that balances the Urad Dal.
- Dried Red Chilies: You need a mix here.
- Guntur Chilies: For the heat. These are the angry ones.
- Kashmiri Chilies: For that vibrant, Instagram-worthy red color without setting your mouth on fire.
- Sesame Seeds: Use white sesame seeds. They add a distinct nuttiness that makes the podi rich and savory.
- Curry Leaves: Fresh is best, but you’re going to roast them until they are brittle. Do not skip these. They provide the aroma that makes your neighbors jealous.
- Asafoetida (Hing): The MVP of South Indian cooking. It smells weird raw, but tastes magical cooked. It aids digestion (so you don’t feel bloated later).
- Salt: Obviously.
- Jaggery (Optional): Just a tiny pinch. It doesn’t make it sweet; it just rounds out the sharp heat. Trust me on this one.
- Oil: Just a teaspoon for roasting. Gingelly (Sesame) oil is traditional, but neutral oil works too.
Step-by-Step Instructions
Ready to become a Gunpowder expert? Let’s do this. The key here is patience. Do not rush the roasting. If you burn the lentils, you have to throw it all away and start over. No pressure.
1. Prep Your Station
Measure everything out before you turn on the stove. Things move fast once the pan is hot, and you don’t want to be frantic.
2. Roast the Chilies
Heat a heavy-bottomed pan (cast iron is great here) over medium-low heat. Add a drop of oil. Toss in your dried red chilies. Roast them until they puff up slightly and you start coughing from the spice fumes.
- Sensory Check: They should look crisp and glossy.
- Action: Remove them and set them aside on a large plate.
3. Roast the Urad Dal
In the same pan, add the Urad Dal. Keep the flame low. Roast continuously, stirring constantly. You want a slow roast to cook the lentil all the way through, not just brown the outside.
- Sensory Check: You are looking for a golden-brown color and a nutty aroma. If it turns black, you’ve gone too far.
- Action: Move to the plate with the chilies.
4. Roast the Chana Dal
Same drill. Roast the Chana Dal until golden and fragrant. It takes slightly less time than the Urad Dal, which is why we roast them separately (don’t be lazy and mix them, they cook at different speeds!).
- Action: Add to the growing pile on the plate.
5. The Aromatics
Add the curry leaves to the pan. Roast them until they are dry and brittle. You should be able to crush one easily with your fingers. Add the sesame seeds at the very end—they pop and roast in seconds.
- FYI: Turn off the heat and add the Asafoetida (Hing) to the hot pan for 10 seconds just to wake it up.
- Action: Dump everything onto the plate.
6. The Cool Down (Crucial!)
Stop. Do not put this in the blender yet. If you blend hot ingredients, the steam will create moisture, and your powder will turn into a weird, lumpy paste that spoils in two days. Let everything cool completely to room temperature. Go watch a TikTok video or two.
7. The Grind
Once cool, transfer everything to a blender or spice grinder. Add your salt and that pinch of jaggery.
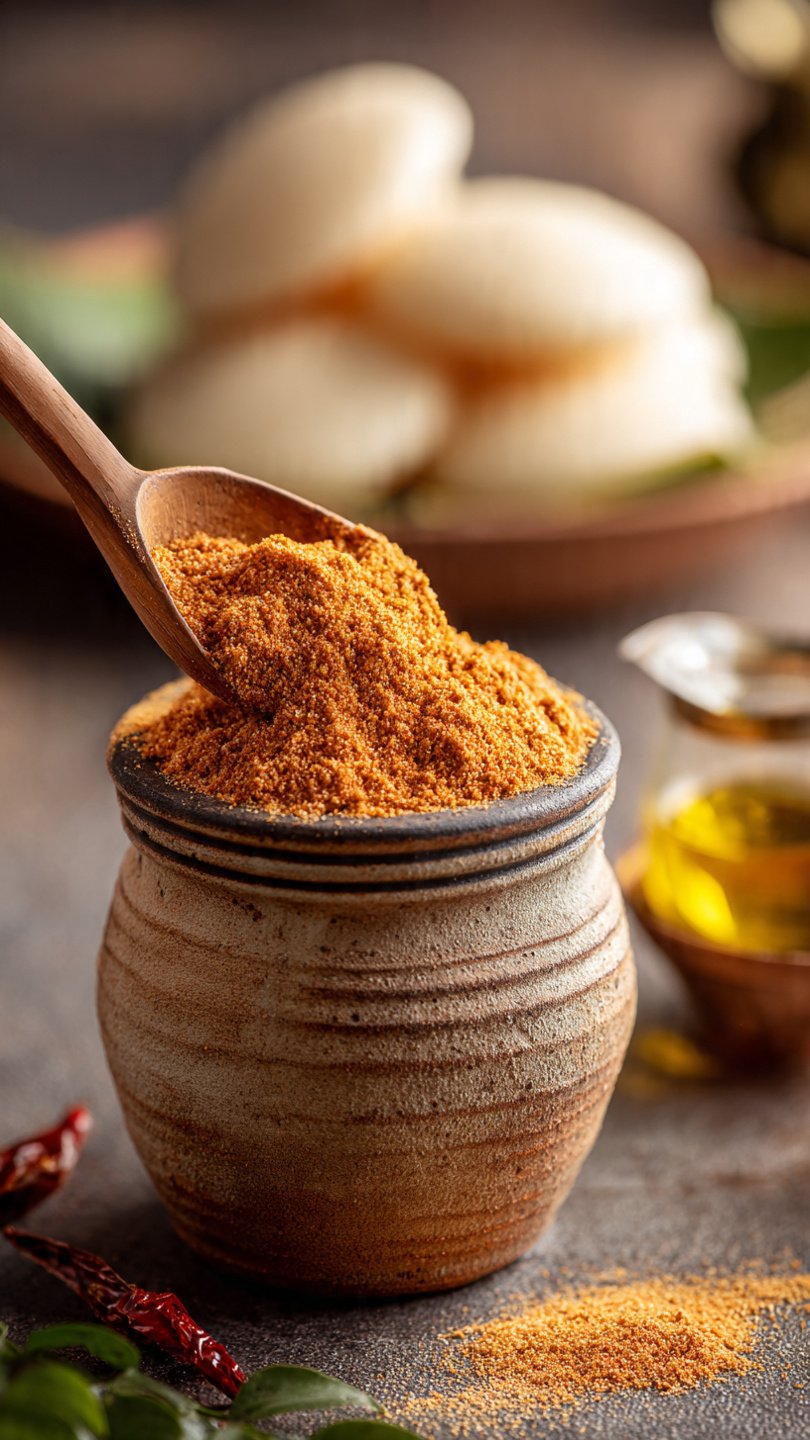
- Pulse, don’t puree. You want a coarse powder, roughly the texture of beach sand, not fine flour. It should have a little grit to it.
Common Mistakes to Avoid
Even though I said this is idiot-proof, people are creative when it comes to messing things up. Here is how to avoid a kitchen disaster:
- The “High Heat” Trap: Roasting on high heat is a rookie mistake. You’ll burn the outside of the lentils while the inside remains raw and tooth-shattering. Low and slow is the tempo.
- Grinding While Hot: I mentioned this above, but I’m saying it again because it’s the most common sin. Let it cool. Patience is a virtue, and it also prevents soggy podi.
- Skipping the Curry Leaves: “Oh, I don’t have curry leaves, I’ll just leave them out.” No. The curry leaves add a specific earthy flavor that defines Idly Podi. Without them, you just have spicy lentil dust.
- Using Old Oil: When you eventually serve this, you mix it with oil or ghee. Do not use that old frying oil you saved in a mug. Use fresh Gingelly (Sesame) oil or high-quality ghee. It makes a massive difference.
- Forgetting the Hing: Asafoetida gives that savory “umami” punch. Without it, the podi feels flat.
Alternatives & Substitutions
Cooking is art, not strict law (mostly). Here is how you can tweak this recipe to fit your vibe:
- Garlic Lover? Make Poondu Podi. Roast 5-6 cloves of garlic (with skin or without) along with the lentils until they are dehydrated and crispy. Grind them in. It makes your breath terrible, but your soul happy.
- Nut Allergy? Technically, sesame seeds are seeds, but if you have sensitivities, you can skip them or swap them for desiccated coconut (roast it until golden!). Note: Coconut reduces the shelf life significantly.
- Can’t Find Kashmiri Chilies? Use regular dried chilies but reduce the quantity, or add a teaspoon of Kashmiri Red Chili Powder at the very end for color.
- Flaxseed Boost: Want to pretend this is healthy? Swap half the sesame seeds for flaxseeds. They roast similarly and add a nice earthiness, plus Omega-3s so you can feel superior while eating carbs.
- Vegan? The podi itself is vegan! Just serve it with Gingelly oil instead of Ghee.
FAQ (Frequently Asked Questions)
1. How long does this keep? If you store it in an airtight container (glass jar preferred) in a cool, dry place, it stays fresh for about 2 months. If you keep it in the fridge, it can last up to 6 months, but honestly, if you haven’t eaten it by then, are you even trying?
2. Can I use a food processor instead of a blender? Ideally, yes. A spice grinder or a small jar on your Indian mixer-grinder is best. A large food processor might struggle to grab the small seeds unless you are making a massive batch for the whole neighborhood.
3. Why is my podi bitter? You burned the fenugreek (if you added it) or the lentils. There is no fixing burnt flavor. You have to toss it. Sorry. RIP.
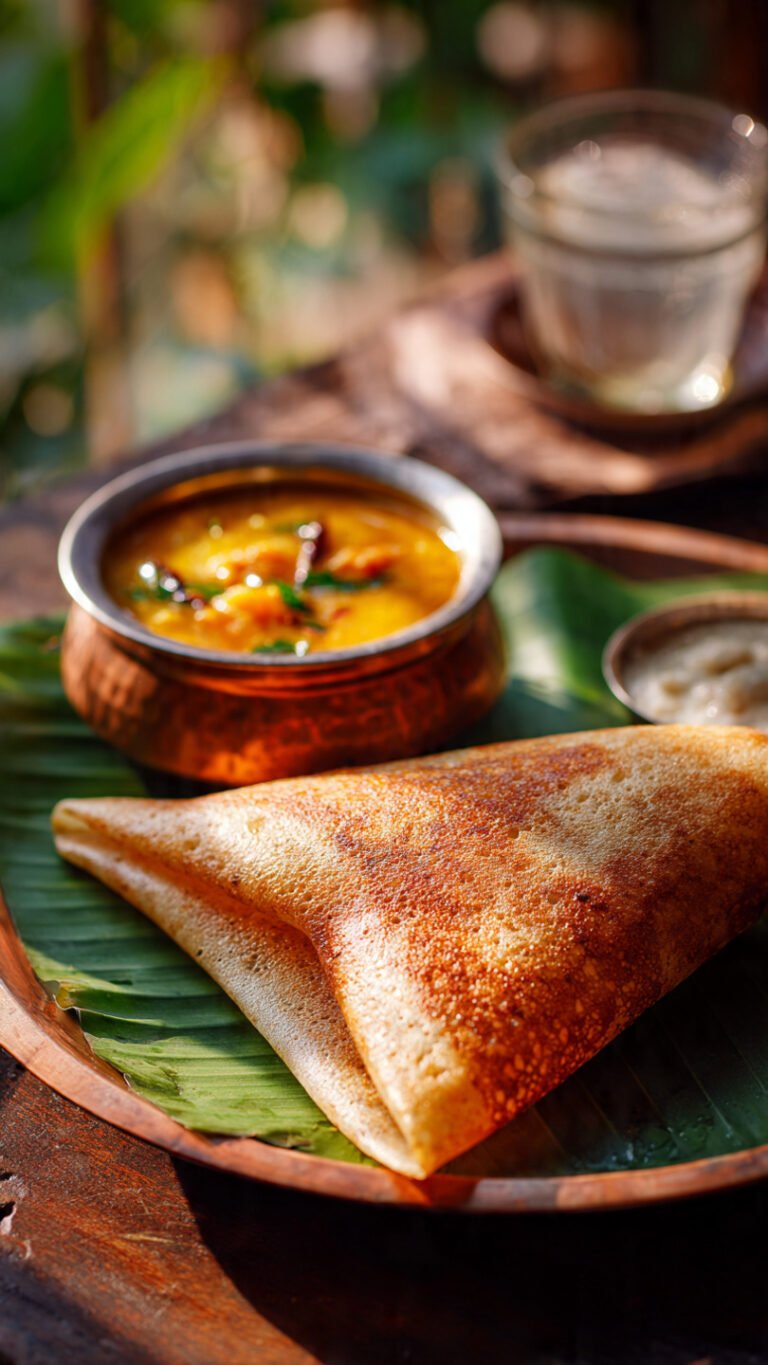
4. How do I serve this? The classic way: Put a heap of podi on your plate. Make a crater in the middle with your finger. Pour hot melted ghee or sesame oil into the crater. Mix it into a sludge. Dip hot Idly or Dosa. Ascend to heaven.
5. Can I use this on things other than Idly? Absolutely. Sprinkle it on avocado toast (don’t judge me), stir it into hot rice with ghee, use it as a dry rub for roasted potatoes, or sprinkle it over popcorn. Live your best life.
6. Why is it called Gunpowder? Because it packs a punch and looks like actual gunpowder. Also, the English translation of “Milagai Podi” (Chili Powder) doesn’t sound nearly as cool.
Final Thoughts
There you have it. You are now the proud owner of a jar of homemade Idly Podi.
The beauty of this recipe is in the ritual. The smell of roasting curry leaves and sesame seeds filling your kitchen is arguably better than the taste of the food itself. It’s a scent that screams “home.”
This jar is your secret weapon for busy mornings, lazy dinners, and those times you just need a spicy kick to wake you up. Plus, gifting a cute jar of homemade podi to a friend makes you look incredibly thoughtful and domestic, even if you spent the rest of the day watching reality TV in your pajamas.
Now go impress someone—or yourself—with your new culinary skills. You’ve earned it!