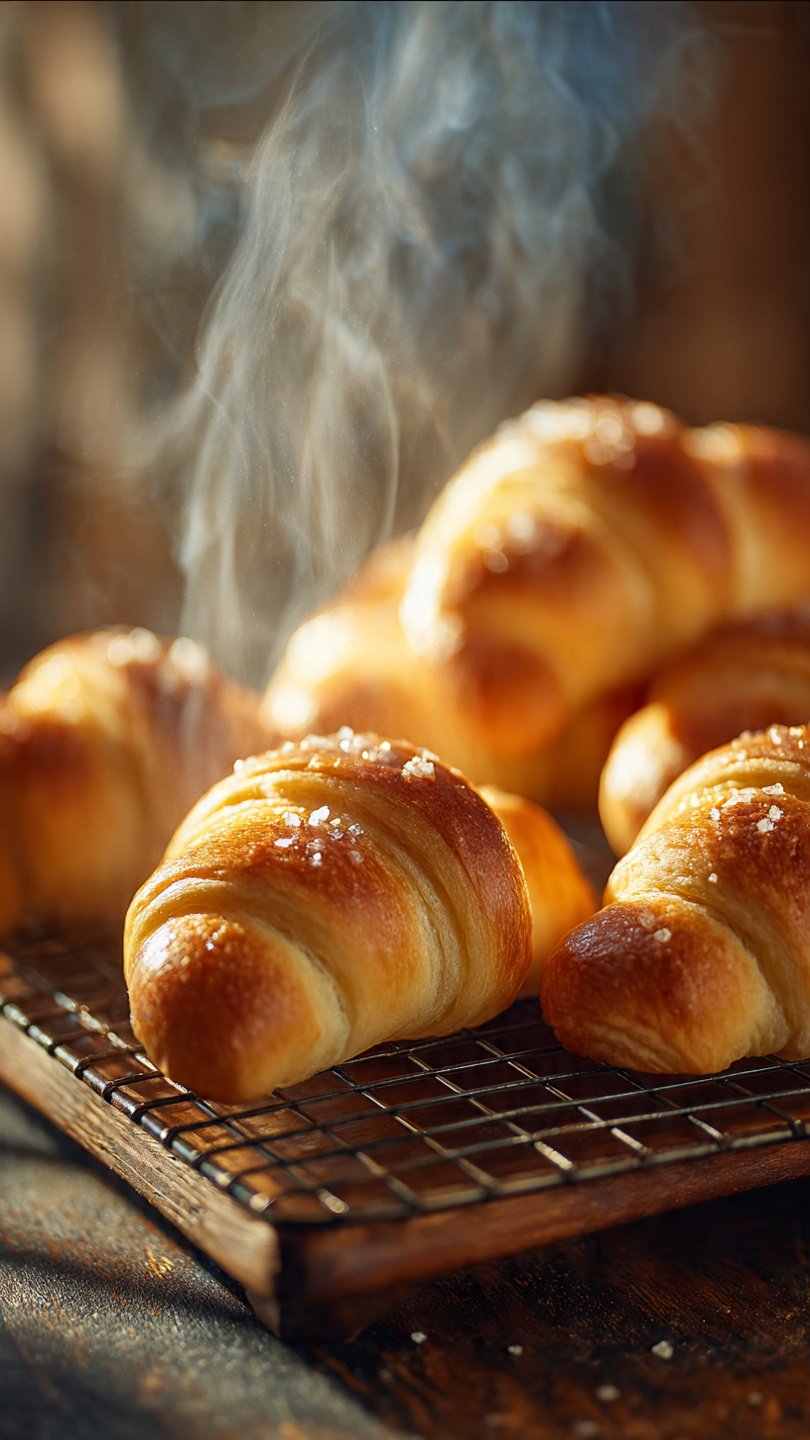
🥐 Flaky Crescent Roll Recipe: Soft & Buttery
👩🍳 The Busy Home Cook's Arsenal
Consistently cooking incredible meals for your family doesn't mean spending three hours in the kitchen every night. These are the 5 absolute life-saving appliances and culinary tools that dramatically cut down prep time while guaranteeing restaurant-quality results.
🌪️ Ninja 4-Quart Air Fryer
The machine that completely changed weeknight dinners. It preheats in seconds and cooks frozen vegetables, chicken wings, and battered fish to an incredibly crispy, deep-fried texture using 75% less oil and taking half the time of a traditional oven.
⏱️ Instant Pot Duo 7-in-1 Pressure Cooker
Forget slow cookers that take 8 hours. This legendary appliance aggressively pressure cooks tough cuts of meat into melt-in-your-mouth tender roasts, stews, and perfectly fluffy rice in under 45 minutes, saving you when you forget to defrost dinner.
🔪 Victorinox Fibrox Pro 8" Chef's Knife
A dull knife is dangerous and makes chopping vegetables a miserable chore. This exact blade reigns supreme in professional kitchens because it holds a terrifyingly sharp edge, features a non-slip grip, and costs significantly less than heavy German steel.
🌡️ ThermoPro Instant Read Thermometer
The secret difference between dry, rubbery chicken and juicy perfection. Stop nervously slicing your proteins open to check if they're done—this waterproof digital pen gives you a highly accurate temperature reading in less than three seconds.
🥤 Vitamix 5200 Professional-Grade Blender
Whether you are making silky-smooth breakfast smoothies, pureed soups from scratch, or blending absolutely lump-free sauces, this famously indestructible motor pulverizes anything you throw at it. It literally heats soup from the friction of the blades alone.
So, you’re standing in the grocery store aisle, staring at that blue tube of refrigerated dough. You know the one. The one that explodes with the force of a small hand grenade when you try to peel the label off. You’re craving carbs (aren’t we all?), but you’re also thinking, “Can I do better than this compressed can of dough?”
The answer is yes. A thousand times yes.
Welcome to the “I’m-never-buying-the-tube-again” club. Today, we are tackling the crescent roll recipe. Now, before you roll your eyes and mutter about how yeast scares you—stop. We are going to hold hands (metaphorically) and get through this together. By the end of this, you’re going to be pulling a tray of golden, buttery, flaky magnificence out of the oven, and you’re going to feel like a total domestic wizard.
Let’s bake.
Why This Recipe is Awesome
Okay, let’s be real for a second. Why would you spend a couple of hours making bread when you can buy it for two dollars? Because texture is everything.
Store-bought crescent rolls are… fine. They get the job done. But they have that distinct, slightly chemical aftertaste, and the texture is often more “gummy” than “fluffy.” When you make this crescent roll recipe from scratch, you are entering a different tax bracket of flavor.
Here is why you need this in your life:
- The Flakiness Factor: We aren’t making croissants (that takes three days and a lot of crying), but we are borrowing a little bit of that energy. By brushing butter inside the rolls before shaping them, we create distinct, pillowy layers that pull apart perfectly.
- The Butter Content: We aren’t shy about butter here. This recipe uses real butter, not “vegetable oil spread.” The result is a rich, savory depth that pairs perfectly with literally anything—from Thanksgiving turkey to a Tuesday night bowl of soup.
- It’s Surprisingly Idiot-Proof: Even if you accidentally make your crescent shapes look more like deformed blobs, they will still taste amazing. The oven is the great equalizer. It puffs everything up and makes it look professional.
- The Smell: I cannot stress this enough. The smell of yeast dough rising and butter browning is better than any candle you can buy at the mall. It makes your house smell like love.
Plus, let’s be honest: Bringing a basket of warm, homemade rolls to a dinner party is the ultimate flex. You walk in, toss back your hair, and say, “Oh these? Yeah, I just whipped them up.” (You don’t have to tell them you were wearing sweatpants the whole time).
Ingredients You’ll Need
We are keeping it classic. No weird stabilizers or preservatives here. Just the good stuff.
- Warm Milk: You want whole milk if you have it. It adds fat and richness. The temperature matters here—aim for “warm bath water,” not “hot tub lava.” If it burns your finger, it kills the yeast.
- Yeast: You can use Active Dry Yeast or Instant Yeast. If using Active Dry, we have to wake it up first. If using Instant, you can technically toss it right in, but I like to bloom it anyway just to make sure it’s still alive.
- Sugar: Yeast gets hungry. Sugar is its food. This also adds a tiny hint of sweetness to the dough that balances the salt.
- Butter (Melted & Softened): You need melted butter for the dough itself, and softened butter for brushing onto the dough before rolling. Do not use margarine. We aren’t in the 90s anymore.
- Egg: One large egg helps bind the dough and gives it that rich, yellow color and tender crumb.
- All-Purpose Flour: The workhorse of the kitchen. You can use bread flour if you want them chewier, but AP flour keeps them soft and fluffy.
- Salt: Without salt, bread tastes like sadness. Do not skip this.
- Optional: Garlic powder or dried herbs if you’re feeling fancy, but let’s master the plain ones first.
Step-by-Step Instructions
Alright, apron on. Let’s do this.
Phase 1: The Dough Activation
1. Wake up the Yeast:
In the bowl of your stand mixer (or a large bowl if you’re using arm power), combine your warm milk (about $110^\circ F$ or $45^\circ C$) and sugar. Sprinkle the yeast on top and give it a gentle stir. Now, walk away for 5-10 minutes.
- Check: When you come back, it should look foamy and bubbly. If it looks like flat, sad pond water, your yeast is dead. Throw it out and start over. Do not pass Go.
2. Mix the Wet and Dry:
Once the yeast is frothy, add your melted butter (make sure it’s cooled slightly so you don’t scramble the egg) and the egg. Whisk that together.
Add the salt and about 2 cups of the flour.
Using the dough hook, turn the mixer on low. If you’re doing this by hand, use a sturdy wooden spoon and prepare for a workout.
3. The Knead (The Most Important Part):
Gradually add the remaining flour, roughly half a cup at a time, while the mixer runs. You are looking for the “Goldilocks” zone.
- Too sticky: It clings to the side of the bowl like a desperate ex.
- Too dry: It looks tough and shaggy.
- Just right: The dough pulls away from the sides of the bowl cleanly but is still slightly tacky to the touch.Let the mixer knead it for about 5 to 7 minutes. This develops the gluten structure, which traps air and makes the rolls fluffy. If kneading by hand, do it for 10 minutes on a floured surface. Think about something that annoyed you today and take it out on the dough.
Phase 2: The Rise (Patience, Grasshopper)
4. First Proof:
Lightly grease a clean bowl with non-stick spray or a little oil. Form your dough into a nice, smooth ball and place it in the bowl. Cover it with plastic wrap or a warm, damp towel.
Place the bowl in a warm, draft-free spot.
- Pro Tip: My favorite hack is to turn my oven on for exactly 60 seconds, turn it OFF, and then put the dough inside. It creates a perfect little incubator.Let it rise for 1 to 1.5 hours, or until it has doubled in size. It should look like a puffy pillow.
Phase 3: Shape and Roll
5. Divide and Conquer:
Punch the dough down. Yes, literally punch it. It deflates the large air bubbles.
Turn the dough out onto a lightly floured surface. Divide the dough into two equal halves.
6. Roll it Out:
Take one half and roll it into a large circle, about 12 inches in diameter. It’s like making a pizza. It doesn’t have to be a perfect geometric circle—rustic is a style, right?
This is the secret step: Brush the entire surface of the circle with softened butter. This creates a barrier between the layers so that when they bake, they separate slightly.
7. The Pizza Cut:
Using a pizza cutter (the best tool for this), slice the circle into 12 wedges (like pizza slices). Cut it in half, then quarters, then each quarter into three.
8. The Crescent Tuck:
Pick up a wedge. Start at the wide end (the crust end of the pizza slice). Roll it up toward the pointy end.
- Crucial Detail: Make sure the little point ends up tucked underneath the roll when you place it on the baking sheet. If you don’t, the point will uncurl during baking and look like a weird little tail.Repeat with the second half of the dough.
Phase 4: The Final Countdown
9. Second Rise:
Place your rolls on a baking sheet lined with parchment paper. Cover them again and let them rise for another 30-45 minutes. They won’t double huge, but they will look puffy and soft.
- Meanwhile: Preheat your oven to $375^\circ F$ ($190^\circ C$).
10. Bake to Glory:
Pop them in the oven. Bake for 10 to 12 minutes.
You are looking for a deep golden brown color on top.
- The Finale: As soon as they come out of the oven, brush them with more melted butter. Yes, more butter. Trust me.
Common Mistakes to Avoid
Look, I’ve messed these up before so you don’t have to. Here is the “Hall of Shame” to avoid:
- Killing the Yeast: If your milk is too hot, you commit yeast homicide. If you don’t have a thermometer, dip your pinky in. If you instinctively yank it back because it’s hot, let it cool down.
- Flour Overload: It is tempting to keep adding flour because the dough is sticky. Resist! Only add enough to make it manageable. Too much flour = hockey pucks, not rolls.
- Rushing the Rise: Yeast operates on its own schedule. If your kitchen is cold, it might take longer. If you bake them before they are fully puffed, they will be dense and heavy. Let them vibe.
- Using Old Yeast: That packet of yeast sitting in the back of your pantry from 2018? Throw it away. It’s dead. Buy fresh stuff.
Alternatives & Substitutions
Cooking is art; baking is science. But even science has some wiggle room.
- Make it Sweet: Want a breakfast vibe? Sprinkle cinnamon and sugar over the buttered circle before you roll them up. Boom. Mini cinnamon rolls.
- Make it Cheesy: Sprinkle grated Parmesan or sharp cheddar and garlic powder inside the roll.
- Egg-Free: If you have an allergy, you can skip the egg. Just add a couple of tablespoons more milk to compensate for the liquid. The texture will be slightly less rich, but still good.
- Dairy-Free: Use almond milk (unsweetened!) and a good vegan butter stick. Do not use the tub margarine that is basically water; it will make the dough soggy.
FAQ (Frequently Asked Questions)
Can I make the dough ahead of time?
Absolutely. You can make the dough, let it do the first rise, shape the rolls, and then put them on the baking sheet. Cover them tightly and put them in the fridge overnight. In the morning, take them out, let them come to room temperature and rise a bit (about an hour) while the oven preheats, then bake. Fresh bread for breakfast with zero morning effort.
Can I freeze these?
Yes! You have two options.
- Freeze the dough: Shape the rolls and freeze them raw on a tray. Once frozen, bag them. To bake, thaw them in the fridge overnight, rise, and bake.
- Freeze baked: Bake them, cool them, and freeze. Reheat in the oven wrapped in foil.
My rolls came out hard. What happened?
You probably added too much flour during the kneading process, or you overbaked them. Remember, they continue to cook a little bit on the hot pan after you pull them out.
Why didn’t my dough rise?
Is your house an igloo? Yeast loves warmth ($75-80^\circ F$). If your kitchen is freezing, put the dough in the oven with just the light on. Also, check the expiration date on your yeast packet.
Can I use whole wheat flour?
You can substitute half the white flour for whole wheat. If you go 100% whole wheat, you will end up with very dense, heavy rolls unless you add vital wheat gluten. I recommend sticking to 50/50.
Is this cheaper than the tube?
If you have a stocked pantry, yes. If you have to buy a whole bag of flour and a jar of yeast just for this, the upfront cost is higher, but you can make dozens of batches. In the long run? Way cheaper.
Final Thoughts
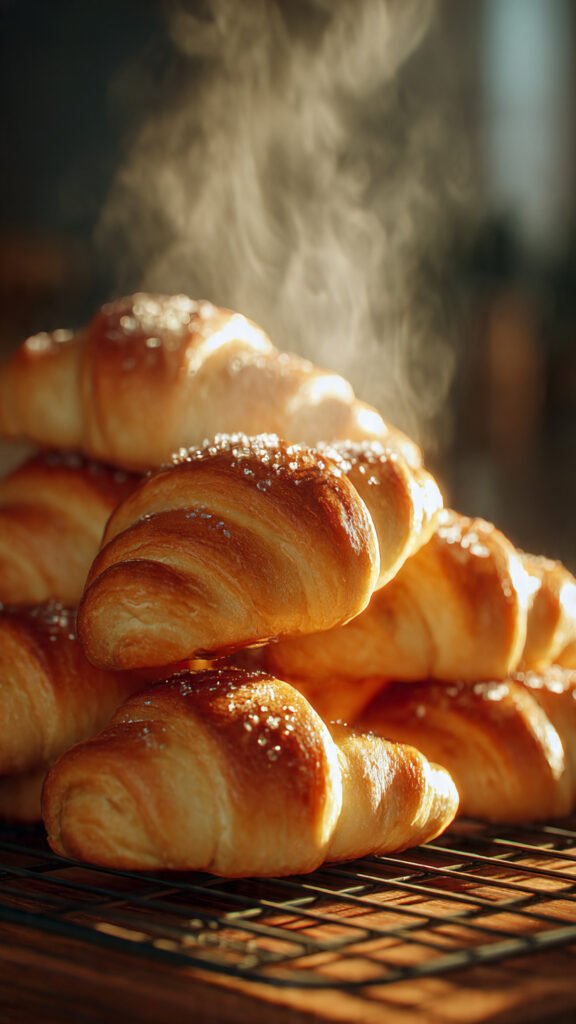
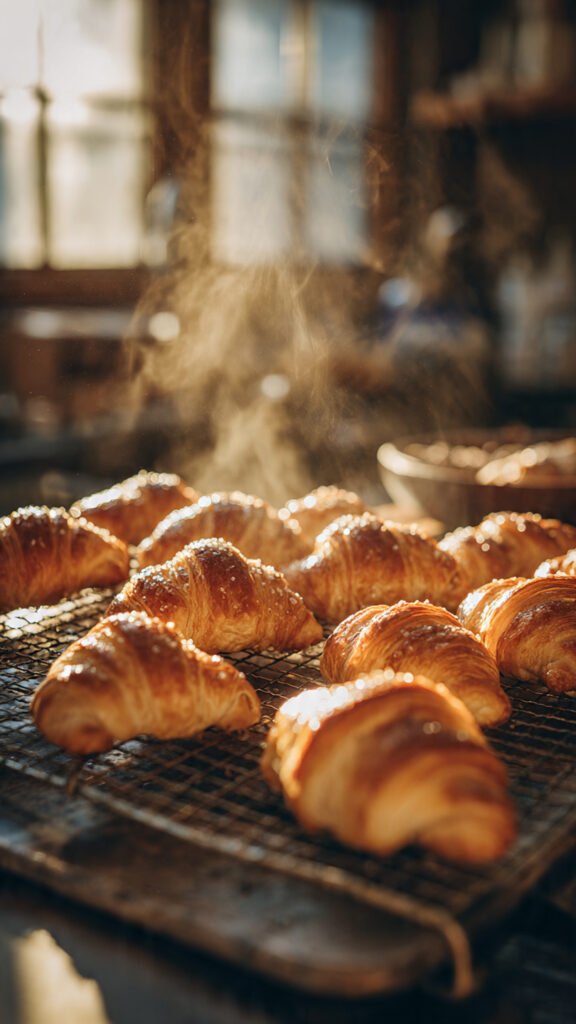
There is something profoundly satisfying about tearing apart a roll that you made with your own two hands. The steam rises, the butter glistens, and for a moment, the world is perfect.
This crescent roll recipe is a labor of love, but mostly, it’s just delicious carbohydrates. Whether you are making them for a big holiday feast or just because you had a bad Tuesday and need comfort food, these rolls will not let you down.
Now go impress someone—or just yourself—with your new culinary skills. You’ve earned it!