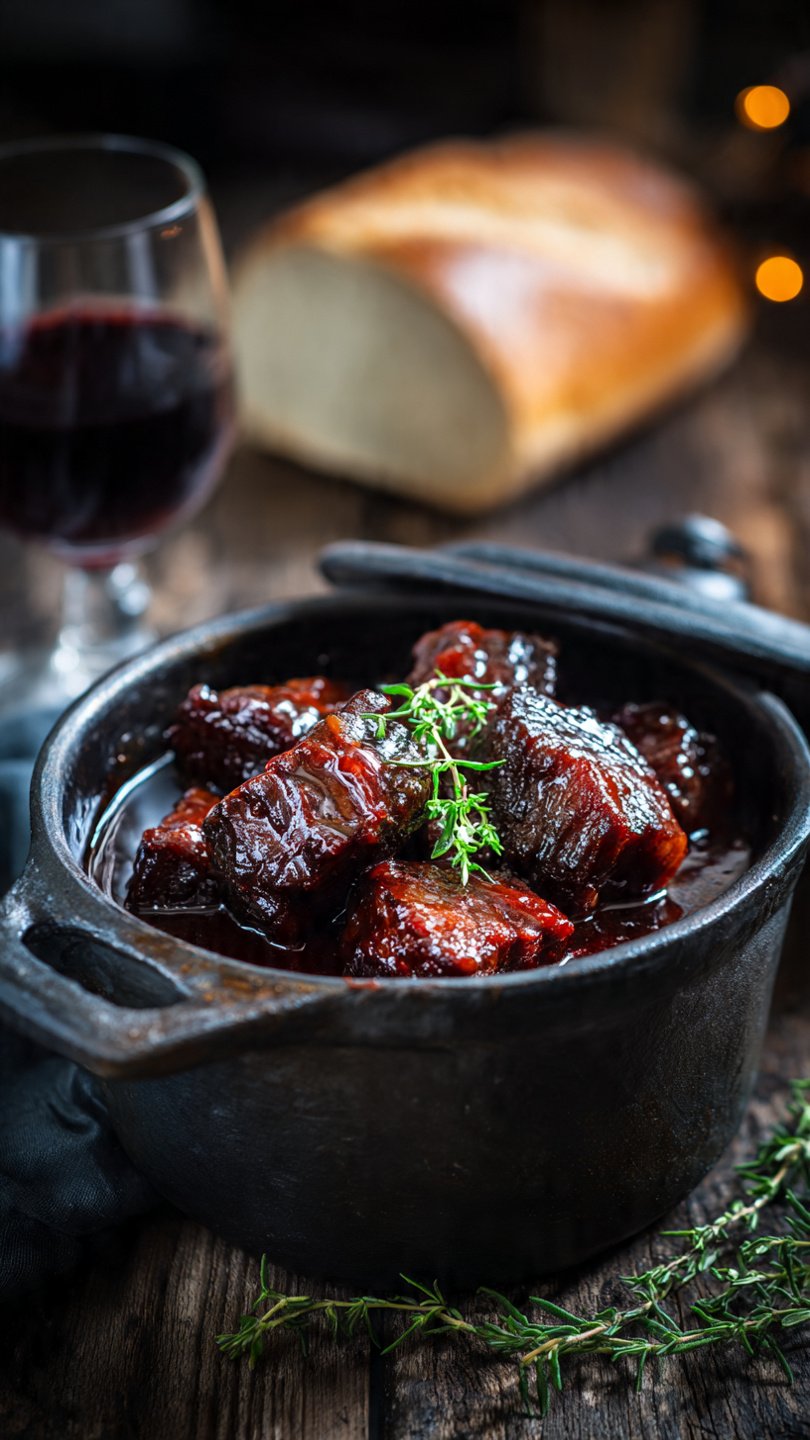
🐷 Melt-In-Your-Mouth Pork Cheeks Recipe
👩🍳 The Busy Home Cook's Arsenal
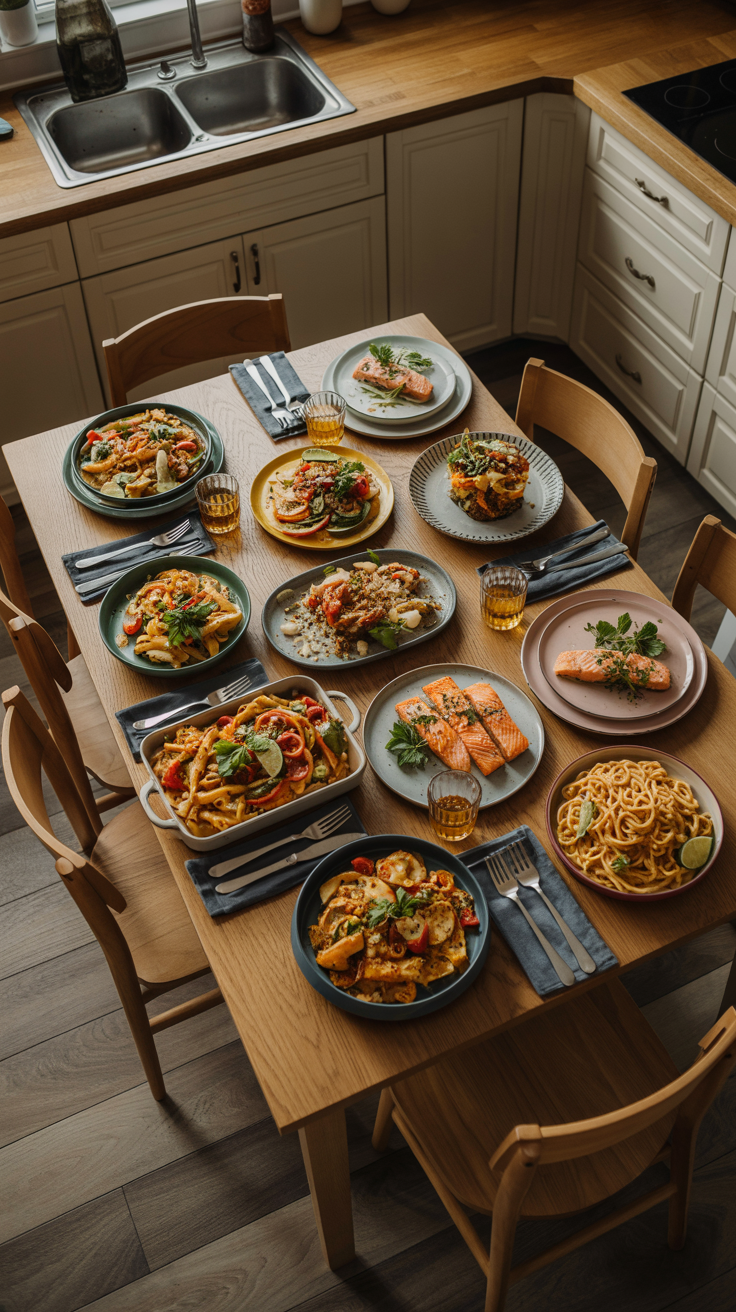
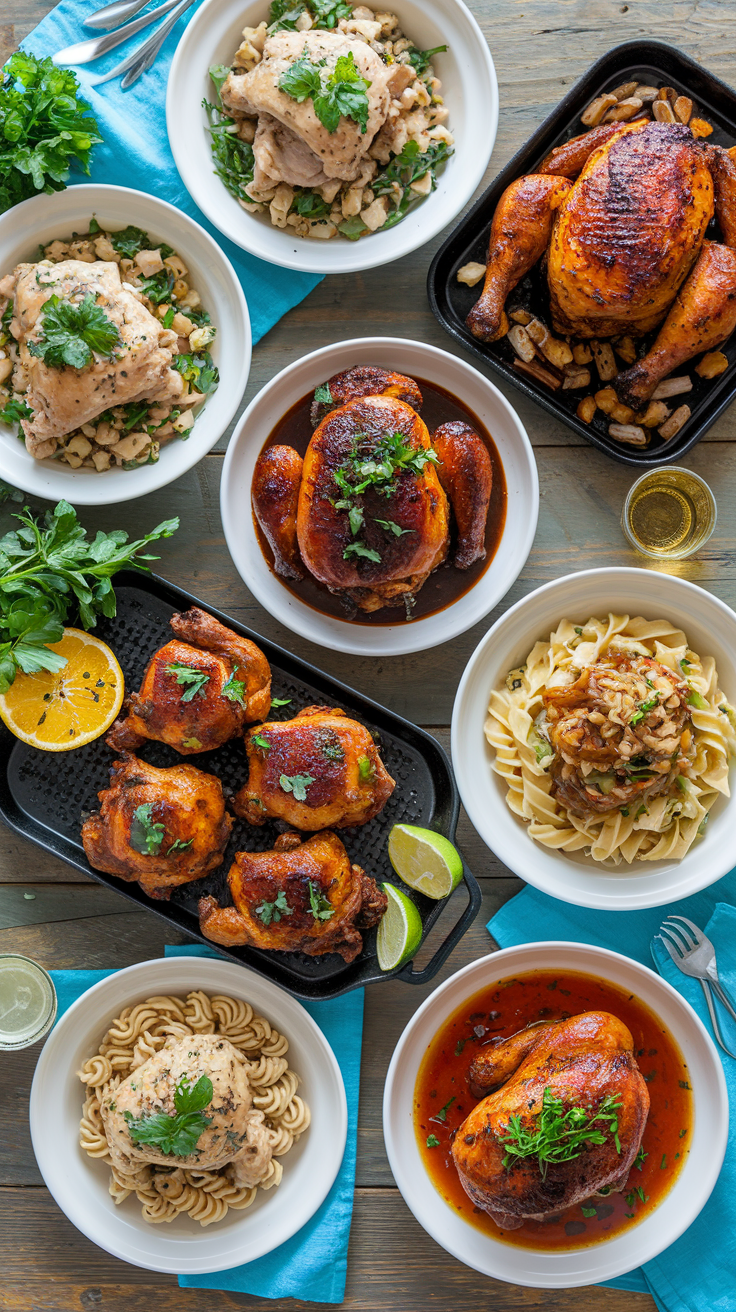
Consistently cooking incredible meals for your family doesn't mean spending three hours in the kitchen every night. These are the 5 absolute life-saving appliances and culinary tools that dramatically cut down prep time while guaranteeing restaurant-quality results.
🌪️ Ninja 4-Quart Air Fryer
The machine that completely changed weeknight dinners. It preheats in seconds and cooks frozen vegetables, chicken wings, and battered fish to an incredibly crispy, deep-fried texture using 75% less oil and taking half the time of a traditional oven.
⏱️ Instant Pot Duo 7-in-1 Pressure Cooker
Forget slow cookers that take 8 hours. This legendary appliance aggressively pressure cooks tough cuts of meat into melt-in-your-mouth tender roasts, stews, and perfectly fluffy rice in under 45 minutes, saving you when you forget to defrost dinner.
🔪 Victorinox Fibrox Pro 8" Chef's Knife
A dull knife is dangerous and makes chopping vegetables a miserable chore. This exact blade reigns supreme in professional kitchens because it holds a terrifyingly sharp edge, features a non-slip grip, and costs significantly less than heavy German steel.
🌡️ ThermoPro Instant Read Thermometer
The secret difference between dry, rubbery chicken and juicy perfection. Stop nervously slicing your proteins open to check if they're done—this waterproof digital pen gives you a highly accurate temperature reading in less than three seconds.
🥤 Vitamix 5200 Professional-Grade Blender
Whether you are making silky-smooth breakfast smoothies, pureed soups from scratch, or blending absolutely lump-free sauces, this famously indestructible motor pulverizes anything you throw at it. It literally heats soup from the friction of the blades alone.
So, you’re craving something incredibly tasty, fancy enough to impress a date (or your judgmental cat), but you’re also kind of lazy and don’t want to stand over a stove stirring a risotto for forty-five minutes. Same.
Listen, I know “cheeks” might sound a little… anatomical. If you’ve never cooked them before, you might be picturing something weird. But let me tell you, pork cheeks are the absolute unsung heroes of the butcher shop. They are the nuggets of gold that chefs usually keep for themselves while serving you the loin.
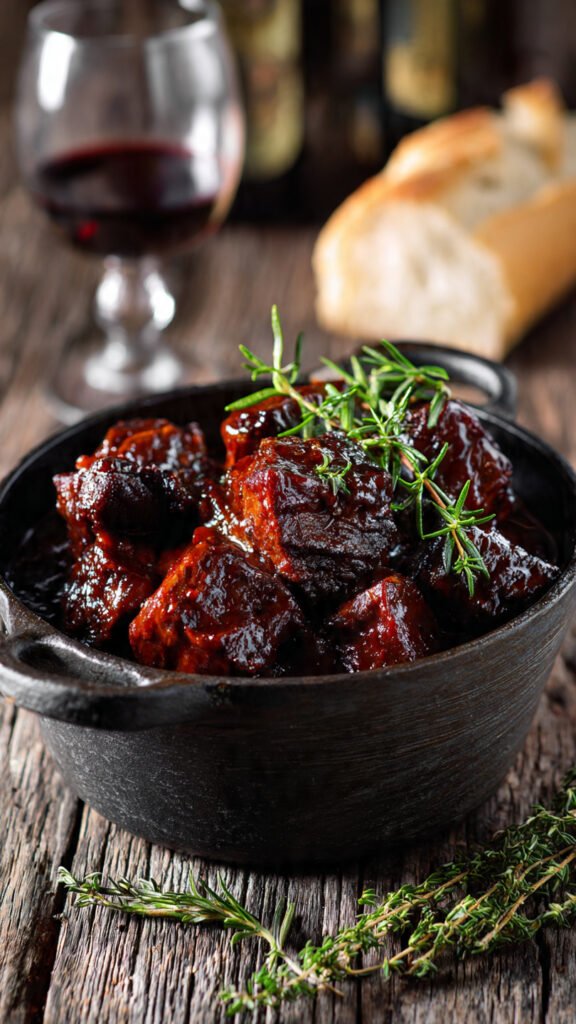
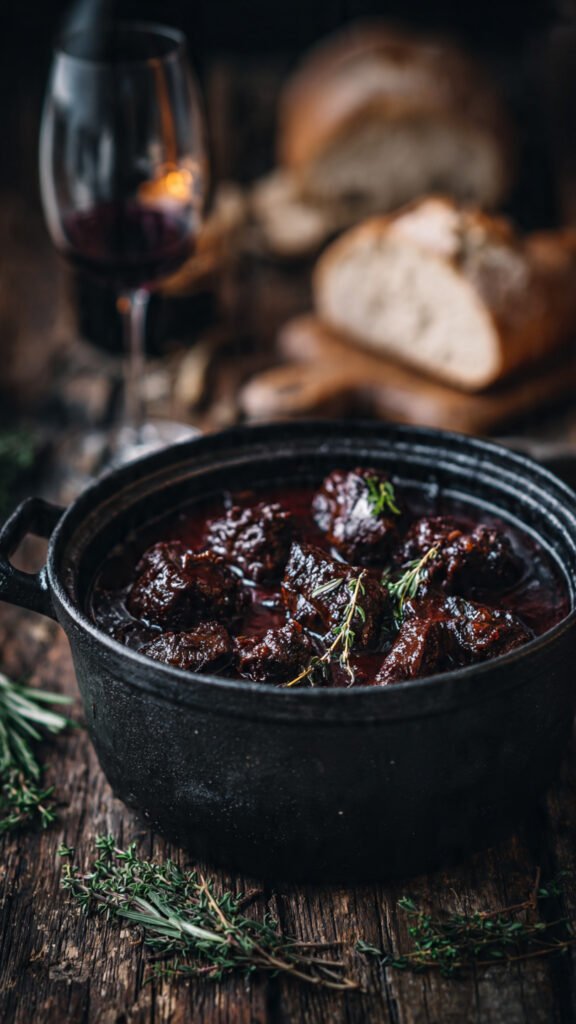
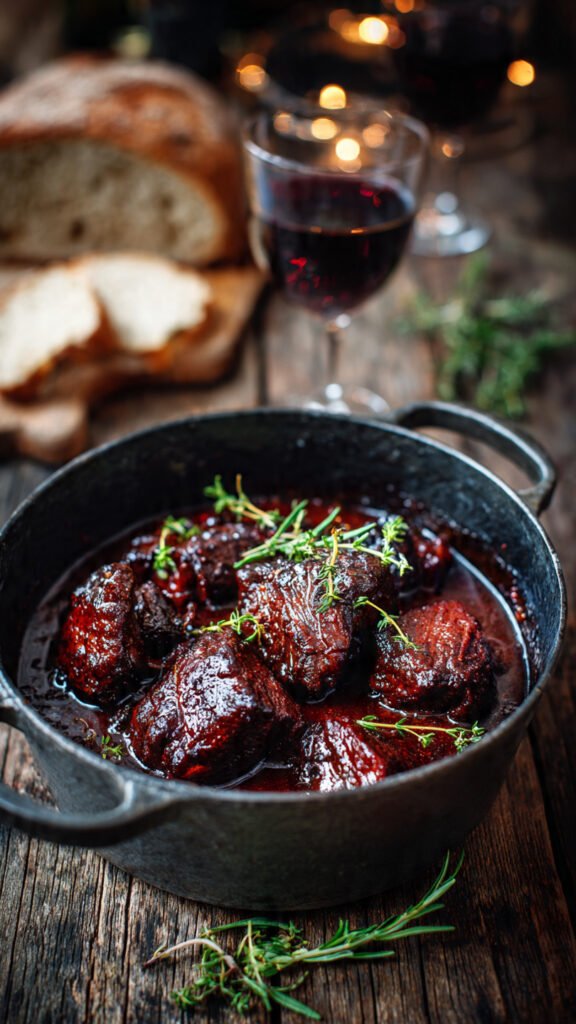
This pork cheeks recipe is about to change your life. We are talking about meat so tender you could eat it with a spoon, swimming in a rich, glossy red wine sauce that you’ll want to bathe in. (Please don’t bathe in it; it’s hot).
Why This Recipe is Awesome
If you’re wondering why you should bypass the pork chops and head straight for the face (sorry, had to say it), here is why this cut is absolute royalty.
1. The Texture is Unreal (Science Time!)
Okay, let’s get a tiny bit nerdy for a second. Pork cheeks are a hard-working muscle. Because the pig spends all day chewing, this meat is loaded with connective tissue called collagen. If you grill this quickly, it’s like chewing on a shoe. But—and this is a big but—when you cook it low and slow, that collagen breaks down into gelatin.
That gelatin coats every single muscle fiber, creating an internal basting system that makes the meat impossibly moist and sticky. It’s that lip-smacking texture you get from a really expensive osso buco, but for a fraction of the price.
2. It’s “Set It and Forget It”
Once you get the initial searing and chopping done, the oven does 95% of the work. You can literally go watch three episodes of your favorite show, take a nap, or pretend to clean the house while the magic happens. When you come back, your kitchen will smell like a rustic French cottage.
3. It Makes You Look Like a Culinary Genius
This is one of those high-reward, low-effort dishes. You put the pot on the table, lift the lid, and reveal dark, glistening nuggets of meat. Your guests will think you attended Le Cordon Bleu. You don’t have to tell them you were actually wearing sweatpants and drinking wine straight from the bottle during the cooking process. That’s our secret.
4. The Sauce Potential
Because pork cheeks have so much collagen, they naturally thicken the cooking liquid. You don’t need cornstarch slurries or artificial thickeners. By the time the meat is done, the red wine and stock have transformed into a rich, velvety glaze that clings to the meat (and your soul).
Ingredients You’ll Need
Don’t panic. You can find all of this at a standard grocery store, though you might need to ask your butcher specifically for the cheeks.
- Pork Cheeks (2-3 lbs): The star of the show. If they come with a lot of white “silverskin” (tough membrane), you’ll need to trim that off.
- Salt & Black Pepper: Be generous. We are seasoning a lot of meat here.
- Olive Oil (or Lard if you’re feeling rustic): For searing.
- The Aromatics (Mirepoix):
- Carrots: 2 medium ones, chopped chunky.
- Celery: 2 stalks, chopped.
- Onion: 1 large yellow onion, diced.
- Garlic: 4–5 cloves. Smash them; don’t stress about mincing. We want big flavor.
- Red Wine: Use a dry red like Cabernet Sauvignon, Merlot, or Pinot Noir. Rule of thumb: If you wouldn’t drink a glass of it, don’t pour it in your pot.
- Beef or Chicken Stock: About 2 cups. Homemade is best, but store-bought is fine (I won’t judge).
- Tomato Paste: 1 tablespoon. This adds depth and that beautiful dark color.
- Herbs:
- Fresh Thyme: A small bunch.
- Fresh Rosemary: 1-2 sprigs.
- Bay Leaf: 1 or 2 dried ones.
- Butter (Optional): A knob of cold butter at the very end to make the sauce glossy.
Step-by-Step Instructions
Alright, grab your apron and let’s do this.
1. The Clean Up (Trimming)
This is the only “work” part. Pork cheeks often come with a tough, silver membrane on one side. You need to slice this off with a sharp knife. If you leave it, it stays chewy. Slide your knife under the membrane and pull it off like peeling a sticker off an apple. Pro Tip: Chill the meat first; it’s easier to trim when cold.
2. Season and Sear
Preheat your oven to 325°F (160°C). Pat the cheeks dry with a paper towel. Moisture is the enemy of the sear. Season them aggressively with salt and pepper. Heat your oil in a Dutch oven or heavy-bottomed pot over medium-high heat until it shimmers. Sear the cheeks in batches. Don’t crowd the pan, or they will steam instead of sear. We want a deep, dark brown crust (this is the Maillard reaction, and it equals flavor). Sear for 2-3 minutes per side, then remove to a plate.
3. Build the Flavor Base
Lower the heat to medium. Toss in your onions, carrots, and celery. Stir them around in the pork fat left in the pan. (Yum). Cook for about 5-8 minutes until the onions are soft and golden. Add the garlic and cook for another minute until fragrant. Stir in the tomato paste and cook it for a minute until it turns a rusty red color. This cooks out the raw metallic taste of the paste.
4. The Deglaze
Pour in about 1 cup of red wine. It will hiss and steam—drama! Use a wooden spoon to scrape up the “fond” (the brown crispy bits stuck to the bottom of the pot). That is pure concentrated flavor. Let the wine bubble and reduce by half to burn off the alcohol bite.
5. The Braise
Add the pork cheeks back into the pot, along with any juices that collected on the plate. Pour in enough stock to almost cover the meat. You want the tops of the cheeks peeking out like little islands. Toss in your thyme, rosemary, and bay leaves. Bring the liquid to a simmer on the stove.
6. The Long Nap
Cover the pot with a heavy lid and slide it into the oven. Cook for 2.5 to 3 hours. Check it: At the 2.5-hour mark, take a fork and poke a cheek. If it slides in with zero resistance (like butter), it’s done. If it pushes back, give it another 30 minutes.
7. The Finish (Making the Sauce)
Remove the pot from the oven. Carefully fish out the meat and set it aside. Strain the liquid to remove the veggies and herbs (or keep them if you like a rustic chunky sauce, I usually strain for elegance). Put the liquid back on the stove on high heat. Boil it down for 5-10 minutes until it thickens into a glaze. Chef’s Kiss Move: Turn off the heat and whisk in a tablespoon of cold butter. This emulsifies the sauce, making it shiny and rich. Toss the meat back in to warm through.
Common Mistakes to Avoid
Even though this recipe is pretty forgiving, there are a few ways to tragic-fail this dish.
- Rushing the Cooking Time: If the meat is tough, you didn’t cook it long enough. Period. Collagen needs time to melt. You cannot negotiate with physics.
- Crowding the Pan During Searing: If you throw all the cheeks in at once, the temperature of the pan drops, and the meat turns gray and sad. We want brown and crispy. Be patient, do it in two batches.
- Using “Cooking Wine”: Those bottles of salted “cooking wine” in the vinegar aisle are a crime against humanity. They are overly salty and taste like sadness. Use a decent $10 bottle of real wine.
- Not Trimming the Silverskin: I mentioned this before, but it bears repeating. Silverskin does not break down. It snaps like a rubber band. Get rid of it!
Alternatives & Substitutions
Cooking is an art, not a rigid set of laws (unless you’re baking, then it’s chemistry). Here’s how you can mix it up:
- No Pork Cheeks? The closest substitute in terms of texture is Beef Cheeks (cook longer) or Short Ribs. You can also use Pork Shoulder, cut into large chunks, but the texture won’t be quite as silky.
- Don’t Drink Alcohol? No problem. Skip the wine. Use a splash of Apple Cider Vinegar or balsamic vinegar for acidity, and replace the wine volume with more beef stock or even a little apple cider (the juice, not the vinegar) for a sweeter, autumnal vibe.
- Veggies: Feel free to add parsnips, leeks, or fennel to the braising liquid. Fennel works particularly well with pork (it’s an Italian classic combo).
- Serving Options: These are incredible over creamy polenta, mashed potatoes, or a parsnip purée. If you want to be healthy (why?), roasted root vegetables work too.
FAQ (Frequently Asked Questions)
1. Can I make this in a slow cooker? Technically, yes. Sear everything in a pan first (don’t skip this!), then dump it all in the slow cooker on LOW for 6-8 hours. However, the sauce won’t reduce and thicken as nicely as it does in the oven, so you might need to boil the liquid in a pan afterwards.
2. Can I use the Instant Pot? You bet. Use the “Sauté” function to sear and build the base. Then, pressure cook on High for about 45-50 minutes with a natural release. It’s faster, but IMO, the oven braise develops a slightly deeper flavor.
3. Is this recipe spicy? Not at all. But if you want a kick, toss a dried chili or a pinch of red pepper flakes in with the onions.
4. Can I freeze the leftovers? Absolutely. Braised meats actually taste better the next day after the flavors have had a slumber party in the fridge. It freezes beautifully for up to 3 months.
5. Why are my cheeks tough? You got impatient, didn’t you? Put the pot back in the oven! If it’s tough, it simply needs more time. Connective tissue is stubborn, but heat always wins eventually.
6. What wine pairs best with this for drinking? Since you used a dry red in the sauce, drink the rest of that bottle! A Syrah, Malbec, or Rioja pairs perfectly with the richness of the pork.
Final Thoughts
There you have it—a pork cheeks recipe that tastes like you spent $40 at a gastropub but actually cost you very little effort.
This is the kind of meal that heals the soul. It’s perfect for a rainy Sunday, a dinner party where you want to show off, or just a Tuesday night where you feel like treating yourself like the royalty you are.
The best part? The leftovers (if there are any) make the best tacos you will ever have in your life. Seriously. Shred the meat, put it on a tortilla with some pickled onions and cilantro, and thank me later.
Now go impress someone—or yourself—with your new culinary skills. You’ve earned it!