🥣 Wendy’s Chili Copycat Recipe: The Ultimate Comfort Food Hack
👩🍳 The Busy Home Cook's Arsenal
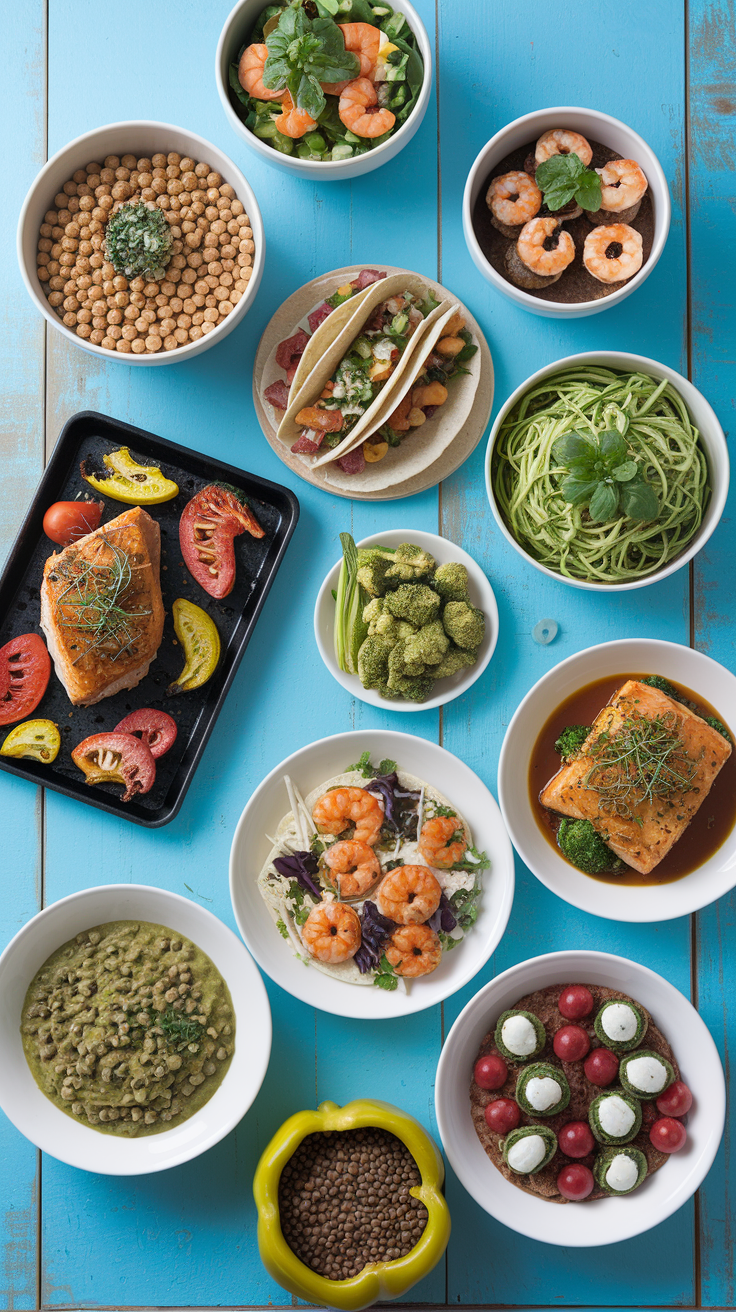
Consistently cooking incredible meals for your family doesn't mean spending three hours in the kitchen every night. These are the 5 absolute life-saving appliances and culinary tools that dramatically cut down prep time while guaranteeing restaurant-quality results.
🌪️ Ninja 4-Quart Air Fryer
The machine that completely changed weeknight dinners. It preheats in seconds and cooks frozen vegetables, chicken wings, and battered fish to an incredibly crispy, deep-fried texture using 75% less oil and taking half the time of a traditional oven.
⏱️ Instant Pot Duo 7-in-1 Pressure Cooker
Forget slow cookers that take 8 hours. This legendary appliance aggressively pressure cooks tough cuts of meat into melt-in-your-mouth tender roasts, stews, and perfectly fluffy rice in under 45 minutes, saving you when you forget to defrost dinner.
🔪 Victorinox Fibrox Pro 8" Chef's Knife
A dull knife is dangerous and makes chopping vegetables a miserable chore. This exact blade reigns supreme in professional kitchens because it holds a terrifyingly sharp edge, features a non-slip grip, and costs significantly less than heavy German steel.
🌡️ ThermoPro Instant Read Thermometer
The secret difference between dry, rubbery chicken and juicy perfection. Stop nervously slicing your proteins open to check if they're done—this waterproof digital pen gives you a highly accurate temperature reading in less than three seconds.
🥤 Vitamix 5200 Professional-Grade Blender
Whether you are making silky-smooth breakfast smoothies, pureed soups from scratch, or blending absolutely lump-free sauces, this famously indestructible motor pulverizes anything you throw at it. It literally heats soup from the friction of the blades alone.
So you’re craving something tasty but too lazy to spend forever in the kitchen, huh? Same.
We’ve all been there. It’s 8 PM on a Tuesday, it’s raining (or snowing, or just emotionally damp outside), and suddenly, you need chili. Not just any chili—you need that chili. The one from the square-burger joint. The one you definitely dipped your fries into back in high school. The one that feels like a warm hug from a fast-food mascot.
But maybe you don’t want to put on pants. Or maybe you just want to know exactly what’s going into your bowl (we’ve all heard the urban legends, let’s not go there).
Buckle up, buttercup. We are about to make the closest thing to Wendy’s Chili you can get without actually driving to the drive-thru. It’s savory, it’s mild enough for a toddler but tasty enough for a grown-up, and honestly? It’s arguably better than the original because you made it.
Grab a spoon and let’s get weird with some beans.

Why This Recipe is Awesome
Look, I’m not going to lie to you—this isn’t a high-brow culinary masterpiece that requires foraging for saffron in the mountains of Spain. It’s chili. But it is awesome for a few specific reasons that I feel obligated to yell about.
First off, it is shockingly cheap. We are talking “feed a crowd for the price of a latte” cheap. Kidney beans and ground beef are the unsung heroes of the budget pantry, and when you combine them with a few veggies you probably already have rotting in your crisper drawer, magic happens.
Secondly, the texture. If you’ve ever had “fancy” chili where the steak is cut into big, chewy cubes, you know it can be… a lot. Sometimes you don’t want a steak stew. You want that specific, soft, spoonable consistency where the meat, beans, and sauce become one cohesive unit. This recipe nails that. We’re going to use a specific cooking technique (more on that later) to make sure the beef doesn’t turn into rubber bullets.
Finally, it’s practically impossible to screw up. It’s idiot-proof, and I say that with love because even I didn’t mess it up the first time I made it. You basically throw things in a pot and ignore them for an hour. If you can boil water, you can make this. Plus, it freezes like a dream. Future You will be so grateful when they find a tub of this in the freezer three weeks from now.
Ingredients You’ll Need
Here is your shopping list. Don’t panic, you probably have half of this stuff already.
- Ground Beef (2 lbs): Go for lean-ish (85/15 is the sweet spot). We aren’t making burgers here; we want meat that breaks down nicely.
- The Beans (The Dynamic Duo):
- Red Kidney Beans (29 oz can): Drain them and rinse them. Nobody wants the goop.
- Pinto Beans (29 oz can): Do the same. Rinse away.
- Tomato Sauce (29 oz can): The backbone of the operation. Get the plain stuff.
- Stewed Tomatoes (29 oz can): Crucial Step: You want the ones that are already stewed because they are softer and sweeter. But here is the trick—we don’t want giant tomato tires. We’ll chop these up a bit.
- The Veggies (The Crunch):
- Onion (1 medium): Yellow or white, diced small.
- Celery (2 stalks): Diced. Yes, celery. It adds a savory “background noise” flavor you need.
- Green Bell Pepper (1 medium): Chopped. It gives that slight bitterness that cuts through the rich tomato.
- The Flavor Bomb (Spices):
- Chili Powder (1/4 cup): Yes, a quarter cup. It seems like a lot. Trust the process.
- Cumin (2 tsp): The smell of comfort.
- Garlic Powder (1 tsp): Because chopping fresh garlic is sometimes too much work.
- Onion Powder (1 tsp): Layers of flavor, baby.
- Salt (1 tsp) & Black Pepper (1 tsp): The basics.
- Sugar (1 tsp): Don’t skip this. It cuts the acidity of the tomatoes just enough.
- White Vinegar (1 tbsp): The secret weapon. It wakes the whole pot up.
Step-by-Step Instructions
Alright, apron on (or don’t, I’m not your mom). Let’s do this.
1. The Prep Work (Don’t Skip This)
Chop your onions, celery, and green peppers. Try to keep them all roughly the same size—about the size of a kernel of corn. You want them to melt into the chili, not stand out like crunchy surprises. Also, take those stewed tomatoes and give them a rough chop. If you leave them whole, you’ll end up with hot tomato juice exploding in your mouth, which is a specific type of pain we want to avoid.
2. The Beef Situation
Here is the science part: Wendy’s famously uses leftover hamburger patties that have been boiled/steamed on the grill for their chili. That’s why the meat is so fine and soft, rather than crispy and jagged.
- To replicate this: Brown your beef in a large pot or Dutch oven over medium-high heat. BUT, don’t try to get a hard sear. We actually want to smash it into oblivion. Use a potato masher or a wooden spoon to break it down into tiny, pea-sized crumbles. If it’s too chunky, it won’t feel authentic.
- Drain it: Once it’s fully cooked, drain the grease. Be thorough here; nobody wants an oil slick on top of their dinner.
3. Veggie Sweat Session
Throw your chopped onions, celery, and green peppers into the pot with the beef. Cook them for about 5 minutes until the onions start to look translucent (see-through-ish) and the kitchen starts smelling like a real restaurant. You aren’t trying to caramelize them, just soften them up so they play nice with the beans.

4. The “Dump and Stir”
This is the hardest part. Just kidding, it’s the easiest. Pour in your tomato sauce, the chopped stewed tomatoes (juice and all), and both cans of rinsed beans. Stir it all together. It will look watery. Do not panic. It’s supposed to look like soup right now. The magic of reduction hasn’t happened yet.
5. Spice It Up
Add your chili powder, cumin, garlic powder, onion powder, salt, pepper, sugar, and that tablespoon of vinegar. Give it a massive stir.
- Taste test #1: Dip a spoon in. It should taste good, but the flavors will feel “separate.” The cumin will be over here, the tomato over there. They haven’t introduced themselves yet.
6. The Long Simmer (Patience, Grasshopper)
Bring the pot to a boil—just for a second!—then immediately turn the heat down to low. You want a gentle simmer, just a few bubbles lazily breaking the surface.
- Cover it up and let it cook for 1 to 2 hours. Stir it every 15-20 minutes so the bottom doesn’t burn.
- Why wait? During this time, the starch from the beans will leak out slightly to thicken the sauce, the beef will become incredibly tender, and the spices will meld into that signature “fast food” flavor profile.
7. Serve and Devour
Ladle it into bowls. If you want the full experience, serve it with shredded cheddar cheese, a dollop of sour cream, and oyster crackers. Or, if you’re feeling chaotic, dip some french fries in it. I won’t judge.
Common Mistakes to Avoid
Even though this is easy, there are a few ways to tragic-fail this recipe. Let’s avoid them so you don’t cry over spilled beans.
- Rushing the Simmer: If you eat this after 20 minutes, it’s just going to taste like tomato juice and meat. The flavor lives in the simmer. Thinking you don’t need to simmer is a rookie mistake. Put on an episode of your favorite show and wait.
- Leaving the Grease: If you don’t drain the beef well, the chili will be heavy and oily. Fast food is greasy, sure, but we can do better at home.
- Using “Chili Beans” in Sauce: Some recipes call for beans in “chili sauce.” Don’t use those. They have their own weird flavor profile that messes with our spice mix. Buy plain kidney and pinto beans and rinse them.
- Forgetting the Sugar/Vinegar: It sounds weird, but without the sugar, it’s too acidic. Without the vinegar, it’s too flat. It’s all about balance, my friend.
Alternatives & Substitutions
Cooking is an art, not a prison sentence. Feel free to swap things out.
- The Meat: Want to be healthier? Use ground turkey or chicken. Just make sure to add a little splash of olive oil when browning it so it doesn’t dry out. Want to be fancy? Use a mix of ground beef and ground pork.
- Vegetarian/Vegan: Honestly? This chili is surprisingly good without the meat. Just add an extra can of black beans or some diced zucchini to bulk it up. Swap the beef for a plant-based crumble if you want that texture.
- Spice Level: Wendy’s chili is notoriously mild (we’re talking Midwestern mild). If you actually have taste buds that enjoy pain, chop up a jalapeño and throw it in with the onions, or add a teaspoon of cayenne pepper with the spices.
- The Tomatoes: If you hate chopping stewed tomatoes, you can use “Petite Diced Tomatoes” in a can. It changes the texture slightly (less soft chunks), but it saves you 3 minutes of work.
FAQ (Frequently Asked Questions)
1. Can I make this in a Slow Cooker / Crockpot? Absolutely! Brown the meat and veggies in a pan first (don’t skip this or the texture gets weird), then dump everything into the slow cooker. Low for 6-8 hours or High for 3-4. It’ll smell amazing when you get home.
2. Can I freeze this? This chili was born to be frozen. It actually tastes better after freezing and reheating because the flavors get to know each other even better. Freeze in individual portions for sad work lunches.
3. Is this spicy? On a scale of 1 to 10, this is a 2. It’s flavorful, not hot. If you want heat, bring your own hot sauce to the party.
4. Can I use margarine instead of butter (wait, there’s no butter here)? Gotcha! There’s no butter in this recipe. But seriously, stick to the ingredients list for the best results.
5. Why is my chili too runny? You probably didn’t simmer it long enough, or you left the lid on too tight. Take the lid off for the last 30 minutes of cooking to let some liquid evaporate. If it’s still too soup-like, mash some of the beans against the side of the pot; the starch will thicken it up instantly.
6. Why vinegar? That sounds gross. It’s chemistry! The acid brightens up the heavy, salty flavors of the beef and beans. You won’t taste “vinegar,” you’ll just taste “delicious.”
7. Can I keep it in the fridge for a week? I’d say 3 to 4 days max. After that, things start getting questionable. If you aren’t going to eat it by day 4, freeze it!

Final Thoughts
There you have it—the mystery of the famous square-burger chili, demystified. It’s warm, it’s hearty, and it’s surprisingly full of vegetables (so you can technically tell your mom you’re eating healthy).
Whether you’re making this for a football Sunday, a meal prep marathon, or just because you miss the 90s, I hope this bowl brings you comfort. Now go impress someone—or yourself—with your new culinary skills. You’ve earned it!