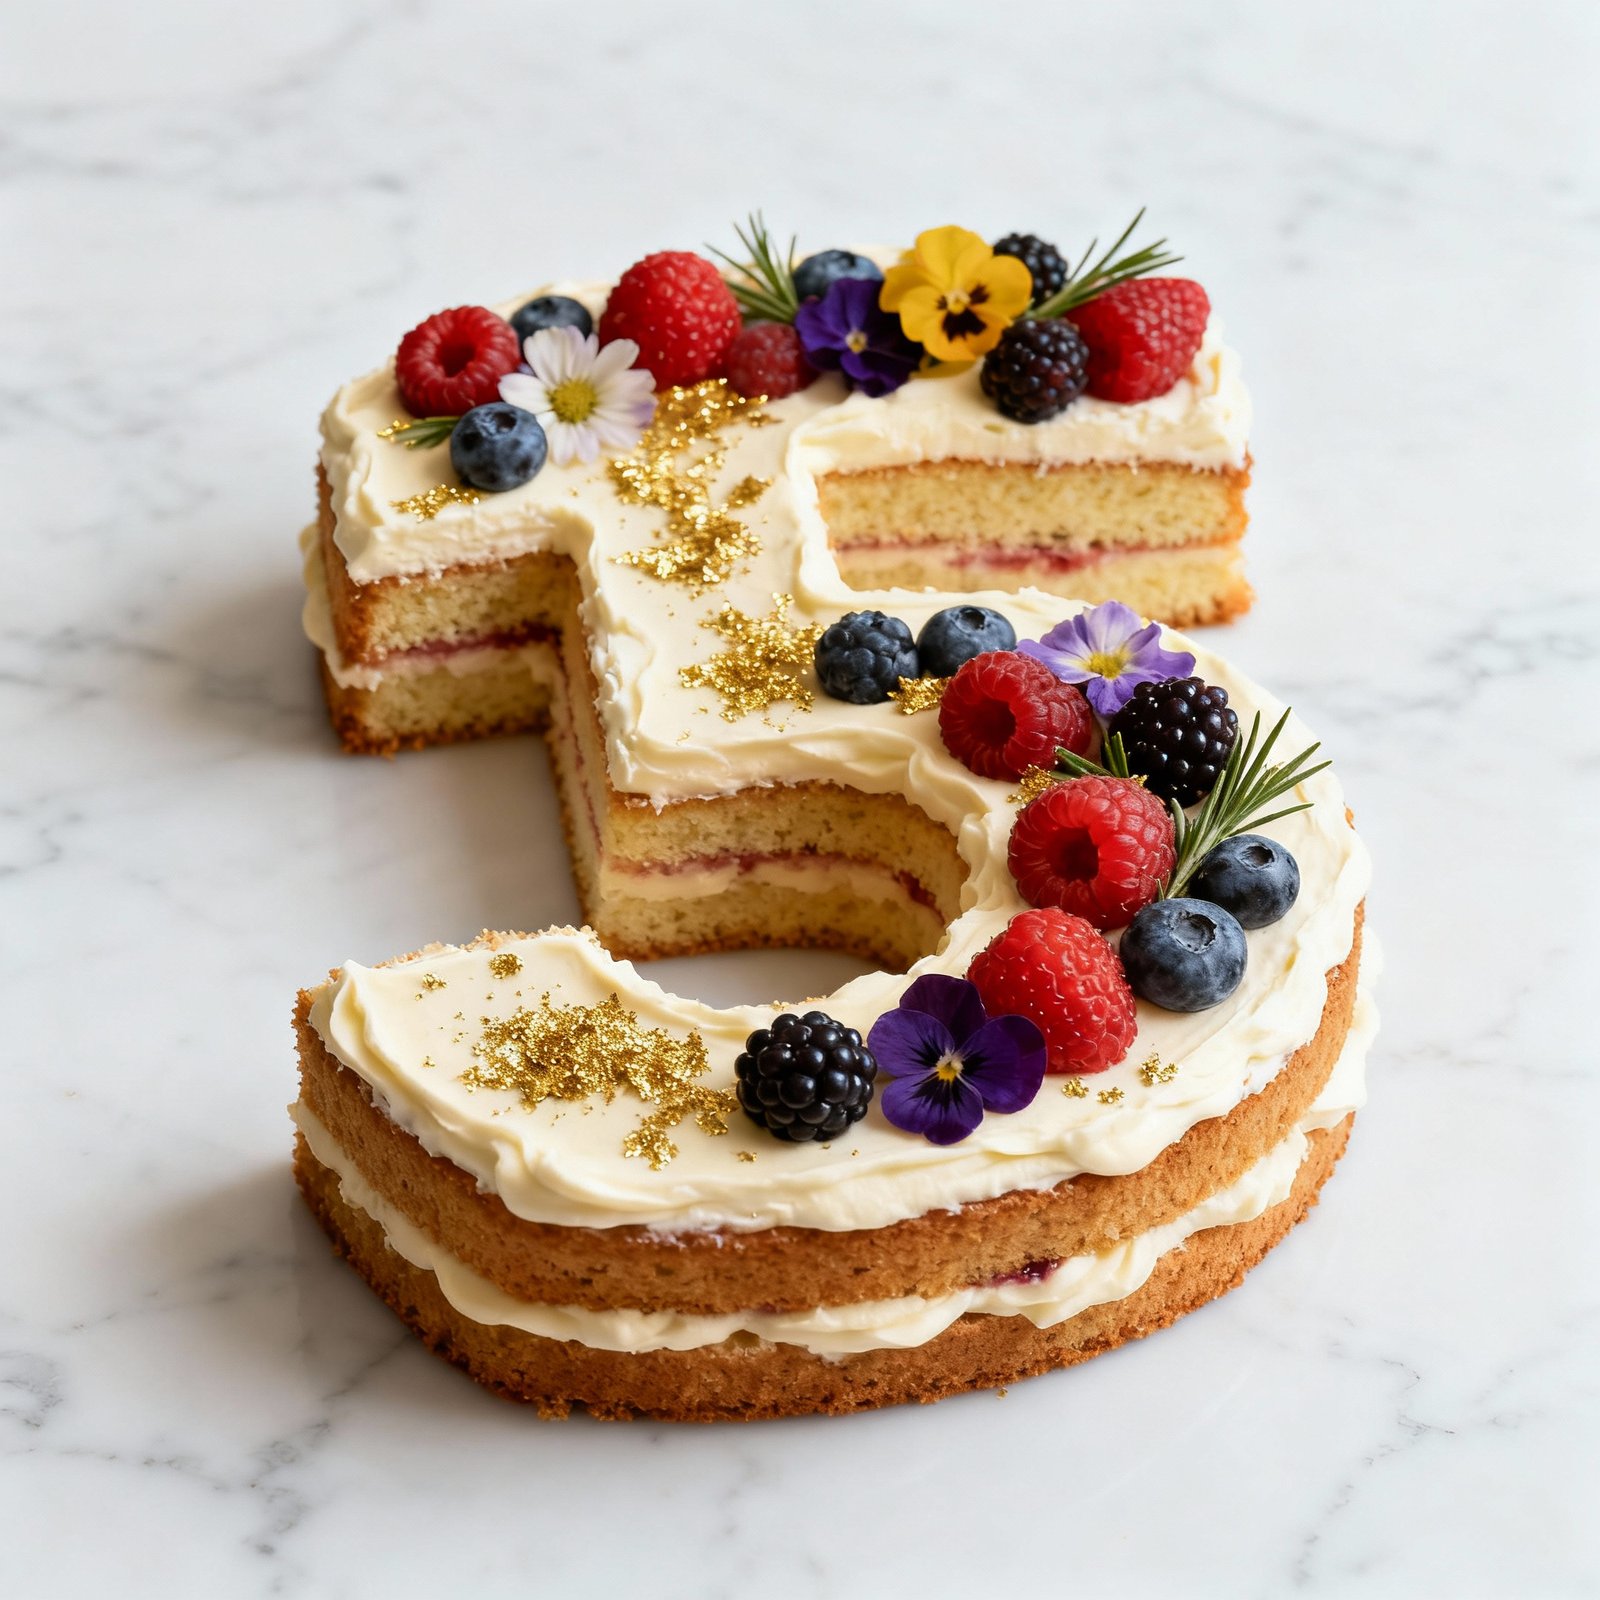
Number Cake Recipe: The Show-Stopping Celebration Treat!
Looking for a cake that’s both delicious and visually stunning? Forget boring round cakes! Number cakes are all the rage, and for good reason. They’re incredibly customizable, surprisingly easy to make, and guarantee a “wow” factor that will impress everyone at your next birthday party, anniversary, or milestone celebration. This recipe provides a solid foundation for creating your own personalized number cake, allowing you to adapt the flavors and decorations to perfectly match the occasion. Get ready to ditch the traditional and embrace the fun of a number cake!
Why This Recipe Works
This recipe isn’t just about aesthetics; it’s about creating a delicious and structurally sound cake. Here’s why it works:
- Stable Cake Base: We use a sturdy cake recipe that holds its shape well when cut into numbers. It’s moist enough to be enjoyable but firm enough to support the frosting and decorations.
- Customizable Flavor: While we provide a vanilla-based recipe, you can easily adapt it to chocolate, lemon, or any other flavor you prefer. The possibilities are endless!
- Easy-to-Handle Frosting: The buttercream frosting is smooth, creamy, and easy to pipe. It holds its shape beautifully, allowing you to create intricate designs and add a professional touch.
- Clear Instructions: We break down the process into simple, step-by-step instructions with helpful tips along the way, ensuring that even beginner bakers can achieve impressive results.
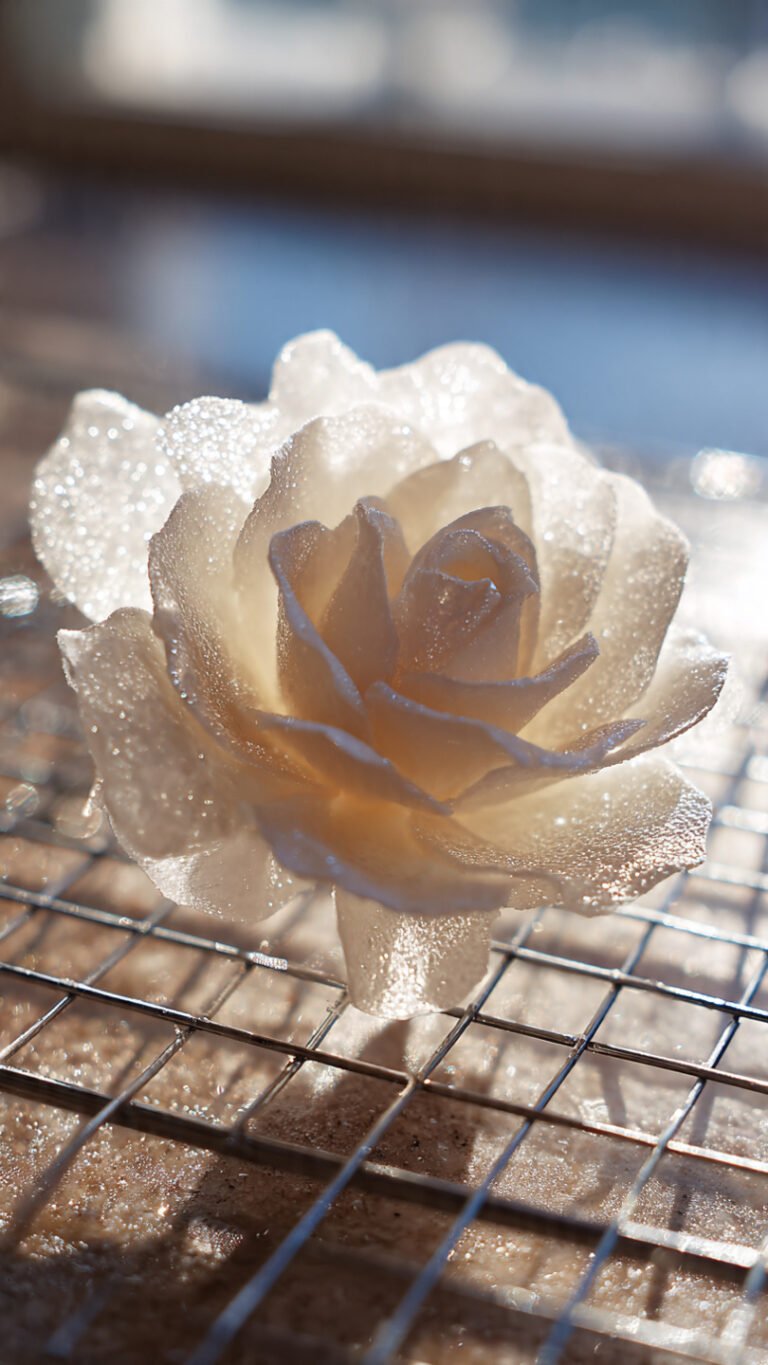
- Adaptable Decoration: The decorations are entirely up to you! This recipe provides a blank canvas for your creativity. Use fresh fruit, macarons, candies, flowers, or anything else that suits your theme and personal style.
Ingredients
For the Cake:
- 3 cups all-purpose flour
- 3 teaspoons baking powder
- 1/2 teaspoon salt
- 1 cup (2 sticks) unsalted butter, softened
- 1 3/4 cups granulated sugar
- 3 large eggs
- 1 1/2 teaspoons vanilla extract
- 1 1/4 cups milk
For the Buttercream Frosting:
- 1 cup (2 sticks) unsalted butter, softened
- 4 cups powdered sugar
- 1/4 cup milk
- 1 teaspoon vanilla extract
- Optional: Food coloring (gel or paste preferred)
For Decoration (Optional):
- Fresh fruit (berries, kiwi, etc.)
- Macarons
- Candies (chocolates, sprinkles, etc.)
- Flowers (ensure they are food-safe)
- Meringues
- Edible glitter
Instructions
Step 1: Prepare the Cake Batter
- Preheat oven to 350°F (175°C).
- In a medium bowl, whisk together the flour, baking powder, and salt.
- In a large bowl, cream together the softened butter and sugar until light and fluffy.
- Beat in the eggs one at a time, then stir in the vanilla extract.
- Gradually add the dry ingredients to the wet ingredients, alternating with the milk, beginning and ending with the dry ingredients. Mix until just combined. Do not overmix.
Step 2: Bake the Cake
- Divide the batter evenly between two 9×13 inch baking pans (or similar sized pans – the goal is to have enough batter to cut out the numbers).
- Bake for 25-30 minutes, or until a wooden skewer inserted into the center comes out clean.
- Let the cakes cool in the pans for 10 minutes, then invert them onto a wire rack to cool completely.
Step 3: Create Number Templates
- Find number templates online or create your own using a word processing program. Print the numbers you need in the desired size. Ensure the templates are large enough to fill a good portion of your baked cake.
Step 4: Cut Out the Numbers
- Once the cakes are completely cool, place the number templates on top of the cakes.
- Using a sharp knife, carefully cut around the templates to create the number shapes.
- Save the cake scraps! They can be used for cake pops or trifle.
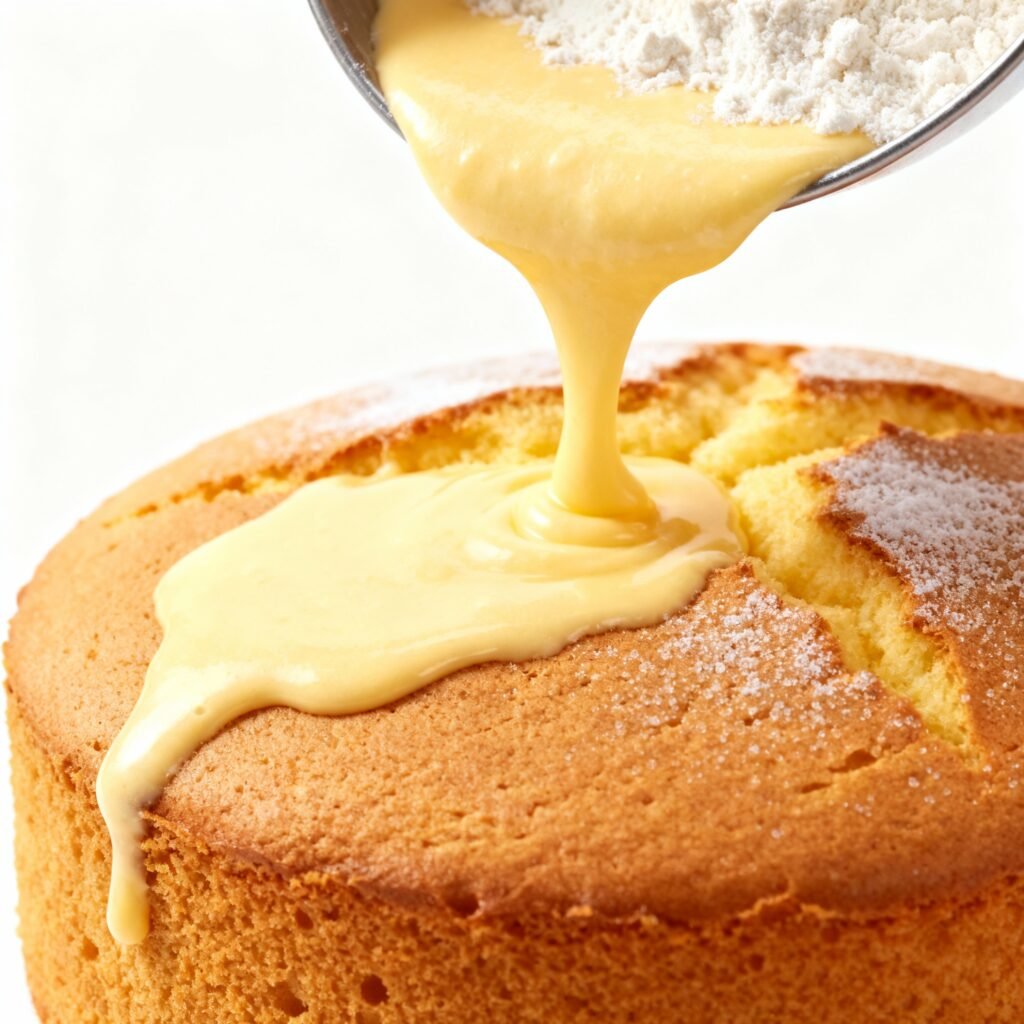
Step 5: Make the Buttercream Frosting
- In a large bowl, beat the softened butter until light and fluffy.
- Gradually add the powdered sugar, one cup at a time, beating well after each addition.
- Add the milk and vanilla extract and beat until smooth and creamy.
- If desired, add food coloring to achieve your desired shade.
Step 6: Assemble and Frost the Cake
- Place one number cake layer on a serving platter or cake board.
- Fill a piping bag fitted with your desired tip (a round tip or star tip works well) with buttercream frosting.
- Pipe dollops or swirls of frosting over the entire surface of the first layer.
- Carefully place the second number cake layer on top of the frosting.
- Repeat the frosting process on the top layer.
Step 7: Decorate the Cake
- Get creative! Arrange fresh fruit, macarons, candies, flowers, or other decorations on top of the frosting.
- Use a variety of colors and textures to create a visually appealing design.
Tips for Success
- Don’t Overmix the Batter: Overmixing can result in a tough cake. Mix until just combined.
- Use Room Temperature Ingredients: Room temperature butter and eggs will emulsify better, creating a smoother batter.
- Cool Cakes Completely: Ensure the cakes are completely cool before cutting and frosting to prevent them from crumbling.
- Use a Sharp Knife: A sharp knife will make it easier to cut out the number shapes cleanly.
- Chill the Cake Before Decorating: Chilling the cake for 30 minutes before decorating can help the frosting set and make it easier to handle.
- Plan Your Decorations: Before you start decorating, sketch out a plan to ensure a cohesive and visually appealing design.
- Practice Piping: If you’re using piping techniques, practice on a piece of parchment paper first to get the hang of it.
- Don’t Be Afraid to Get Creative: This is your cake! Have fun and experiment with different flavors and decorations.
Storage Instructions
Store the finished number cake in the refrigerator for up to 3 days. Cover loosely with plastic wrap or store in an airtight container. The cake is best served at room temperature, so allow it to sit out for about 30 minutes before serving.
FAQ
Q: Can I make this cake ahead of time?
A: Yes, you can bake the cakes and make the frosting a day or two in advance. Store the cakes tightly wrapped at room temperature and the frosting in the refrigerator. Bring the frosting to room temperature and re-whip before using.
Q: Can I freeze the cake?
A: Yes, you can freeze the baked cakes for up to 2 months. Wrap them tightly in plastic wrap and then in foil. Thaw overnight in the refrigerator before frosting.
Q: Can I use a different frosting recipe?
A: Absolutely! Feel free to use your favorite frosting recipe. Cream cheese frosting, chocolate ganache, or even a simple glaze would all work well.
Q: Can I use different cake flavors?
A: Yes! Experiment with different cake flavors like chocolate, lemon, red velvet, or even a spice cake.
Q: What if I don’t have two 9×13 inch pans?
A: You can use other pan sizes, but you may need to adjust the baking time accordingly. The goal is to have enough cake to cut out the desired number shapes.
Q: My frosting is too thick/thin. What do I do?
A: If the frosting is too thick, add a tablespoon of milk at a time until it reaches the desired consistency. If it’s too thin, add a tablespoon of powdered sugar at a time.
Conclusion
Creating a number cake might seem daunting, but with this recipe and a little patience, you can create a truly unforgettable and personalized dessert. From birthdays to anniversaries, this cake is sure to be the star of the show. So, gather your ingredients, unleash your creativity, and get ready to bake a number cake that everyone will love!