Easy Frosting Recipe: The Secret to Perfect Cakes (Every Time!)
👩🍳 The Busy Home Cook's Arsenal
Consistently cooking incredible meals for your family doesn't mean spending three hours in the kitchen every night. These are the 5 absolute life-saving appliances and culinary tools that dramatically cut down prep time while guaranteeing restaurant-quality results.
🌪️ Ninja 4-Quart Air Fryer
The machine that completely changed weeknight dinners. It preheats in seconds and cooks frozen vegetables, chicken wings, and battered fish to an incredibly crispy, deep-fried texture using 75% less oil and taking half the time of a traditional oven.
⏱️ Instant Pot Duo 7-in-1 Pressure Cooker
Forget slow cookers that take 8 hours. This legendary appliance aggressively pressure cooks tough cuts of meat into melt-in-your-mouth tender roasts, stews, and perfectly fluffy rice in under 45 minutes, saving you when you forget to defrost dinner.
🔪 Victorinox Fibrox Pro 8" Chef's Knife
A dull knife is dangerous and makes chopping vegetables a miserable chore. This exact blade reigns supreme in professional kitchens because it holds a terrifyingly sharp edge, features a non-slip grip, and costs significantly less than heavy German steel.
🌡️ ThermoPro Instant Read Thermometer
The secret difference between dry, rubbery chicken and juicy perfection. Stop nervously slicing your proteins open to check if they're done—this waterproof digital pen gives you a highly accurate temperature reading in less than three seconds.
🥤 Vitamix 5200 Professional-Grade Blender
Whether you are making silky-smooth breakfast smoothies, pureed soups from scratch, or blending absolutely lump-free sauces, this famously indestructible motor pulverizes anything you throw at it. It literally heats soup from the friction of the blades alone.
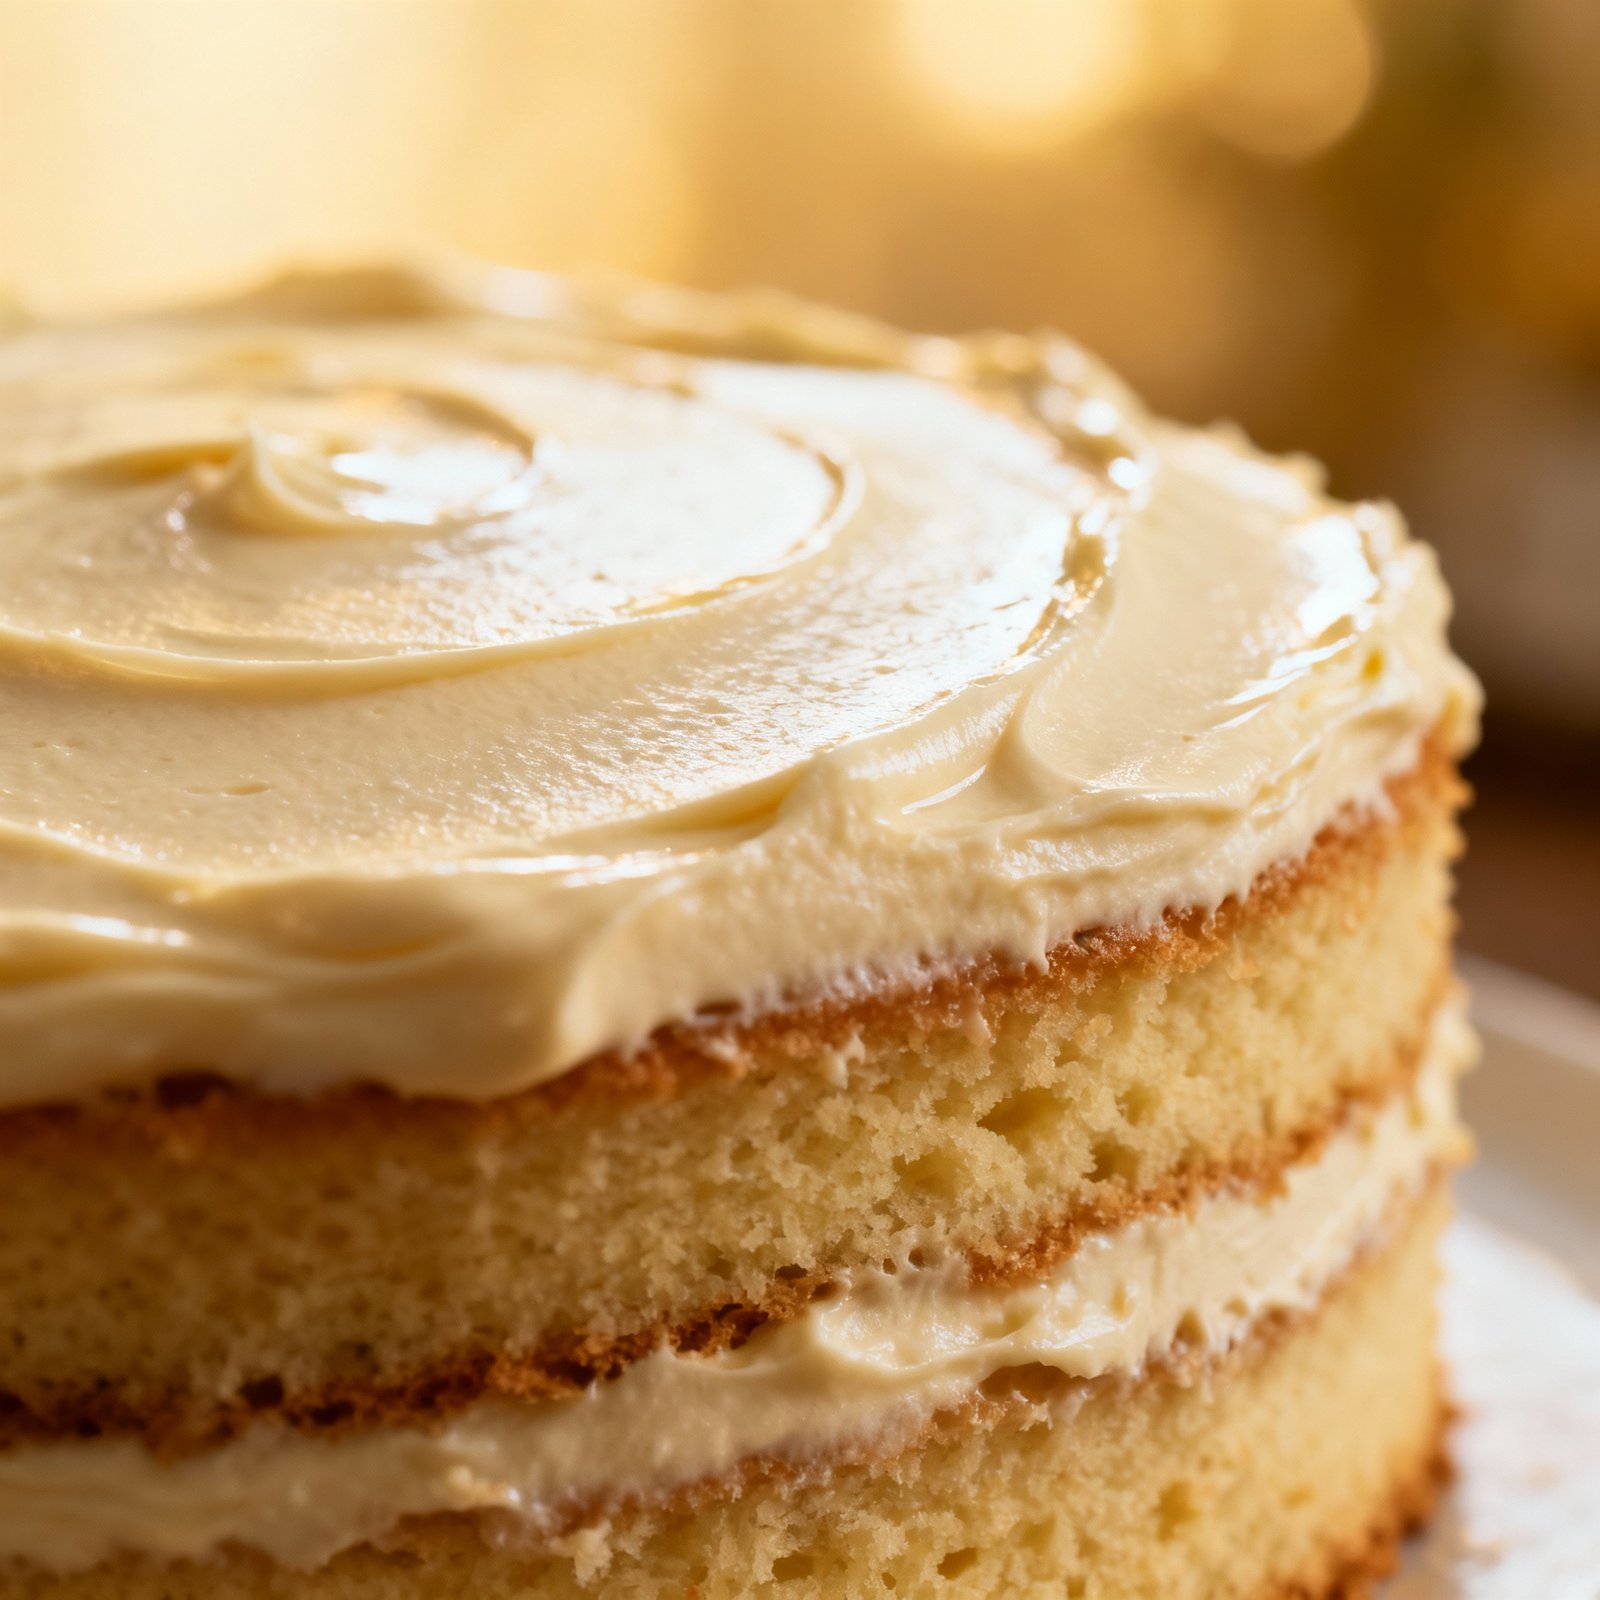
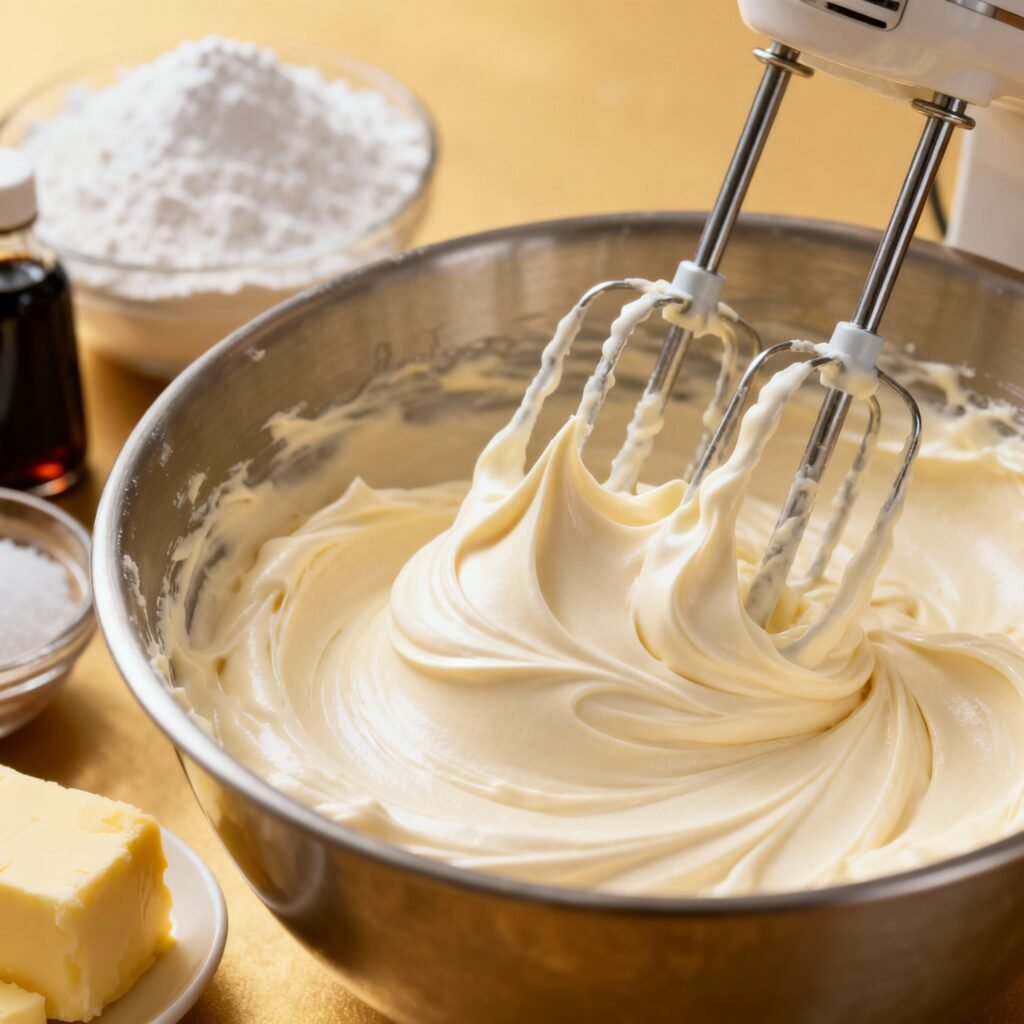
Let’s face it: a cake isn’t truly a cake without a generous slathering of delicious frosting. But sometimes, the thought of making frosting from scratch can feel daunting. Store-bought frosting is often overly sweet and lacks that homemade touch. That’s where this easy frosting recipe comes in! This recipe is so simple, even a beginner baker can master it. It’s creamy, smooth, and perfectly sweet, making it the ideal complement to cupcakes, cakes, cookies, or even just a spoon (we won’t judge!). Get ready to elevate your baking game with this foolproof frosting that will impress your friends and family.
Why This Recipe Works
This recipe works because it relies on a few key principles:
- Simple Ingredients: We’re using ingredients you likely already have in your pantry: butter, powdered sugar, milk (or cream), and vanilla extract. No fancy or hard-to-find ingredients here!
- Perfect Ratio: The ratio of butter to powdered sugar is crucial for achieving the right consistency. Too much butter, and your frosting will be greasy. Too much powdered sugar, and it will be dry and crumbly. This recipe nails the perfect balance.
- Proper Mixing Technique: The key to a smooth and creamy frosting is to properly cream the butter and gradually incorporate the powdered sugar. We’ll walk you through each step to ensure success.
- Flavor Versatility: While the vanilla extract provides a classic flavor, this recipe is a blank canvas for your creativity! You can easily customize it with different extracts, fruit purees, or even a touch of cocoa powder.
Ingredients
- 1 cup (2 sticks) unsalted butter, softened to room temperature
- 4 cups powdered sugar, sifted
- 1/4 cup milk (or heavy cream for extra richness)
- 2 teaspoons vanilla extract
- Pinch of salt (optional, but recommended)
Instructions
- Cream the Butter: In a large mixing bowl (or the bowl of your stand mixer fitted with the paddle attachment), beat the softened butter on medium speed for 2-3 minutes, or until light and fluffy. This is a crucial step, so don’t rush it! You want the butter to be pale and airy.
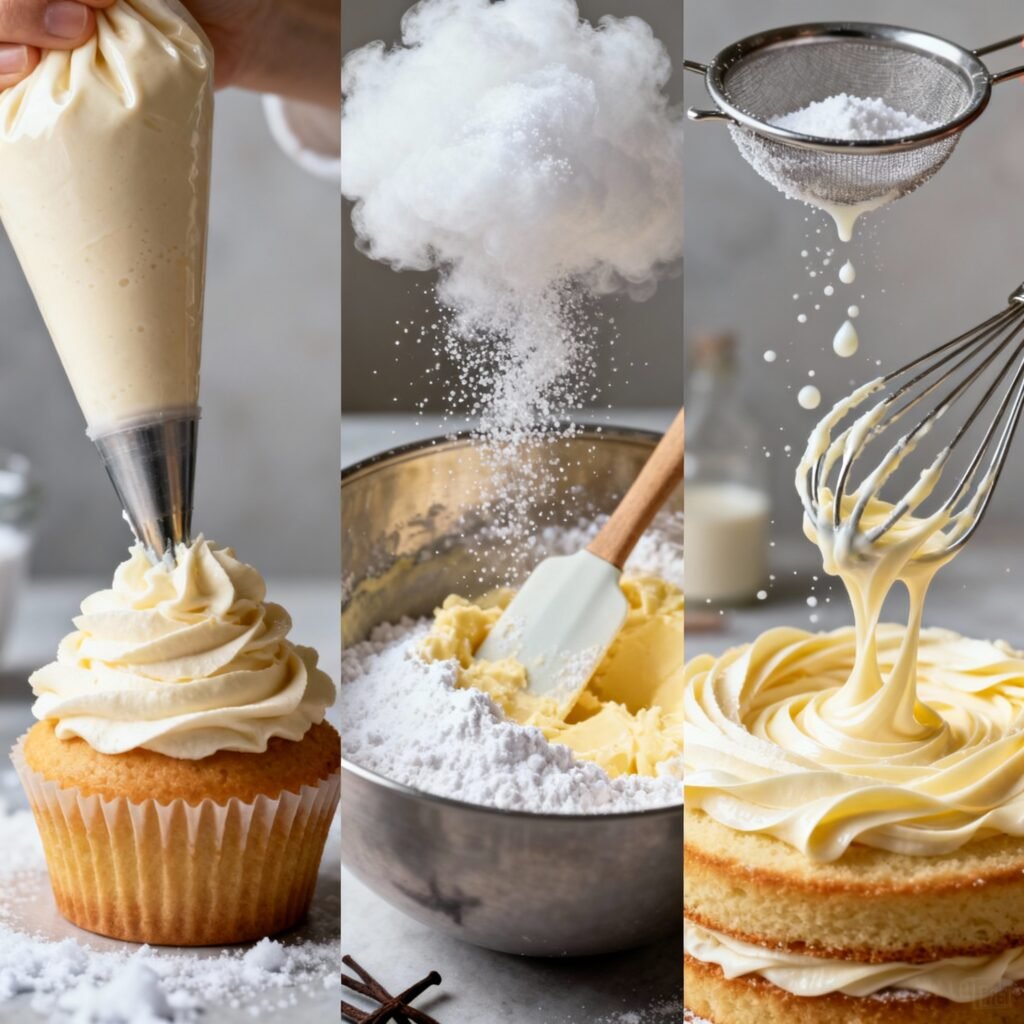
- Gradually Add the Powdered Sugar: With the mixer on low speed, gradually add the sifted powdered sugar, one cup at a time. Be sure to scrape down the sides and bottom of the bowl after each addition to ensure everything is evenly incorporated.
- Add the Milk and Vanilla Extract: Once all the powdered sugar is incorporated, add the milk (or heavy cream) and vanilla extract. Mix on low speed until just combined.
- Beat to Desired Consistency: Increase the mixer speed to medium and beat for 2-3 minutes, or until the frosting is light, fluffy, and smooth. If the frosting is too thick, add a tablespoon of milk at a time until you reach your desired consistency. If it’s too thin, add a tablespoon of powdered sugar at a time.
- Taste and Adjust: Taste the frosting and adjust the sweetness or flavor as needed. You can add a pinch of salt to balance the sweetness, or a few drops of your favorite extract.
- Use Immediately or Store: Use the frosting immediately to frost your cakes, cupcakes, or cookies. Or, store it in an airtight container in the refrigerator until ready to use.
Tips for Success
- Use Room Temperature Butter: This is essential for achieving a smooth and creamy frosting. If the butter is too cold, it will be difficult to cream properly. If it’s too melted, the frosting will be greasy.
- Sift the Powdered Sugar: Sifting the powdered sugar helps to remove any lumps and ensures a smooth frosting.
- Don’t Overmix: Overmixing can cause the frosting to become stiff and dense. Mix until just combined.
- Adjust the Consistency: The amount of milk you need may vary depending on the humidity and the type of butter you use. Add milk (or powdered sugar) a little at a time until you reach your desired consistency.
- Add Flavor: Get creative with your flavorings! Try adding almond extract, lemon zest, coffee extract, or even a swirl of melted chocolate.
- Tint the Frosting: Use gel food coloring to tint the frosting to your desired color. Gel food coloring is more concentrated than liquid food coloring, so you’ll need less of it to achieve the same color.
- For a Vegan Option: Substitute the butter with a vegan butter alternative and the milk with plant-based milk like almond or soy milk.
Storage Instructions
Leftover frosting can be stored in an airtight container in the refrigerator for up to 5 days. Before using, let the frosting come to room temperature and re-whip it with a mixer until light and fluffy. You can also freeze the frosting for up to 2 months. Thaw it in the refrigerator overnight and re-whip it before using.
FAQ
Q: Can I use salted butter instead of unsalted butter?
A: While you can use salted butter, it’s best to use unsalted butter so you can control the amount of salt in the frosting. If you use salted butter, omit the pinch of salt in the recipe.
Q: My frosting is too thick. What should I do?
A: Add a tablespoon of milk (or heavy cream) at a time until you reach your desired consistency.
Q: My frosting is too thin. What should I do?
A: Add a tablespoon of sifted powdered sugar at a time until you reach your desired consistency.
Q: Can I make this frosting ahead of time?
A: Yes! You can make the frosting ahead of time and store it in the refrigerator for up to 5 days. Before using, let it come to room temperature and re-whip it with a mixer until light and fluffy.
Q: Can I use this frosting for piping?
A: Yes, this frosting is perfect for piping! Just make sure it’s not too thin. If it’s too thin, add a little more powdered sugar.
Q: What kind of milk is best?
A: Whole milk or heavy cream will give you the richest flavor. However, you can use any type of milk you have on hand.
🍽️ The Entertainer's Presentation Kit
We eat with our eyes first. If you love hosting friends for dinner, drinks, or holiday parties, these 5 elegant serving upgrades instantly transform casual home cooking into a luxurious, highly photogenic fine-dining experience.
🍲 Le Creuset Enameled Cast Iron Dutch Oven
The ultimate flex for a dinner party. You can braise short ribs or bake sourdough bread in the oven, then bring this stunning enameled pot directly to the center of your dining table to serve your guests from its wildly beautiful colored casing.
🍷 RIEDEL Crystal Wine Glass Set
Stop serving good wine in cheap, thick-rimmed glasses. The remarkably thin crystal lip and specifically engineered bowl shapes of these glasses genuinely elevate the aroma and flavor profiles of your favorite vintages, making a $15 bottle taste significantly more expensive.
🧀 Premium Bamboo Charcuterie Board Set
The easiest appetizer strategy ever invented. This massive carved board features hidden slide-out drawers containing stainless steel cheese knives and ceramic ramekins, giving you the perfect canvas to build massive, Instagram-worthy grazing spreads.
✨ Genuine Marble Drink Coasters
A simple, brilliant aesthetic upgrade that protects your expensive furniture. These heavy, elegant real marble coasters with subtle gold accents look incredibly chic tossed around a living room while completely preventing water rings from sweaty cocktails.
🌿 100% Cotton Cloth Dinner Napkins
Throwing away a mountain of paper towels at a dinner party ruins the vibe. Swapping to soft, highly-absorbent, fully machine-washable cloth napkins instantly pulls a tablescape together and makes even a Tuesday night pizza feel like a fancy event.
Conclusion
There you have it! An easy frosting recipe that’s guaranteed to become your go-to for all your baking needs. With its simple ingredients, foolproof instructions, and endless customization options, this frosting will elevate your cakes, cupcakes, and cookies to the next level. So, grab your ingredients, fire up your mixer, and get ready to create a masterpiece. Happy baking!