Hard Cider Recipe: The Crisp, Homemade Brew You’ll Crave
👩🍳 The Busy Home Cook's Arsenal
Consistently cooking incredible meals for your family doesn't mean spending three hours in the kitchen every night. These are the 5 absolute life-saving appliances and culinary tools that dramatically cut down prep time while guaranteeing restaurant-quality results.
🌪️ Ninja 4-Quart Air Fryer
The machine that completely changed weeknight dinners. It preheats in seconds and cooks frozen vegetables, chicken wings, and battered fish to an incredibly crispy, deep-fried texture using 75% less oil and taking half the time of a traditional oven.
⏱️ Instant Pot Duo 7-in-1 Pressure Cooker
Forget slow cookers that take 8 hours. This legendary appliance aggressively pressure cooks tough cuts of meat into melt-in-your-mouth tender roasts, stews, and perfectly fluffy rice in under 45 minutes, saving you when you forget to defrost dinner.
🔪 Victorinox Fibrox Pro 8" Chef's Knife
A dull knife is dangerous and makes chopping vegetables a miserable chore. This exact blade reigns supreme in professional kitchens because it holds a terrifyingly sharp edge, features a non-slip grip, and costs significantly less than heavy German steel.
🌡️ ThermoPro Instant Read Thermometer
The secret difference between dry, rubbery chicken and juicy perfection. Stop nervously slicing your proteins open to check if they're done—this waterproof digital pen gives you a highly accurate temperature reading in less than three seconds.
🥤 Vitamix 5200 Professional-Grade Blender
Whether you are making silky-smooth breakfast smoothies, pureed soups from scratch, or blending absolutely lump-free sauces, this famously indestructible motor pulverizes anything you throw at it. It literally heats soup from the friction of the blades alone.
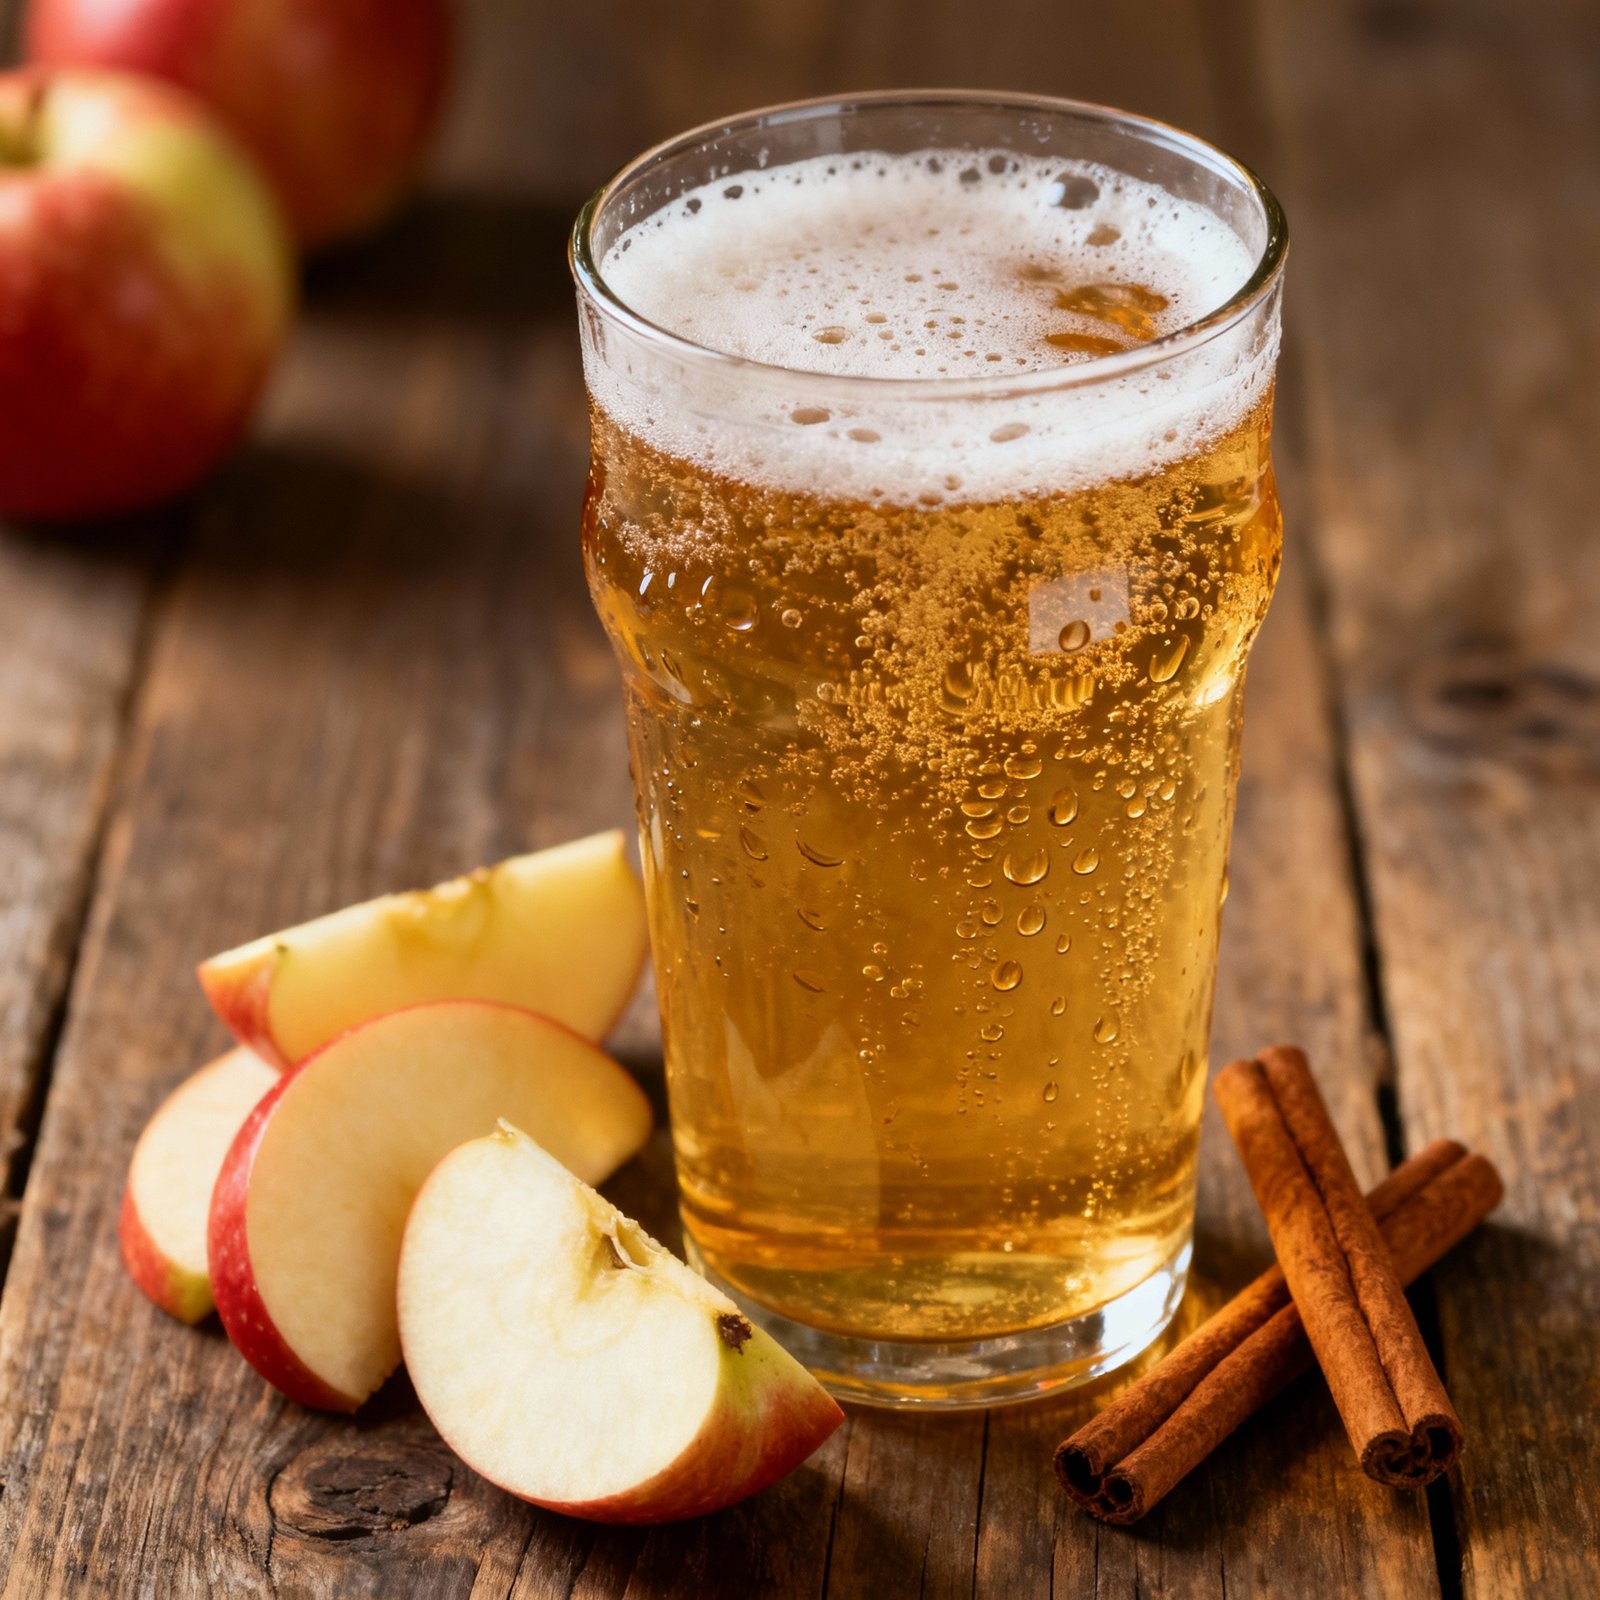
Imagine the crisp, refreshing taste of homemade hard cider, bubbling with subtle sweetness and a gentle alcoholic warmth. Forget the mass-produced, overly sweet stuff you find in stores. This recipe empowers you to craft a truly exceptional hard cider, tailored to your exact preferences. Whether you’re a seasoned homebrewer or a complete beginner, this guide provides everything you need to create a batch of delicious, naturally fermented hard cider that will impress your friends and tantalize your taste buds. Get ready to transform ordinary apple juice into an extraordinary autumnal delight!
Why This Recipe Works
This recipe focuses on simplicity and natural fermentation, allowing the inherent flavors of the apple juice to shine through. By using a carefully selected yeast strain and providing a controlled environment, we encourage a clean and consistent fermentation. Here’s why this recipe sets you up for success:
- Natural Fermentation: We rely on the natural sugars in apple juice to fuel the fermentation process, resulting in a cider with a balanced sweetness and dryness.
- Specific Yeast Selection: Choosing the right yeast is crucial. We recommend a cider-specific yeast strain known for its clean fermentation profile and ability to enhance apple flavors.
- Controlled Environment: Maintaining a stable temperature during fermentation is key to preventing off-flavors and ensuring a consistent outcome.
- Patience: Fermentation takes time. This recipe emphasizes the importance of allowing the cider to ferment fully, resulting in a smoother and more flavorful final product.
- Scalability: This recipe can be easily scaled up or down to suit your desired batch size.
Ingredients
- 1 gallon (3.8 liters) Apple Juice: Use 100% apple juice, preferably unfiltered and without preservatives like potassium sorbate or sodium benzoate, as these can inhibit fermentation. Pasteurized juice is fine. Look for juice labeled “not from concentrate” for the best flavor.
- 1 packet (5 grams) Cider Yeast: Choose a cider-specific yeast strain such as Wyeast 4766 (Cider) or Safcider AS-2. Dry yeast is easier to use but liquid yeast can offer slightly different flavor profiles.
- 1 teaspoon Yeast Nutrient (optional): This helps provide the yeast with essential nutrients for a healthy and vigorous fermentation, especially if using juice that may be nutrient-poor.
- 1/2 cup Sugar (optional): If you prefer a slightly higher alcohol content or want to backsweeten after fermentation, you can add sugar. Use white sugar, brown sugar, or honey.
- Campden Tablets (optional): If you are concerned about wild yeast, use one crushed campden tablet per gallon 24 hours before adding your yeast.
Instructions
- Sanitize Everything: Thoroughly sanitize all equipment that will come into contact with the cider, including the fermenter, airlock, stopper, spoon, and hydrometer (if using). This is crucial to prevent contamination.
- Prepare the Yeast: If using dry yeast, rehydrate it according to the package instructions. Typically, this involves dissolving the yeast in a small amount of warm water (around 90-95°F or 32-35°C) for about 15-30 minutes. If using liquid yeast, follow the activation instructions on the package.
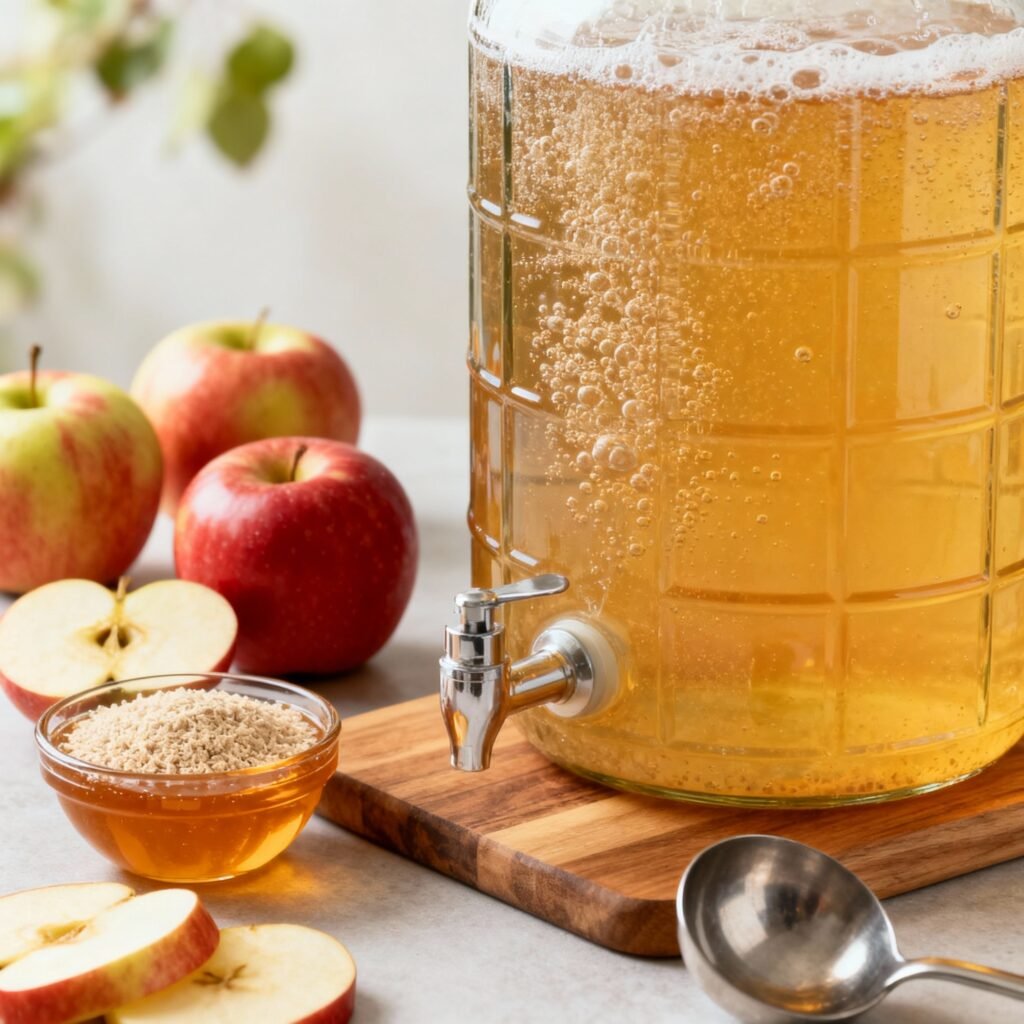
- Combine Ingredients: Pour the apple juice into your sanitized fermenter (a glass carboy, food-grade plastic bucket, or stainless steel fermenter). Add the yeast nutrient (if using) and sugar (if using). Stir gently to dissolve.
- Pitch the Yeast: Pour the rehydrated yeast (or activated liquid yeast) into the fermenter.
- Seal and Airlock: Attach the airlock and stopper to the fermenter. Fill the airlock with water or a sanitizing solution. The airlock allows CO2 to escape while preventing air and contaminants from entering.
- Fermentation: Place the fermenter in a cool, dark place with a stable temperature between 60-70°F (15-21°C). This is the ideal temperature range for most cider yeasts.
- Monitor Fermentation: Fermentation typically begins within 24-48 hours. You’ll see bubbles in the airlock. Let the cider ferment for 2-4 weeks, or until the airlock activity slows down significantly (e.g., one bubble every few minutes).
- Check Specific Gravity (optional): Use a hydrometer to measure the specific gravity of the cider. Take a reading before fermentation (original gravity, or OG) and again after fermentation has slowed (final gravity, or FG). A stable FG reading over several days indicates that fermentation is complete. You can calculate the approximate alcohol content using the formula: ABV = (OG – FG) * 131.25.
- Bottling (Optional): Once fermentation is complete, you can bottle the cider.
- Priming Sugar: If you want a sparkling cider, you’ll need to add priming sugar to each bottle before capping. A general rule of thumb is 3/4 teaspoon of sugar per 12-ounce bottle.
- Sanitize Bottles: Thoroughly sanitize all bottles and caps.
- Bottle: Carefully transfer the cider into the bottles, leaving about an inch of headspace.
- Cap: Cap the bottles securely.
- Condition: Store the bottled cider at room temperature for 1-2 weeks to allow carbonation to develop. Then, refrigerate the bottles to stop the carbonation process and prevent over-carbonation.
- Kegging (Optional): Alternatively, you can transfer the cider to a keg and force carbonate it using CO2.
- Enjoy!: After conditioning or carbonating, your homemade hard cider is ready to enjoy! Serve chilled.
Tips for Success
- Sanitation is Key: Emphasize sanitation! It’s the most important factor in preventing off-flavors and ensuring a successful fermentation.
- Temperature Control: Maintaining a stable fermentation temperature is crucial. Use a temperature controller or find a cool, dark place in your home.
- Patience is a Virtue: Don’t rush the fermentation process. Allow the cider to ferment fully for the best results.
- Taste Test: Sample the cider periodically during fermentation (after the initial vigorous fermentation has subsided) to monitor its progress and flavor development.
- Experiment: Once you’re comfortable with the basic recipe, experiment with different apple juice blends, yeast strains, and additions like spices or fruit to create your own unique hard cider.
- Address Stalling: If fermentation stalls (airlock activity stops before reaching the expected final gravity), try gently rousing the yeast by swirling the fermenter. You can also add a small amount of yeast nutrient. If it continues to stall, repitch a new packet of yeast.
- Avoid Over-Sweetening: If backsweetening, start with a small amount of sweetener (like honey or sugar) and taste as you go. It’s easier to add more than to remove it. Consider using a non-fermentable sweetener like erythritol for backsweetening to prevent refermentation in the bottle.
Storage Instructions
Unopened bottles of hard cider can be stored in a cool, dark place for several months. Once opened, refrigerate the cider and consume it within a few days to maintain its flavor and carbonation. Kegged cider can be stored in a refrigerator for several weeks.
FAQ
Q: Can I use juice from concentrate?
A: While you can, juice not from concentrate generally yields a better flavor profile.
Q: My cider is cloudy. Is that normal?
A: Yes, it’s normal for hard cider to be cloudy, especially if you’re using unfiltered juice. You can clarify the cider by using a fining agent like bentonite or by cold crashing it (cooling it to near freezing temperatures for a few days).
Q: My cider tastes sour. What went wrong?
A: A sour taste can indicate a bacterial infection. Proper sanitation is key to preventing this. It can also be caused by certain wild yeasts, but cider-specific yeasts are designed to prevent this.
Q: Can I use different types of apples?
A: Absolutely! Experimenting with different apple varieties can create unique flavor profiles. Blends of apples often produce the best results.
Q: How long does it take to make hard cider?
A: The entire process, from start to finish, typically takes 4-6 weeks, including fermentation and conditioning.
🍽️ The Entertainer's Presentation Kit
We eat with our eyes first. If you love hosting friends for dinner, drinks, or holiday parties, these 5 elegant serving upgrades instantly transform casual home cooking into a luxurious, highly photogenic fine-dining experience.
🍲 Le Creuset Enameled Cast Iron Dutch Oven
The ultimate flex for a dinner party. You can braise short ribs or bake sourdough bread in the oven, then bring this stunning enameled pot directly to the center of your dining table to serve your guests from its wildly beautiful colored casing.
🍷 RIEDEL Crystal Wine Glass Set
Stop serving good wine in cheap, thick-rimmed glasses. The remarkably thin crystal lip and specifically engineered bowl shapes of these glasses genuinely elevate the aroma and flavor profiles of your favorite vintages, making a $15 bottle taste significantly more expensive.
🧀 Premium Bamboo Charcuterie Board Set
The easiest appetizer strategy ever invented. This massive carved board features hidden slide-out drawers containing stainless steel cheese knives and ceramic ramekins, giving you the perfect canvas to build massive, Instagram-worthy grazing spreads.
✨ Genuine Marble Drink Coasters
A simple, brilliant aesthetic upgrade that protects your expensive furniture. These heavy, elegant real marble coasters with subtle gold accents look incredibly chic tossed around a living room while completely preventing water rings from sweaty cocktails.
🌿 100% Cotton Cloth Dinner Napkins
Throwing away a mountain of paper towels at a dinner party ruins the vibe. Swapping to soft, highly-absorbent, fully machine-washable cloth napkins instantly pulls a tablescape together and makes even a Tuesday night pizza feel like a fancy event.
Conclusion
Congratulations! You’re now equipped with the knowledge to create your own delicious homemade hard cider. Remember to prioritize sanitation, control the fermentation temperature, and be patient. With a little practice, you’ll be crafting exceptional cider that you can be proud of. So, gather your ingredients, sanitize your equipment, and embark on your hard cider-making adventure. Cheers!