Aata Halwa Recipe: The Ultimate Guide to Golden Perfection
Aata Halwa, that comforting, melt-in-your-mouth dessert, is a staple in Indian households. Its simple ingredients belie its rich, complex flavor and satisfying texture. This isn’t just a dessert; it’s a warm embrace on a cold day, a celebratory treat, and a reminder of home. This recipe isn’t just about making Aata Halwa; it’s about mastering it. We’ll guide you through each step, ensuring you achieve that perfect, golden-brown hue and that irresistible, slightly chewy texture that defines a truly exceptional Aata Halwa. Get ready to impress your family and friends with this timeless classic!
Why This Recipe Works
This recipe is designed for success, even for novice cooks. Here’s why it works so well:
- Precise Ratios: We provide accurate ingredient measurements, crucial for achieving the desired consistency and sweetness. The ratio of atta (whole wheat flour) to ghee, sugar, and water is meticulously balanced.
- Step-by-Step Instructions: Each step is clearly outlined with detailed instructions, leaving no room for guesswork. We break down the process into manageable stages, making it easy to follow.
- Emphasis on Roasting: The roasting process is the heart of this recipe. We explain exactly how to roast the atta to achieve that nutty, aromatic flavor and the perfect color.
- Temperature Control: Maintaining the correct temperature throughout the cooking process is vital. We provide guidance on adjusting the heat to prevent burning and ensure even cooking.
- Troubleshooting Tips: We address potential problems and offer solutions, ensuring you can overcome any challenges you might encounter.
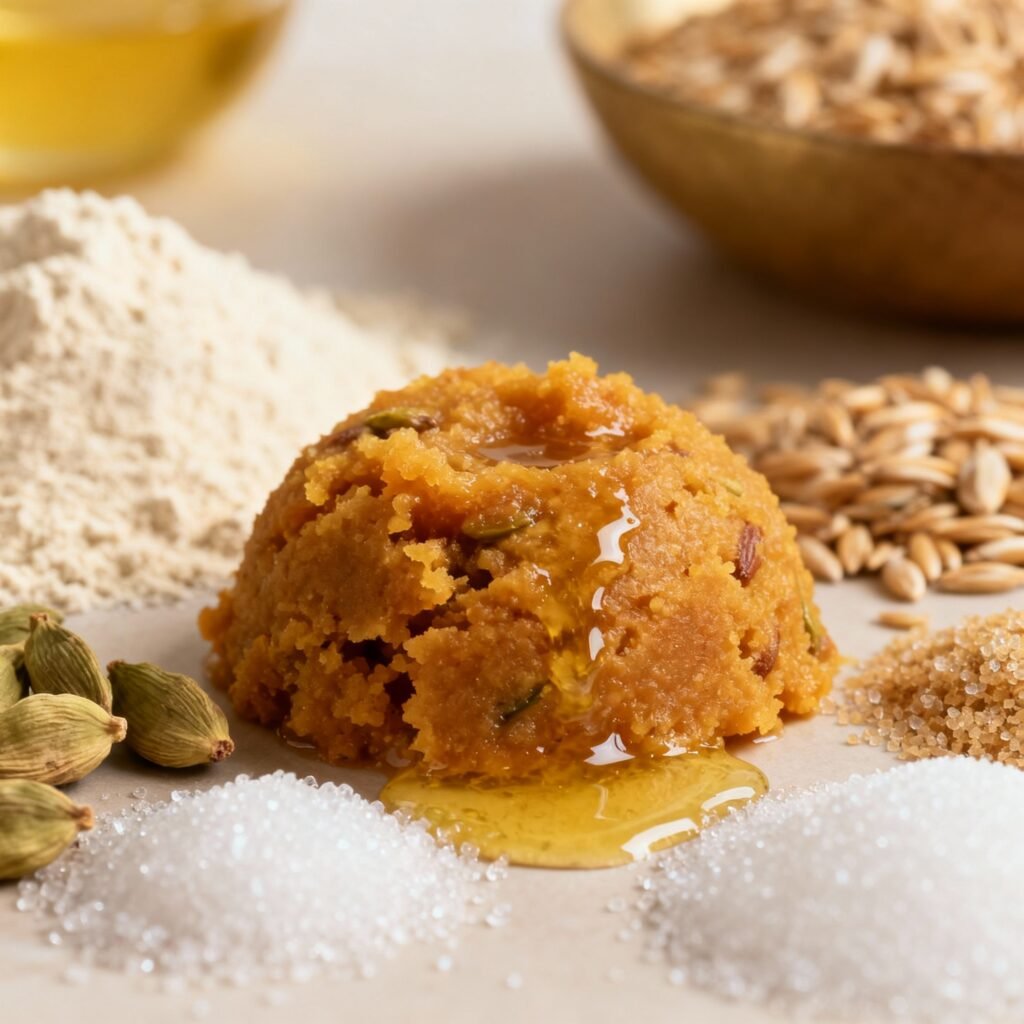
Ingredients
- 1 cup (120g) Whole Wheat Flour (Atta): The foundation of the halwa. Use good quality atta for best results.
- 1 cup (225g) Ghee (Clarified Butter): Ghee adds richness, flavor, and a luxurious texture. You can substitute with unsalted butter, but the flavor will be slightly different.
- 1 cup (200g) Granulated Sugar: Provides the sweetness. Adjust to your preference.
- 3 cups (720ml) Water: The liquid component that hydrates the atta and creates the halwa’s soft texture.
- 1/4 teaspoon Cardamom Powder (Elaichi): Adds a warm, fragrant aroma.
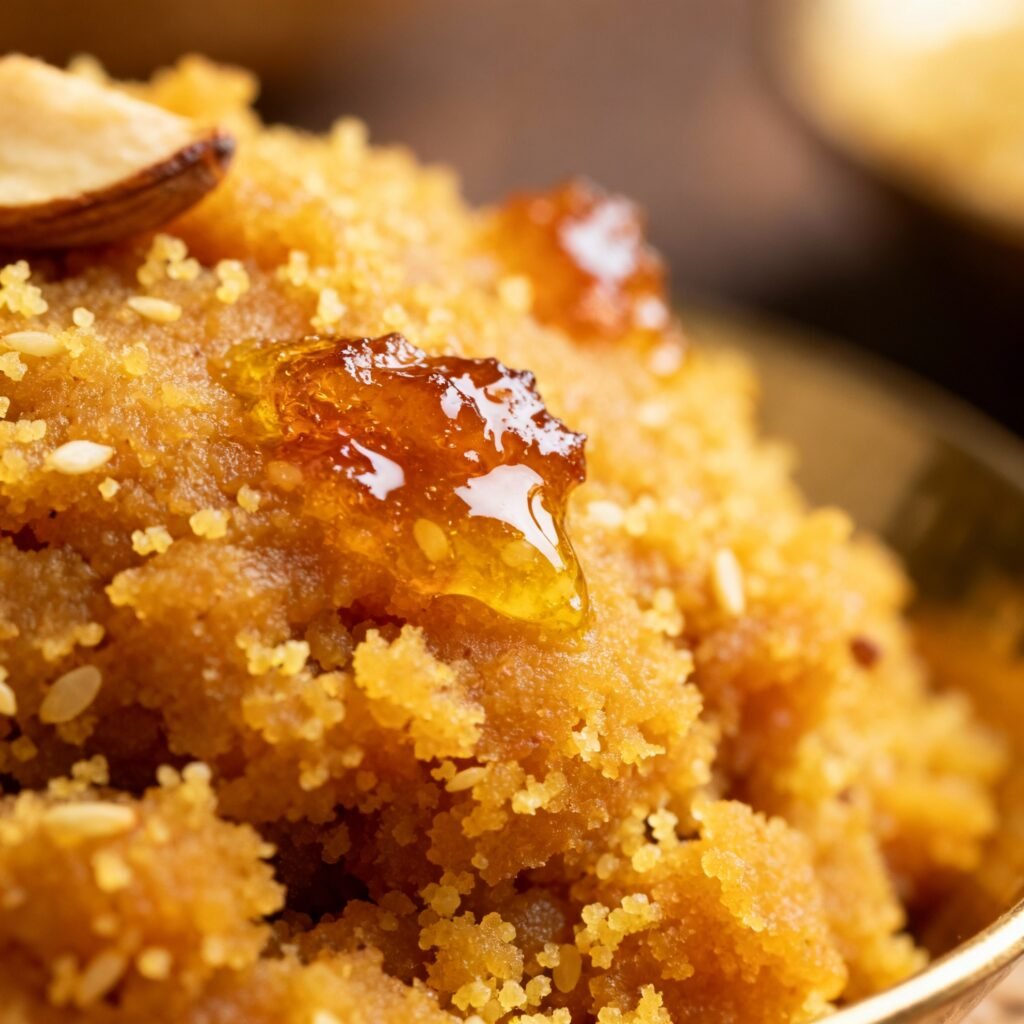
- Optional Garnishes: Chopped almonds, cashews, pistachios, raisins, or a pinch of saffron strands.
Instructions
- Prepare the Sugar Syrup: In a saucepan, combine the water and sugar. Heat over medium heat, stirring occasionally, until the sugar dissolves completely. Bring to a gentle simmer and then turn off the heat. Add the cardamom powder to the syrup and stir. Set aside. This step can be done in advance.
- Roast the Atta: In a heavy-bottomed pan or kadhai (wok), melt the ghee over medium-low heat. Ensure the ghee is heated evenly.
- Add the Atta: Gradually add the atta to the melted ghee, stirring continuously with a spatula or wooden spoon. Be careful as the ghee might splatter a bit.
- Roasting is Key: This is the most crucial step. Continue roasting the atta, stirring constantly, for 15-20 minutes, or until it turns a beautiful golden brown color and releases a fragrant, nutty aroma. The color should resemble peanut butter. Be patient and avoid burning the atta. Reduce the heat to low if necessary. The mixture will initially be crumbly, then gradually become smoother as the ghee melts and the atta cooks.
- Pour in the Sugar Syrup: Once the atta is perfectly roasted, carefully pour the warm sugar syrup into the pan. Be cautious as the mixture will sputter vigorously.
- Stir Vigorously: Immediately start stirring the mixture vigorously and continuously. The halwa will begin to thicken and come together quickly. Continue stirring until the halwa pulls away from the sides of the pan and forms a soft, glossy mass. This usually takes about 5-7 minutes.
- Adjust Consistency (If Needed): If the halwa is too thick, add a tablespoon or two of hot water and stir until the desired consistency is reached. If it’s too thin, continue cooking for a few more minutes, stirring constantly, until it thickens.
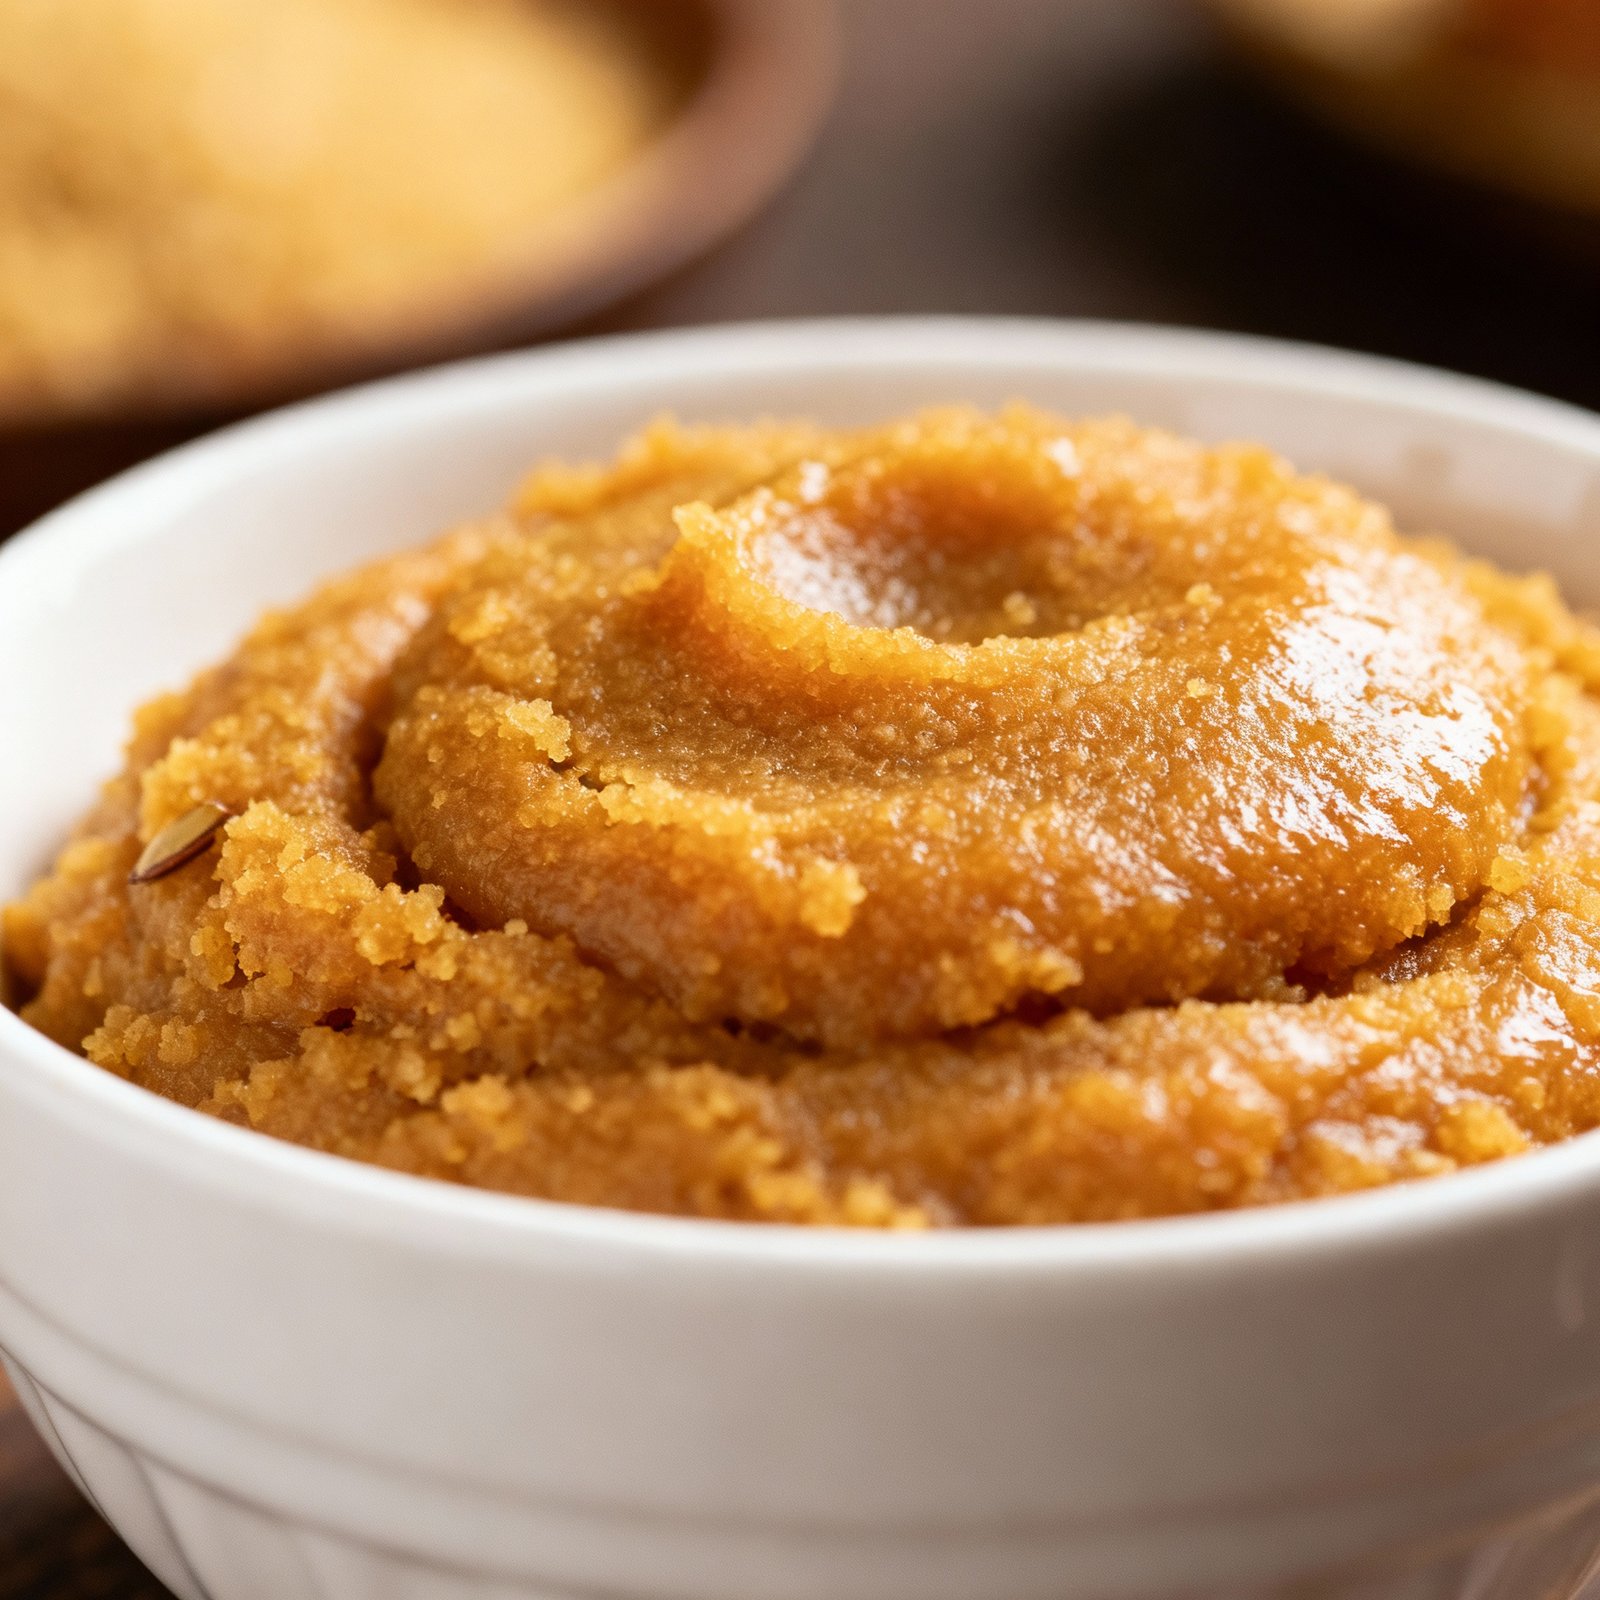
- Garnish and Serve: Once the halwa reaches the desired consistency, remove it from the heat. Garnish with chopped nuts, raisins, or a pinch of saffron strands (optional). Serve hot or warm.
Tips for Success
- Use a Heavy-Bottomed Pan: This helps distribute heat evenly and prevents the halwa from burning.
- Low and Slow Roasting: Roasting the atta at a low to medium-low heat is crucial for developing the flavor and color without burning.
- Constant Stirring: Stirring continuously prevents the atta from sticking to the pan and ensures even cooking.
- Warm Sugar Syrup: Using warm sugar syrup helps the halwa come together more easily and quickly.
- Adjust Sweetness: Taste the sugar syrup before adding it to the atta and adjust the amount of sugar to your liking.
- Don’t Overcook: Overcooking the halwa can make it dry and crumbly. Stop cooking when it pulls away from the sides of the pan and forms a soft mass.
- Be Patient: Making Aata Halwa requires patience. Don’t rush the roasting process. The longer you roast the atta, the richer the flavor will be.
- Use Good Quality Ghee: The quality of the ghee significantly impacts the flavor of the halwa.
Storage Instructions
Aata Halwa can be stored in an airtight container at room temperature for up to 2-3 days. It can also be refrigerated for up to a week. When refrigerating, the halwa may harden. To reheat, simply microwave it for a few seconds or gently warm it in a pan on the stovetop, adding a tablespoon or two of milk or water if needed to restore its soft texture.
FAQ
- Can I use butter instead of ghee? Yes, you can use unsalted butter as a substitute for ghee. However, the flavor will be slightly different. Ghee has a richer, nuttier flavor that enhances the overall taste of the halwa.
- Can I add milk instead of water? While some recipes use milk, this recipe uses water for a lighter texture. Using milk can make the halwa richer and denser. If you choose to use milk, reduce the amount slightly.
- My halwa is too dry. What should I do? If your halwa is too dry, add a tablespoon or two of hot water or milk and stir until the desired consistency is reached.
- My halwa is too sticky. What should I do? If your halwa is too sticky, continue cooking it for a few more minutes, stirring constantly, until it thickens.
- Can I add nuts to the halwa while cooking? Yes, you can add chopped nuts to the halwa during the last few minutes of cooking. This will add a nice crunch and flavor.
- Why is my halwa not turning golden brown? The atta needs to be roasted for a longer time on low heat. Be patient and continue stirring until it reaches the desired golden-brown color.
Conclusion
Congratulations! You’ve now mastered the art of making Aata Halwa. This recipe is a reliable guide to creating a delicious and comforting dessert that will be enjoyed by everyone. Remember the key is patience, constant stirring, and using good quality ingredients. Don’t be afraid to experiment with different garnishes and adjust the sweetness to your preference. So go ahead, whip up a batch of this golden goodness and share the warmth and joy of Aata Halwa with your loved ones. Happy cooking!