🧀 Best Béchamel Sauce Recipe: Creamy, Easy & Foolproof
So, you’ve decided to tackle the fancy French stuff.
Listen, I know what you’re thinking. You’re craving a lasagna that hits the soul, or maybe a mac and cheese that doesn’t come from a blue cardboard box, but you’re staring at a recipe that calls for “Béchamel” (or as many of us frantically type into Google at 6 PM: bashamel sauce recipe).
You might be tempted to buy a jar of white sauce from the store. Put the jar down. Step away from the aisle. We don’t do that here.
Making your own white sauce is easier than folding a fitted sheet—and infinitely more rewarding. It’s the kind of kitchen wizardry that makes people think you went to culinary school, when in reality, you just know how to stir butter and flour together without panicking. So, grab a whisk and let’s get saucy.
Why This Recipe is Awesome
Okay, let’s be real for a second. Why should you care about flour and milk?
First off, this is the “Mother Sauce.” In French cuisine, there are five mother sauces, and Béchamel is the matriarch that holds the family together. Once you master this, you aren’t just learning one recipe; you are unlocking a gateway to hundreds. Want to make a Mornay sauce for the best nachos of your life? Master Béchamel. Want a creamy base for a chicken pot pie? Béchamel. Need to save a dry casserole? You guessed it.
It is surprisingly forgiving. People act like making a roux (the butter/flour mix) is rocket science. It’s not. It’s chemistry, sure, but it’s the tasty kind. This recipe is awesome because it breaks down the scary bits. I’ve messed this up plenty of times in my early days—burning the butter, making lumpy glue—so I’ve already made the mistakes for you. This version is practically bulletproof.
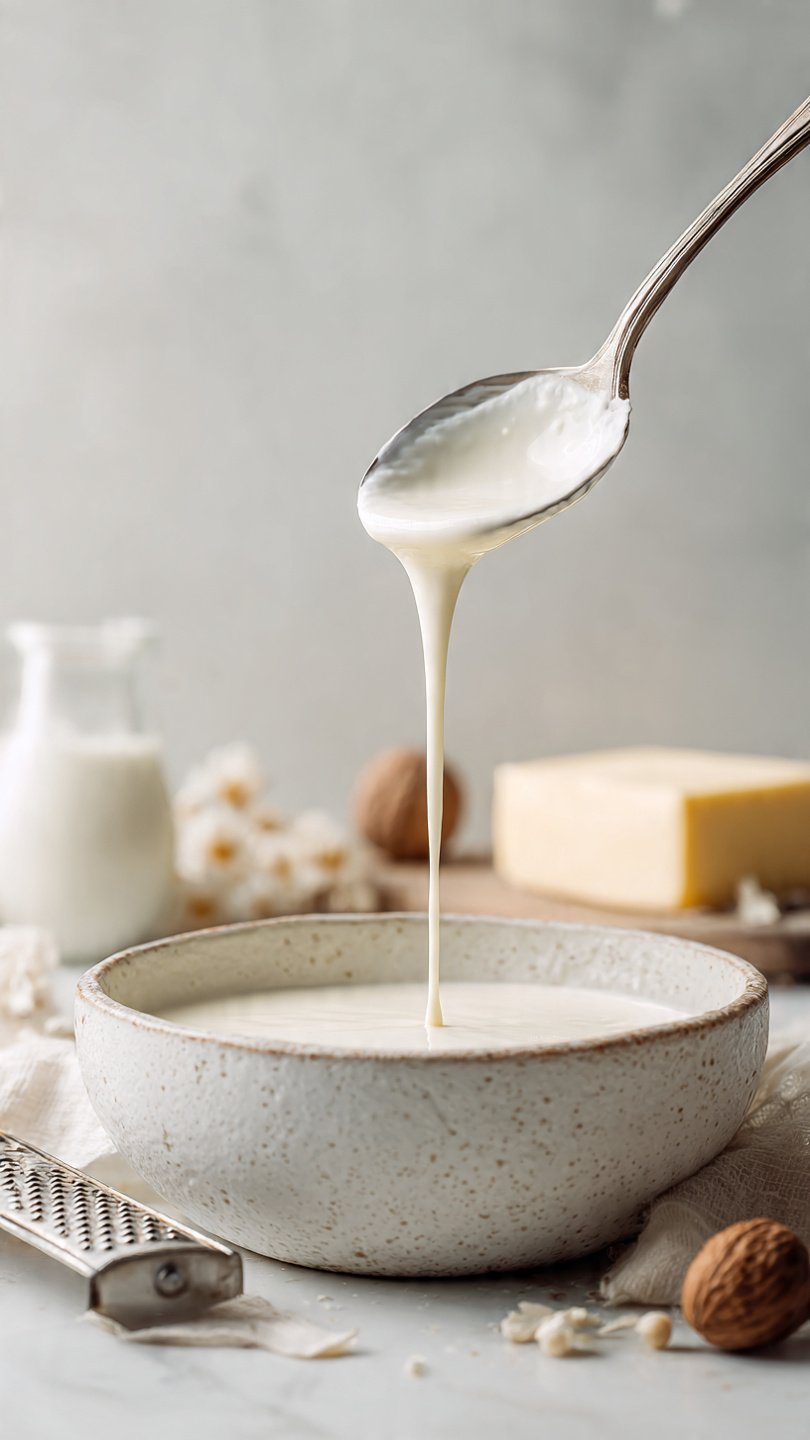
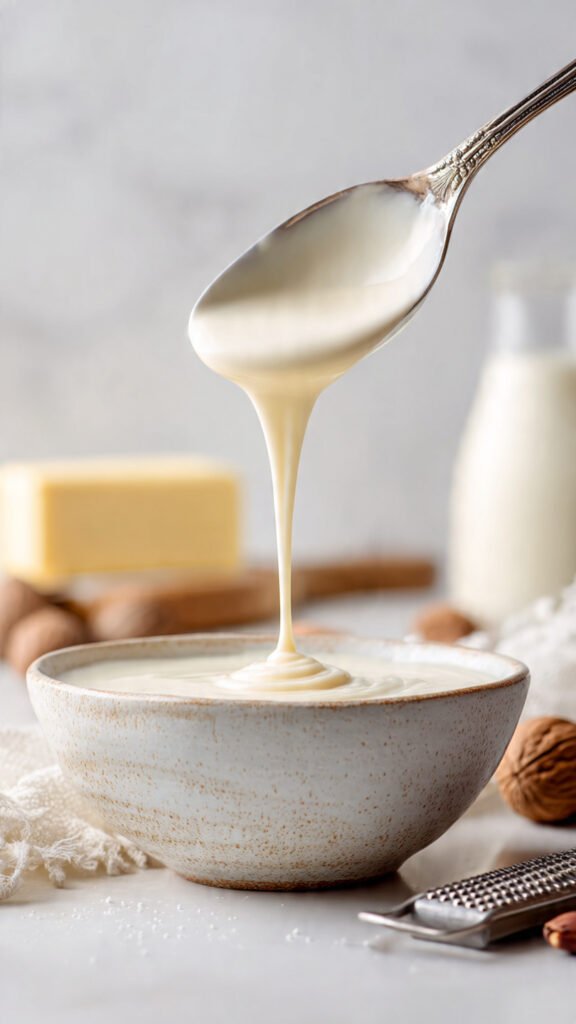
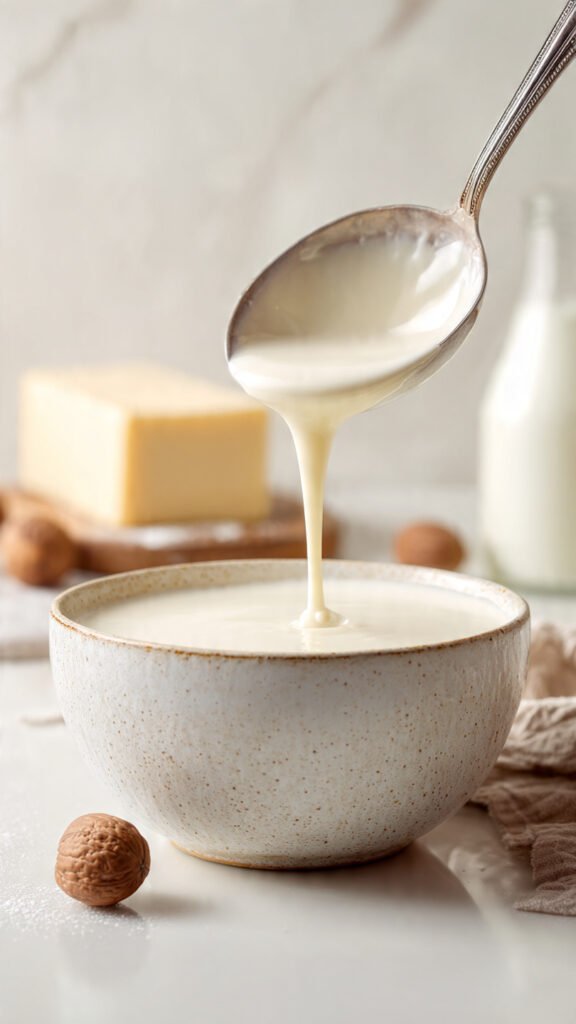
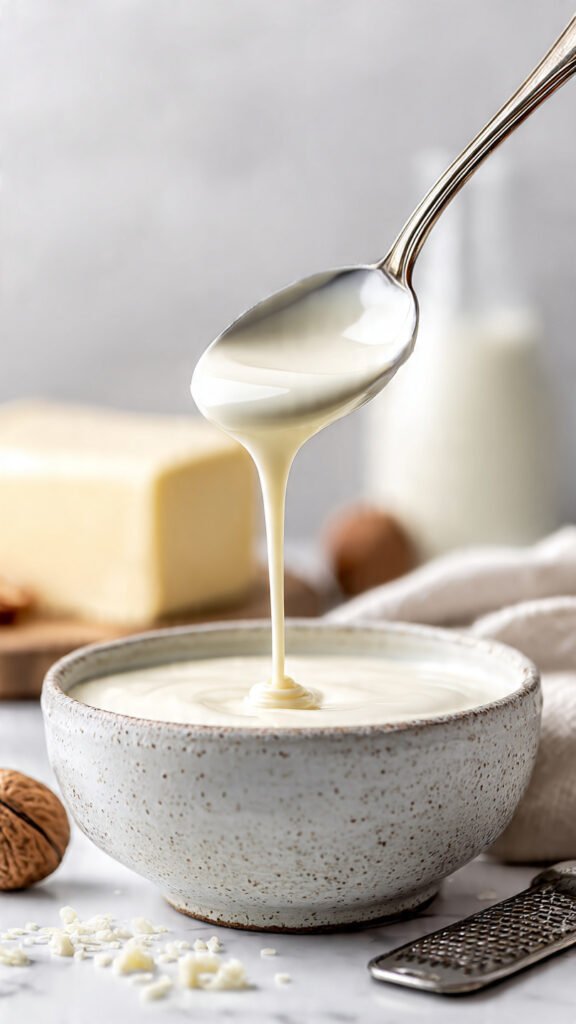
The texture is unmatched. Store-bought white sauces often have a weird, gelatinous wobble to them, thanks to preservatives and stabilizers. Homemade Béchamel? It’s velvety. It’s luscious. It coats the back of a spoon like a warm hug. The smell of the butter toasting with the flour—a nutty, bakery-like aroma—is worth the effort alone.
It’s cheap. We are talking about butter, flour, and milk. These are likely sitting in your kitchen right now, judging you for ordering takeout again. It’s high-impact cooking on a low-impact budget.
Ingredients You’ll Need
You don’t need a shopping list the length of your arm. You just need quality basics. Here is the lineup:
- Butter (The Fat): Unsalted is the way to go here so you can control the salt level later. If you only have salted, just chill out on adding extra salt at the end. You need about 4 tablespoons.
- All-Purpose Flour (The Thickener): Just regular white flour. Nothing fancy. This binds with the butter to create the roux. You’ll need an equal amount to the butter (4 tablespoons). Pro tip: Don’t try to use almond flour or coconut flour unless you want a sad, grainy soup.
- Whole Milk (The Body): Look, you can use 2% or skim milk, but we are here for a good time, not a diet time. Whole milk gives you that rich, glossy finish. You’ll need about 3 to 4 cups, depending on how thick you want it.
- Salt: Kosher salt is my go-to.
- White Pepper: This is the classic choice because it doesn’t leave black specks in your pristine white sauce. If you don’t care about specks (I certainly don’t), black pepper is fine.
- Nutmeg (The Secret Weapon): Freshly grated is best, but ground is fine. Do not skip this. You only need a tiny pinch. It adds a background warmth that makes people ask, “What is that flavor?” without overpowering the sauce.
Step-by-Step Instructions
Alright, apron on. Let’s do this.
1. Warm the Milk (The “Prep” Step) Pour your milk into a microwave-safe jug or a small saucepan and warm it up until it’s just steaming, not boiling.
- Why? Dumping ice-cold milk into a hot butter-flour mixture is the number one cause of lumps. It shocks the roux. Warm milk makes friends with the butter much faster.
2. Melt the Butter In a medium saucepan over medium heat, melt your butter. Watch it closely. You want it bubbling and happy, not smoking and angry. If it starts turning brown immediately, your heat is too high. Turn it down.
3. The Roux (The Science Part) Sprinkle the flour over the melted butter. Now, grab your whisk and don’t let go. Whisk them together constantly.
- The Cook: Let this mixture cook for about 2 minutes. You are looking for a “blonde” roux. It should bubble gently and start to smell a little bit like a baking pie crust or toasted nuts. This step cooks out the raw flour taste. If you skip this, your sauce will taste like Play-Doh.
4. The Pour (The Danger Zone) This is where the magic happens. While whisking constantly with one hand, slowly pour in about a cup of the warm milk with the other hand.
- The Reaction: The mixture will suddenly puff up and turn into a thick, clumpy paste. Don’t panic! This is normal. Keep whisking vigorously.
- Smooth it out: Slowly stream in the rest of the milk, whisking the entire time. As the liquid increases, the clumps will dissolve into a smooth, creamy liquid.
5. The Simmer Bring the sauce to a gentle simmer (not a violent boil). Reduce the heat to low. You need to let this cook for about 5 to 10 minutes, stirring frequently so the bottom doesn’t burn.
- Sensory Check: The sauce will thicken as the starch granules in the flour swell up and absorb the liquid. It should look glossy and smooth.
6. The Spoon Test Dip a wooden spoon into the sauce and run your finger down the back of the spoon. Does the line stay clear without the sauce running back together immediately? Congratulations, you have achieved nappe consistency (fancy chef talk for “perfectly thick”).
7. Season to Perfection Remove from heat. Whisk in your salt, white pepper, and that crucial pinch of nutmeg. Taste it. Does it need more salt? Add it. Trust your tongue.
Common Mistakes to Avoid
Even the best of us trip up sometimes. Here is how to avoid the face-palm moments:
- The “Lump City” Disaster: This usually happens if you add cold milk too fast or stop whisking.
- The Fix: If you have lumps, don’t cry. Just pour the sauce into a blender (carefully, it’s hot!) or use an immersion blender to blitz it smooth. No one needs to know.
- Burning the Roux: If you look away to scroll Instagram and your butter/flour mixture turns dark brown or black, toss it. You can’t save it. It will taste bitter and sad. Start over; flour is cheap.
- Using High Heat: Milk loves to scorch on the bottom of the pan. It’s a diva like that. Keep the heat medium-low once the milk is in, and scrape the bottom of the pot with your spoon or whisk often.
- Serving Raw Flour: If your sauce tastes chalky, you didn’t cook the roux long enough in step 3, or you didn’t simmer the sauce long enough in step 5. Give it more time on the stove.
Alternatives & Substitutions
This recipe is a blank canvas. Here is how to paint on it:
- Make it Mornay (Cheese Sauce): The most popular upgrade. Once your Béchamel is done and off the heat, stir in a cup of grated Gruyère, Cheddar, or Parmesan until melted. Instant mac and cheese base.
- Make it Soubise (Onion Sauce): Sauté some finely diced onions in butter before adding the flour. Puree it at the end. Incredible over pork chops.
- Gluten-Free: Swap the all-purpose flour for a high-quality 1:1 Gluten-Free flour blend. It works surprisingly well, though the texture might be slightly less elastic.
- Vegan/Dairy-Free: Use olive oil or vegan butter instead of dairy butter, and use soy milk or oat milk. FYI: Oat milk can make the sauce a little sweet, so adjust your seasoning (extra salt/pepper) to balance it out.
- Herbed: Infuse your milk with a bay leaf or a sprig of thyme while warming it up (Step 1), then fish it out before pouring the milk into the roux. Fancy vibes, zero effort.
FAQ (Frequently Asked Questions)
1. Can I make this ahead of time? Absolutely. You can make it up to 3 days in advance. Just keep it in the fridge.
2. Why did a skin form on top of my sauce? Ah, the dreaded milk skin. As it cools, proteins solidify on the surface. To prevent this, press a piece of plastic wrap or wax paper directly onto the surface of the hot sauce before putting it in the fridge. It creates a seal so the air can’t touch it.
3. Can I freeze Béchamel sauce? Technically? Yes. Should you? IMO, not really. The emulsion tends to break when it thaws, leading to a grainy texture. It takes 15 minutes to make fresh—just whip up a new batch.
4. My sauce is too thick! Is it ruined? Not at all. It’s just thirsty. Whisk in a splash more milk or even a little chicken stock until it loosens up to your liking.
5. My sauce is too thin! Help! Don’t just dump more raw flour in—that will make lumps. Instead, make a “beurre manié” (knead a tiny bit of soft butter and flour together into a ball) and drop it into the simmering sauce, whisking until it dissolves and thickens.
6. Can I use oil instead of butter? Yes, you can use olive oil or vegetable oil. The flavor won’t be as rich or nutty, but the chemistry works the same. It’s great for a lighter Mediterranean lasagna.
7. Is this the same as country gravy? Cousins, not twins. Country gravy usually uses sausage drippings instead of butter and is heavily peppered. Béchamel is the sophisticated city cousin; country gravy is the hearty, rustic cousin. Both are delicious.
Final Thoughts
See? That wasn’t so bad, was it?
You have now conquered the Béchamel sauce recipe (or the bashamel, we don’t judge spelling here, only flavor). You have successfully manipulated starch gelatinization and created a French Mother Sauce in your pajamas.
Whether you pour this over roasted cauliflower, layer it into a moussaka, or just dip bread into it while standing over the stove (I won’t tell), you’ve leveled up your cooking game.
Now go impress someone—or yourself—with your new culinary skills. You’ve earned it!