🥖 Authentic Bolillos Mexican Recipe: Crusty & Soft
So you’re craving something tasty but you’re too lazy to put on actual pants and drive to the bakery, huh? Same.
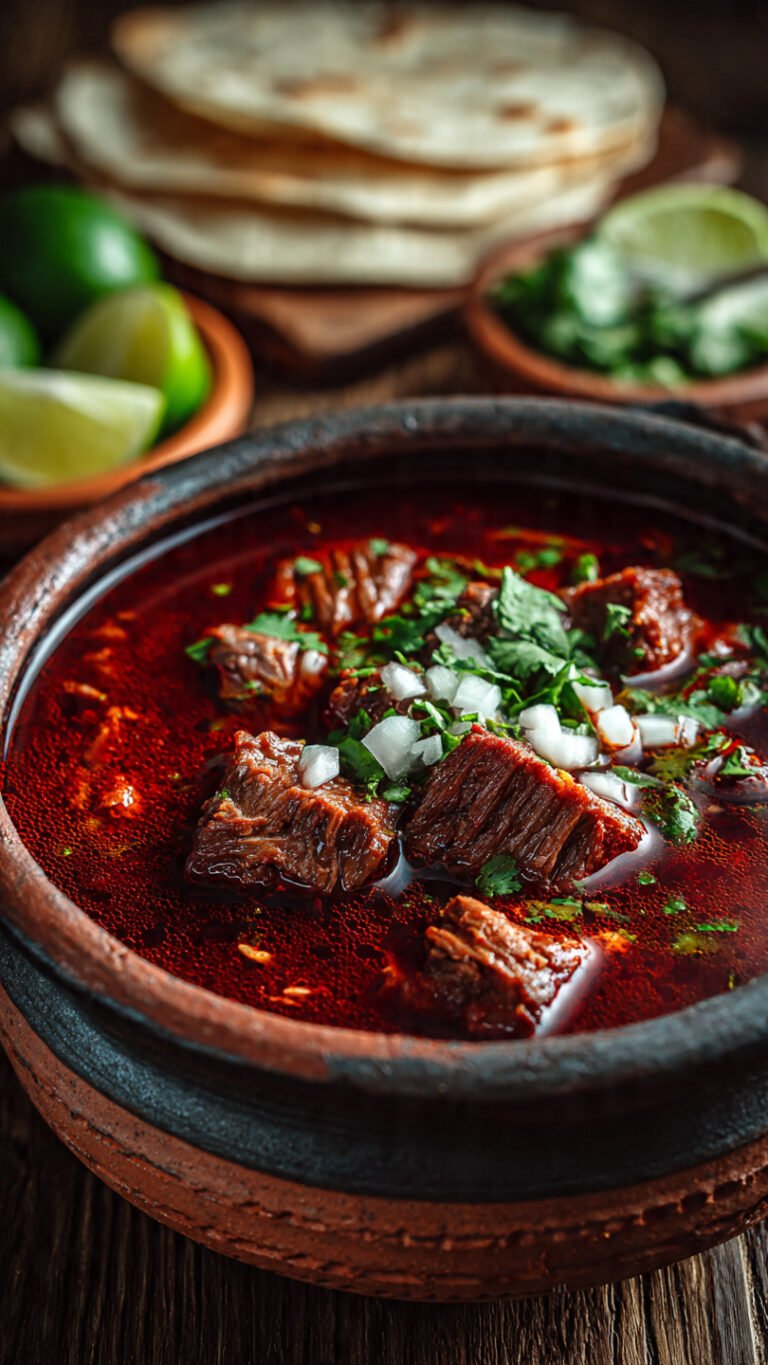
Look, we’ve all been there. You have the perfect fillings for a torta—maybe some leftover carnitas, a ripe avocado that’s about five minutes away from turning brown, and a smear of beans. But you’re missing the most critical component: the vehicle. The vessel. The crunch. You need a bolillo.
And not just any supermarket bread roll that tastes like sadness and preservatives. You need the real deal.
If you’ve been frantically searching for a bolillos Mexican recipe that actually replicates that signature crackly crust and fluffy, cloud-like interior, you can stop scrolling. You’ve found it. Grab your apron (or don’t, I’m not your mom) and let’s make some carb magic happen.

Why This Recipe is Awesome
Okay, let’s be real for a second. Bread making can be intimidating. It smells like fear and yeast infections (the baking kind, relax). But this bolillos Mexican recipe is surprisingly forgiving. Even if you have the culinary dexterity of a toddler, you can pull this off.
Here is why this specific recipe is going to change your life:
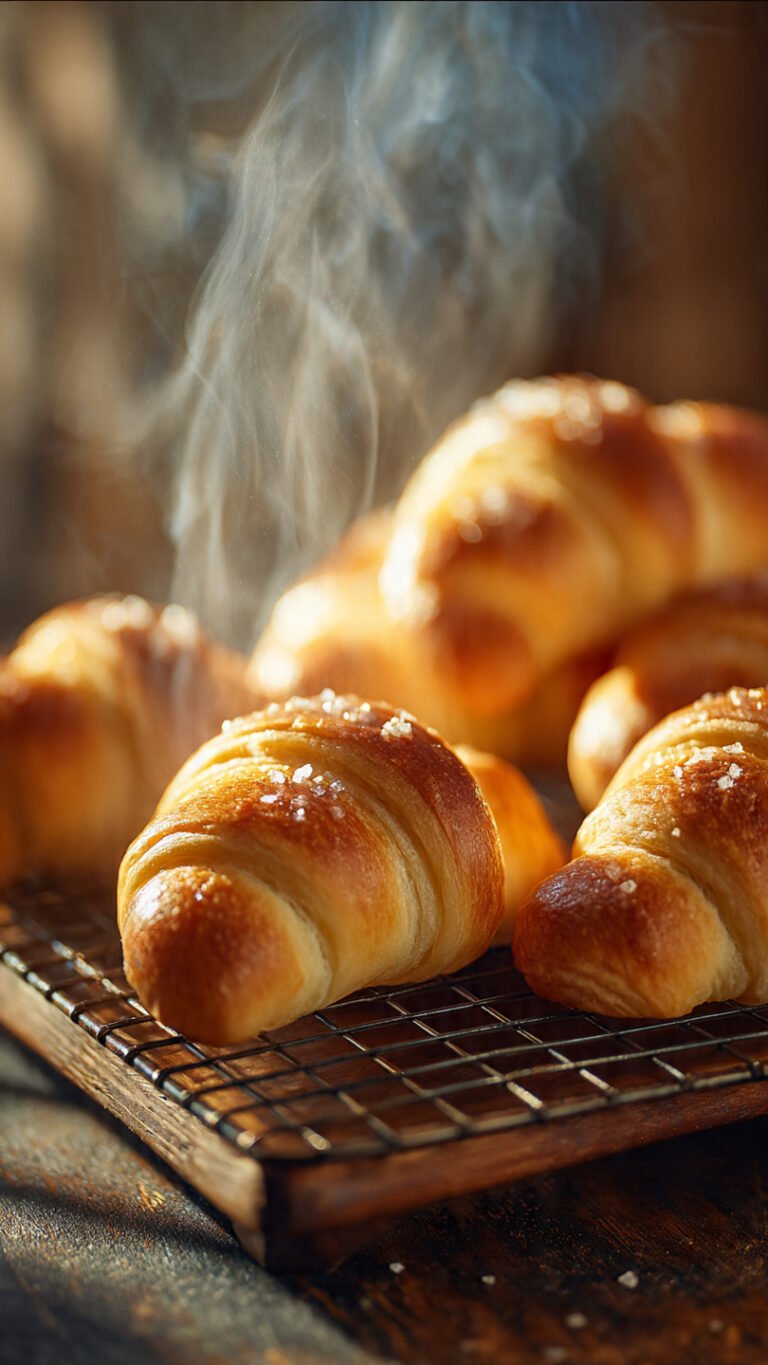
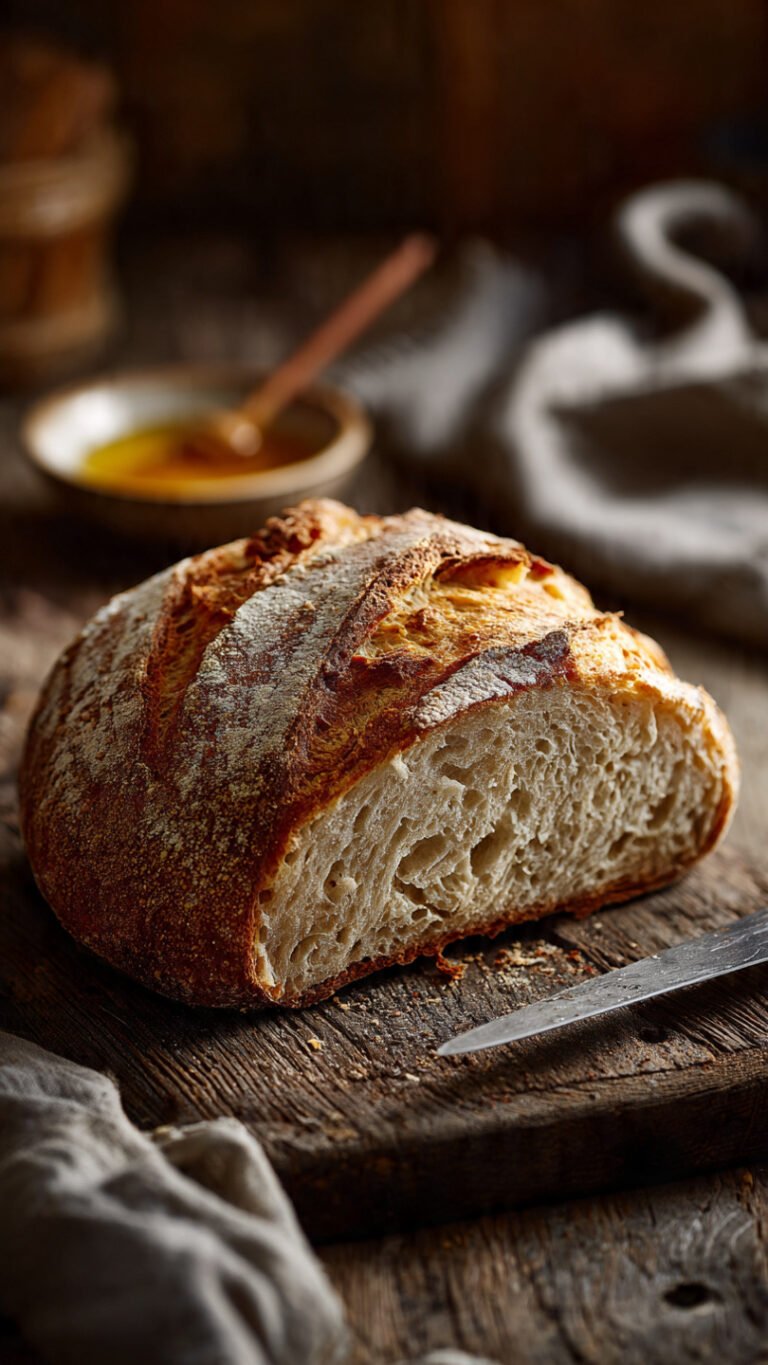
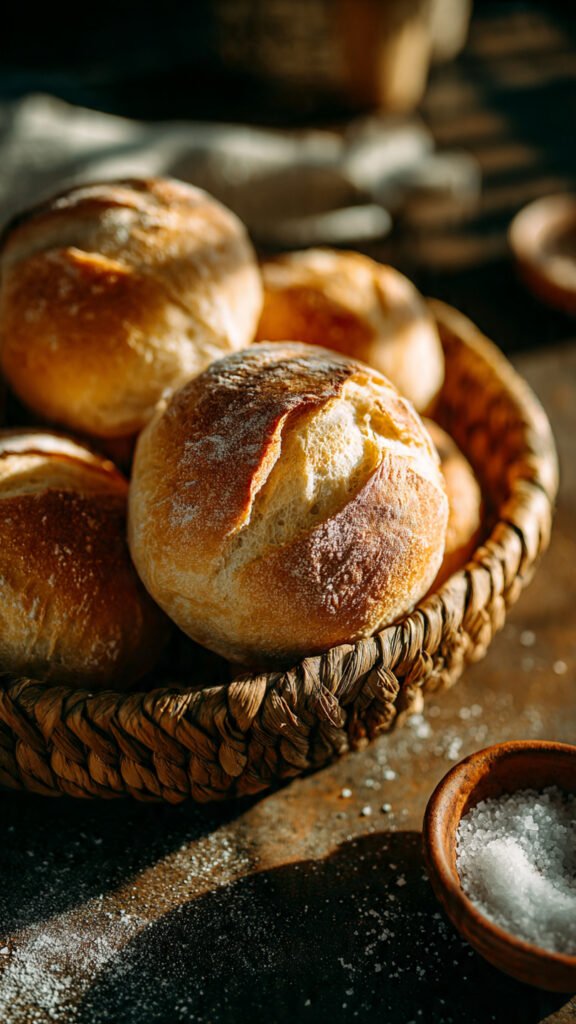
- The Texture is Legit: We are talking about a crust that shatters when you bite into it, giving way to a soft, airy, slightly savory crumb. It’s the perfect duality of man.
- It’s Cheap as Chips: Actually, it’s cheaper than chips. Flour, water, yeast, and a little bit of fat? You probably have all this stuff in your pantry right now, gathering dust behind that weird can of pumpkin puree from 2019.
- The “Steam Hack”: I’m going to teach you the secret to getting that bakery-style crust without buying a $5,000 steam-injection oven. It involves a pan of water and a little bit of danger. Exciting, right?
- It’s Therapeutic: Punching down dough is a socially acceptable way to release your aggression. Mad at your boss? Knead the dough. annoyed by your neighbor? Punch the dough. It’s cheaper than therapy.
Plus, nothing—and I mean nothing—beats the smell of fresh bread baking. If you want your house to smell like a hug, this is how you do it.
Ingredients You’ll Need
Don’t panic. We aren’t using any obscure ingredients that you have to order from a specialty store in the Himalayas. This is humble food at its finest.
- All-Purpose Flour (or Bread Flour): You’ll need about 4 cups. If you use bread flour, you get a chewier texture (which is awesome), but AP flour works perfectly fine for a lighter roll.
- Warm Water: Not hot! If it burns your finger, it kills the yeast. Think “nice bath temperature.”
- Active Dry Yeast: One packet (or 2 ¼ teaspoons). If your yeast has been sitting in the cupboard since the Obama administration, buy new yeast. Dead yeast = distinct lack of bread.
- Sugar: Just a teaspoon. This isn’t for sweetness; it’s a snack for the yeast to get them hyped up and bubbly.
- Salt: 1 ½ teaspoons. Bread without salt tastes like cardboard. Don’t skimp on this.
- Lard or Shortening: 2 tablespoons. This is the secret. You can use butter, but if you want that authentic, “my abuela made this” flavor and texture, you need lard or vegetable shortening. It keeps the crumb soft while the crust gets hard.
- A Ice Cubes or Extra Water: For the “steam bath” later. Trust the process.
Step-by-Step Instructions
Ready to get flour all over your kitchen floor? Let’s do this.
1. Wake Up the Yeast
First, we need to make sure your yeast is alive and kicking. In a small bowl or measuring cup, mix your warm water, sugar, and yeast. Stir it gently and let it sit for about 5–10 minutes.
- Visual Cue: It should get foamy and smell like beer. If it does nothing, pour it out and start over with fresh yeast. Do not pass Go, do not collect $200.
2. Mix the Dough
In a large bowl (or the bowl of your stand mixer), combine the flour and salt. Pour in the foamy yeast mixture and your melted (but not hot) lard/shortening. Mix it until it forms a shaggy, messy dough. It won’t look pretty yet. It’s going to look like a chaotic mess, kind of like my life in my early 20s.
3. The Workout (Kneading)
If you have a stand mixer, use the dough hook on low speed for about 7–10 minutes. If you are doing this by hand, dust your counter with flour and get to work. Knead the dough for a good 10 minutes. Push, fold, turn. Push, fold, turn.
- The Goal: You want a smooth, elastic dough that springs back when you poke it. It shouldn’t be sticky anymore; it should feel tacky, like a Post-It note, not wet glue.
4. The First Nap (Proofing)
Grease a large bowl with a little oil. Plop your dough ball in there and roll it around so it gets coated. Cover the bowl with plastic wrap or a damp towel. Place it somewhere warm and draft-free. Let it rise for about 60 to 90 minutes, or until it has doubled in size. Go watch an episode of your favorite show. You’ve earned a break.
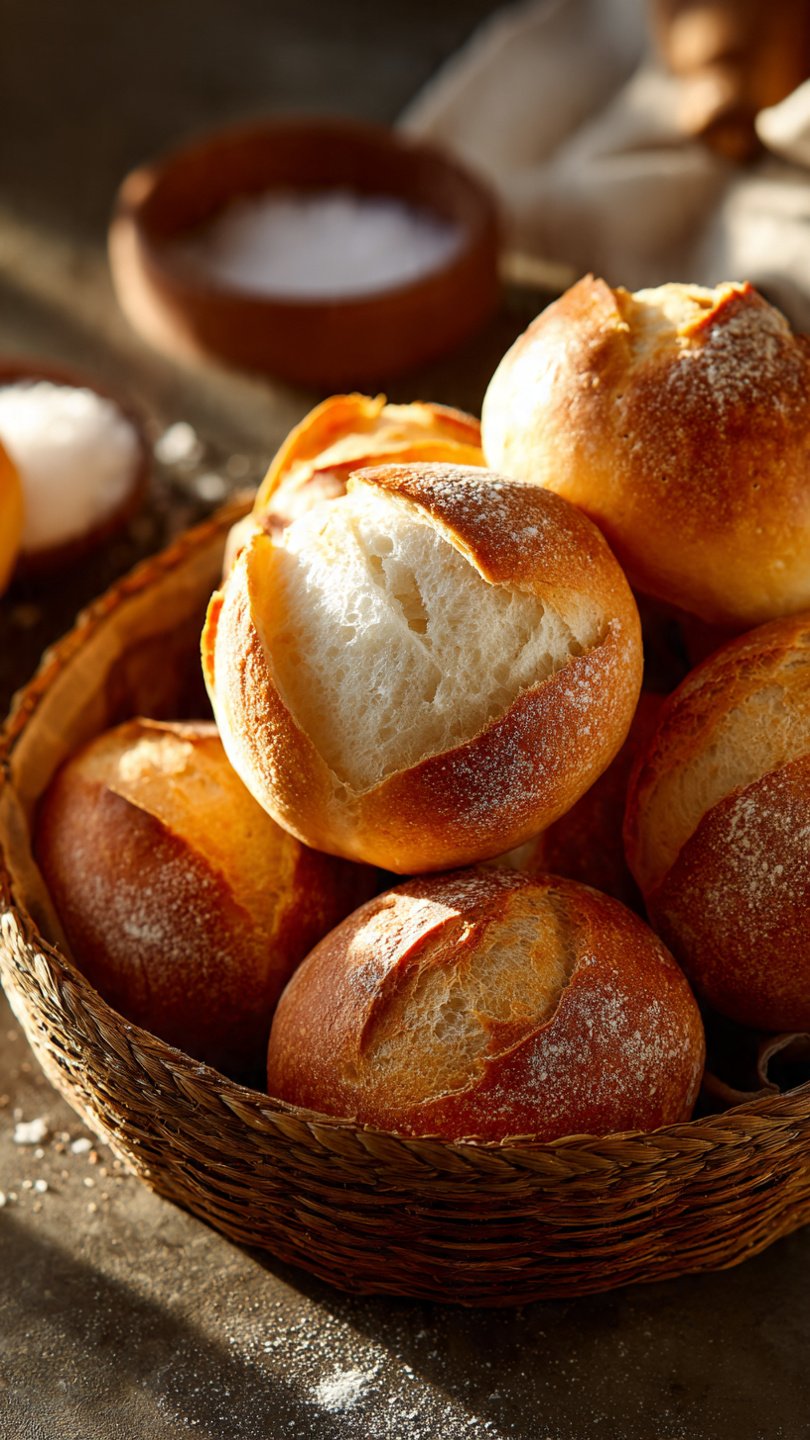
5. Shaping the Footballs
Punch the dough down (gently-ish) to release the air. Divide the dough into 8 to 10 equal pieces. Now, the classic bolillo shape.
- Flatten a piece into a rough oval.
- Fold the top third down and press.
- Fold the bottom third up and press.
- Fold the whole thing in half lengthwise and pinch the seam shut tightly.
- The Trick: Roll the ends against the counter with the sides of your hands to create those pointy, tapered ends. It should look like a little distinct football or a tiny baguette.
6. The Second Nap
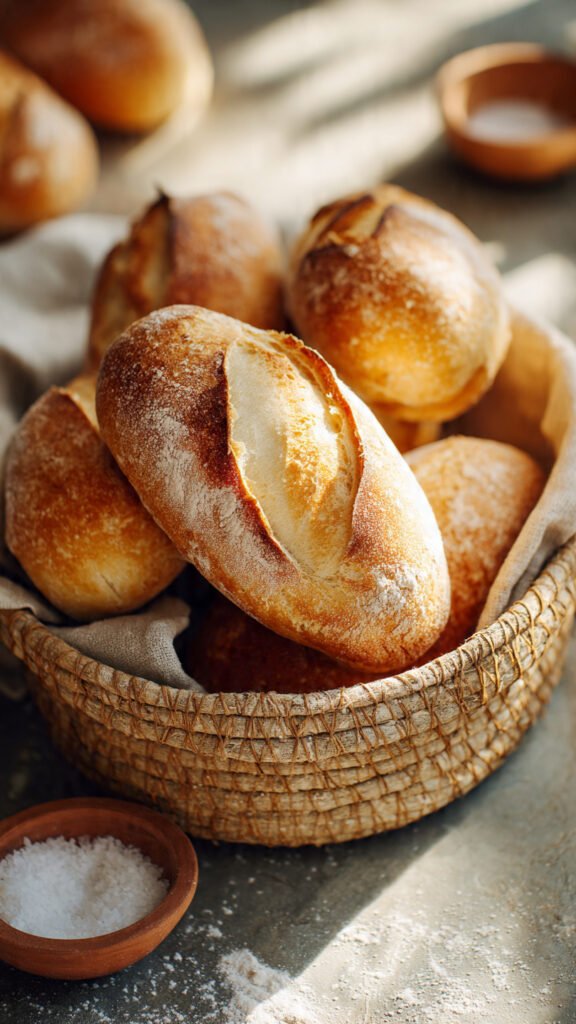
Place your shaped rolls on a baking sheet lined with parchment paper. Give them space; they are social distancers. Cover them lightly with a towel and let them rise again for 30–45 minutes. They should look puffy and proud.
7. The Steam Setup (Crucial!)
While they rise, preheat your oven to 400°F (200°C). Here is the science part: Place a metal baking pan (not glass!) on the very bottom rack of the oven while it preheats. You want this pan scorching hot.
8. Score and Bake
Right before baking, take a sharp knife or a razor blade (lame) and make one deep slash lengthwise down the center of each roll. Don’t be shy—cut about ½ inch deep. This allows the bread to expand without exploding sideways. The slash (or the “ear”) is the signature of a good bolillos Mexican recipe.
9. The Sauna
Put your baking sheet on the middle rack. Immediately toss a cup of hot water or a handful of ice cubes into that hot metal pan on the bottom rack. SLAM THE DOOR SHUT. You want to trap that steam inside. The steam keeps the crust soft for the first few minutes, allowing the bread to rise rapidly (oven spring) before the crust hardens. This creates that epic crunch later.
10. The Finish Line
Bake for 20–25 minutes until they are a deep golden brown. If you tap the bottom of a roll, it should sound hollow, like an empty drum. Let them cool on a rack. I know you want to eat one immediately, but if you cut hot bread, the inside turns gummy. Wait at least 20 minutes. (I know, it’s torture).
Common Mistakes to Avoid
Even the best of us mess up. Here is how to avoid the “Pinterest Fail” version of this recipe.
- Killing the Yeast: If your water feels hot to the touch, it’s too hot. You’re making bread, not tea. If the water is over 110°F, you’ve murdered your leavening agent. RIP.
- Skipping the Steam: If your bolillos come out looking pale and feeling soft like a dinner roll, you didn’t use enough steam. That moisture is non-negotiable for the crust.
- Adding Too Much Flour: It’s tempting to keep adding flour when kneading because the dough is sticky. Resist! Too much flour creates a dense, brick-like roll that could be used as a weapon.
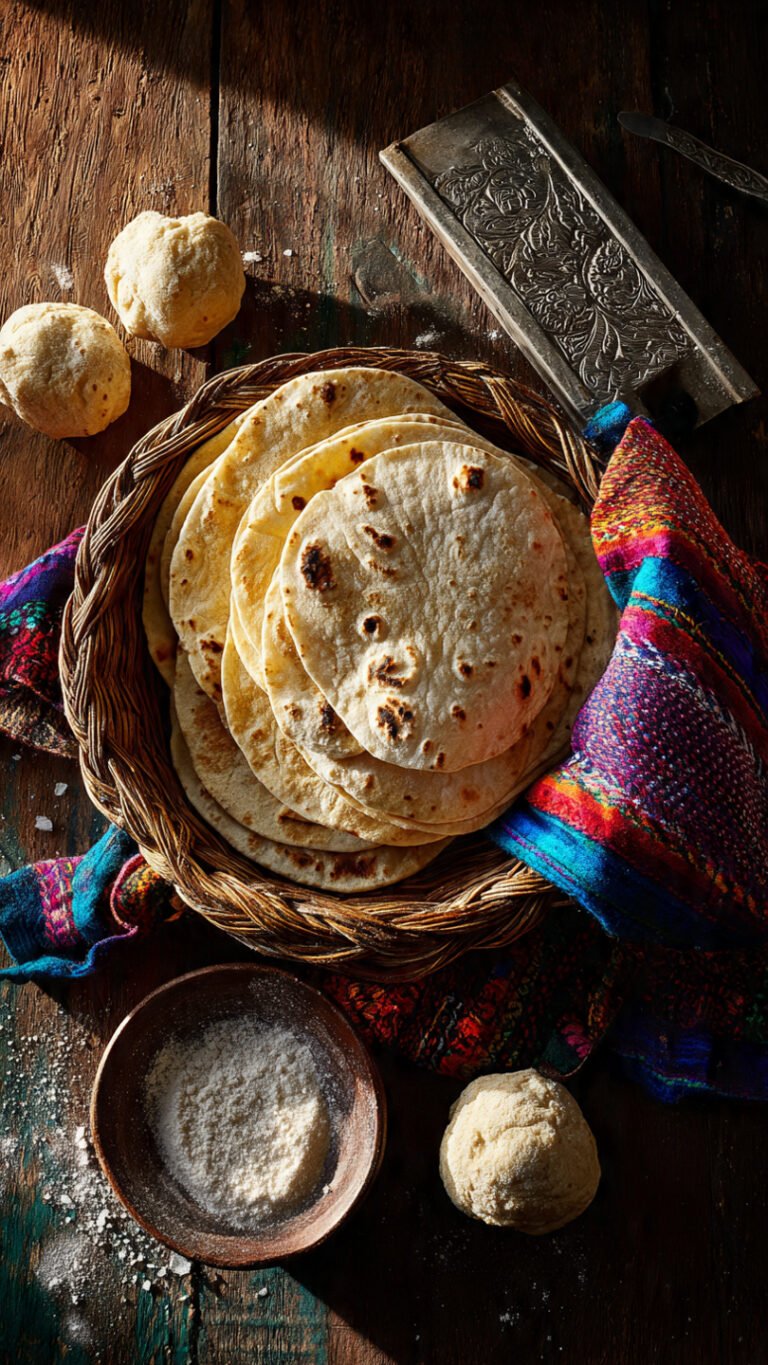
- Not Pinching the Seams: If you don’t pinch the seam shut tightly when shaping, your rolls will unravel in the oven and look like flatbreads having an identity crisis.
Alternatives & Substitutions
Cooking is art; baking is science. But even science allows for some variables.
- No Lard? No problem. Use vegetable shortening (Crisco) for the closest texture. Unsalted butter works too, but the bread will be slightly softer and richer—more like a French roll than a Mexican bolillo.
- Whole Wheat Bolillos: You can swap up to half of the white flour for whole wheat flour. Just know they will be denser and won’t rise as high. It’s healthier, sure, but are we here for health or are we here for joy?
- Birolles: Want to get fancy? Use a rolling pin to flatten the dough very thin before rolling it up tight. This creates a denser, tighter crumb structure.
- Sourdough: If you have a starter, add ½ cup of discard to the liquids for a tangy flavor boost. You’ll still use the yeast for the lift, but the discard adds that artisanal flair.
FAQ (Frequently Asked Questions)
Q: Can I make the dough the night before? A: Absolutely! Do the first rise in the fridge overnight. Cold fermentation actually develops way more flavor. Just let the dough come to room temperature before shaping.
Q: Why are my bolillos flat? A: You probably over-proofed them (let them rise too long) or your yeast was weak. Dough is like a balloon; if you blow it up too much, it loses structure and collapses.
Q: Can I freeze these? A: Yes! Bake them, cool them completely, and throw them in a freezer bag. When you want one, spritz it with water and toss it in a 350°F oven for 5-10 minutes. They come back to life beautifully.
Q: Do I really need a stand mixer? A: Nope. Your ancestors didn’t have a KitchenAid. Use your hands. It’s a great arm workout. Who needs the gym when you have gluten development?
Q: Can I use gluten-free flour? A: You can, but the texture won’t be the same. Bolillos rely on gluten for that chew and stretch. If you use a GF blend, make sure it’s a 1:1 baking blend with xanthan gum, but expect a different result.
Q: Is this the same as a telera roll? A: Close cousins! Teleras are usually softer, rounder, and have two indentation lines stamped across them rather than the single slash. The dough is very similar, though.
Final Thoughts
And there you have it. You have successfully navigated the floury path to carbohydrate heaven. This bolillos Mexican recipe is a staple you’ll return to over and over again.
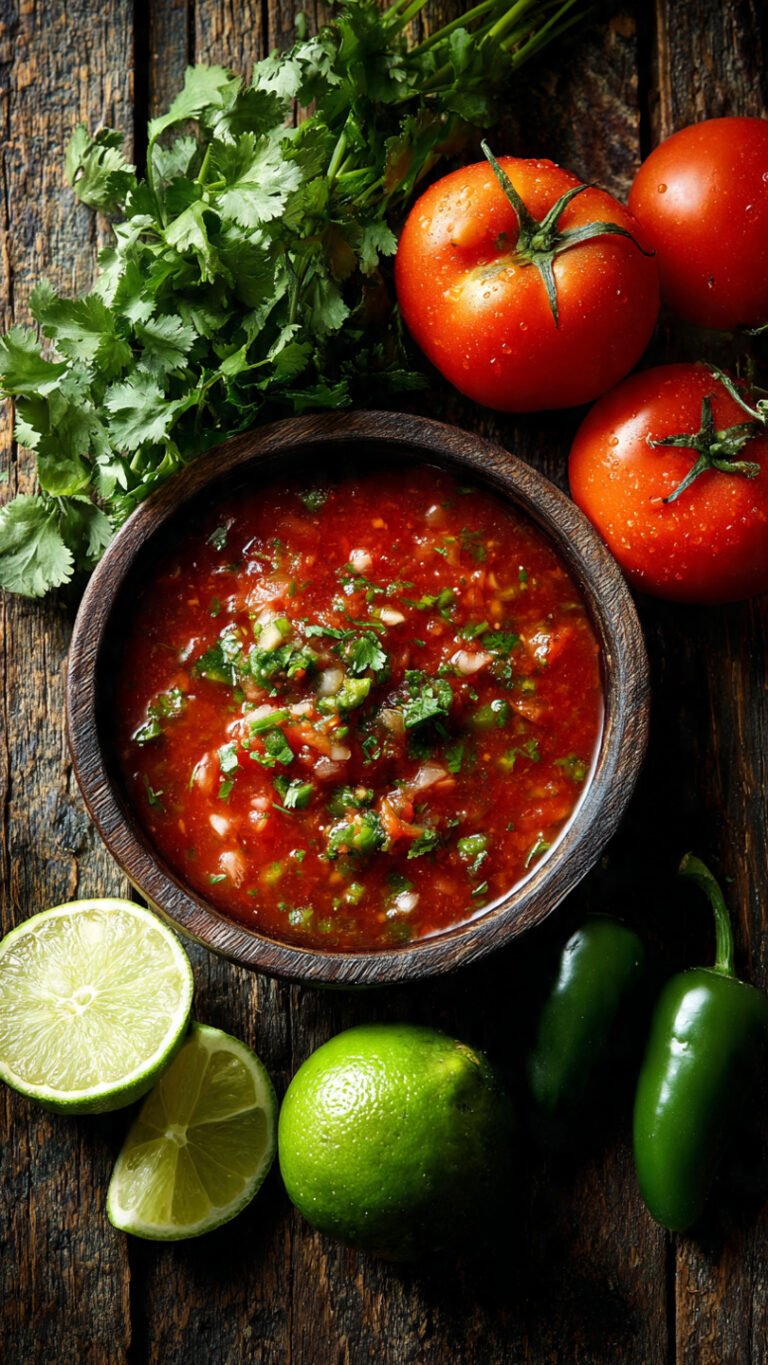
Whether you slice them open for a torta ahogada, smother them in beans and cheese for molletes, or just rip them apart and slather them in butter while standing over the kitchen sink like a goblin (no judgment), you’ve made something beautiful.
Baking bread is a little bit of magic. You took dust and water and turned it into sustenance. That’s pretty cool.
Now go impress someone—or just impress yourself—with your new culinary skills. You’ve earned it! And hey, if they aren’t perfect the first time? They still taste like bread, and bread is always good.