Bread Bowls Recipe: The Ultimate Comfort Food Delivery System
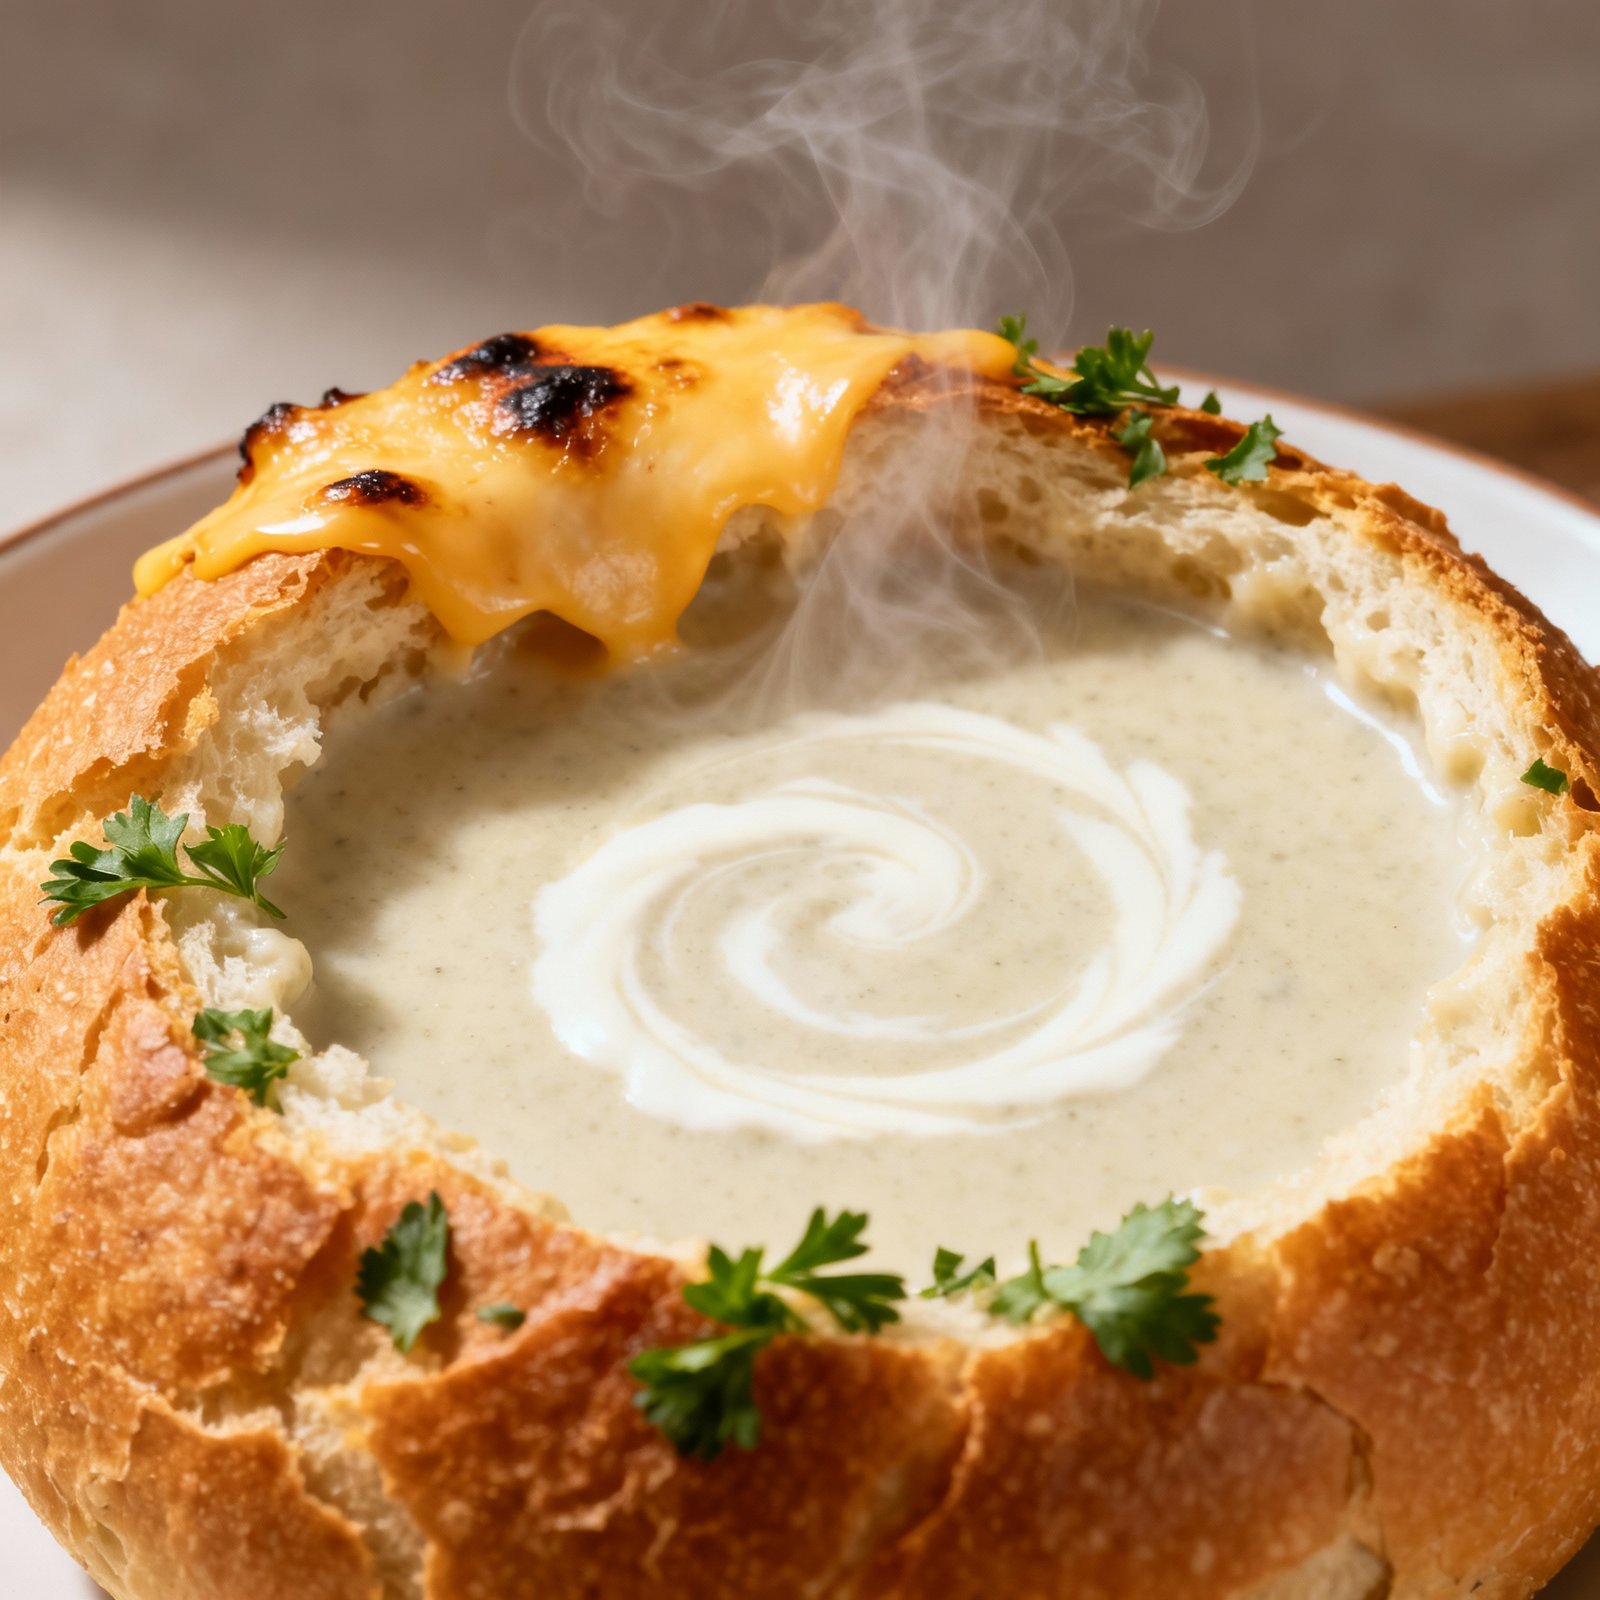
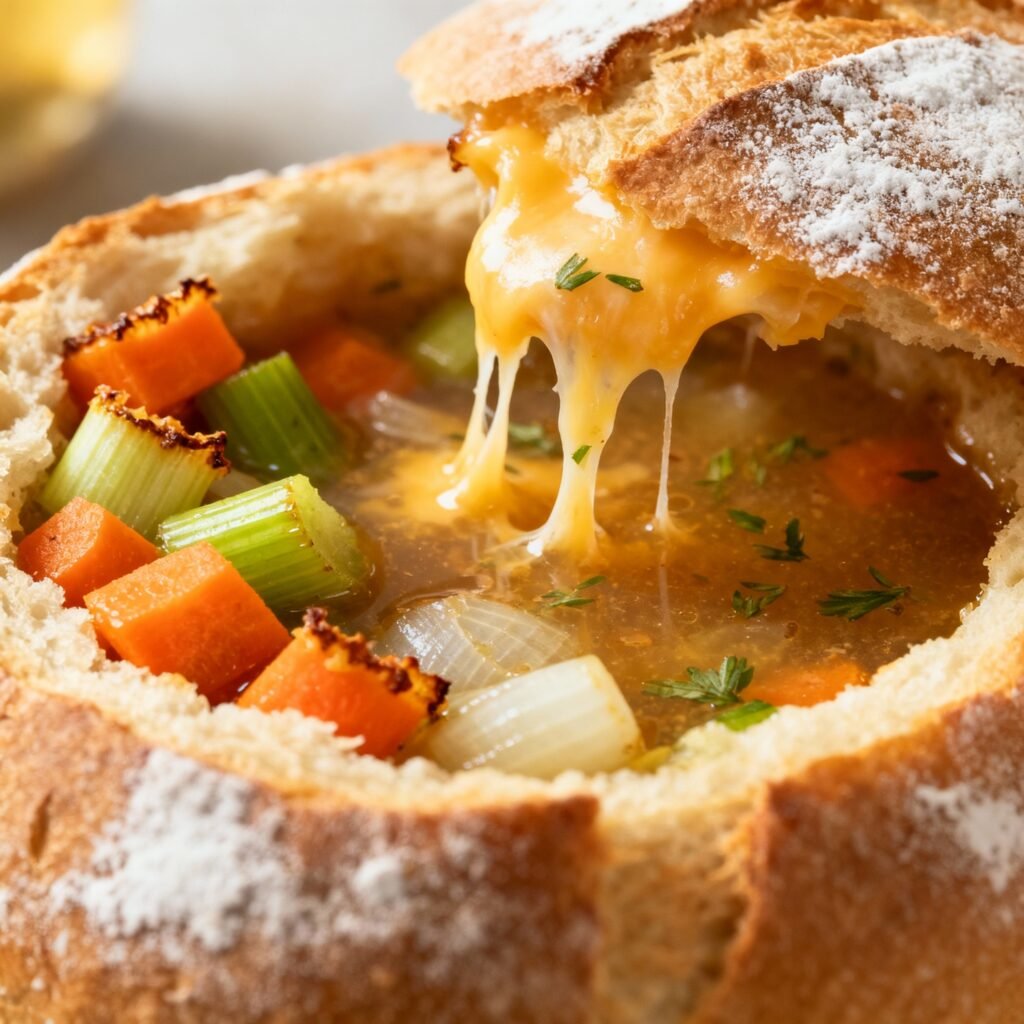
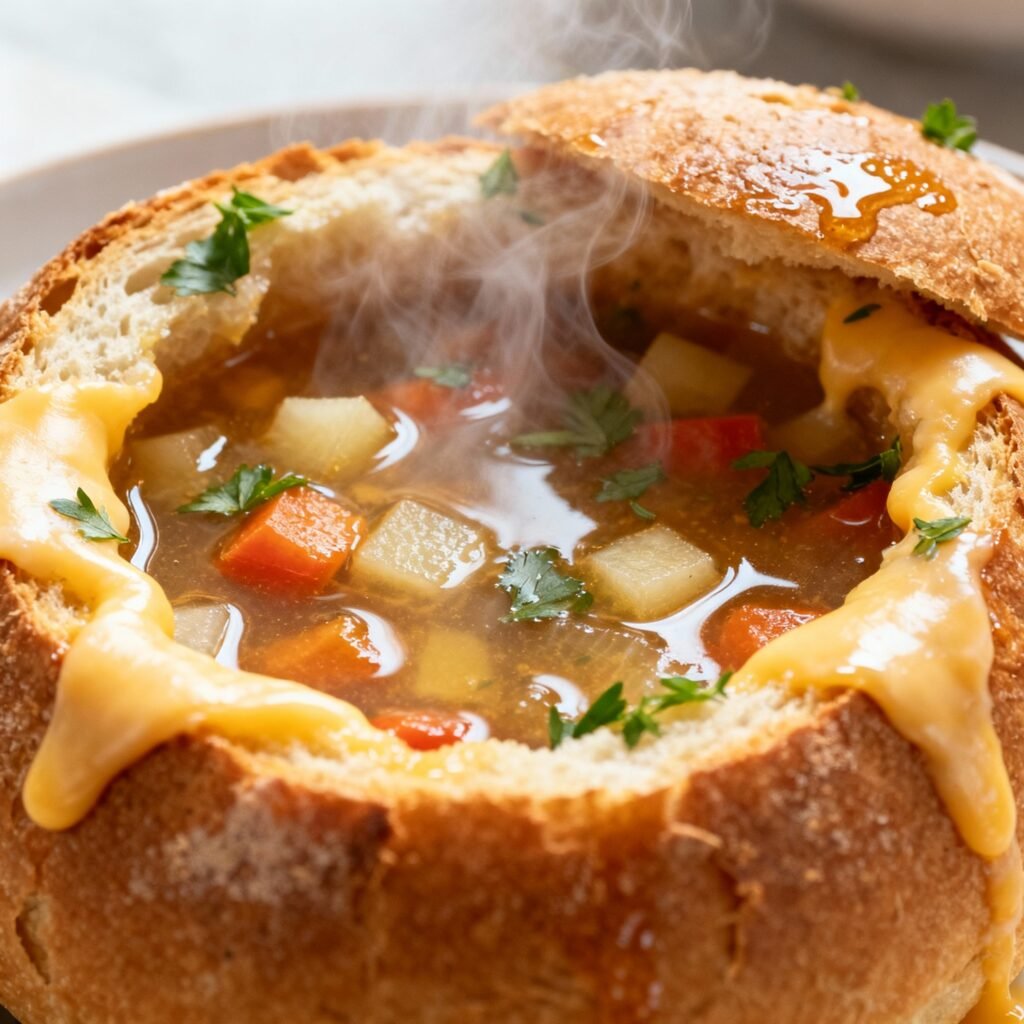
Imagine sinking your teeth into a warm, crusty bread bowl brimming with your favorite soup, chili, or creamy dip. It’s the ultimate comfort food experience – a meal and a vessel all in one! Making your own bread bowls might seem intimidating, but this recipe breaks down the process into easy-to-follow steps, guaranteeing homemade goodness that’s far superior to anything you can buy at the store. Get ready to impress your family and friends with these delightful and surprisingly simple bread bowls.
Why This Recipe Works
This recipe is designed for success, even for beginner bakers. Here’s why it works:
- Simplified Dough: We use a straightforward dough recipe with readily available ingredients. No fancy flours or complicated techniques required.
- Clear Instructions: Each step is clearly explained with detailed instructions and helpful tips to guide you through the process.
- Focus on Shaping: We’ll show you exactly how to shape the dough into perfectly round bowls that hold their form during baking.
- Baking Tips: We provide specific baking temperatures and times to ensure a golden-brown crust and a soft, chewy interior.
- Versatile: This recipe is a blank canvas. Feel free to experiment with different flours (whole wheat, rye) or add-ins (herbs, cheese) to customize your bread bowls.
Ingredients
- 3 cups (360g) Bread Flour: Bread flour has a higher protein content than all-purpose flour, which helps develop gluten and creates a chewier texture.
- 1 ½ cups (360ml) Warm Water (105-115°F / 40-46°C): The water should be warm enough to activate the yeast, but not so hot that it kills it. Use a thermometer for best results.
- 1 packet (2 ¼ teaspoons) Active Dry Yeast: This is the leavening agent that makes the bread rise.
- 1 teaspoon Sugar: The sugar provides food for the yeast, helping it to activate and rise.
- 1 ½ teaspoons Salt: Salt controls the yeast’s activity and enhances the flavor of the bread.
- 1 tablespoon Olive Oil: Olive oil adds flavor and helps to create a softer crust.
- Egg Wash (1 egg beaten with 1 tablespoon water): This gives the bread bowls a shiny, golden-brown crust. (Optional)
- Sesame Seeds or Everything Bagel Seasoning (Optional): For topping and added flavor.
Instructions
- Activate the Yeast: In a large bowl, combine the warm water, sugar, and yeast. Let stand for 5-10 minutes, or until foamy. This indicates that the yeast is active and ready to use.
- Combine Dry Ingredients: In the same bowl (or a stand mixer bowl), add the bread flour and salt to the yeast mixture.
- Mix the Dough: If using a stand mixer, use the dough hook attachment and mix on low speed until the dough comes together. If mixing by hand, use a wooden spoon or your hands to combine the ingredients until a shaggy dough forms.
- Knead the Dough: Turn the dough out onto a lightly floured surface and knead for 8-10 minutes, or until the dough is smooth and elastic. If using a stand mixer, knead on medium speed for 6-8 minutes. The dough should be slightly sticky but not overly wet.
- First Rise: Place the dough in a lightly oiled bowl, turning to coat. Cover with plastic wrap or a clean kitchen towel and let rise in a warm place for 1-1.5 hours, or until doubled in size.
- Divide the Dough: Gently punch down the dough to release the air. Divide the dough into 4 equal portions.
- Shape the Bread Bowls:
- Roll each portion of dough into a smooth ball.
- Place the ball on a lightly floured surface.
- Using your hands, gently flatten the ball into a disc about 6-7 inches in diameter.
- Cup your hands around the edges of the disc and gently pull and tuck the dough underneath to create a round, smooth bowl shape.
- Pinch the bottom of the bowl to seal it.
- Second Rise: Place the shaped bread bowls on a baking sheet lined with parchment paper. Cover loosely with plastic wrap or a clean kitchen towel and let rise for 30-45 minutes, or until slightly puffed.
- Preheat Oven: Preheat oven to 400°F (200°C).
- Prepare for Baking: If using, brush the bread bowls with egg wash. Sprinkle with sesame seeds or everything bagel seasoning.
- Bake the Bread Bowls: Bake for 20-25 minutes, or until the bread bowls are golden brown and sound hollow when tapped on the bottom.
- Cool and Hollow Out: Let the bread bowls cool on a wire rack for at least 15 minutes before hollowing them out. Use a serrated knife to cut a circle in the top of each bowl, leaving a 1-inch border. Gently remove the bread from the center, leaving a sturdy shell. You can save the removed bread for dipping or making croutons.
- Serve: Fill the bread bowls with your favorite soup, chili, stew, or dip and enjoy!
Tips for Success
- Use a Kitchen Thermometer: Ensuring the water is the correct temperature for activating the yeast is crucial.
- Don’t Overknead: Overkneading can result in tough bread. Knead until the dough is smooth and elastic, but not overly stiff.
- Proper Rising Time: Allow the dough to rise properly in a warm, draft-free place. This is essential for light and airy bread bowls.
- Handle Dough Gently: When shaping the bread bowls, be gentle to avoid deflating the dough.
- Bake Until Golden Brown: The bread bowls should be a deep golden brown color when they are done baking. This ensures that the crust is crispy and the interior is cooked through.
- Experiment with Flavors: Add herbs, cheese, or spices to the dough for a unique flavor profile.
- For a Chewier Crust: Place a baking sheet with water on the bottom rack of the oven during baking. This creates steam, which helps to create a chewier crust.
Storage Instructions
Unfilled Bread Bowls: Store cooled, unfilled bread bowls in an airtight container at room temperature for up to 2 days. For longer storage, freeze them individually wrapped in plastic wrap and then placed in a freezer bag for up to 2 months. Thaw completely before using.
Filled Bread Bowls: Filled bread bowls are best consumed immediately. If you have leftovers, store the filling separately from the bread bowl in the refrigerator for up to 3 days. Reheat the filling and fill the bread bowl just before serving.
FAQ
Q: Can I use all-purpose flour instead of bread flour?
A: Yes, you can, but the texture will be slightly different. Bread flour has a higher protein content, which results in a chewier texture. All-purpose flour will produce a softer bread bowl.
Q: Can I make these bread bowls ahead of time?
A: Yes, you can make the dough ahead of time and store it in the refrigerator for up to 24 hours. Let it come to room temperature before shaping and baking.
Q: What kind of soup or chili is best for bread bowls?
A: Any soup or chili that you enjoy! Creamy soups, hearty stews, and thick chilis all work well. Avoid very thin, watery soups, as they may make the bread bowl soggy.
Q: My bread bowls are too hard. What did I do wrong?
A: Overbaking can cause the bread bowls to be too hard. Make sure to check them frequently during baking and remove them from the oven when they are golden brown and sound hollow when tapped on the bottom. Also, make sure you are not using too much flour when kneading.
Q: Can I add cheese to the dough?
A: Absolutely! Adding about 1 cup of shredded cheese (cheddar, Parmesan, or Gruyere) to the dough during the kneading process will add flavor and texture.
Conclusion
Making your own bread bowls is a rewarding experience that will elevate your soup, chili, and dip game to a whole new level. With this easy-to-follow recipe and helpful tips, you’ll be creating delicious and impressive bread bowls in no time. So, gather your ingredients, preheat your oven, and get ready to enjoy the ultimate comfort food delivery system!