☁️ The Easiest Cheesecake Mousse Recipe Ever (No Bake!)
Okay, be honest. It’s 8:37 PM on a random Tuesday. You are craving cheesecake with the fiery intensity of a thousand suns. But do you have the emotional bandwidth to crush graham crackers, drag out the springform pan, construct a precarious water bath, bake something for an hour, and then—the ultimate torture—wait another six hours for it to chill in the fridge?
Absolutely not. That is way too much adulting for a weeknight.
If you’re nodding along, you’ve just found your new best friend. This cheesecake mousse recipe is the lazy genius solution to your gourmet cravings. It gives you all that iconic tangy, creamy flavor without the stress, the cracks, or the tedious waiting game. We’re talking dessert in 15 minutes flat. Let’s get fluffy.
Why This Recipe is Awesome
Look, I love a classic baked cheesecake as much as the next person. But let’s be real, it’s high maintenance. It’s the diva of the dessert world. It demands specific temperatures, humidity control, and gentle handling, or it cracks under pressure—literally.
This cheesecake mousse recipe, however? This recipe is the chill, supportive friend who shows up with wine and doesn’t judge your sweatpants. It is virtually un-mess-up-able. Even if you burn toast regularly, you can master this.
Here is precisely why this recipe deserves a permanent spot in your mental recipe box, and why it tastes so incredibly good.
It’s All About the Texture
Traditional cheesecake is dense, rich, and heavy. It sits in your stomach like a delicious brick. This mousse is the exact opposite. By separating the components—whipping heavy cream into ethereal stiff peaks and then gently folding it into sweetened, flavor-spiked cream cheese—we are introducing thousands of tiny air bubbles into the mixture.
The result? A texture that is impossibly light, airy, and velvety. It dissolves on your tongue instantly, leaving behind that distinct tang. It’s like eating a cheesecake flavored cloud. It feels luxurious and high-end, even though you made it in your pajamas.
The Flavor Balance is Key
Because we aren’t baking out any moisture or flavors, this mousse tastes incredibly fresh. We use just enough powdered sugar to sweeten it without making it cloying, allowing the slight sourness of the cream cheese and a hit of fresh lemon juice to shine through. That tangy-sweet balance is what makes cheesecake addictive, and it’s amplified here because the ingredients aren’t cooked down.
Instant Gratification
This is the biggest selling point, IMO. From the moment you decide you want it to the moment it’s in your mouth, it’s maybe 15 minutes of active work. You can chill it to firm it up, but honestly? Eating it straight out of the mixing bowl with a spoon is a valid life choice that I fully support.
The Ultimate Blank Canvas
Think of this base recipe as the “little black dress” of desserts. It’s stunning on its own, but it is begging to be accessorized. You can layer it in fancy glasses with crushed berries for a dinner party, pipe it into tart shells, scoop it onto brownies, or just use it as a dip for strawberries and graham crackers. It’s versatile enough to be a weeknight treat or the star of a holiday dessert table.
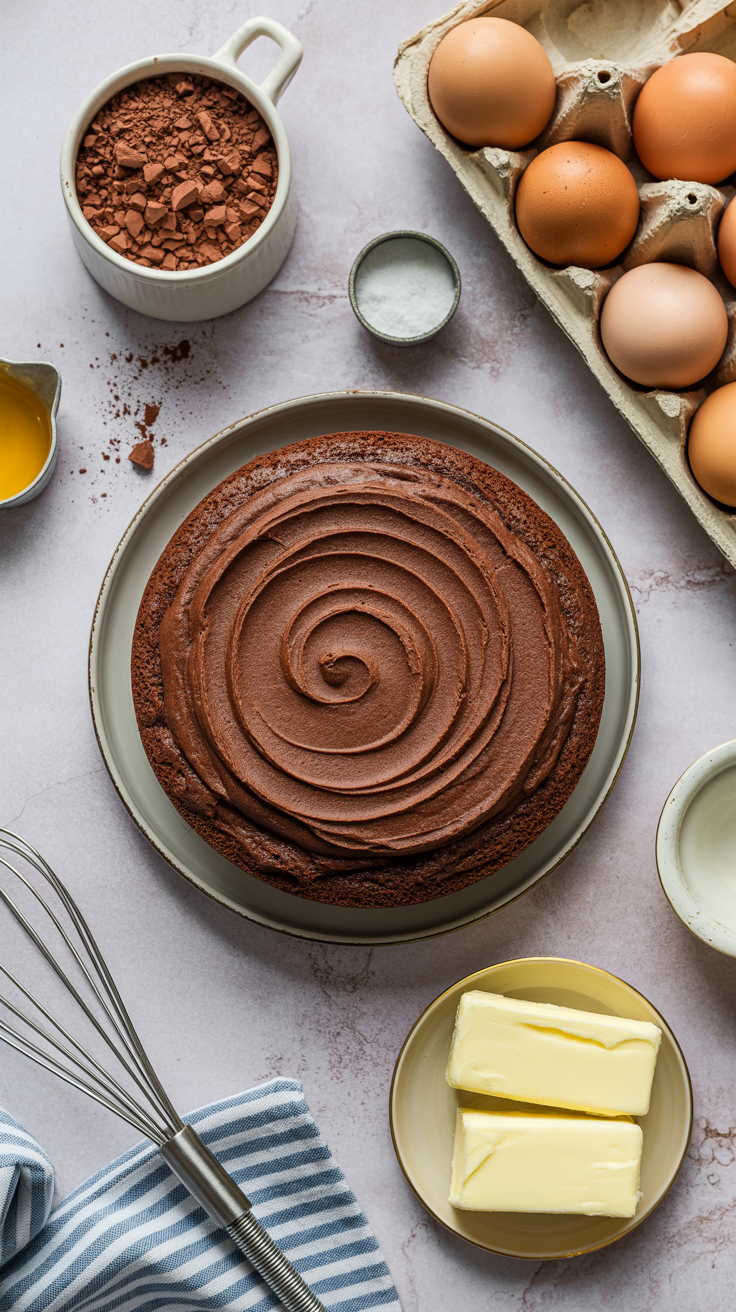
Ingredients You’ll Need
Don’t panic; you probably have most of this stuff already. No weird emulsifiers or hard-to-pronounce stabilizers here. Just real food.
- Cream Cheese: You need one standard 8-ounce block. Crucial Tip: It must be full-fat brick style, and it must be at room temperature. Do not use the spreadable stuff in a tub; it has too much water and your mousse will be sad soup.
- Heavy Whipping Cream: You need about 1 cup. This needs to be ice cold. If it’s warm, it won’t whip. Science says so.
- Powdered Sugar (Confectioners’ Sugar): About ¾ cup, maybe a little more if you have a massive sweet tooth. Do not use granulated sugar unless you enjoy a gritty, crunchy texture in your mousse (gross).
- Vanilla Extract: 1 teaspoon. Please use pure vanilla extract. Imitation vanilla tastes like sad chemicals.
- Lemon Juice: 1 tablespoon of fresh juice. This doesn’t make it taste “lemony”; it just brightens the flavors and gives it that signature cheesecake tang. Don’t skip it.
- A pinch of salt: Just a tiny pinch to balance the sugar.
- (Optional for serving): Graham cracker crumbs, fresh berries, chocolate shavings, or a very large spoon.
Step-by-Step Instructions
Okay, grab your hand mixer. Let’s make magic happen.
Step 1: The Prep Work (Don’t Skip This!)
About an hour before you want to start, take your block of cream cheese out of the fridge. Unwrap it and let it sit on the counter. It needs to be completely soft. If you try to beat cold cream cheese, you will end up with lumpy mousse, and nobody wants that. Pro-Tip: If you forgot to take it out (it happens to the best of us), cube the cream cheese and microwave it in 10-second bursts, flipping between each burst, until soft. Do not melt it.
Step 2: Whip it Good
Take a medium mixing bowl and chill it in the freezer for 5 minutes if your kitchen is hot. Pour in your ice-cold heavy whipping cream. Using a hand mixer or stand mixer with the whisk attachment, beat the cream on high speed. You are looking for stiff peaks.
What does that mean? When you pull the beaters straight up out of the cream, the cream should stand straight up like a little mountain and the tip should not curl over. This usually takes 2–4 minutes. Watch it closely—if you go too far, you’ll accidentally make butter. Once you hit stiff peaks, stop immediately and set the bowl aside.
Step 3: The Cheesecake Base
In a separate, larger bowl, toss in your softened cream cheese block. Beat it on medium speed for about 1–2 minutes until it is completely smooth, creamy, and free of lumps. It should look like thick frosting.
Scrape down the sides of the bowl. Add the powdered sugar, vanilla extract, lemon juice, and salt. Beat again on low speed until everything is incorporated, then bump it up to medium-high for 30 seconds to make it fluffy. Taste it here. Needs more sugar? Add a tablespoon. It’s your life.
Step 4: The Fold (Where the Magic Happens)
This is the most important technical part. We need to combine the whipped cream into the cheese mixture without knocking out all the air you just whipped in.
Take about one-third of your whipped cream and plop it into the cream cheese bowl. Gently stir this in to lighten the base mixture.
Now, add the remaining whipped cream. Using a large rubber spatula, you are going to fold. Cut straight down through the center of the mixture with the spatula to the bottom of the bowl, scrape along the bottom toward you, and lift the mixture up and over the top. Turn the bowl slightly and repeat.
Do this slowly and gently. It should take some time to incorporate. Keep folding until you no longer see streaks of white whipped cream, but stop as soon as it’s uniform. Over-mixing deflates the mousse.
Step 5: Chill (Maybe) and Serve
You now have a glorious bowl of cheesecake mousse. You can absolutely eat it right now. It will be soft, like a very airy pudding.
However, if you want a firmer, more mousse-like consistency that you can pipe into glasses, cover the bowl with plastic wrap and refrigerate it for at least 1 hour.
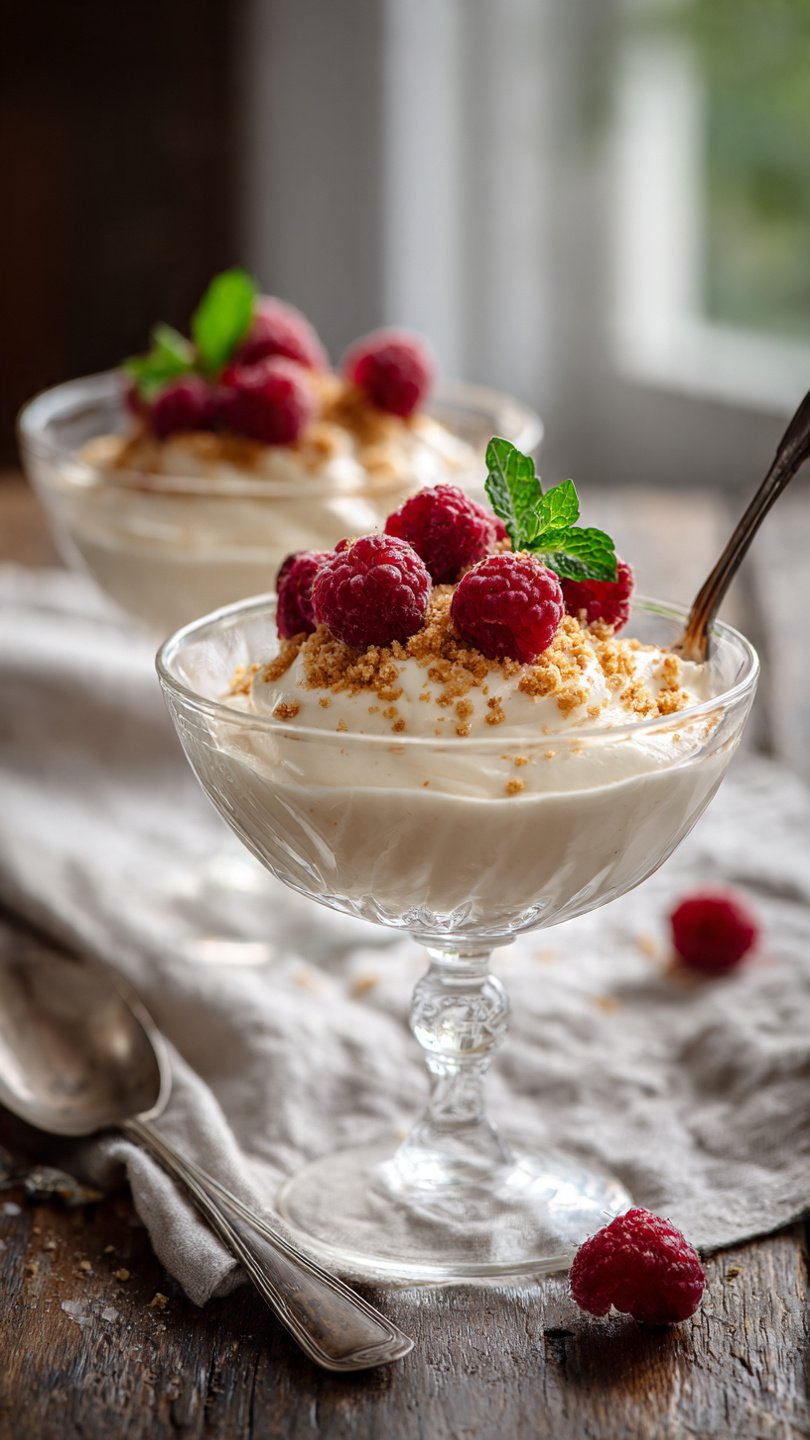
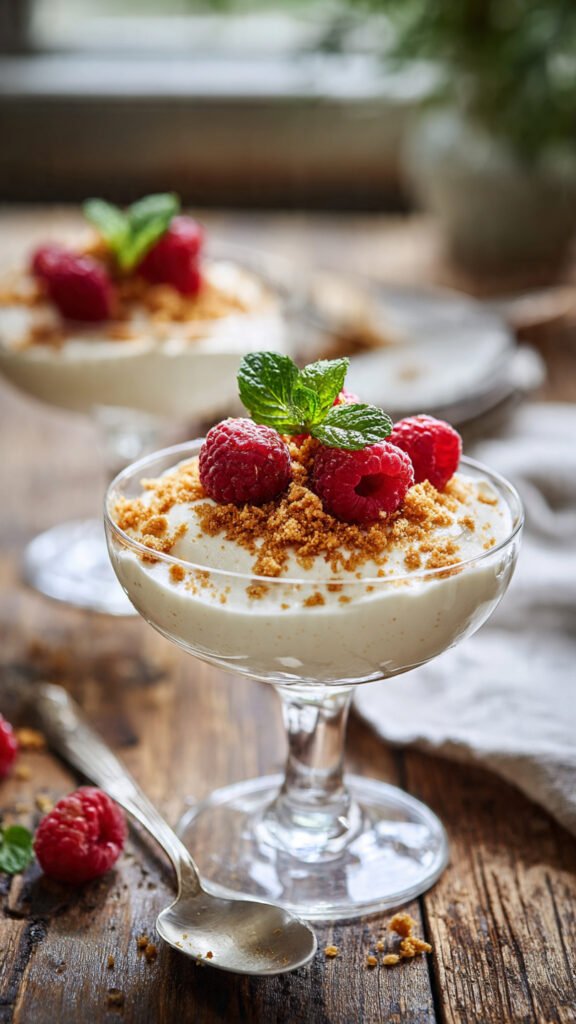
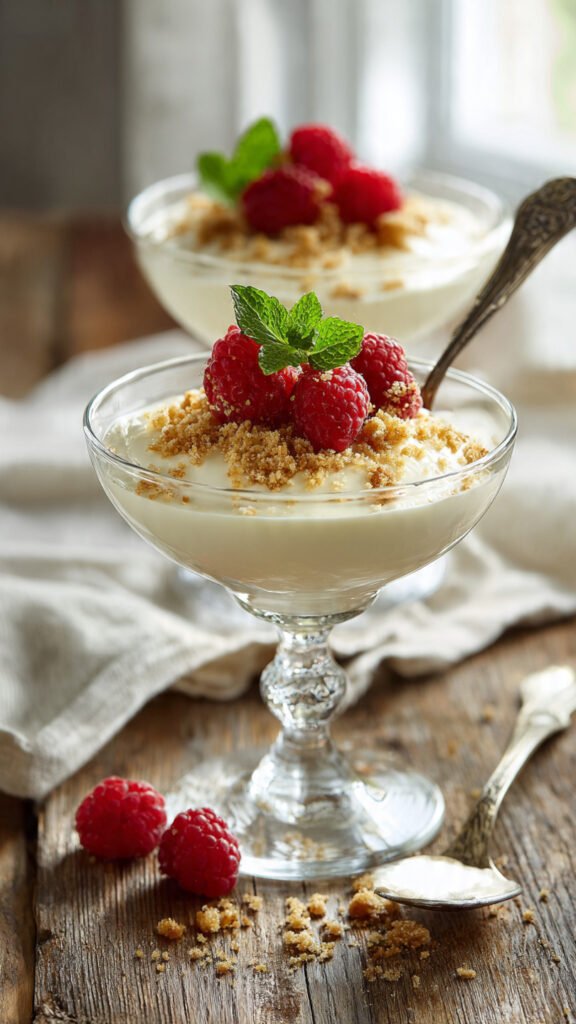
When ready to serve, spoon or pipe the mousse into small glasses or bowls. Top with graham cracker crumbs, a drizzle of raspberry sauce, or fresh strawberries.
Common Mistakes to Avoid
I’ve made the mistakes so you don’t have to.
- Using Cold Cream Cheese: I mentioned this, but I’m saying it again because it’s the #1 mousse killer. Cold cream cheese = lumps. Lumpy mousse is tragic.
- Over-whipping the Cream: If your whipped cream starts looking chunky, yellow, and separated, you’ve made butter. You can’t save it for mousse. Put it on toast and start over with fresh cream.
- Using “Tub” Cream Cheese: The spreadable stuff in tubs has added water and air. Your mousse won’t set properly; it will just be a runny mess. Stick to the brick.
- Being Aggressive with the Folding: If you stir the final mixture wildly like a witch’s cauldron, you’ll knock all the air out. Be gentle. Treat the mousse with respect.
Alternatives & Substitutions
Want to shake things up? This base is super flexible.
- Make it Keto/Low-Carb: This recipe is actually pretty easy to make keto-friendly. Swap the powdered sugar for a powdered erythritol or monk fruit sweetener. It tastes almost exactly the same.
- Chocolate Cheesecake Mousse: Obviously, chocolate is always a good idea. Melt 4 ounces of good quality semi-sweet chocolate and let it cool slightly (it should still be liquid but not hot). Beat the melted chocolate into the cream cheese mixture before you fold in the whipped cream.
- Berry Swirl: Don’t mix berries directly into the mousse, as they can make it watery. Instead, puree some raspberries or strawberries with a little sugar, and gently swirl a tablespoon or two into the final mousse right before serving for a marbled look.
- Can I use Cool Whip? Sigh. Okay, look. Technically, yes. You can sub an 8oz tub of thawed Cool Whip for the heavy whipping cream and skip Step 2. It will be faster. But will it taste as good? Absolutely not. Real cream tastes like luxury; Cool Whip tastes like… oil and nostalgia. The choice is yours.
FAQ (Frequently Asked Questions)
How long does this cheesecake mousse last in the fridge? If stored in an airtight container, it will last about 3 to 4 days. Though, honestly, if it lasts that long in your house, I admire your self-control.
Can I freeze this recipe? You know, you actually can! It freezes surprisingly well. It becomes almost like an ice cream consistency. You can eat it frozen or let it thaw in the fridge for an hour or two.
Can I use this as a filling for a cake? Yes, but only if you chill it thoroughly first so it’s firm. It works great between layers of sponge cake or piped into cupcakes.
Why is my mousse runny? Usually, this means one of three things: you used tub cream cheese, you didn’t whip your cream to stiff peaks, or you over-mixed during the folding stage and knocked all the air out.
Can I bake this mixture to make a real cheesecake? No. Stop right there. This lacks eggs and the proper ratios for baking. If you put this in the oven, you will end up with a hot, sweet puddle at the bottom of your oven.

Final Thoughts
There you have it. The secret weapon for when you want an impressive dessert without the impressive amount of effort. This cheesecake mousse recipe is proof that sometimes the easiest path is actually the tastiest one.
Now go impress someone—or just impress yourself while watching Netflix in your pajamas—with your new culinary skills. You’ve earned this fluffy tangy goodness. Enjoy!