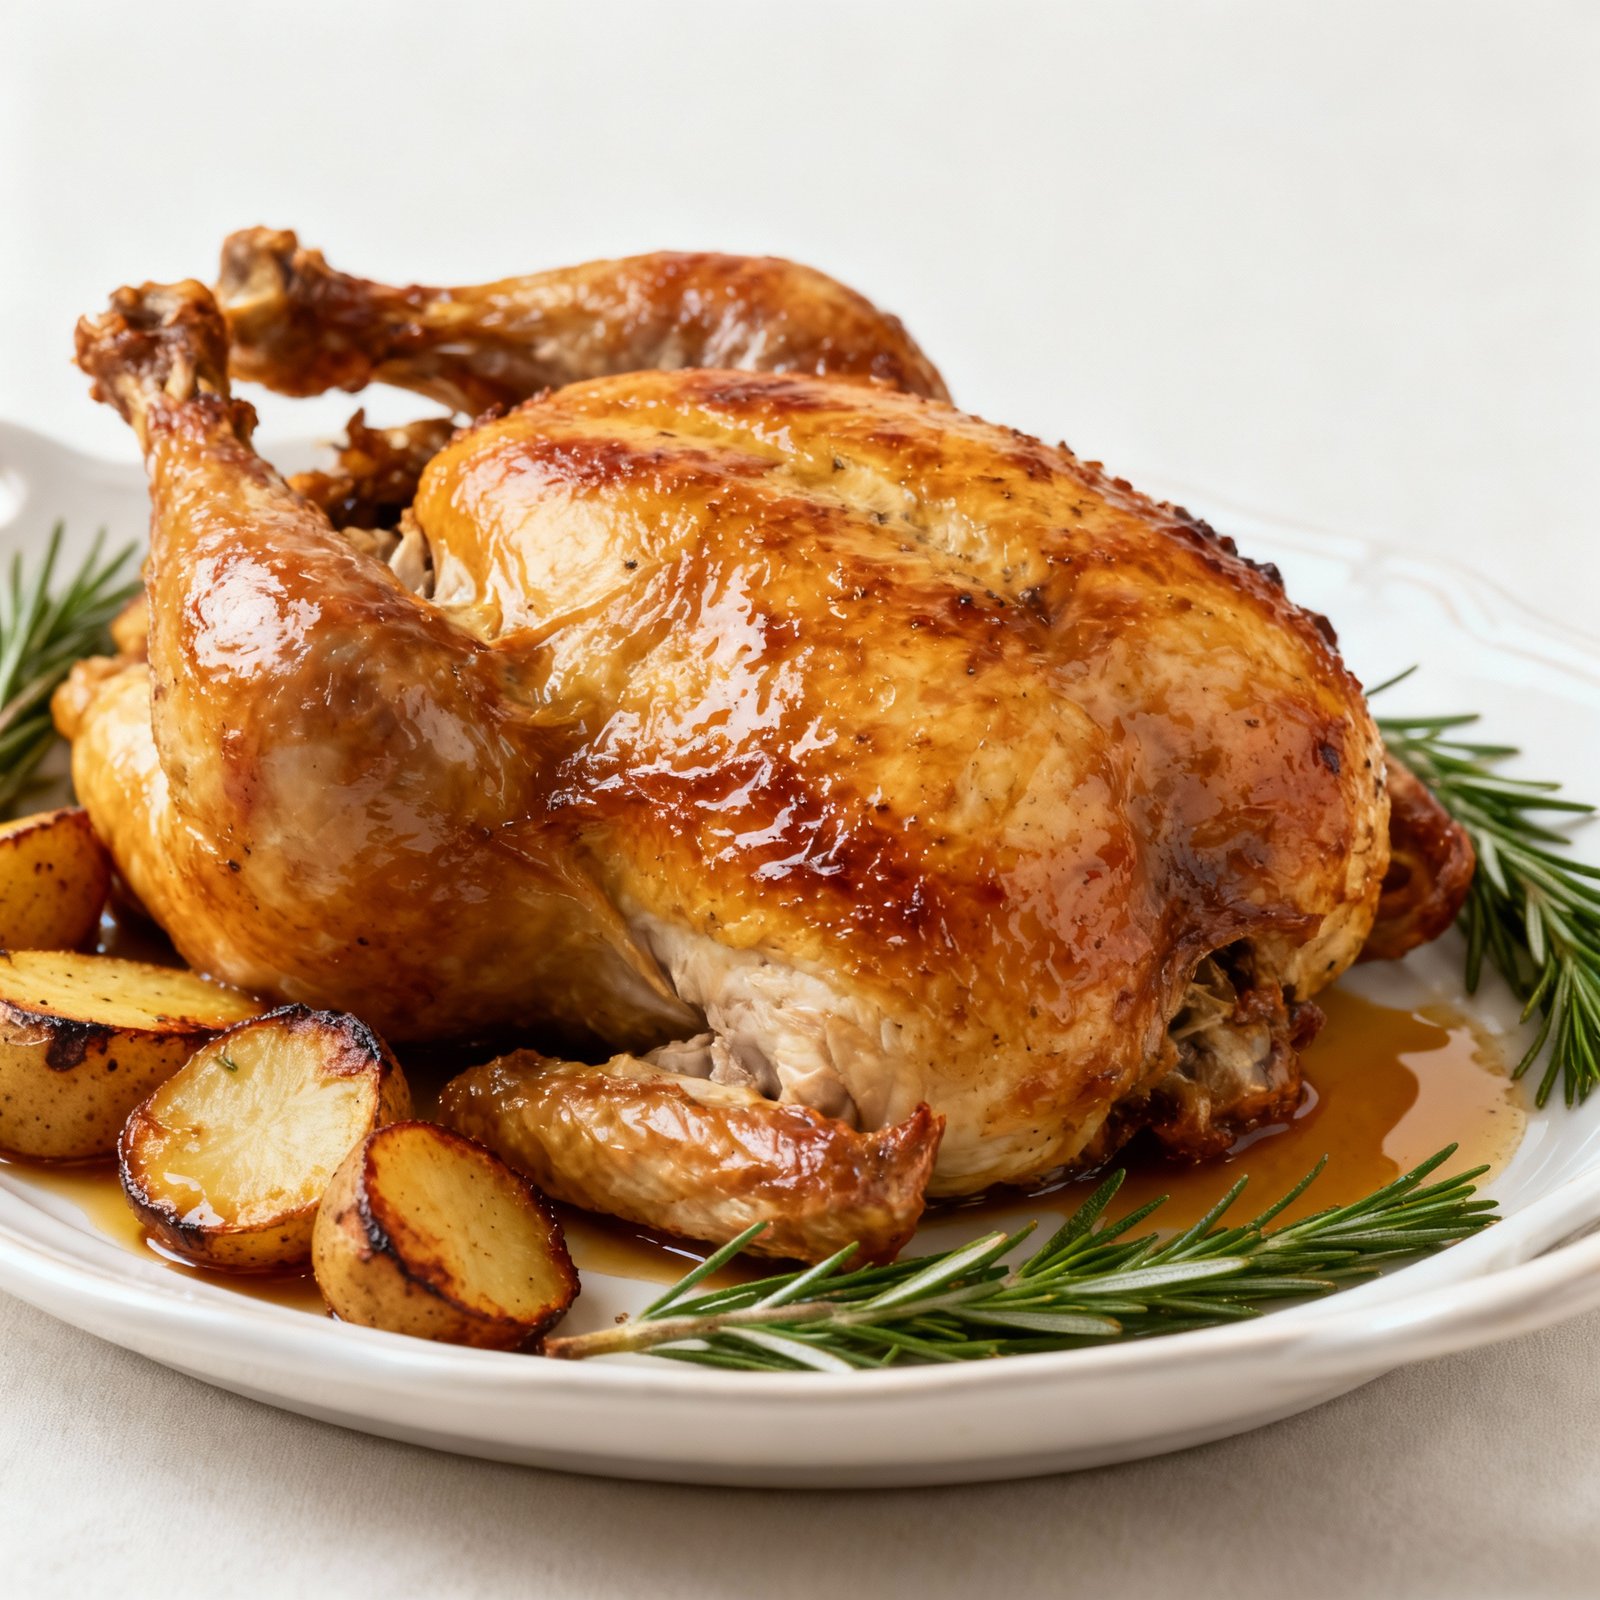
Chicken Roast Recipe: Effortless Elegance on Your Table
Roast chicken. The words themselves conjure images of cozy family dinners, fragrant herbs filling the air, and perfectly golden-brown skin begging to be devoured. It’s a classic for a reason: simple, satisfying, and endlessly customizable. But sometimes, the thought of tackling a whole chicken can feel daunting. Fear not! This recipe takes the intimidation out of roast chicken, delivering a juicy, flavorful bird with crispy skin every single time, even for the most novice cook. We’re sharing our secrets to achieving restaurant-quality results with minimal effort. Get ready to impress yourself and your loved ones with this foolproof chicken roast recipe!
Why This Recipe Works
This recipe isn’t just about throwing a chicken in the oven and hoping for the best. It’s built on a foundation of techniques designed to maximize flavor and ensure even cooking. Here’s what makes it special:
- Dry Brining: We start with a dry brine, which involves salting the chicken well in advance. This allows the salt to penetrate deep into the meat, seasoning it from the inside out and drawing out moisture. The result? Incredibly juicy and flavorful chicken.
- Elevated Roasting: Roasting the chicken on a rack ensures that hot air circulates evenly around the entire bird, promoting crispy skin on all sides. No more soggy bottoms!
- High-Heat Start: Starting with a high oven temperature helps to quickly render the fat under the skin, further contributing to that coveted crispiness.
- Strategic Basting (Optional): While not strictly necessary, basting the chicken with its own juices or melted butter adds extra flavor and helps to keep the skin moist and golden during the roasting process.
- Resting is Key: Allowing the chicken to rest after roasting is crucial. This allows the juices to redistribute throughout the meat, resulting in a more tender and flavorful final product.
Ingredients
- 1 whole chicken (about 3-4 pounds), giblets removed
- 2 tablespoons kosher salt
- 1 teaspoon black pepper
- 1 teaspoon garlic powder
- 1/2 teaspoon onion powder
- 1/2 teaspoon paprika
- 1 lemon, quartered
- 4 sprigs fresh rosemary
- 4 sprigs fresh thyme
- 2 tablespoons olive oil or melted butter (optional, for basting)
- 1 onion, quartered (optional, for the roasting pan)
- 2 carrots, chopped (optional, for the roasting pan)
- 2 celery stalks, chopped (optional, for the roasting pan)
Instructions
- Dry Brine the Chicken: At least 4 hours (or preferably overnight) before roasting, pat the chicken dry with paper towels. In a small bowl, combine the salt, pepper, garlic powder, onion powder, and paprika. Rub the mixture all over the chicken, including under the skin of the breast. Place the chicken on a wire rack set over a baking sheet and refrigerate, uncovered.
- Preheat the Oven: Preheat your oven to 450°F (232°C).
- Prepare the Chicken: Remove the chicken from the refrigerator 30 minutes before roasting. Stuff the cavity with the lemon quarters, rosemary sprigs, and thyme sprigs. If using, place the onion, carrots, and celery in the bottom of a roasting pan. Place a roasting rack inside the pan and set the chicken on top of the rack.
- Roast the Chicken: Place the roasting pan in the preheated oven. Roast for 15 minutes at 450°F (232°C). Then, reduce the oven temperature to 350°F (175°C) and continue roasting for approximately 1 hour to 1 hour and 15 minutes, or until a meat thermometer inserted into the thickest part of the thigh registers 165°F (74°C).
- Baste (Optional): If desired, baste the chicken with olive oil or melted butter every 20-30 minutes during the roasting process. This will help to keep the skin moist and golden brown.
- Rest the Chicken: Remove the chicken from the oven and let it rest for 15-20 minutes before carving. This allows the juices to redistribute, resulting in a more tender and flavorful bird. Tent loosely with foil while resting.
- Carve and Serve: Carve the chicken and serve with your favorite sides. Enjoy!
Tips for Success
- Don’t Skip the Dry Brine: This is the key to juicy and flavorful chicken. The longer you brine, the better the results.
- Use a Meat Thermometer: A meat thermometer is the most accurate way to determine when the chicken is cooked through. Don’t rely on visual cues alone.
- Let it Rest: Resist the urge to carve the chicken immediately after removing it from the oven. Resting is essential for juicy meat.
- Adjust Roasting Time: Roasting time will vary depending on the size of your chicken and your oven. Use a meat thermometer to ensure the chicken is cooked to 165°F (74°C).
- Crispy Skin Secrets: Make sure the chicken skin is dry before roasting. Pat it dry thoroughly with paper towels. Elevating the chicken on a rack is also crucial for crispy skin.
- Flavor Variations: Feel free to experiment with different herbs and spices. Garlic powder, onion powder, paprika, rosemary, thyme, and sage are all great options. You can also add vegetables to the roasting pan for extra flavor.
- Don’t Overcrowd the Pan: If you’re adding vegetables to the roasting pan, make sure they’re not overcrowded. Overcrowding can prevent the vegetables from roasting properly and can also steam the chicken.
Storage Instructions
Leftover roast chicken can be stored in an airtight container in the refrigerator for up to 3-4 days. You can also freeze leftover chicken for up to 2-3 months. To reheat, bake in a preheated oven at 350°F (175°C) until heated through, or microwave in short bursts until warmed.

FAQ
Q: Can I use a different type of salt for the dry brine?
A: Kosher salt is recommended because it’s less salty than table salt and has a larger crystal size, which helps it to distribute evenly. If you use table salt, reduce the amount by half.
Q: Can I roast a frozen chicken?
A: It’s not recommended to roast a frozen chicken. The chicken will not cook evenly, and the skin will likely be soggy. Thaw the chicken completely in the refrigerator before roasting.
Q: How do I know if the chicken is cooked through without a meat thermometer?
A: While a meat thermometer is the most accurate way to determine doneness, you can also check by piercing the thickest part of the thigh with a fork. If the juices run clear, the chicken is likely cooked through. However, using a meat thermometer is highly recommended for best results.
Q: Can I add vegetables to the roasting pan?
A: Yes! Adding vegetables like potatoes, carrots, and onions to the roasting pan is a great way to add flavor and create a complete meal. Just make sure the vegetables are cut into even sizes so they cook evenly.
Q: What can I do with the leftover chicken carcass?
A: Don’t throw it away! Use the leftover chicken carcass to make a delicious and flavorful chicken stock. Simply simmer the carcass with water, vegetables, and herbs for a few hours, then strain and use in soups, stews, or sauces.
Conclusion
There you have it! A simple, yet elegant chicken roast recipe that’s sure to impress. With just a few key techniques and a little bit of patience, you can create a restaurant-quality meal in the comfort of your own home. So, grab a chicken, gather your ingredients, and get ready to enjoy the delicious aroma and satisfying taste of a perfectly roasted chicken. Happy cooking!