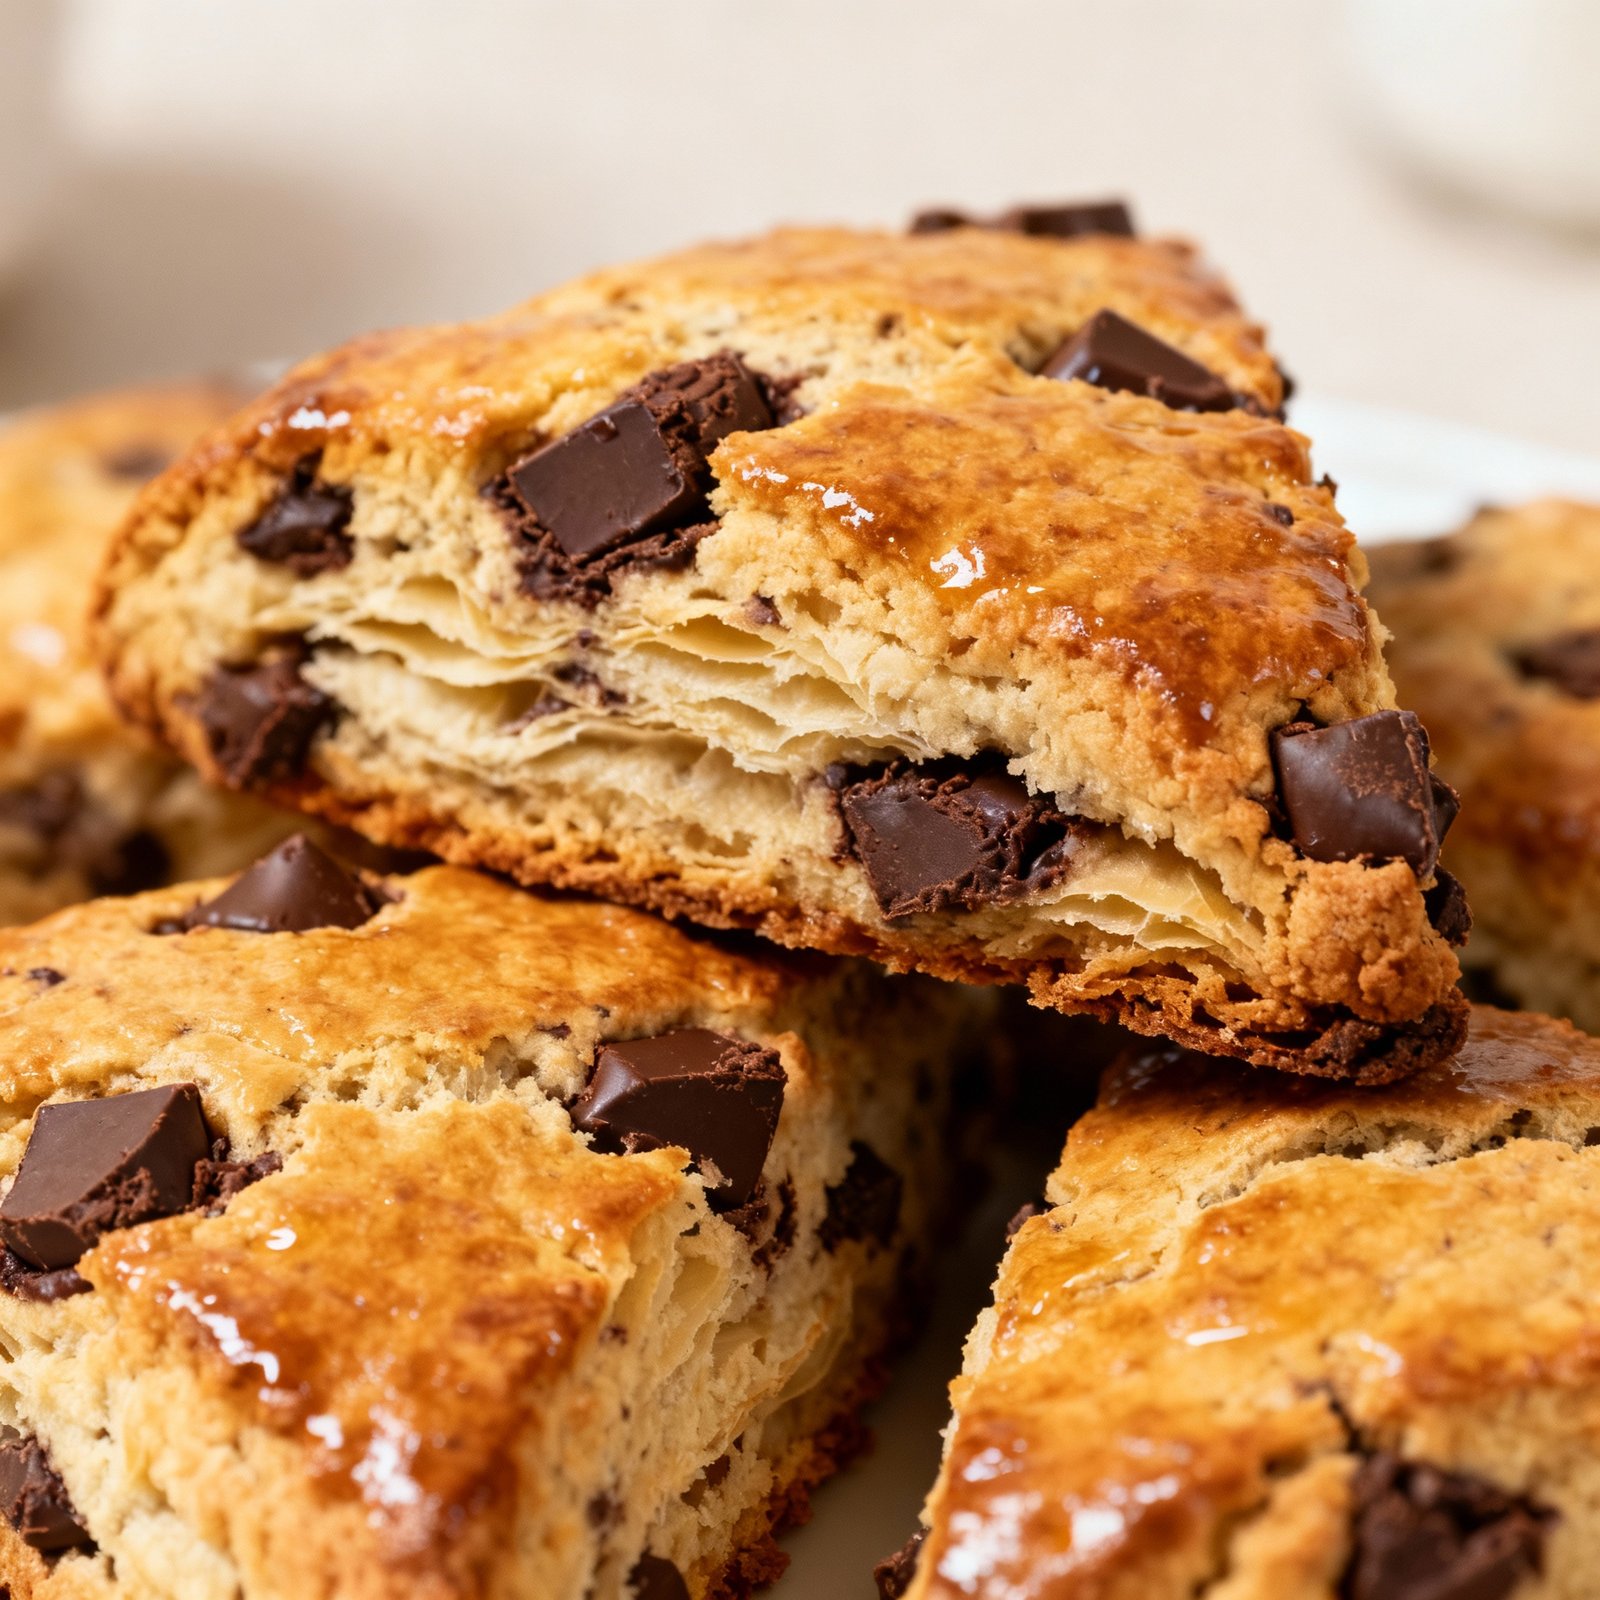
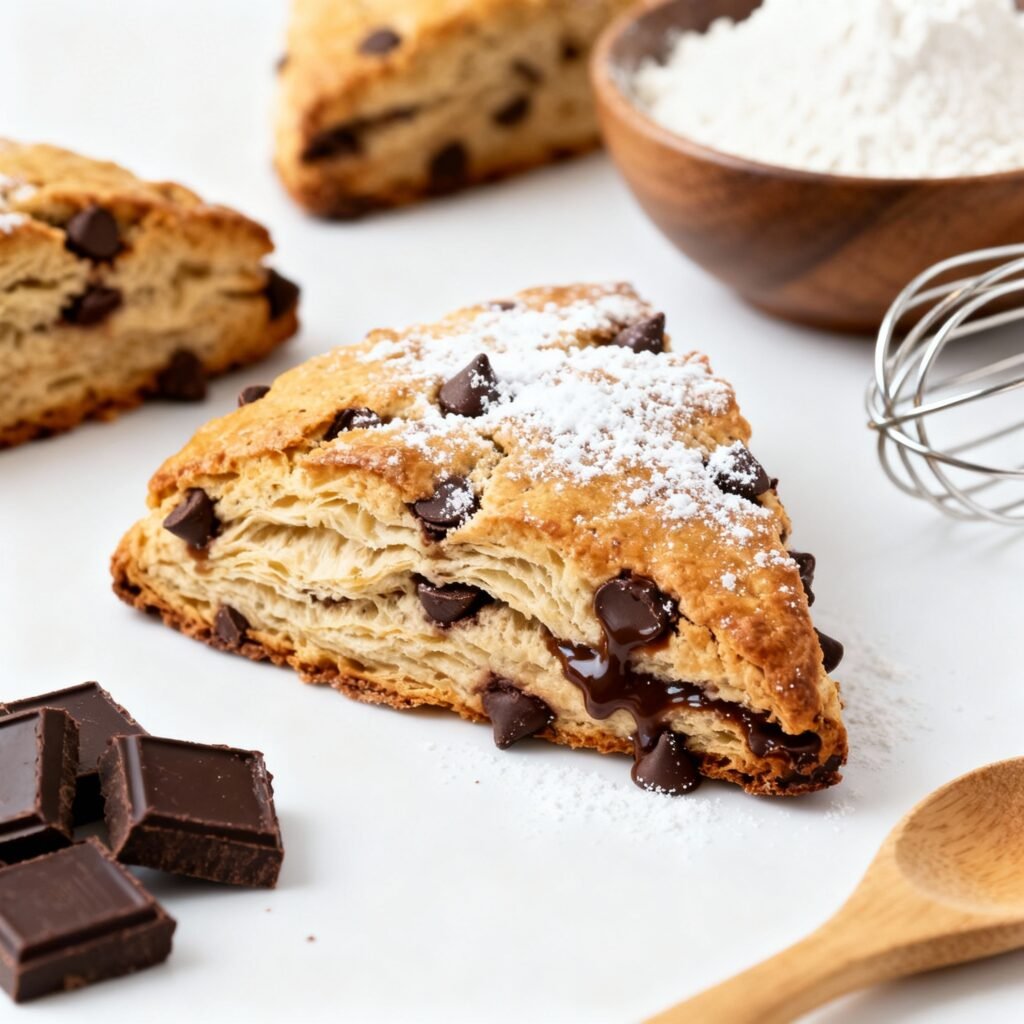
Chocolate Scones Recipe: The Decadent Breakfast You Deserve
Imagine waking up to the aroma of freshly baked chocolate scones, their rich cocoa scent filling your kitchen. These aren’t your average, dry, crumbly scones. This recipe delivers moist, tender scones bursting with chocolate flavor, perfect for a weekend brunch, a special treat, or simply a moment of self-indulgence. Forget the bakery lines – with this recipe, you can create bakery-worthy chocolate scones in your own home, and they’re surprisingly easy to make!
Why This Recipe Works
This recipe is carefully crafted to avoid the common pitfalls of scone baking, ensuring a consistently delicious outcome. Here’s what makes it work:
- Cold Ingredients: Using cold butter and cold buttermilk is crucial. Cold butter creates pockets of fat that melt during baking, resulting in a flaky and tender crumb. Cold buttermilk inhibits gluten development, preventing tough scones.
- Gentle Mixing: Overmixing develops gluten, leading to hard, dense scones. This recipe emphasizes gentle handling of the dough to maintain a light and airy texture.
- Buttermilk: Buttermilk adds a subtle tang and acidity that tenderizes the dough and enhances the chocolate flavor. It also helps the scones rise beautifully.
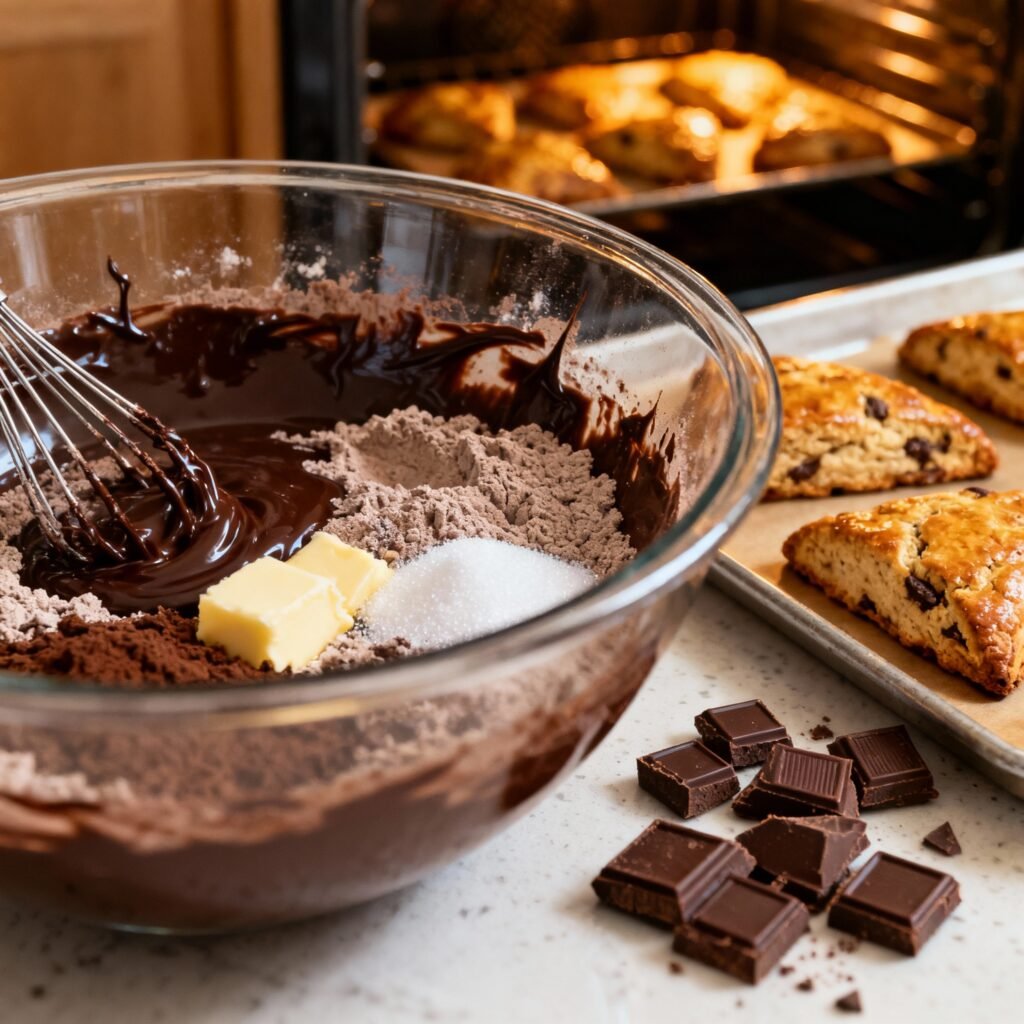
- Cocoa Powder: We use high-quality cocoa powder to provide a deep, rich chocolate flavor. Dutch-processed cocoa powder will result in a darker color and milder flavor, while natural cocoa powder will have a more intense, slightly acidic flavor. Choose your preference!
- Chocolate Chunks/Chips: A generous amount of chocolate chunks or chips adds pockets of melty, gooey goodness throughout the scones. We recommend using semi-sweet or dark chocolate for a balanced flavor.
- Proper Baking Temperature: A high oven temperature helps the scones rise quickly and develop a golden-brown crust.
Ingredients
- 2 cups (250g) all-purpose flour, plus more for dusting
- 1/2 cup (50g) unsweetened cocoa powder
- 1/2 cup (100g) granulated sugar
- 1 tablespoon baking powder
- 1/2 teaspoon baking soda
- 1/4 teaspoon salt
- 1/2 cup (1 stick, 113g) cold unsalted butter, cut into cubes
- 3/4 cup (180ml) cold buttermilk
- 1 teaspoon vanilla extract
- 1 cup (170g) semi-sweet or dark chocolate chunks or chips
- 1 tablespoon milk or cream, for brushing (optional)
- Coarse sugar, for sprinkling (optional)
Instructions
- Preheat and Prep: Preheat your oven to 400°F (200°C). Line a baking sheet with parchment paper.
- Combine Dry Ingredients: In a large bowl, whisk together the flour, cocoa powder, sugar, baking powder, baking soda, and salt.
- Cut in the Butter: Add the cold butter cubes to the dry ingredients. Using a pastry blender or your fingertips, cut the butter into the flour mixture until it resembles coarse crumbs. The mixture should still have some pea-sized pieces of butter. This is key for flakiness!
- Add Wet Ingredients: In a separate small bowl, whisk together the cold buttermilk and vanilla extract.
- Combine Wet and Dry: Make a well in the center of the dry ingredients and pour in the buttermilk mixture. Gently stir until just combined. Do not overmix! The dough will be shaggy and slightly sticky.
- Fold in Chocolate: Gently fold in the chocolate chunks or chips until evenly distributed.
- Shape the Scones: Turn the dough out onto a lightly floured surface. Gently pat the dough into a 1-inch thick circle.
- Cut the Scones: Using a sharp knife or a biscuit cutter (about 2-3 inches in diameter), cut out the scones. You can cut them into wedges or use a round cutter. If using a round cutter, avoid twisting it, as this can seal the edges and prevent them from rising properly.
- Place on Baking Sheet: Place the scones onto the prepared baking sheet, leaving about an inch of space between each scone.
- Brush and Sprinkle (Optional): Brush the tops of the scones with milk or cream for a golden-brown finish. Sprinkle with coarse sugar for added sweetness and texture.
- Bake: Bake for 15-20 minutes, or until the scones are golden brown and a toothpick inserted into the center comes out clean or with a few moist crumbs.
- Cool and Enjoy: Let the scones cool on the baking sheet for a few minutes before transferring them to a wire rack to cool completely. Serve warm or at room temperature.
Tips for Success
- Keep Everything Cold: This is the most important tip! Cold ingredients are essential for creating tender and flaky scones.
- Don’t Overmix: Overmixing develops gluten, resulting in tough scones. Mix only until the ingredients are just combined.
- Handle the Dough Gently: Avoid kneading or working the dough too much. Gently pat it into shape.
- Use a Sharp Cutter: A sharp knife or biscuit cutter will create clean cuts, allowing the scones to rise properly.
- Space the Scones: Leaving space between the scones on the baking sheet allows for even baking and browning.
- Experiment with Flavors: Feel free to add other ingredients to the dough, such as chopped nuts, dried fruit, or spices.
- Adjust Baking Time: Baking time may vary depending on your oven. Keep an eye on the scones and adjust the baking time as needed.
- For extra chocolate intensity: Use a combination of cocoa powder and melted dark chocolate in the dough. Reduce the buttermilk slightly if using melted chocolate.
Storage Instructions
Store leftover scones in an airtight container at room temperature for up to 2 days. For longer storage, freeze the scones in a freezer-safe bag or container for up to 2 months. To reheat frozen scones, bake them in a preheated oven at 350°F (175°C) for 5-10 minutes, or until warmed through.
FAQ
- Can I use regular milk instead of buttermilk? While buttermilk is preferred for its tang and tenderizing properties, you can substitute it with regular milk mixed with 1 tablespoon of lemon juice or white vinegar per cup of milk. Let it sit for 5 minutes before using.
- Can I use self-rising flour? If using self-rising flour, omit the baking powder and baking soda from the recipe.
- Can I make these scones ahead of time? You can prepare the dough ahead of time and store it in the refrigerator for up to 24 hours. Bake just before serving.
- My scones are dry. What did I do wrong? Overbaking or using too much flour can result in dry scones. Be sure to measure the flour accurately and avoid overbaking.
- My scones didn’t rise. What happened? Using old baking powder or baking soda, overmixing the dough, or not using cold ingredients can prevent the scones from rising properly.
- Can I add a glaze? Absolutely! A simple chocolate glaze or a powdered sugar glaze would be delicious on these scones.
Conclusion
These chocolate scones are a delightful treat that’s sure to impress. With their rich chocolate flavor, tender crumb, and easy-to-follow instructions, this recipe is a must-try for any baking enthusiast. So, gather your ingredients, preheat your oven, and get ready to enjoy the most decadent chocolate scones you’ve ever tasted. Happy baking!