Clarified Butter Recipe: Unlock Culinary Perfection
Clarified butter, often called ghee in Indian cuisine, is a kitchen essential that elevates your cooking to a whole new level. Imagine the rich, nutty flavor of butter, intensified and free from impurities, perfect for searing, sautéing, and baking. This golden elixir boasts a significantly higher smoke point than regular butter, meaning you can achieve that coveted golden-brown crust on your steaks and vegetables without the worry of burning. Ditch the acrid taste of burnt butter and embrace the clean, delicious flavor of clarified butter. This recipe will guide you through the simple process of making your own clarified butter at home, unlocking a world of culinary possibilities.
Why This Recipe Works
This recipe is designed for foolproof success, even for beginners. We break down the process into easy-to-follow steps, ensuring that you achieve perfectly clarified butter every time. Here’s why it works:
- Gentle Heat: We emphasize using low and slow heat. This prevents scorching and allows the milk solids to gently separate without burning.
- Visual Cues: We provide clear visual cues to help you identify each stage of the clarification process. You’ll know exactly when to skim and when the butter is ready.
- Patience is Key: We highlight the importance of patience. Rushing the process can result in cloudy butter with lingering milk solids.
- Proper Skimming: Our instructions detail the proper way to skim the foam and milk solids, ensuring a pure and clean final product.
- Filtering for Clarity: We recommend using a cheesecloth-lined sieve for the final filtering stage. This removes any remaining particles, resulting in beautifully clear clarified butter.
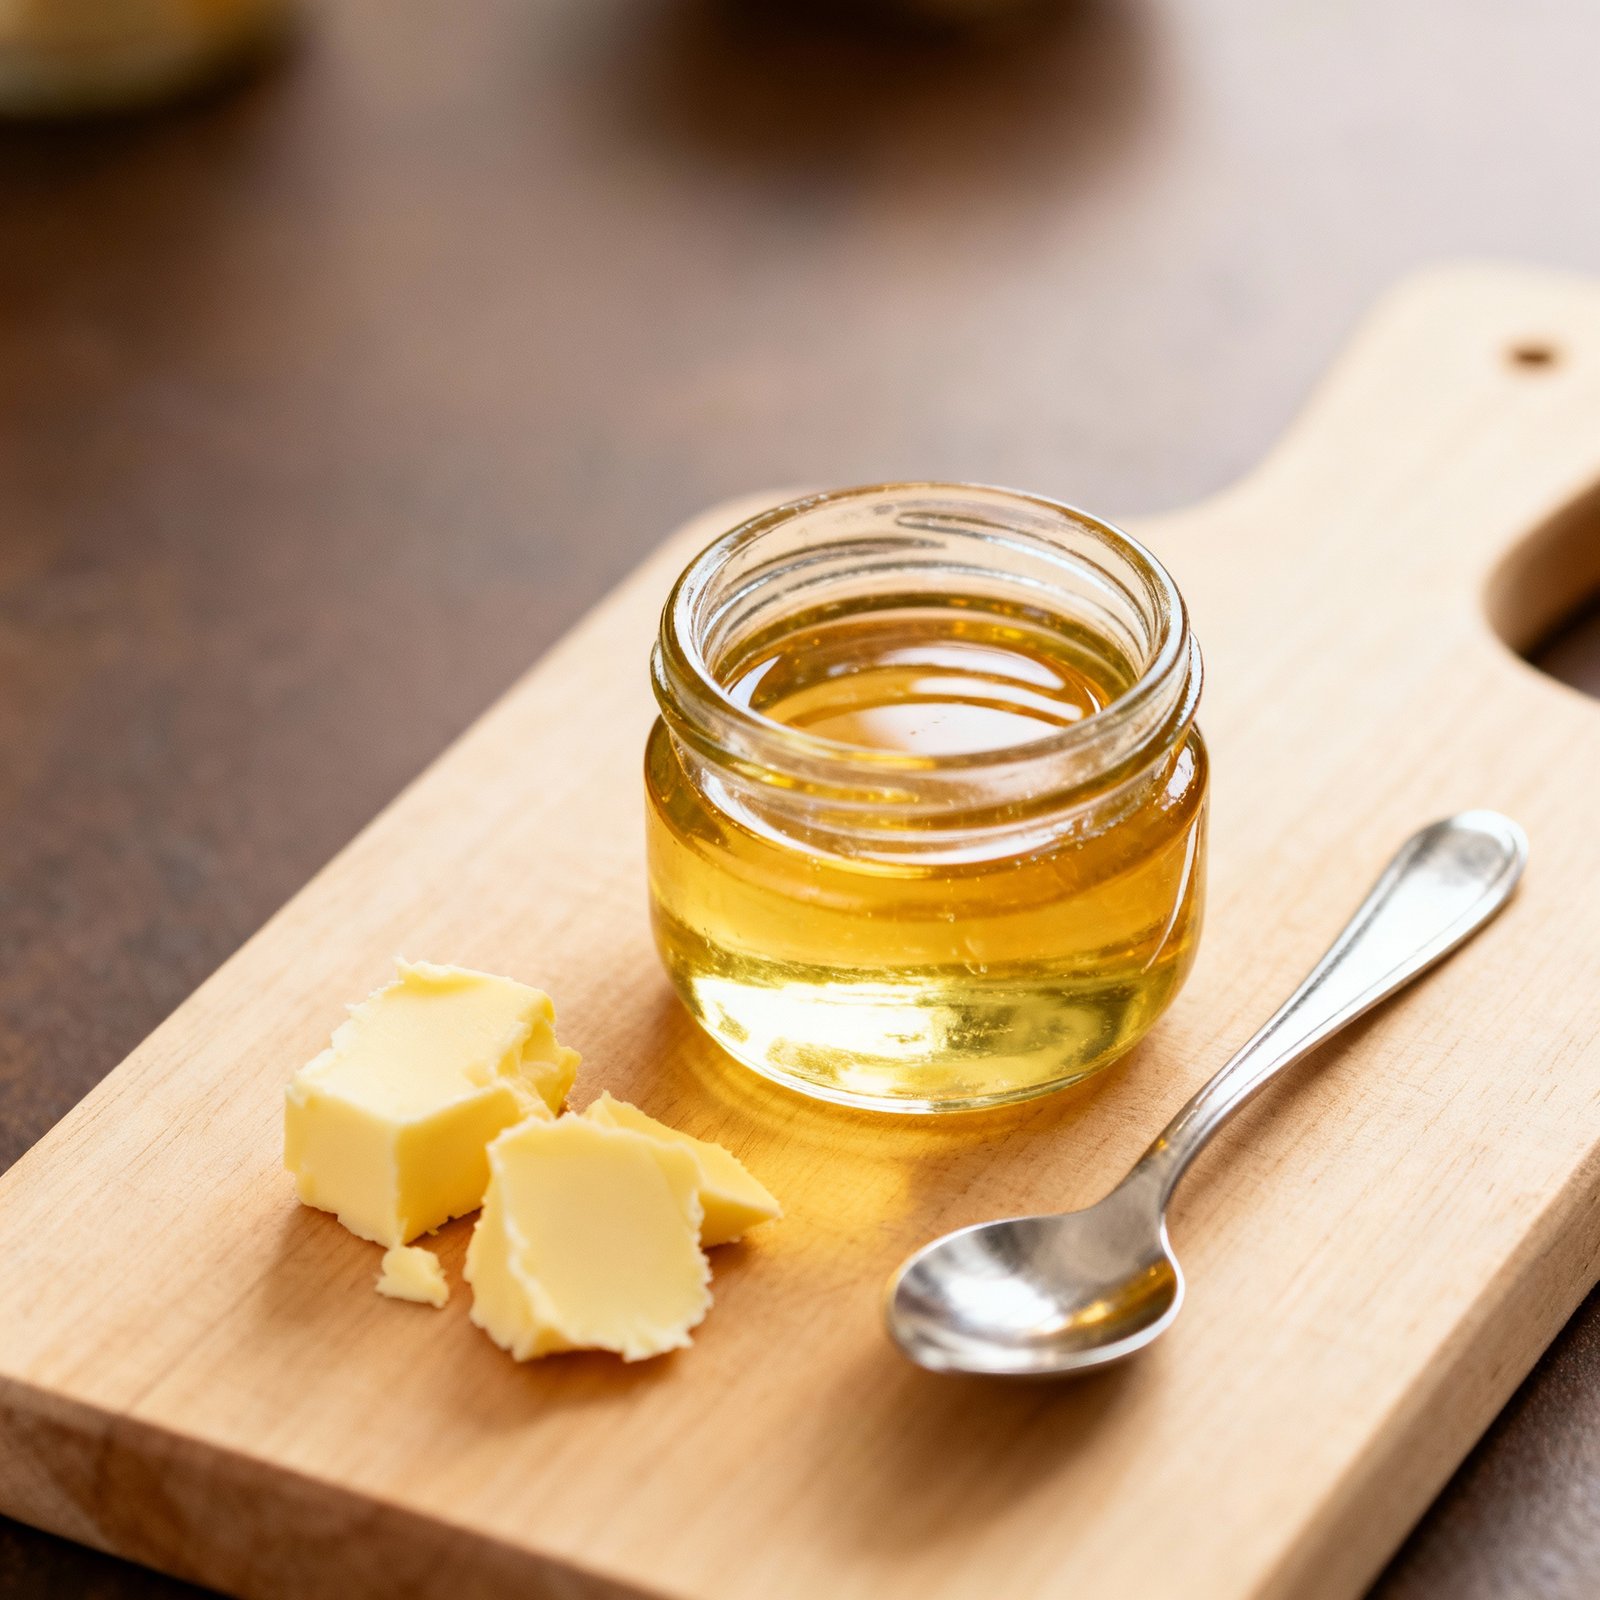
Ingredients
- 1 pound (4 sticks) unsalted butter
Instructions
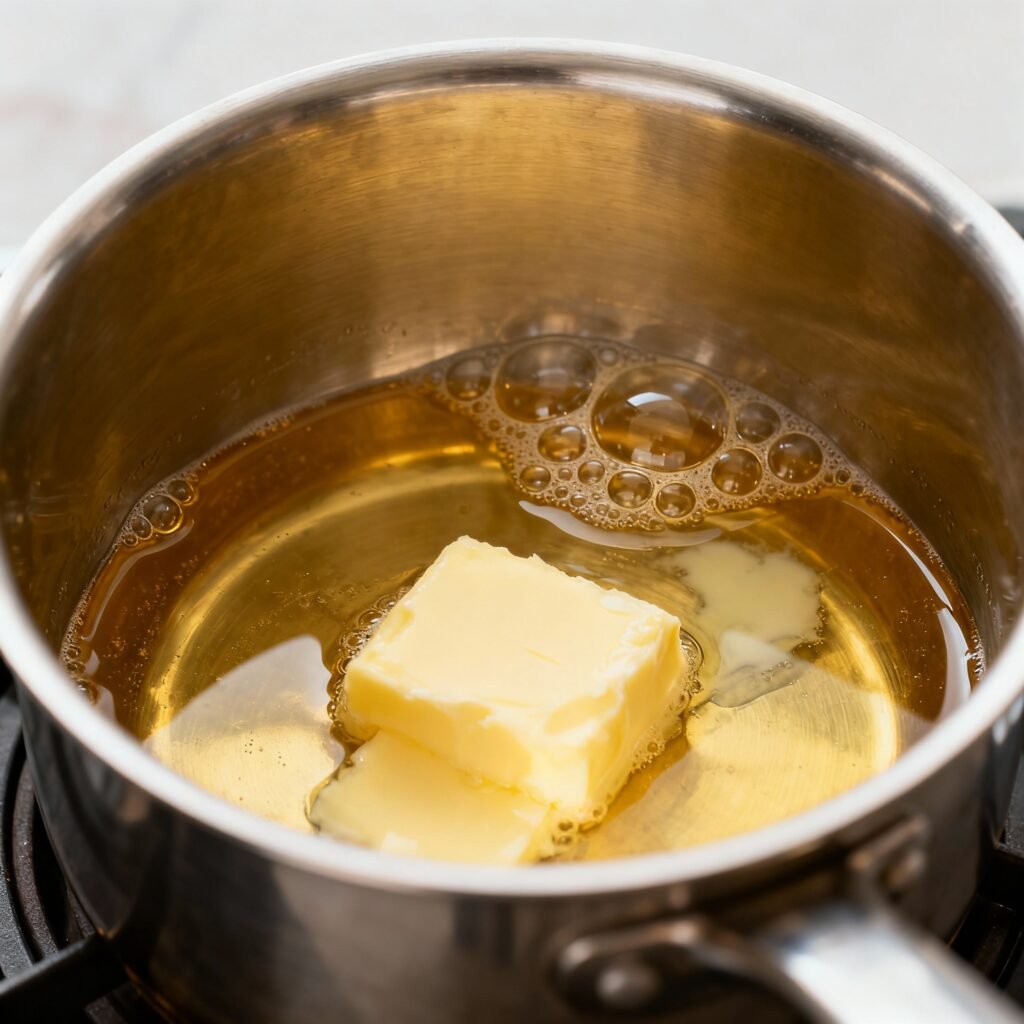
- Cut the Butter: Cut the butter into smaller, roughly equal-sized pieces. This will help it melt more evenly.
- Melt the Butter: Place the butter in a heavy-bottomed saucepan over low heat. It’s crucial to use low heat to prevent scorching.
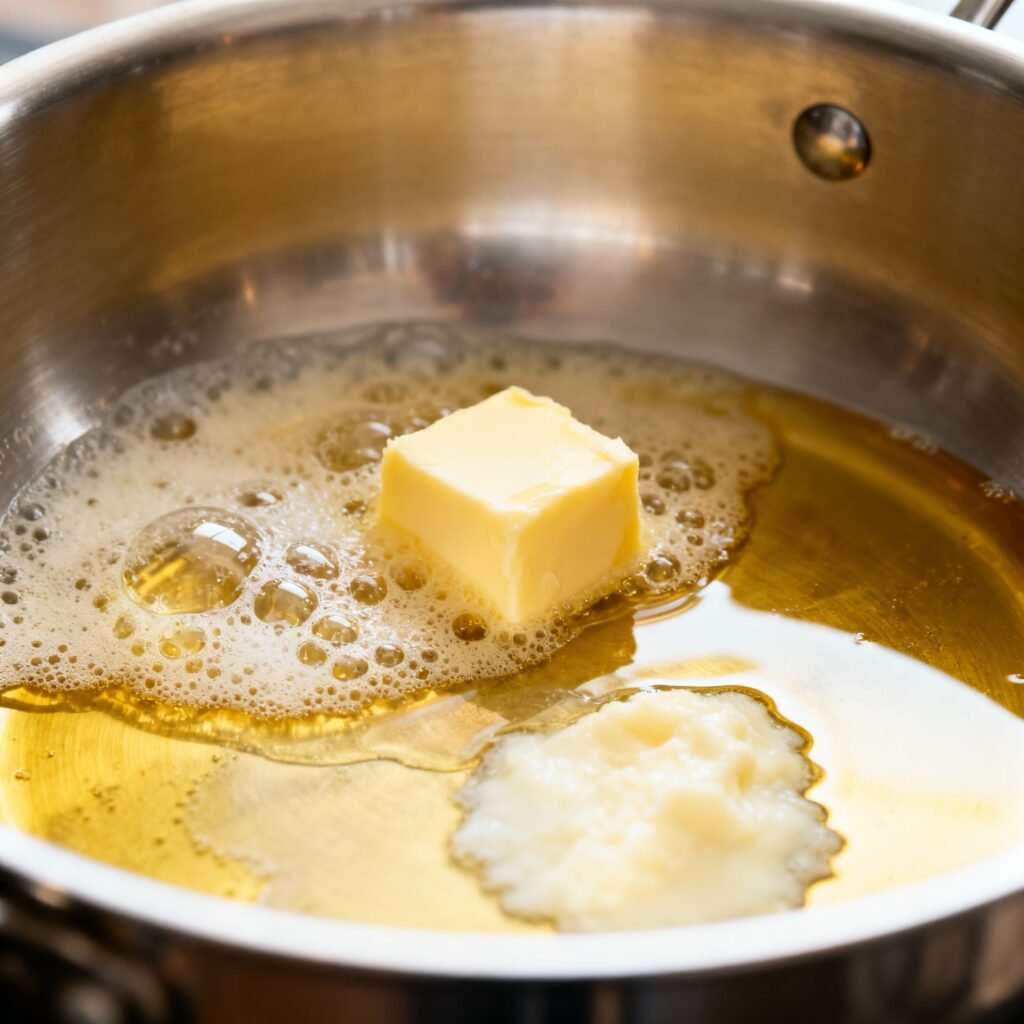
- Simmer Gently: Allow the butter to melt slowly and gently. As it melts, you’ll notice the butter separating into three layers: a layer of foam on top, a layer of clear golden butter in the middle, and a layer of milk solids at the bottom.
- Skim the Foam: As the butter simmers, use a spoon to gently skim off the foamy layer that forms on the surface. Discard this foam; it contains water and impurities. Repeat this process as more foam appears.
- Continue Simmering: Continue to simmer the butter over low heat for approximately 20-30 minutes. The butter will become increasingly clear, and the milk solids at the bottom will begin to brown slightly. Be careful not to let the milk solids burn.
- Watch for Doneness: The clarified butter is ready when the butter is clear and golden, and the milk solids at the bottom of the pan have turned a light golden brown. You should be able to see through the butter to the bottom of the pan.
- Remove from Heat: Once the butter is clarified, remove the saucepan from the heat. Let it cool slightly for a few minutes.
- Filter the Butter: Line a fine-mesh sieve with a double layer of cheesecloth. Place the sieve over a clean bowl or jar.
- Strain the Butter: Carefully pour the clarified butter through the cheesecloth-lined sieve. The cheesecloth will catch any remaining milk solids, resulting in a pure and clear product.
- Discard Solids: Discard the milk solids that remain in the cheesecloth. These solids can become bitter if left in the clarified butter.
- Cool and Store: Allow the clarified butter to cool completely before storing it.
Tips for Success
- Use High-Quality Butter: The quality of your butter will directly impact the flavor of your clarified butter. Opt for a high-quality, unsalted butter for the best results.
- Low and Slow is Key: Resist the urge to turn up the heat. Patience is crucial for achieving perfectly clarified butter. Low heat prevents burning and allows the milk solids to separate properly.
- Don’t Stir: Avoid stirring the butter as it melts. Stirring can disrupt the separation process and result in cloudy butter.
- Skim Thoroughly: Make sure to skim off all the foam and milk solids that rise to the surface. These impurities can affect the flavor and shelf life of your clarified butter.
- Watch the Milk Solids: Pay close attention to the milk solids at the bottom of the pan. They should turn a light golden brown, but avoid letting them burn, as this will impart a bitter flavor to the clarified butter.
- Use a Heavy-Bottomed Pan: A heavy-bottomed saucepan will help distribute heat evenly and prevent scorching.
- Double Cheesecloth: Using a double layer of cheesecloth ensures that even the smallest particles are filtered out, resulting in the clearest possible clarified butter.
Storage Instructions
Clarified butter has a long shelf life due to the removal of milk solids and water. Here’s how to store it properly:
- Room Temperature: Clarified butter can be stored at room temperature in an airtight container for several months. Make sure to keep it away from direct sunlight and heat.
- Refrigeration: If you prefer, you can store clarified butter in the refrigerator. This will extend its shelf life even further, but it will solidify. Simply bring it to room temperature before using.
- Freezing: Clarified butter can also be frozen for longer storage. Thaw it in the refrigerator before using.
FAQ
Q: Can I use salted butter?
A: While you *can* use salted butter, unsalted butter is generally recommended. The salt content can sometimes interfere with the clarification process and may alter the flavor slightly.
Q: How do I know when the clarified butter is ready?
A: The clarified butter is ready when the butter is clear and golden, and the milk solids at the bottom of the pan have turned a light golden brown. You should be able to see through the butter to the bottom of the pan. The foam on top will have largely disappeared.
Q: What can I use clarified butter for?
A: Clarified butter is incredibly versatile! Use it for sautéing vegetables, searing meats, baking, making sauces, and even spreading on toast. Its high smoke point makes it ideal for high-heat cooking.
Q: My clarified butter is cloudy. What did I do wrong?
A: Cloudy clarified butter usually indicates that some milk solids remain. This could be due to not skimming thoroughly enough, not using low enough heat, or not filtering properly. Try re-melting the butter and carefully skimming and filtering again.
Q: Can I make clarified butter in the slow cooker?
A: Yes! Simply place the butter in your slow cooker on low heat and let it melt and separate. This method requires even less attention. Follow the same skimming and filtering steps as with the stovetop method.
Conclusion
Making clarified butter at home is a simple yet rewarding process that will elevate your cooking. With its rich flavor, high smoke point, and long shelf life, clarified butter is a kitchen staple you’ll reach for again and again. So, grab some butter, follow these easy steps, and unlock the culinary magic of clarified butter!