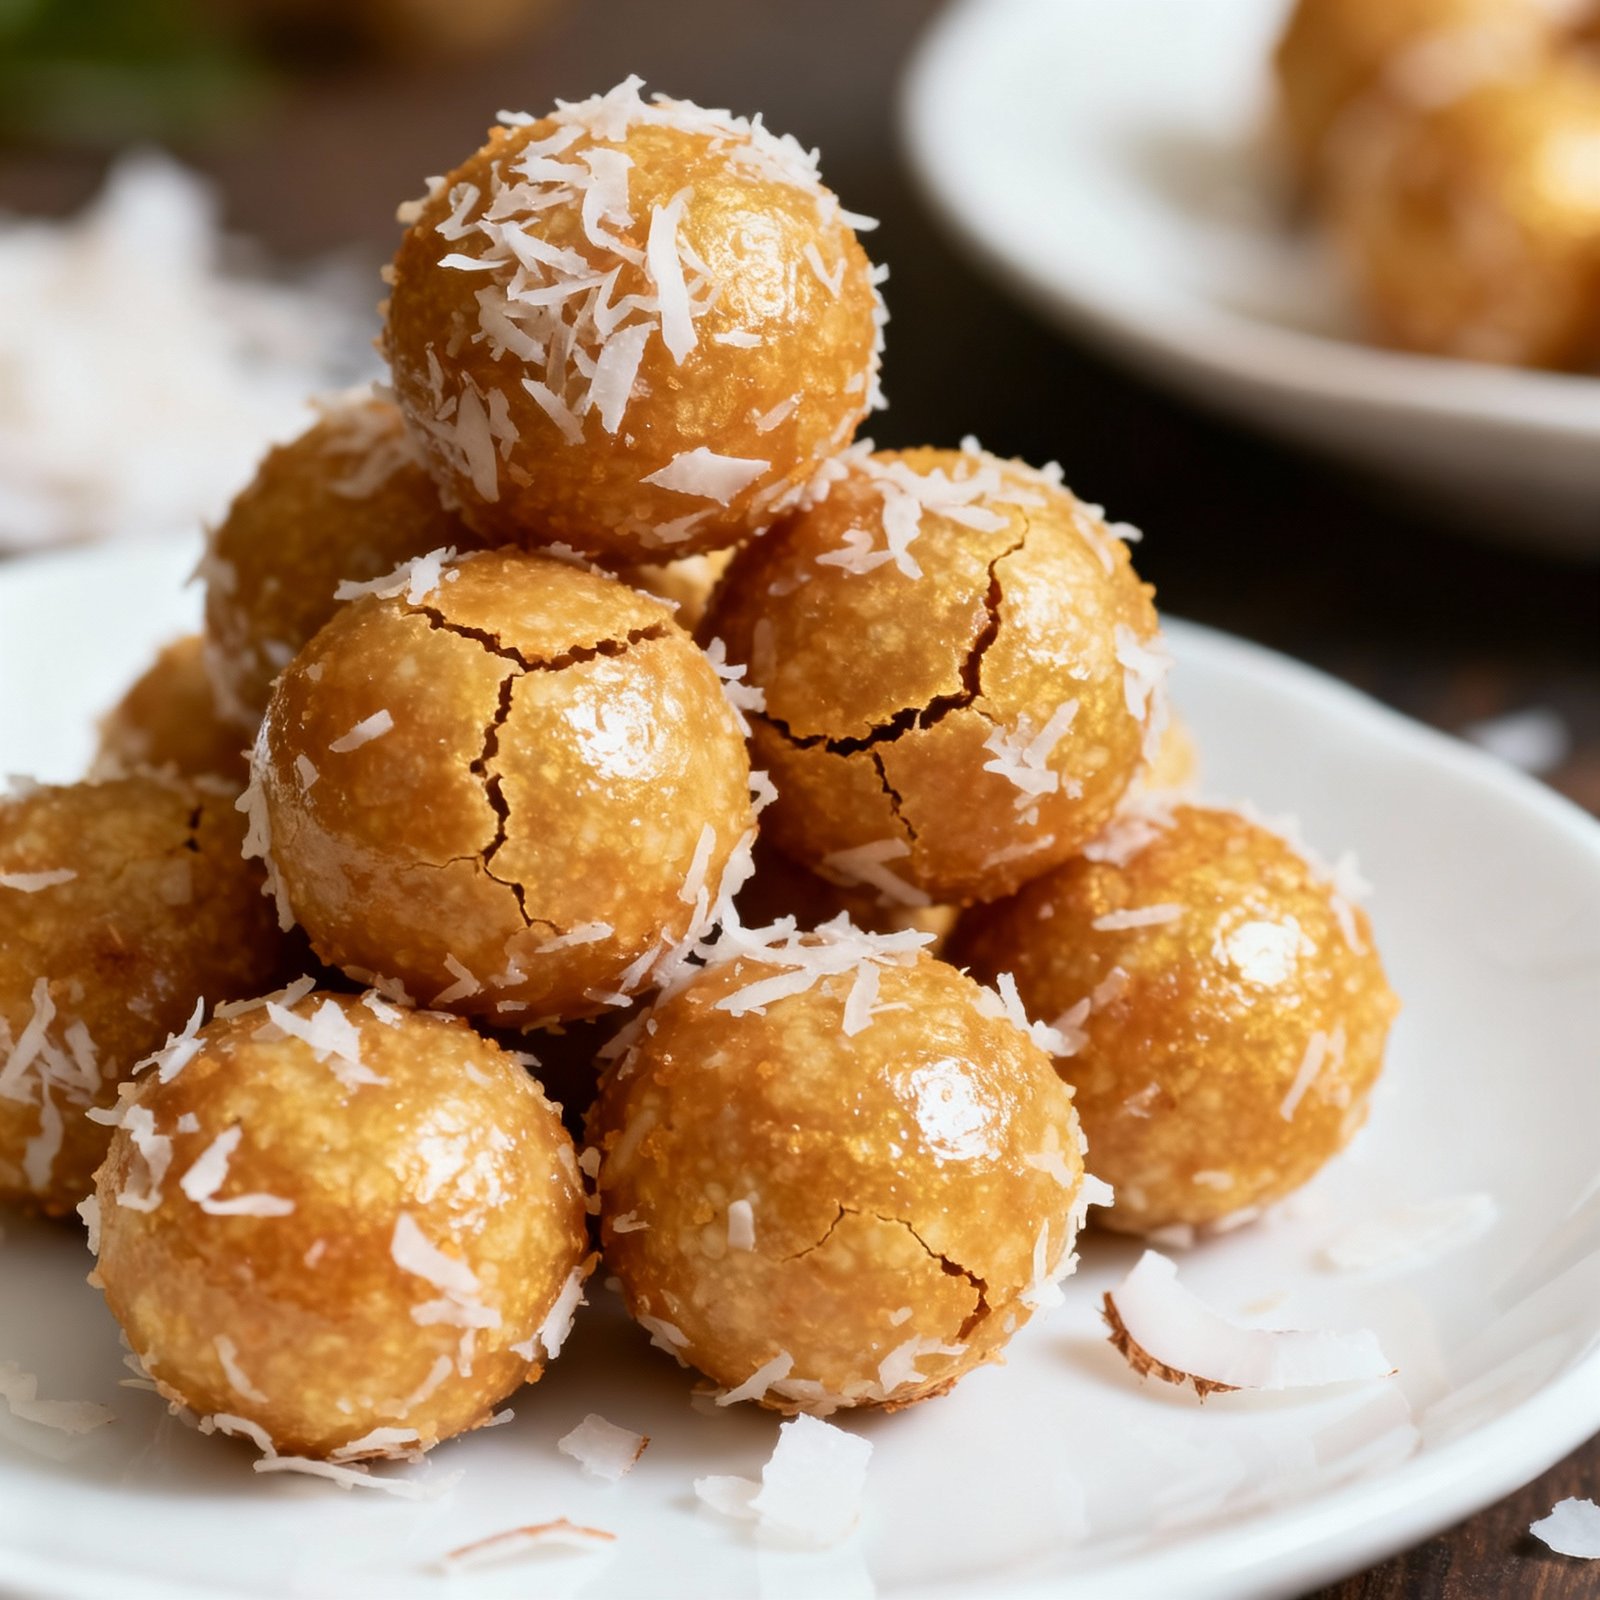
Coconut Laddu Recipe: The 15-Minute Sweet Treat!
Craving something sweet, satisfying, and utterly delicious? Look no further than Coconut Laddu! These melt-in-your-mouth Indian sweets are incredibly easy to make, requiring just a handful of ingredients and minimal effort. Forget slaving away in the kitchen for hours; with this recipe, you can whip up a batch of these delectable treats in just 15 minutes! Perfect for festivals, celebrations, or simply a sweet craving, this Coconut Laddu recipe is guaranteed to become a family favorite. Get ready to experience the perfect balance of sweetness and coconutty goodness!
Why This Recipe Works
This Coconut Laddu recipe is a winner for several reasons:
- Simplicity: It uses only a few readily available ingredients, making it accessible to everyone.
- Speed: The entire process, from start to finish, takes just about 15 minutes.
- Versatility: You can easily customize the sweetness and texture to your liking. Want it sweeter? Add more sugar. Prefer a softer laddu? Cook it for a shorter time.
- Flavor: The combination of desiccated coconut, sugar, and milk creates a truly irresistible flavor profile.
- No-Fail: This recipe is incredibly forgiving, making it perfect for beginner cooks.
Ingredients
- 2 cups Desiccated Coconut: This is the star of the show! Use unsweetened desiccated coconut for best results.
- ¾ cup Granulated Sugar: Adjust the quantity based on your desired sweetness level.
- ½ cup Milk: Full-fat milk is recommended for a richer flavor, but you can use skim or plant-based milk as well.
- 1 teaspoon Cardamom Powder (optional): Adds a lovely aromatic touch to the laddus.
- 1 tablespoon Ghee (optional): Ghee adds richness and helps bind the laddus together. You can substitute with butter or coconut oil.
- Chopped Nuts (optional): Almonds, cashews, or pistachios can be added for extra texture and flavor.

Instructions
- Combine Ingredients: In a heavy-bottomed pan or kadai (Indian wok), combine the desiccated coconut, sugar, and milk.
- Cook the Mixture: Place the pan over medium heat and stir continuously. The sugar will start to melt, and the mixture will become moist.
- Continue Cooking: Keep stirring constantly to prevent the mixture from sticking to the bottom of the pan. Cook for about 8-10 minutes, or until the mixture starts to thicken and come together. It should resemble a dough-like consistency.
- Add Optional Ingredients: If using, stir in the cardamom powder, ghee (or butter/coconut oil), and chopped nuts. Mix well to combine.
- Check for Doneness: To test if the mixture is ready, take a small portion and try to roll it into a ball. If it holds its shape without being too sticky, it’s ready. If it’s too sticky, continue cooking for another minute or two, stirring constantly.
- Cool Slightly: Remove the pan from the heat and let the mixture cool slightly, just enough to handle comfortably.
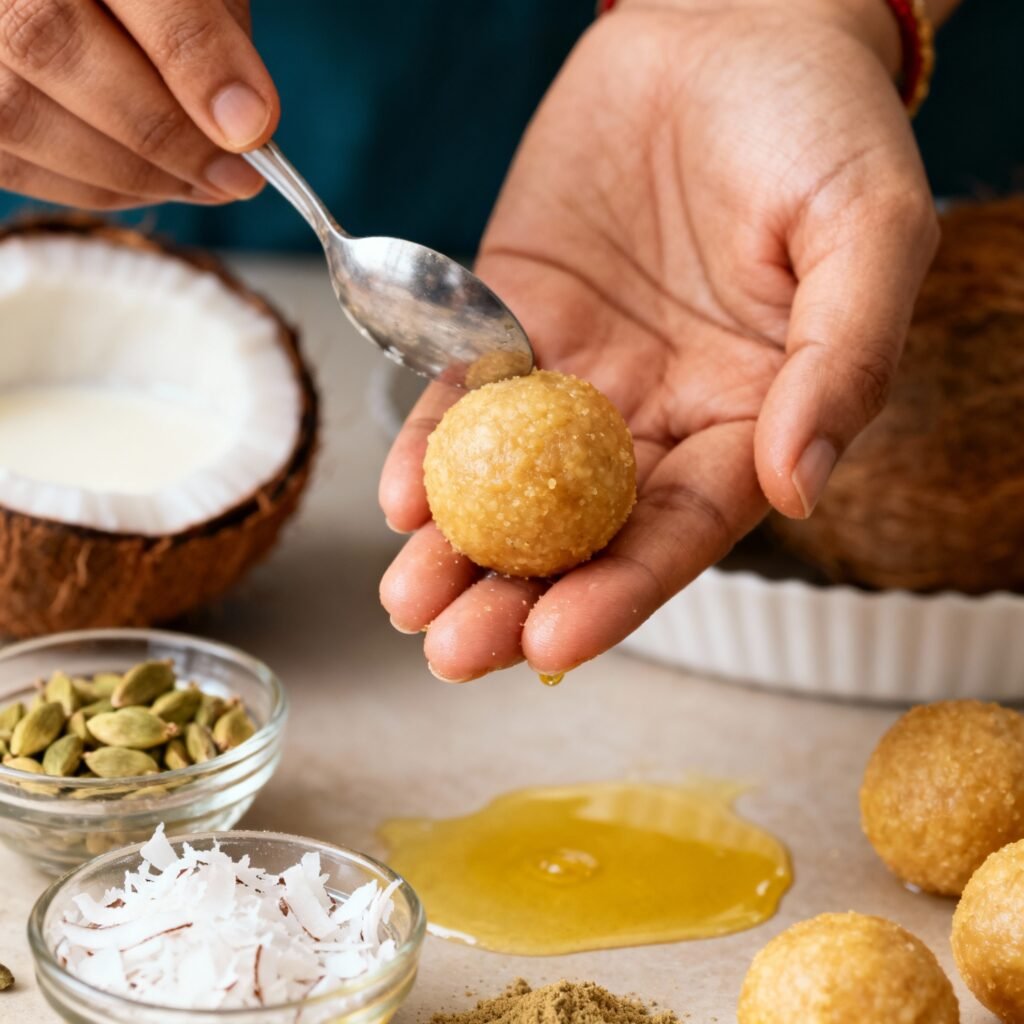
- Shape into Laddus: Grease your palms with a little ghee or oil to prevent sticking. Take a small portion of the mixture (about 1-2 tablespoons) and roll it between your palms to form a smooth, round laddu.
- Repeat: Repeat the process with the remaining mixture, shaping each laddu uniformly.
- Garnish (optional): You can roll the laddus in extra desiccated coconut or chopped nuts for a decorative touch.
- Cool Completely: Allow the laddus to cool completely at room temperature before storing. This will help them firm up and hold their shape.
Tips for Success
- Use Fresh Ingredients: Fresh desiccated coconut will give you the best flavor and texture.
- Stir Constantly: Constant stirring is crucial to prevent the mixture from sticking and burning.
- Don’t Overcook: Overcooking the mixture will result in hard and dry laddus. Aim for a soft and pliable consistency.
- Adjust Sweetness: Taste the mixture while it’s cooking and adjust the amount of sugar to your liking.
- Grease Your Palms: Greasing your palms will make it easier to shape the laddus and prevent the mixture from sticking.
- Cool Before Storing: Allowing the laddus to cool completely before storing will prevent them from becoming soggy.
- Customize Your Laddus: Feel free to experiment with different flavors and add-ins, such as saffron, rose water, or chocolate chips.
Storage Instructions
Store the Coconut Laddus in an airtight container at room temperature for up to 3-4 days. You can also refrigerate them for longer storage, up to a week. However, refrigerating may slightly alter the texture, making them a bit firmer. If refrigerating, allow the laddus to come to room temperature before serving for the best taste and texture.
FAQ
Q: Can I use fresh coconut instead of desiccated coconut?
A: Yes, you can use fresh coconut, but you’ll need to grate it and cook it for a longer time to remove the excess moisture. Adjust the cooking time accordingly.
Q: Can I use condensed milk instead of milk and sugar?
A: Yes, you can use condensed milk. Reduce the amount of sugar accordingly, as condensed milk is already sweet. Start with half the amount of sugar and adjust to taste.
Q: My laddus are too dry. What can I do?
A: If your laddus are too dry, you can add a tablespoon or two of milk or ghee to moisten the mixture. Mix well and try rolling them again.
Q: My laddus are too sticky. What can I do?
A: If your laddus are too sticky, continue cooking the mixture for a minute or two longer, stirring constantly, to reduce the moisture content.
Q: Can I make these laddus vegan?
A: Yes, you can easily make these laddus vegan by using plant-based milk (such as almond milk or coconut milk) and substituting ghee with coconut oil or vegan butter.
Q: Can I add food coloring to the laddus?
A: Yes, you can add a few drops of food coloring to the mixture while it’s cooking to give the laddus a vibrant color.
Conclusion
There you have it – a simple, quick, and delicious Coconut Laddu recipe that’s perfect for any occasion! With its minimal ingredients and easy-to-follow instructions, this recipe is a guaranteed success. So, go ahead and whip up a batch of these melt-in-your-mouth treats and experience the joy of homemade Indian sweets. Enjoy!