🧇 Crispy Waffles Recipe You Need to Try ASAP
So you woke up craving something warm, golden, and crispy but can’t be bothered with anything that takes actual effort? Same. And that, my friend, is exactly why crispy waffles exist — they look fancy, taste amazing, and trick people into thinking you’ve got your life together. But don’t worry… this recipe is embarrassingly easy, extremely delicious, and honestly? Kind of a life hack.
Let’s make waffles that crunch.
Why This Recipe Is Awesome
Look, I’ve made a lot of waffles in my lifetime — some soggy, some burnt, and some so floppy they could be used as edible bookmarks. But these waffles? Oh no. These waffles hit different.
Here’s why this crispy waffles recipe is ridiculously good:
- It’s idiot-proof. Seriously, even if you zone out halfway through mixing, they’ll still come out great.
- The texture is elite. Golden edges. Airy interior. Crunch that makes your neighbors jealous.
- Kitchen-flex material. You’ll look like you’ve watched at least three seasons of a cooking show.
- Customizable AF. Blueberries? Chocolate chips? Cinnamon? Bacon? Go wild.
- Perfect for meal prep. Make a bunch, freeze them, toast when hungry — boom, instant breakfast magic.
If you’ve ever wanted waffles that stay crispy long enough for photos (or for your slow-eating friend who takes 15 years to decide which syrup to use), this is the one.
Ingredients You’ll Need
Let’s keep this simple, chaotic, and delicious:
- 1 ¾ cups all-purpose flour — the base that makes all the magic happen
- 2 tablespoons cornstarch — the secret to extra crispiness (don’t skip unless you enjoy sadness)
- 2 tablespoons granulated sugar — sweetness that won’t make your teeth panic
- 1 tablespoon baking powder — instant waffle lift-off
- ½ teaspoon salt — because seasoning your food is a maturity milestone
- 2 large eggs — bring them to room temp for better texture
- 1 ¾ cups milk — any kind works (even oat, if you’re feeling eco-luxe)
- ⅓ cup melted butter — adds rich flavor and crisp edges
- 1 teaspoon vanilla extract — because we’re classy
- Optional add-ins: chocolate chips, berries, cinnamon, shredded coconut, etc.
Step-by-Step Instructions
Ready to unlock waffle greatness?
1. Preheat Your Waffle Maker
Get that waffle iron hot. A not-so-hot waffle iron = soggy tragedy.
Let it heat while you mix things up.
2. Mix Dry Ingredients
In a big bowl, whisk together flour, cornstarch, sugar, baking powder, and salt.
Nothing dramatic here — just powdery greatness.
3. Mix Wet Ingredients
In another bowl, stir together eggs, milk, melted butter, and vanilla.
Try not to chug the mixture. (People have done worse, trust me.)
4. Combine Wet + Dry
Pour the wet ingredients into the dry ones.
Mix until you barely see streaks of flour. Lumps = fine. Overmixing = rubber waffles.
5. Rest the Batter (Optional but Recommended)
Let it sit 5–10 minutes.
This makes the batter smoother and the waffles crispier. Science is cool.
6. Grease the Waffle Iron
Even if it’s nonstick. Trust me.
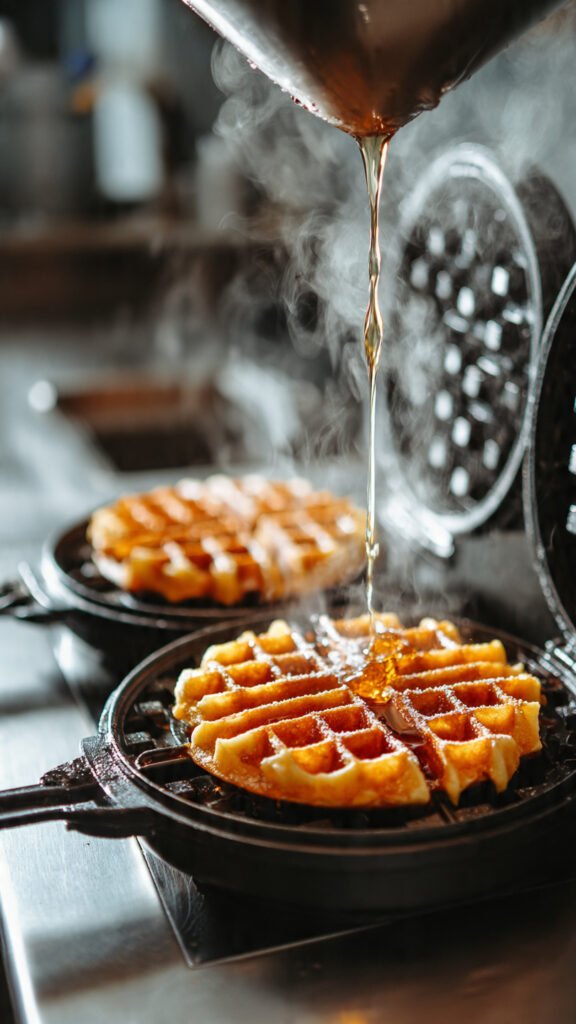
7. Pour Batter and Cook
Add enough batter to fill your iron (usually ½ cup per waffle).
Close the lid. Don’t peek. Peeking ruins crispiness.
Cook until steam slows down or until your waffle maker says it’s ready.
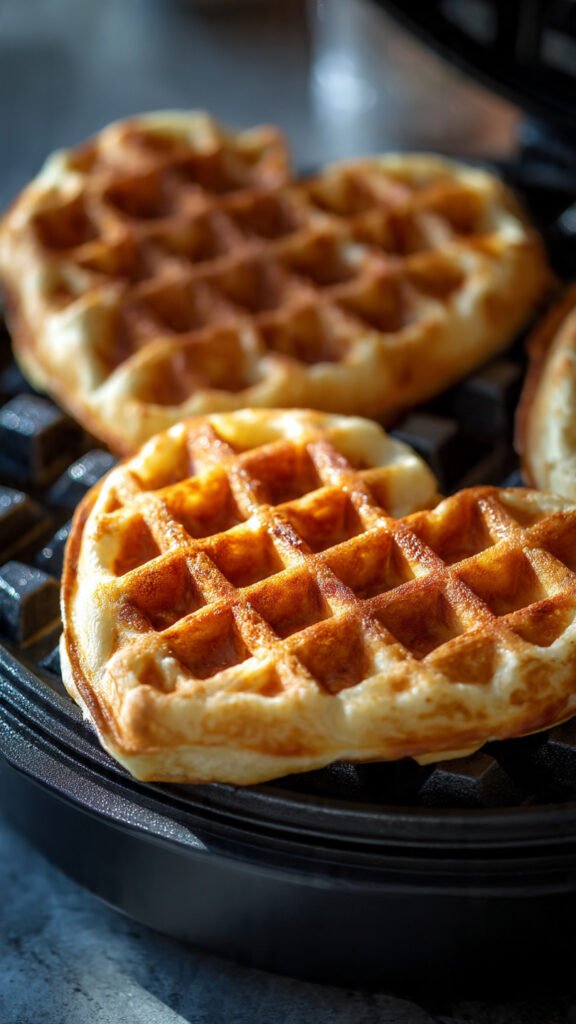
8. Keep Them Crisp
Place cooked waffles on a wire rack — not a plate, unless you enjoy floppy disappointment.
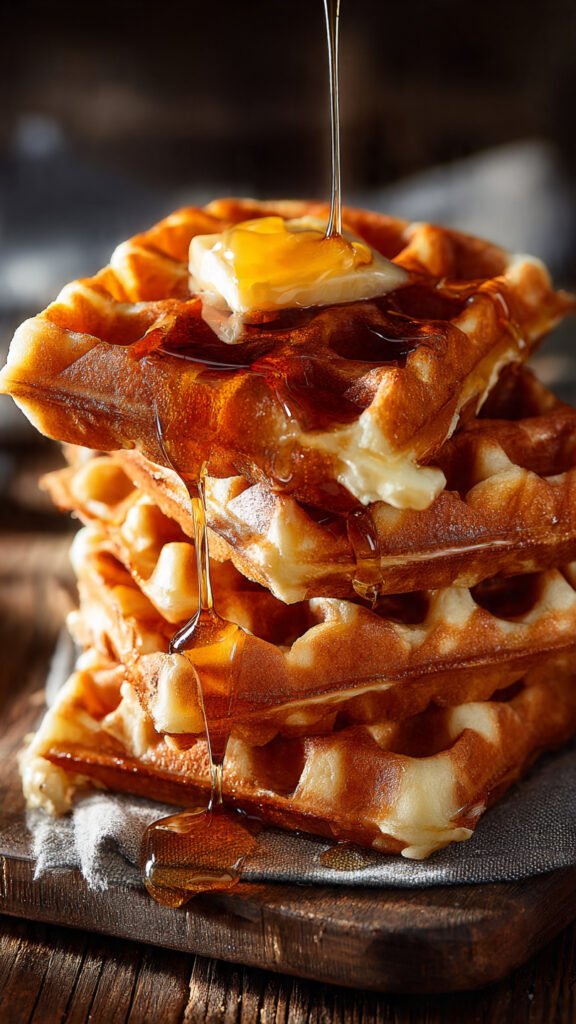
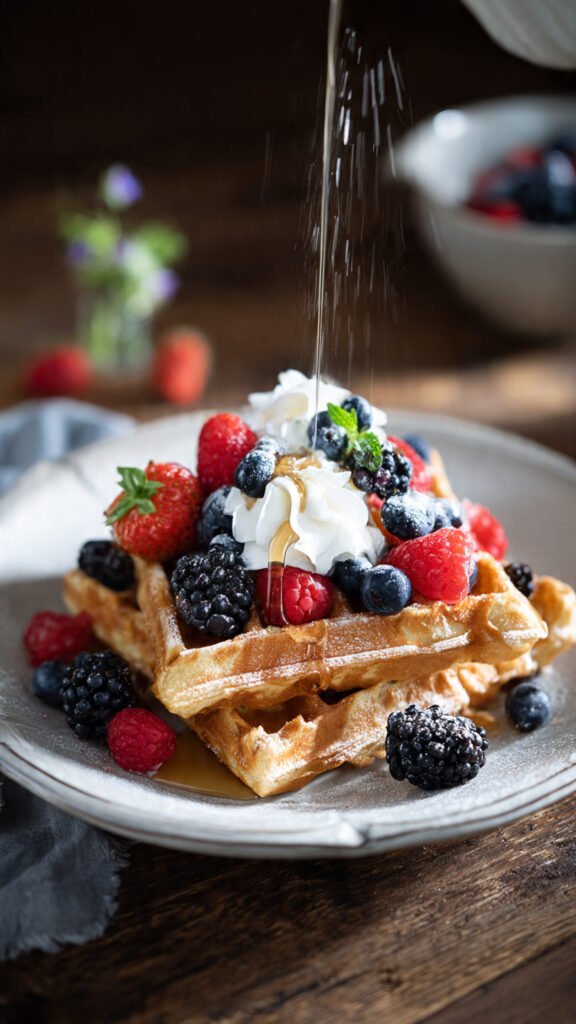
9. Serve and Flex
Add syrup, butter, fruit, whipped cream, Nutella, fried chicken… whatever fuels your soul.
Common Mistakes to Avoid
Because we’ve all messed up waffles at least once:
- Skipping preheat. Cold waffle irons make waffles sad and limp.
- Overmixing the batter. This creates rubber waffles, and nobody wants that.
- Stacking waffles while hot. Congrats, you’ve created a steam sauna of sogginess.
- Using cold milk and eggs. Makes the batter seize and ruins texture.
- Pouring too much batter into the iron. Waffle lava everywhere = chaos.
- Not adding cornstarch. This is basically the crispy fairy dust. Don’t skip it.
Alternatives & Substitutions
Let’s say you’re missing something or feeling fancy — here’s what to use instead:
- Milk swaps: almond, oat, soy, coconut — all work. The creamier, the crispier.
- Butter substitute: melted coconut oil (you’ll get a tropical “I vacation in Bali” vibe).
- Gluten-free flour: any 1:1 GF blend works great.
- Sugar alternatives: honey, maple syrup, brown sugar for richer flavor.
- Flavor twists: add cinnamon, pumpkin spice, lemon zest, or espresso powder.
IMO, adding cinnamon + brown sugar turns these waffles into something dangerously addictive.
FAQ (Frequently Asked Questions)
1. Can I make the batter ahead of time?
Technically yes, but it thickens up like it’s preparing for winter. If you do, give it a splash of milk before cooking.
2. Can I freeze these waffles?
Absolutely. Freeze them flat, then stack in a bag. Toast before eating and boom — fresh crispy waffles like magic.
3. Why aren’t my waffles crispy?
You probably stacked them or didn’t preheat your waffle maker. Or your waffle iron is older than your phone.
4. Can I use margarine instead of butter?
I mean… you can, but why hurt your soul like that?
5. Do I need cornstarch?
Only if you want crispy waffles. Which you do. So yes.
6. Can I add toppings into the batter?
Yes, but don’t dump half a bag of chocolate chips in there. The iron will revolt.
7. What’s the best waffle maker for crispy waffles?
Any that gets hot. The hotter the iron, the crispier the waffle.
Final Thoughts
Congrats, waffle warrior — you are now officially capable of whipping up crispy waffles that crunch like they were crafted by a breakfast wizard. Now go flex your new skill. Feed someone you love. Or yourself. (Self-love with waffles is elite, honestly.)
Enjoy the crunch — you earned it. 🧇💛