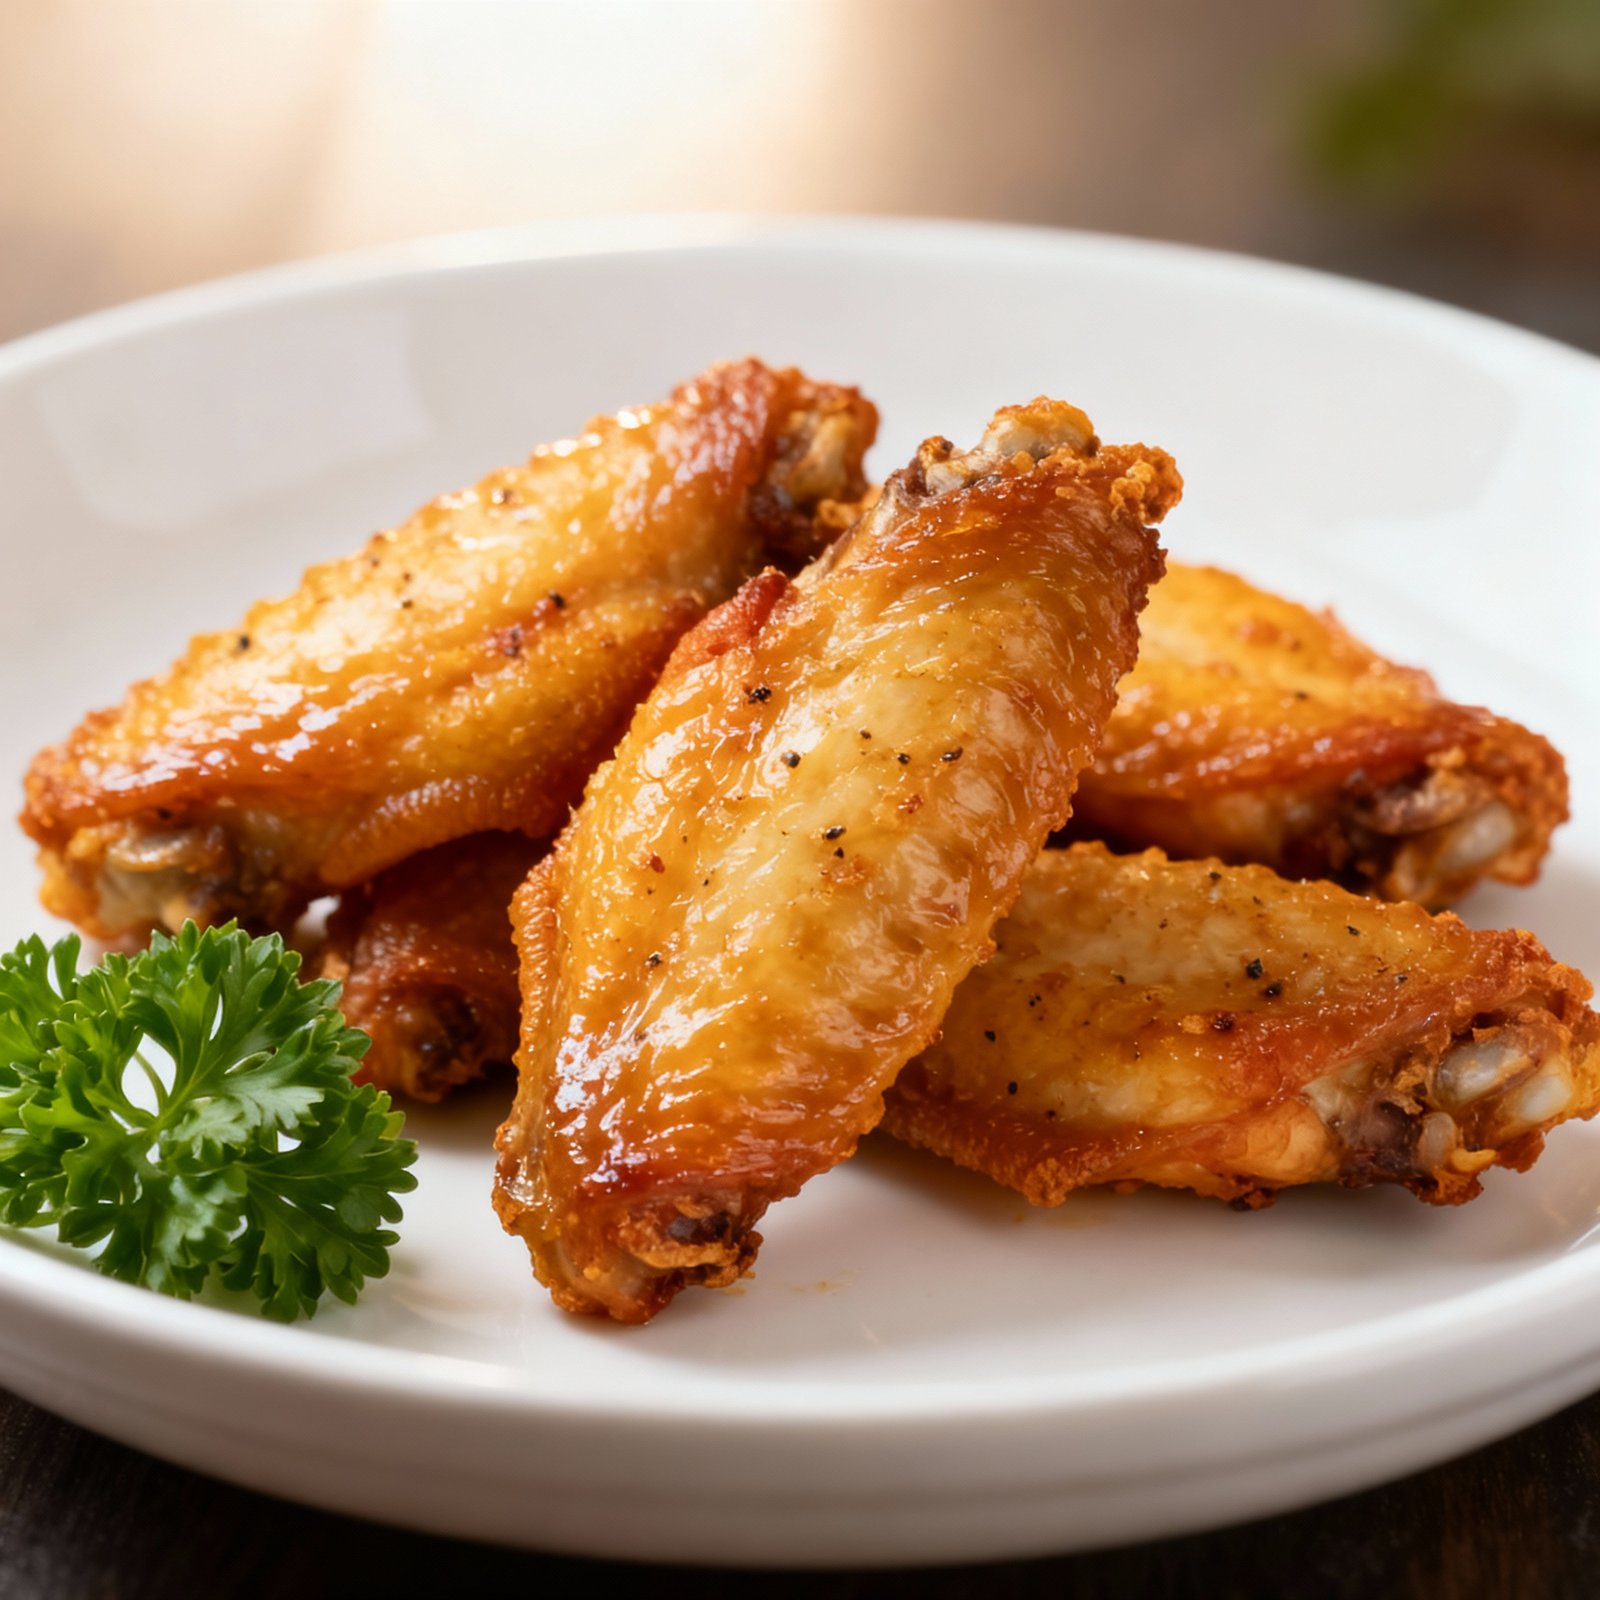
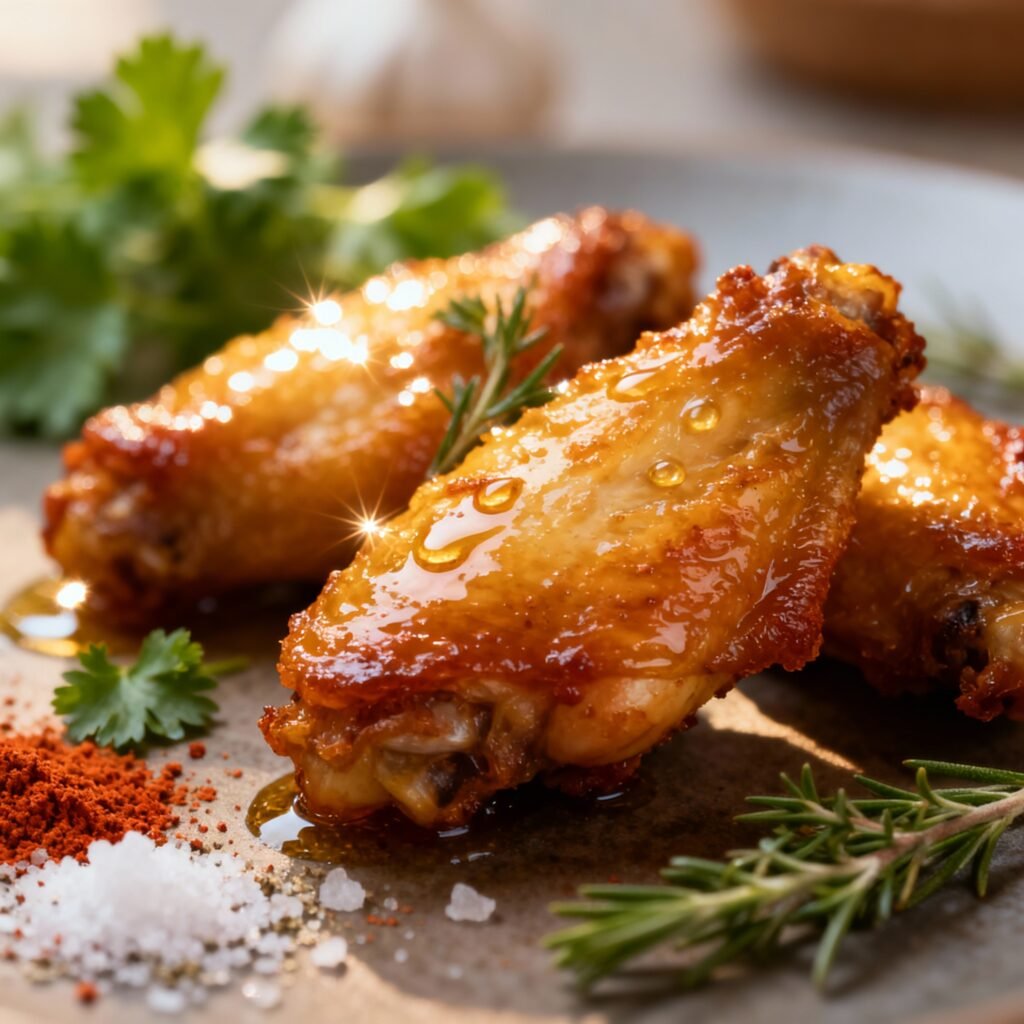
Crispy Wings Recipe: The Secret to Restaurant-Quality Wings at Home
Craving crispy, juicy chicken wings that rival your favorite restaurant? Look no further! This recipe delivers perfectly crispy wings every time, without deep frying. Forget soggy skin and bland flavors. We’re talking about wings so good, you’ll want to make them every week. This method uses a simple baking technique with a few key ingredients to achieve maximum crispiness. Get ready to impress your family and friends with these unbelievably delicious homemade wings.
Why This Recipe Works
What makes these wings so special? It’s all about the science behind the crisp! Here’s the breakdown:
- Baking Powder Magic: The secret weapon is aluminum-free baking powder. It reacts with the natural moisture in the chicken skin, creating tiny bubbles that expand during baking. This results in a light, airy, and incredibly crispy texture.
- High-Heat Baking: Baking the wings at a higher temperature (400°F or 200°C) helps to render the fat quickly, further contributing to the crispiness.
- Elevated Rack: Placing the wings on a wire rack set inside a baking sheet allows hot air to circulate around all sides of the wings, ensuring even cooking and maximum crispness. No more soggy bottoms!
- The Right Sauce: While the crispy skin is the star, a flavorful sauce is essential. We’ll provide instructions for a classic buffalo sauce, but feel free to experiment with your favorite flavors.
Ingredients
- 2 lbs Chicken Wings (about 12-16 wings): Look for wings that are plump and evenly sized. You can use whole wings, drumettes, or wingettes (also known as flats).
- 2 tbsp Aluminum-Free Baking Powder: This is crucial for achieving the crispy skin. Make sure it’s aluminum-free to avoid a metallic taste.
- 1 tsp Salt: Enhances the flavor of the chicken and helps to draw out moisture.
- 1/2 tsp Black Pepper: Adds a subtle warmth and depth of flavor.
- 1/4 tsp Garlic Powder: Provides a savory note.
- 1/4 tsp Onion Powder: Adds a touch of sweetness and complexity.
- Optional: 1/4 tsp Paprika: For a hint of smokiness and color.
- For the Buffalo Sauce (Optional):
- 1/2 cup Hot Sauce (Frank’s RedHot is a classic): Adjust to your preferred level of heat.
- 1/4 cup Unsalted Butter, melted: Adds richness and helps the sauce cling to the wings.
- 1 tbsp White Vinegar: Provides a tangy counterpoint to the heat.
- 1/2 tsp Garlic Powder: Enhances the savory flavor.
- Optional: Pinch of Cayenne Pepper: For extra heat.
Instructions
- Prepare the Wings: Pat the chicken wings completely dry with paper towels. This is a crucial step for achieving crispy skin. The drier the wings, the better they will crisp up.
- Season the Wings: In a large bowl, combine the dried chicken wings with the baking powder, salt, pepper, garlic powder, onion powder, and paprika (if using). Toss well to ensure the wings are evenly coated.
- Arrange on a Wire Rack: Place a wire rack inside a baking sheet. This allows for air circulation and prevents the wings from steaming in their own juices. Arrange the wings in a single layer on the wire rack, making sure they are not touching.
- Bake the Wings: Preheat your oven to 400°F (200°C). Bake the wings for 40-50 minutes, or until they are golden brown and crispy. Flip the wings halfway through the baking time to ensure even cooking. Use a meat thermometer to ensure the internal temperature reaches 165°F (74°C).
- Prepare the Buffalo Sauce (Optional): While the wings are baking, prepare the buffalo sauce. In a medium bowl, whisk together the hot sauce, melted butter, white vinegar, and garlic powder (and cayenne pepper, if using).
- Toss in Sauce (Optional): Once the wings are cooked through and crispy, remove them from the oven. If using, immediately toss the hot wings in the buffalo sauce until they are evenly coated.
- Serve Immediately: Serve the crispy wings immediately with your favorite dipping sauces, such as ranch dressing, blue cheese dressing, or extra hot sauce. Celery and carrot sticks are also a classic accompaniment.
Tips for Success
- Use Aluminum-Free Baking Powder: Regular baking powder can leave a metallic taste. Aluminum-free is the way to go.
- Don’t Overcrowd the Baking Sheet: Make sure the wings are arranged in a single layer on the wire rack. Overcrowding will cause them to steam instead of crisp. You may need to bake them in batches.
- Pat the Wings Dry: This is the most important step! The drier the wings, the crispier they will be.
- Adjust Baking Time: Baking time may vary depending on your oven. Keep an eye on the wings and adjust the time accordingly. They are done when they are golden brown and crispy, and the internal temperature reaches 165°F (74°C).
- Don’t Sauce All the Wings: If you’re serving a crowd, consider leaving some wings unsauced and offering a variety of dipping sauces. This allows people to customize their wings to their liking.
- For Extra Crispy Wings: After baking, you can broil the wings for 1-2 minutes per side to further crisp them up. Watch them closely to prevent burning!
Storage Instructions
Storing Cooked Wings: Cooked wings can be stored in the refrigerator for up to 3-4 days in an airtight container.
Reheating Cooked Wings: To reheat the wings, preheat your oven to 350°F (175°C). Place the wings on a baking sheet and bake for 10-15 minutes, or until heated through. For extra crispy wings, you can broil them for a minute or two, watching carefully to prevent burning. You can also reheat them in an air fryer for a similar effect. Reheating sauced wings may make them a bit less crispy.
Freezing Cooked Wings: Cooked wings can be frozen for up to 2-3 months. Allow the wings to cool completely before freezing. Place them in a single layer on a baking sheet lined with parchment paper and freeze for about 2 hours. Once frozen, transfer the wings to a freezer-safe bag or container. This will prevent them from sticking together. To reheat frozen wings, thaw them in the refrigerator overnight and then follow the reheating instructions above.
FAQ
Q: Can I use frozen wings?
A: Yes, but make sure to thaw them completely before cooking. Pat them dry thoroughly after thawing.
Q: Can I use different sauces?
A: Absolutely! Feel free to experiment with your favorite sauces, such as BBQ sauce, teriyaki sauce, or honey mustard sauce.
Q: Can I make these in an air fryer?
A: Yes! Preheat your air fryer to 400°F (200°C). Cook the wings in batches for 18-20 minutes, flipping halfway through, until golden brown and crispy.
Q: Why is my baking powder aluminum-free?
A: Baking powder contains both an acid and a base that react to create carbon dioxide, which causes baked goods to rise. Some baking powders contain sodium aluminum sulfate as the acid component. While safe to consume, some people are sensitive to the taste of aluminum, which can impart a slightly metallic flavor to the wings. Aluminum-free baking powder uses a different acid, such as cream of tartar, which doesn’t have this effect.
Conclusion
With this recipe, you’re now equipped to make incredibly crispy and delicious chicken wings at home. The combination of baking powder, high heat, and a wire rack is the key to achieving restaurant-quality results. So gather your ingredients, fire up your oven, and get ready to enjoy the best homemade wings you’ve ever tasted! Don’t forget to experiment with different sauces and seasonings to create your own signature wing flavor. Happy cooking!