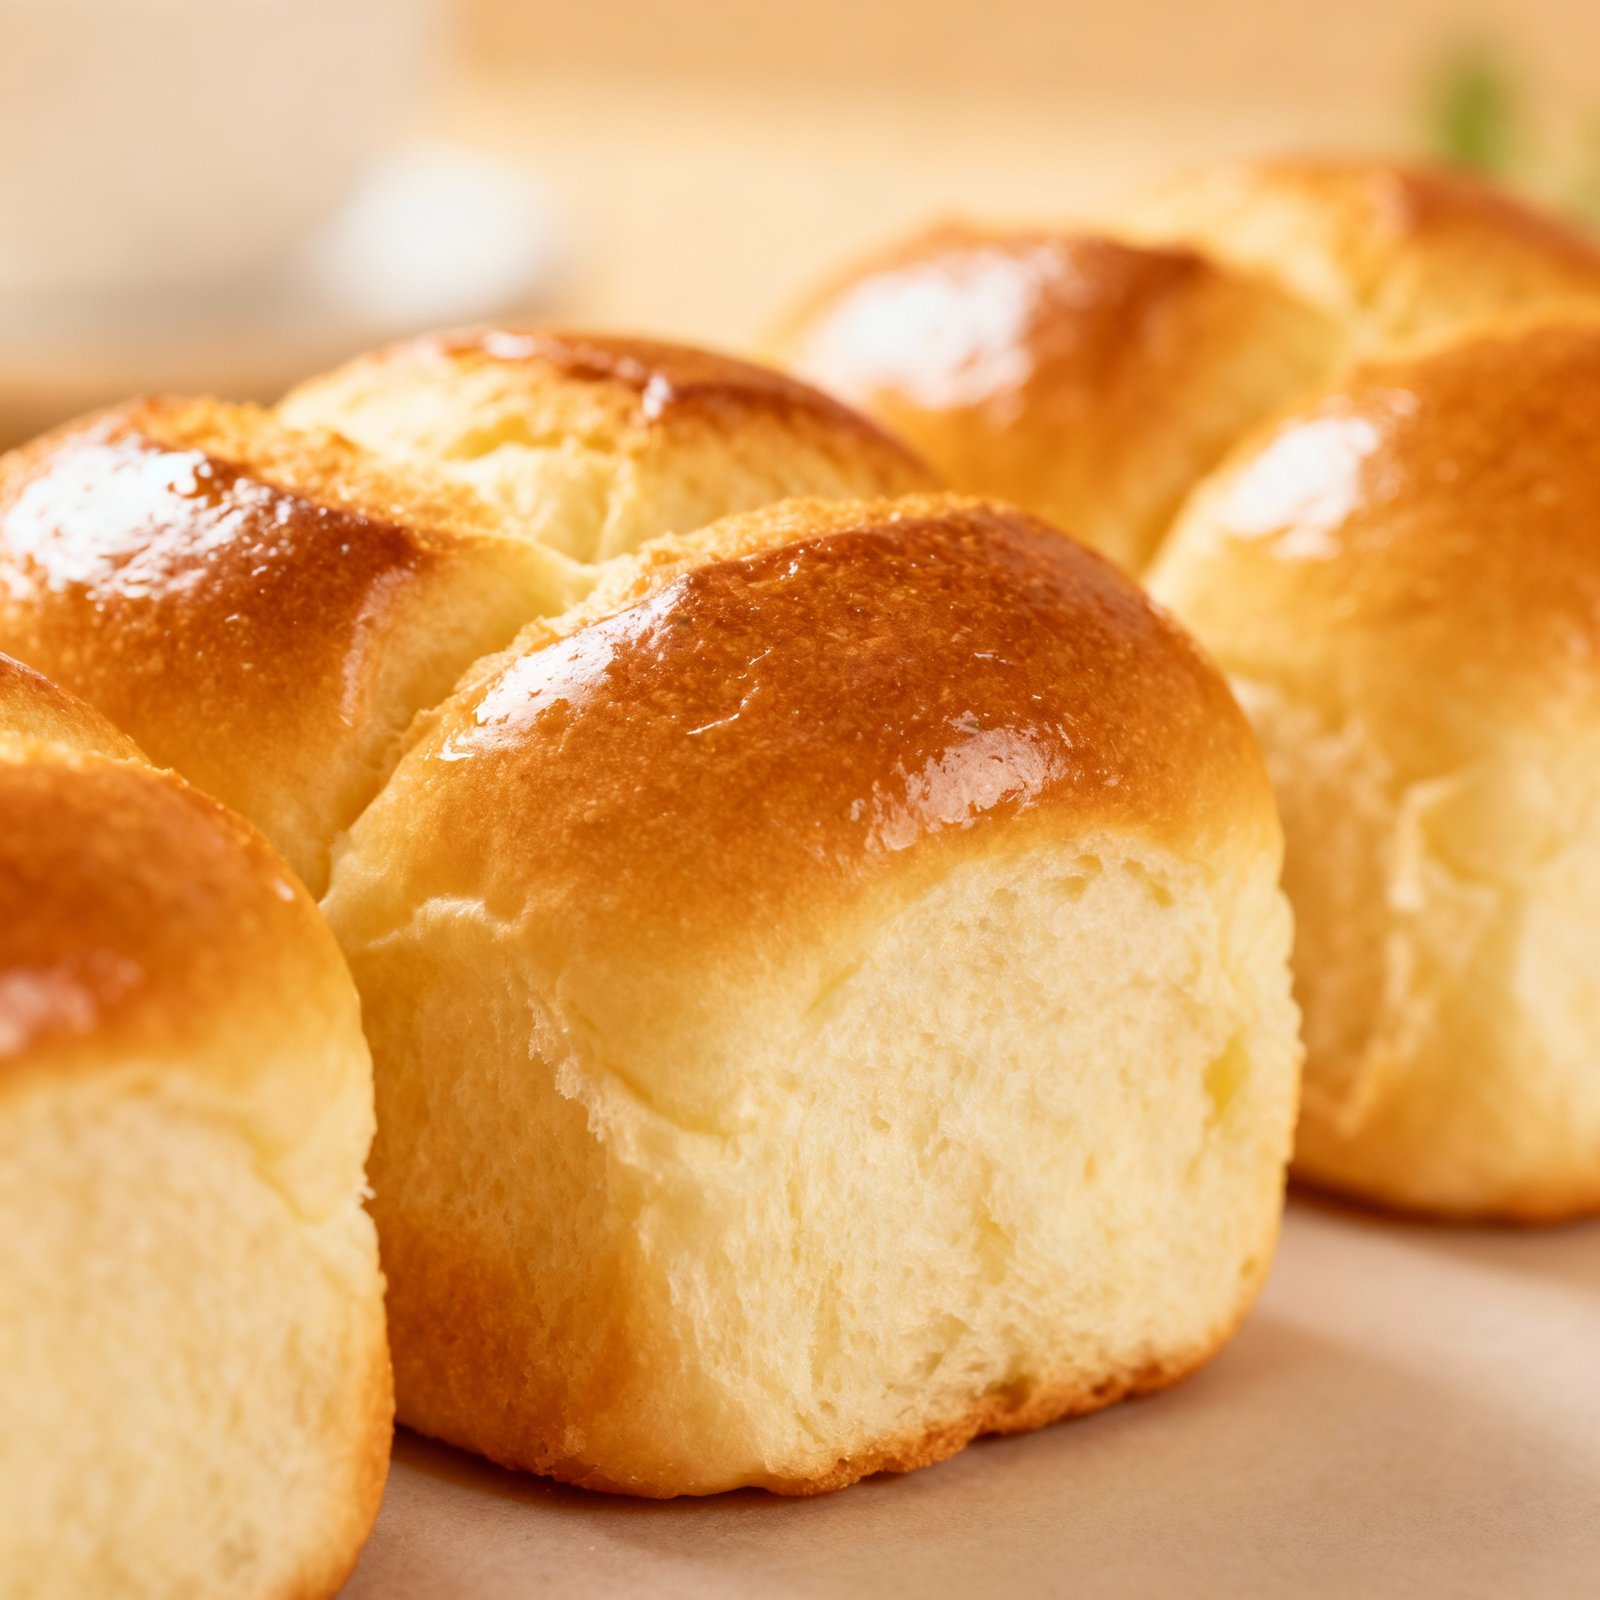
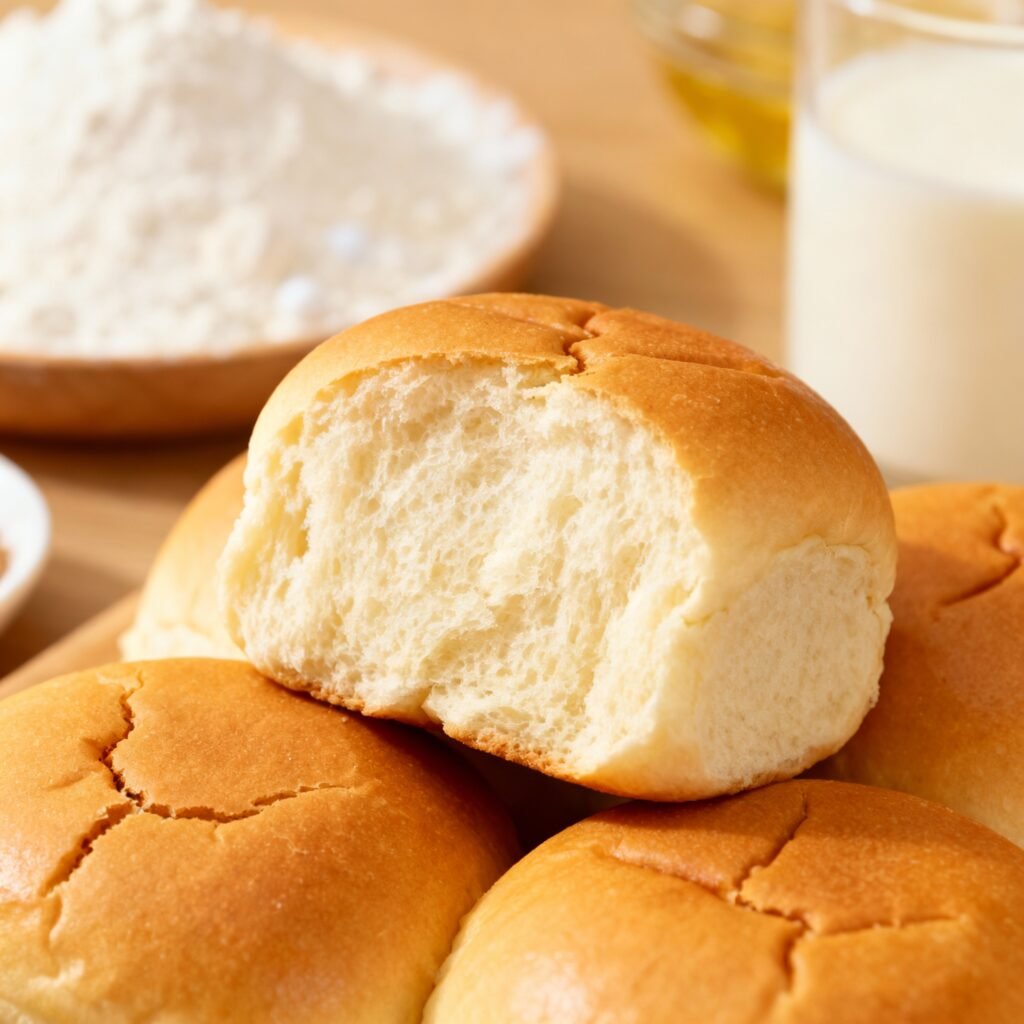
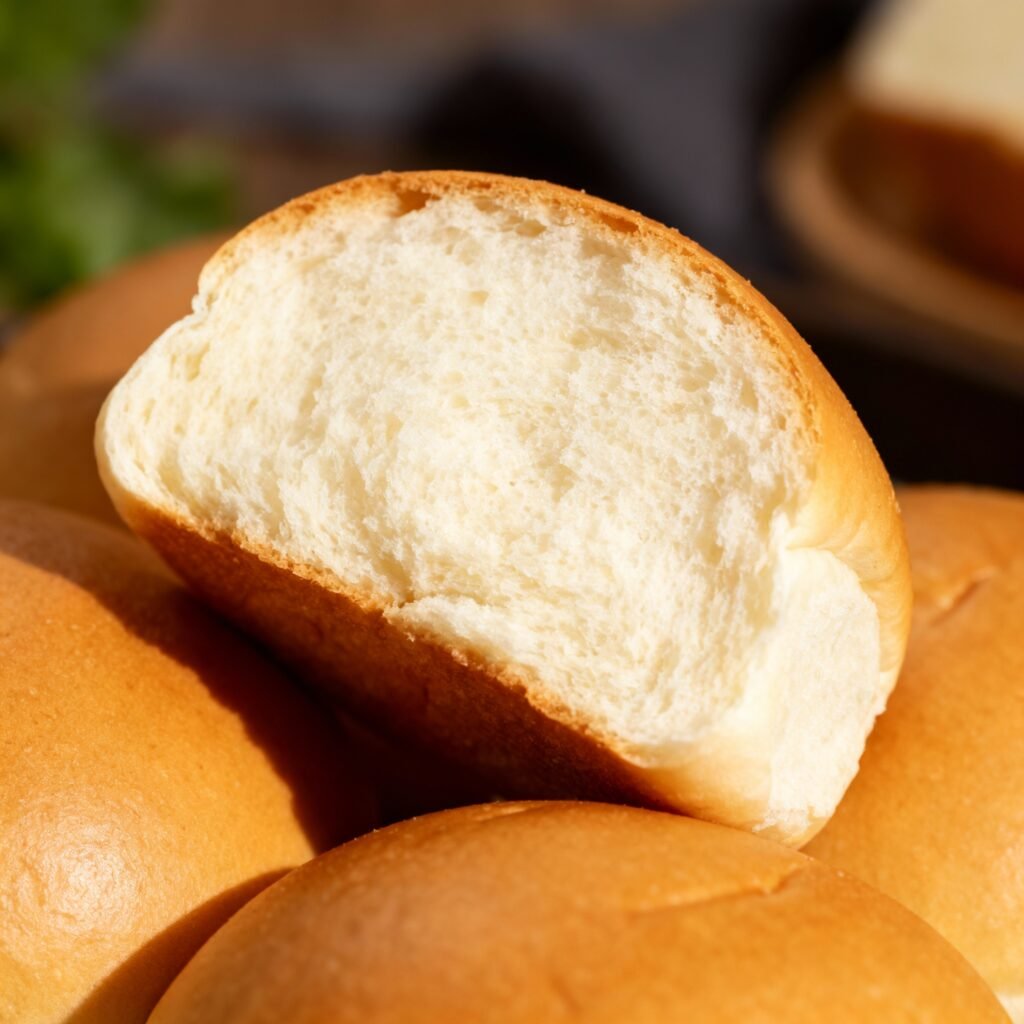
Easy Bun Recipe: The Softest, Fluffiest Buns You’ll Ever Make!
Imagine biting into a warm, pillowy bun, its soft texture practically melting in your mouth. Sounds heavenly, right? But the thought of baking bread can often feel intimidating, filled with complex steps and the fear of dense, brick-like results. Fear no more! This easy bun recipe is designed for even the most novice bakers, guaranteeing soft, fluffy, and utterly delicious buns every single time. Whether you’re craving burger buns, dinner rolls, or simply a comforting treat, this recipe is your new go-to. Get ready to impress your family and friends with your newfound baking skills – they’ll never guess how easy these buns were to make!
Why This Recipe Works
This recipe is designed for simplicity and success. Here’s why it works so well:
- Simple Ingredients: We use common pantry staples, so you likely have everything you need already. No fancy flours or obscure ingredients here!
- Foolproof Method: The instructions are clear, concise, and easy to follow, eliminating guesswork and minimizing the chance of errors.
- Quick Rise Time: We use a generous amount of yeast and a warm environment to encourage a relatively quick rise, so you can enjoy your fresh buns sooner.
- Hydration Balance: The ratio of liquid to flour is carefully calibrated to create a dough that’s easy to handle but still produces incredibly soft and moist buns.
- Versatile: This recipe is a fantastic base that can be easily adapted to create different types of buns. Add herbs, cheese, or seeds for a personalized touch.
Ingredients
- All-Purpose Flour: 3 ½ cups (420g), plus extra for dusting
- Active Dry Yeast: 2 ¼ teaspoons (1 standard packet)
- Granulated Sugar: ¼ cup (50g)
- Salt: 1 teaspoon
- Warm Milk: 1 cup (240ml), about 110°F (43°C)
- Large Egg: 1
- Unsalted Butter: ¼ cup (57g), melted
- Egg Wash (Optional): 1 egg beaten with 1 tablespoon of milk or water, for a golden brown finish
- Sesame Seeds (Optional): For topping
Instructions
- Activate the Yeast: In a large bowl, combine the warm milk, sugar, and yeast. Stir gently and let it sit for 5-10 minutes, or until foamy. This indicates that the yeast is active and ready to use. If the yeast doesn’t foam, it may be old or inactive, and you’ll need to start with fresh yeast.
- Combine Dry Ingredients: In a separate bowl, whisk together the flour and salt.
- Combine Wet and Dry Ingredients: Add the melted butter and egg to the yeast mixture. Whisk to combine. Gradually add the dry ingredients to the wet ingredients, mixing with a wooden spoon or a stand mixer with a dough hook attachment until a shaggy dough forms.
- Knead the Dough: Turn the dough out onto a lightly floured surface. Knead for 5-7 minutes, or until the dough is smooth and elastic. If using a stand mixer, knead with the dough hook for 4-5 minutes. The dough should be slightly sticky but not overly so. If it’s too sticky, add flour one tablespoon at a time until it reaches the right consistency.
- First Rise: Place the dough in a lightly oiled bowl, turning to coat. Cover the bowl with plastic wrap or a clean kitchen towel and let it rise in a warm place for 1-1.5 hours, or until doubled in size. A warm oven (turned off) or a sunny spot in your kitchen works well.
- Shape the Buns: Gently punch down the dough to release the air. Turn the dough out onto a lightly floured surface and divide it into 8-12 equal pieces, depending on the desired size of your buns. Roll each piece into a smooth ball and place them on a baking sheet lined with parchment paper, leaving some space between each bun.
- Second Rise: Cover the buns with plastic wrap or a clean kitchen towel and let them rise in a warm place for 30-45 minutes, or until they have almost doubled in size.
- Preheat Oven: Preheat your oven to 375°F (190°C).
- Prepare for Baking: If desired, brush the tops of the buns with egg wash for a golden brown finish. Sprinkle with sesame seeds, if using.
- Bake the Buns: Bake for 15-20 minutes, or until the buns are golden brown on top and sound hollow when tapped on the bottom.
- Cool and Enjoy: Transfer the buns to a wire rack to cool completely before slicing and enjoying.
Tips for Success
- Use Warm Milk: The milk should be warm to the touch, but not hot. Too hot of a temperature will kill the yeast.
- Don’t Overknead: Overkneading can result in tough buns. Knead just until the dough is smooth and elastic.
- Proper Rising Environment: A warm, draft-free environment is crucial for proper rising. If your kitchen is cold, try placing the dough in a slightly warmed oven (turned off) or near a warm appliance.
- Don’t Overbake: Overbaking will result in dry buns. Keep a close eye on them during the last few minutes of baking and remove them from the oven when they are golden brown.
- Adjust for Altitude: If you live at a high altitude, you may need to adjust the amount of flour. Start with slightly less flour and add more as needed until the dough reaches the desired consistency.
Storage Instructions
These buns are best enjoyed fresh, but they can be stored for later use:
- Room Temperature: Store cooled buns in an airtight container at room temperature for up to 2 days.
- Freezer: For longer storage, freeze the buns in an airtight container or freezer bag for up to 2 months. Thaw completely before using. You can reheat them in a low oven (300°F/150°C) for a few minutes to restore their softness.
FAQ
Q: Can I use bread flour instead of all-purpose flour?
A: Yes, you can substitute bread flour for all-purpose flour. Bread flour has a higher protein content, which will result in slightly chewier buns.
Q: Can I use instant yeast instead of active dry yeast?
A: Yes, you can substitute instant yeast for active dry yeast. You can add the instant yeast directly to the dry ingredients without proofing it first.
Q: Can I make these buns vegan?
A: Yes, you can make these buns vegan by substituting the milk with plant-based milk (such as almond milk or soy milk), the butter with vegan butter, and the egg with a flax egg (1 tablespoon flaxseed meal mixed with 3 tablespoons water).
Q: My dough isn’t rising. What should I do?
A: Make sure your yeast is fresh and that the milk is warm, not hot. Also, ensure that you are providing a warm environment for the dough to rise. If the dough still isn’t rising, it may be that the yeast is inactive and you’ll need to start with fresh yeast.
Conclusion
Congratulations! You’ve just mastered the art of making easy, delicious, and fluffy buns. This recipe is so simple and rewarding that you’ll be making them again and again. So go ahead, bake a batch, and enjoy the satisfying feeling of creating something delicious from scratch. Whether you’re serving them with burgers, sandwiches, or simply enjoying them warm with butter, these buns are sure to be a crowd-pleaser. Happy baking!