Italian Bread Recipe: The Secret to Crusty Perfection
There’s nothing quite like the smell of freshly baked bread wafting through the kitchen. And while many breads can be intimidating to make at home, this Italian bread recipe is surprisingly straightforward, yielding a loaf with a delightfully crisp crust and a soft, airy interior that’s perfect for sandwiches, dipping in olive oil, or simply enjoying on its own. This isn’t your average, overly-processed grocery store bread. This is the real deal, the kind of bread that makes you feel like you’re sitting at a trattoria in Italy.
This recipe has been meticulously crafted to be accessible to bakers of all skill levels. Whether you’re a seasoned bread maker or just starting out, you’ll find the instructions clear and easy to follow. We’ll guide you through each step, from mixing the dough to achieving that coveted golden-brown crust. So, preheat your oven, gather your ingredients, and prepare to experience the satisfaction of creating a truly exceptional loaf of Italian bread.
Why This Recipe Works
This recipe isn’t just a collection of ingredients; it’s a carefully balanced formula designed for optimal results. Here’s why it works so well:
- Hydration Level: The recipe utilizes a higher hydration level, meaning there’s a significant amount of water compared to flour. This creates a wetter dough, which, while slightly more challenging to handle, results in a more open crumb structure and a chewier texture.
- Yeast Activation: We start by activating the yeast with warm water and a touch of sugar. This ensures the yeast is alive and ready to work its magic, giving your bread a good rise.
- Proper Kneading: Kneading develops the gluten in the flour, which provides the structure and elasticity needed for a light and airy loaf. We provide guidance on achieving the right level of gluten development.
- Proofing Time: Allowing the dough to proof (rise) properly is crucial for flavor development and texture. We recommend a slow, controlled proof to allow the yeast to fully ferment and create a complex flavor profile.
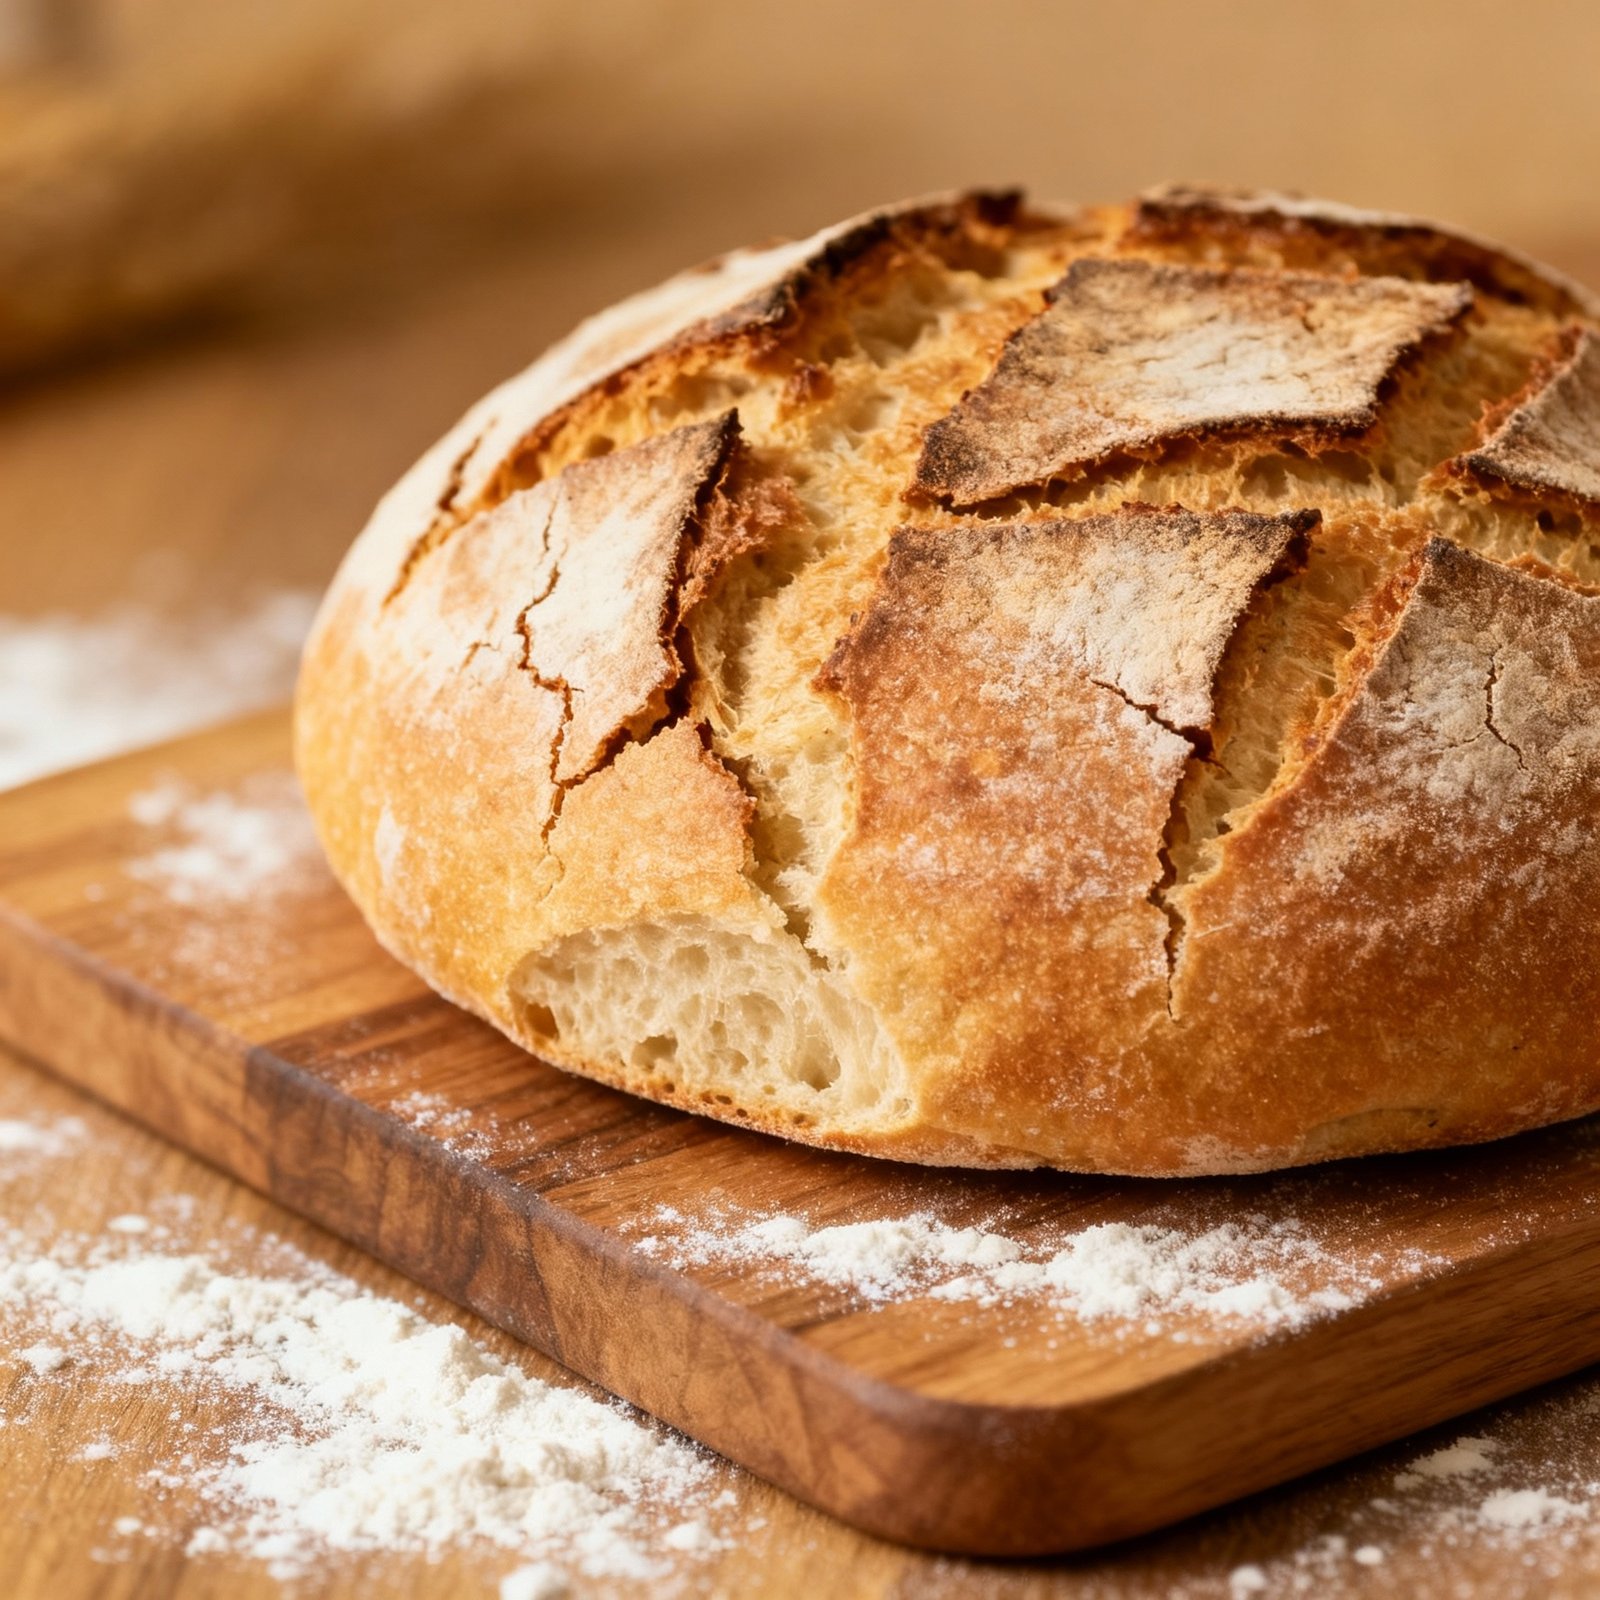
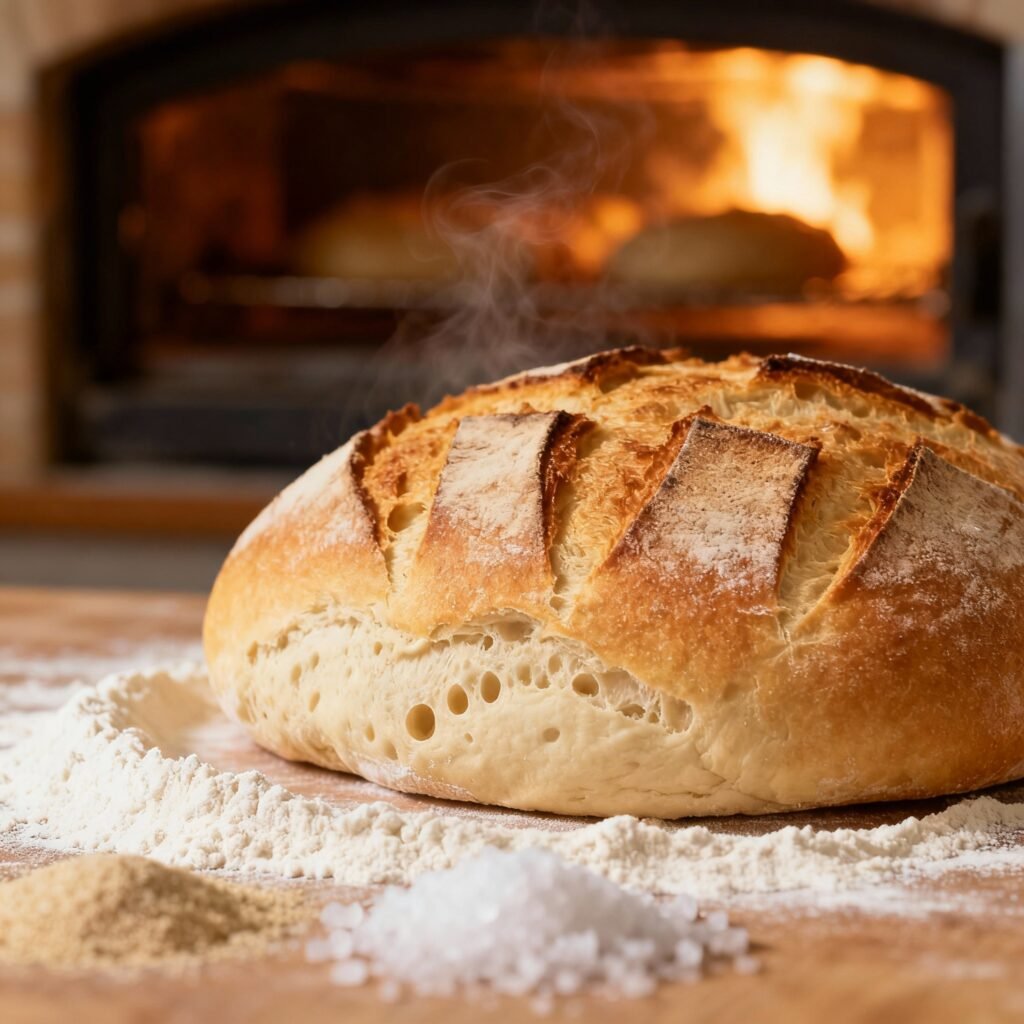
- Oven Temperature and Steaming: Baking at a high temperature and introducing steam into the oven are key to achieving a crisp, golden-brown crust. The steam prevents the crust from forming too quickly, allowing the bread to expand fully before setting.
Ingredients
- 3 1/2 cups (420g) bread flour, plus more for dusting
- 1 3/4 cups (420ml) warm water (105-115°F / 40-46°C)
- 2 teaspoons (7g) active dry yeast
- 1 tablespoon (12g) sugar
- 2 teaspoons (12g) salt
- 1 tablespoon olive oil, plus more for greasing the bowl
Instructions
- Activate the Yeast: In a large bowl, combine the warm water, sugar, and yeast. Stir gently and let stand for 5-10 minutes, or until the yeast is foamy. This indicates that the yeast is active and ready to use.
- Combine Ingredients: Add the bread flour, salt, and olive oil to the yeast mixture. Stir with a wooden spoon or your hands until a shaggy dough forms.
- Knead the Dough: Turn the dough out onto a lightly floured surface. Knead for 8-10 minutes, or until the dough is smooth, elastic, and slightly tacky. If the dough is too sticky, add a little more flour, a tablespoon at a time. You can also use a stand mixer with a dough hook attachment to knead the dough for 6-8 minutes on medium speed.
- First Rise: Lightly grease a large bowl with olive oil. Place the dough in the bowl, turning to coat. Cover the bowl with plastic wrap or a clean kitchen towel and let rise in a warm place for 1-1.5 hours, or until doubled in size.
- Shape the Dough: Gently punch down the dough to release the air. Turn the dough out onto a lightly floured surface. Shape the dough into a long loaf, about 12-14 inches long.
- Second Rise: Place the shaped loaf on a baking sheet lined with parchment paper. Cover loosely with plastic wrap or a clean kitchen towel and let rise for 30-45 minutes, or until almost doubled in size.
- Preheat the Oven: Preheat your oven to 450°F (232°C). Place a baking stone or pizza stone on the middle rack of the oven if you have one. If not, the baking sheet will work fine. Place an empty baking pan on the bottom rack of the oven.
- Create Steam: Just before baking, use a sharp knife or lame to make 3-4 diagonal slashes across the top of the loaf. This allows the bread to expand properly in the oven.
- Bake the Bread: Carefully pour 1 cup of hot water into the empty baking pan on the bottom rack of the oven. This will create steam, which is essential for a crisp crust. Immediately place the baking sheet with the loaf on the middle rack of the oven.
- Bake Time: Bake for 25-30 minutes, or until the crust is golden brown and the internal temperature of the bread reaches 200-210°F (93-99°C).
- Cooling: Remove the bread from the oven and let it cool completely on a wire rack before slicing and serving. This is crucial for preventing a gummy interior.
Tips for Success
- Use Bread Flour: Bread flour has a higher protein content than all-purpose flour, which is essential for developing strong gluten and creating a chewy texture.
- Don’t Over-Knead: Over-kneading can result in a tough loaf. Knead until the dough is smooth and elastic, but not overly stiff.
- Proof in a Warm Place: A warm environment encourages the yeast to work efficiently. A good place to proof the dough is in a slightly warmed oven (turned off!) or near a sunny window.
- Create Steam: Steam is crucial for a crisp crust. If you don’t have a baking stone or pizza stone, you can still achieve a good crust by using the hot water method described in the instructions.
- Let it Cool Completely: Resist the temptation to slice into the bread while it’s still warm. Allowing it to cool completely allows the crumb to set properly.
Storage Instructions
To keep your Italian bread fresh, store it in a bread bag or airtight container at room temperature. It will stay fresh for 2-3 days. For longer storage, you can freeze the bread. Wrap it tightly in plastic wrap and then in aluminum foil or place it in a freezer bag. Frozen bread will keep for up to 3 months. To thaw, let it sit at room temperature for several hours or overnight.

FAQ
- Can I use all-purpose flour instead of bread flour? While bread flour is recommended for the best results, you can use all-purpose flour in a pinch. However, the texture of the bread may be slightly different.
- My dough isn’t rising. What am I doing wrong? There are a few reasons why your dough might not be rising. Make sure your yeast is fresh and active. The water should be warm, but not too hot, as this can kill the yeast. Also, make sure you’re proofing the dough in a warm place.
- Why is my bread gummy inside? Gummy bread is usually caused by not letting it cool completely before slicing. Be patient and allow the bread to cool fully on a wire rack.
- Can I add herbs to the dough? Absolutely! Adding herbs like rosemary, thyme, or oregano can add a delicious flavor to your Italian bread. Add about 1-2 tablespoons of chopped fresh herbs to the dough when you add the flour and salt.
- Can I make this recipe with a sourdough starter? Yes, you can adapt this recipe to use a sourdough starter. You will need to adjust the amount of yeast and proofing time accordingly. There are many sourdough Italian bread recipes available online.
Conclusion
This Italian bread recipe offers a rewarding baking experience and a delicious result. The combination of simple ingredients, careful techniques, and a little patience yields a loaf that’s far superior to anything you can buy in the store. So, embrace the process, enjoy the aroma filling your kitchen, and savor the taste of homemade Italian bread. Happy baking!