Mexican Conchas Recipe: The Sweetest Bread You’ll Ever Bake
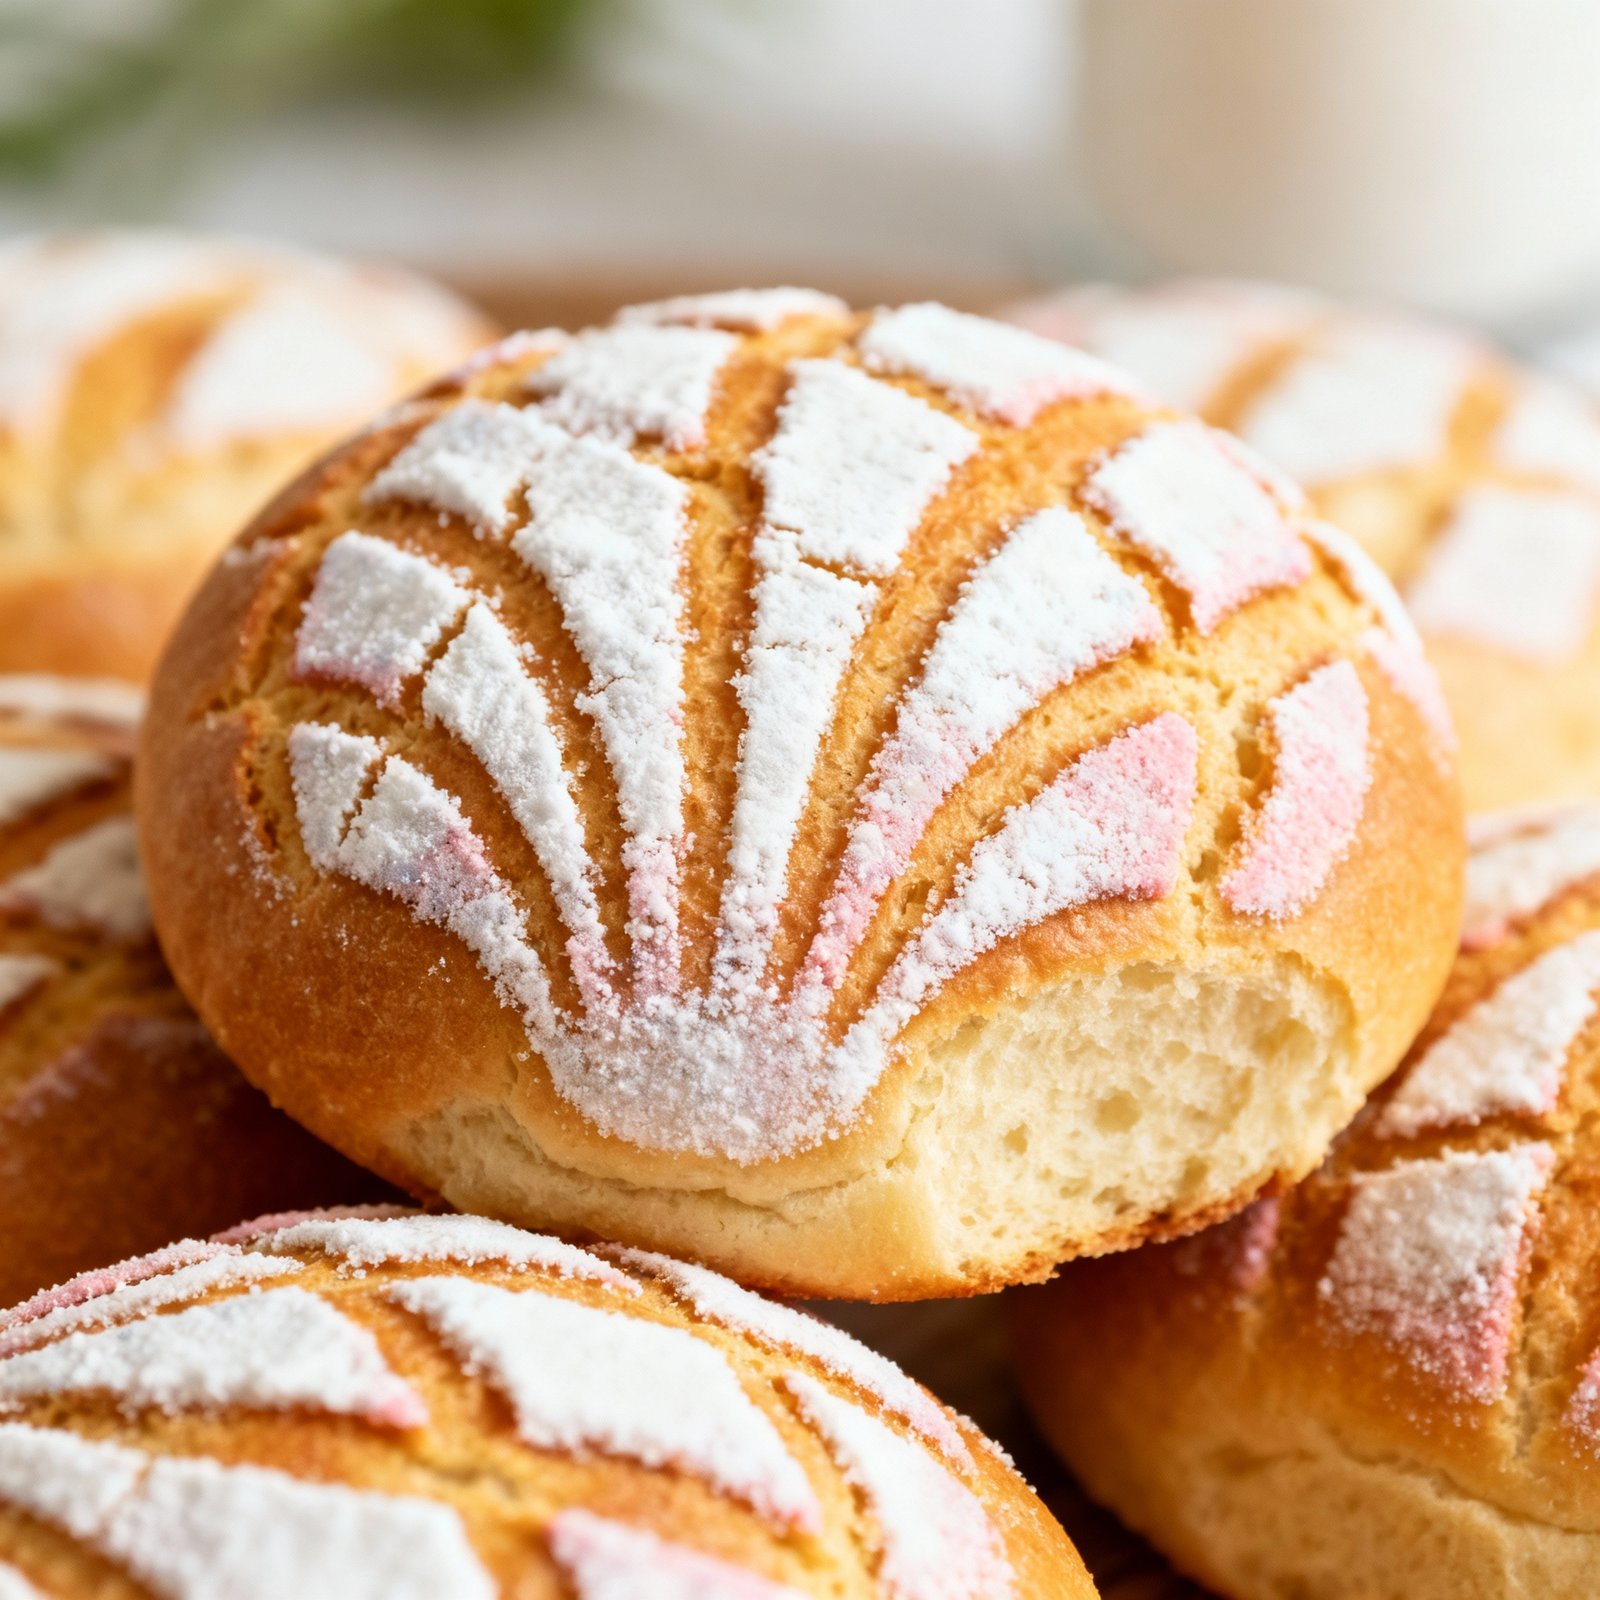
Imagine sinking your teeth into a soft, pillowy bread topped with a sweet, crunchy, colorful shell. That’s a concha, a beloved Mexican sweet bread that’s as beautiful as it is delicious. These iconic pastries, often enjoyed with coffee or hot chocolate, are a staple in Mexican bakeries and homes. While they might seem intimidating to make, this recipe breaks down the process into manageable steps, guiding you to create authentic, irresistible conchas right in your own kitchen. Get ready to impress your friends and family with this delightful treat!
Why This Recipe Works
This recipe is carefully crafted to deliver authentic flavor and texture. Here’s why it’s so successful:
- Balanced Dough: The dough uses the right ratio of flour, yeast, sugar, and butter to create a soft, slightly sweet, and airy bread that is perfect for soaking up coffee.
- Proper Proofing: We emphasize the importance of proper proofing times, ensuring the dough doubles in size, resulting in a light and fluffy concha.
- Crispy Topping: The topping recipe uses a blend of flour, sugar, and shortening (or butter) to create a crisp and flavorful shell that contrasts beautifully with the soft bread.
- Detailed Instructions: The step-by-step instructions are clear and concise, making it easy for even beginner bakers to follow along.
- Troubleshooting Tips: We provide tips for common issues and how to avoid them, ensuring your conchas turn out perfectly every time.
Ingredients
For the Bread Dough:
- 3 1/2 cups (440g) all-purpose flour, plus more for dusting
- 1/4 cup (50g) granulated sugar
- 2 1/4 teaspoons (7g) active dry yeast (1 packet)
- 1/2 teaspoon salt
- 1 cup (240ml) lukewarm milk (about 110°F/43°C)
- 2 large eggs, lightly beaten
- 6 tablespoons (85g) unsalted butter, softened
For the Topping:
- 1 cup (125g) all-purpose flour
- 1 cup (200g) powdered sugar
- 1/2 cup (115g) vegetable shortening (or softened unsalted butter)
- 1 teaspoon vanilla extract (optional)
- Food coloring (optional, for different colors)
Instructions
- Prepare the Dough: In a large bowl, whisk together the flour, sugar, yeast, and salt.
- Add Wet Ingredients: In a separate bowl, combine the lukewarm milk and beaten eggs. Pour the wet ingredients into the dry ingredients and mix until a shaggy dough forms.
- Knead in Butter: Add the softened butter to the dough and knead for 8-10 minutes, either by hand on a lightly floured surface or using a stand mixer with a dough hook attachment, until the dough is smooth and elastic.
- First Proof: Place the dough in a lightly greased bowl, turning to coat. Cover with plastic wrap or a clean kitchen towel and let rise in a warm place for 1-1.5 hours, or until doubled in size.
- Prepare the Topping: While the dough is rising, prepare the topping. In a medium bowl, combine the flour, powdered sugar, and shortening (or butter). Mix until a smooth, pliable dough forms. Add vanilla extract if using.
- Color the Topping (Optional): Divide the topping into portions if you want to make different colors. Add a few drops of food coloring to each portion and knead until the color is evenly distributed.
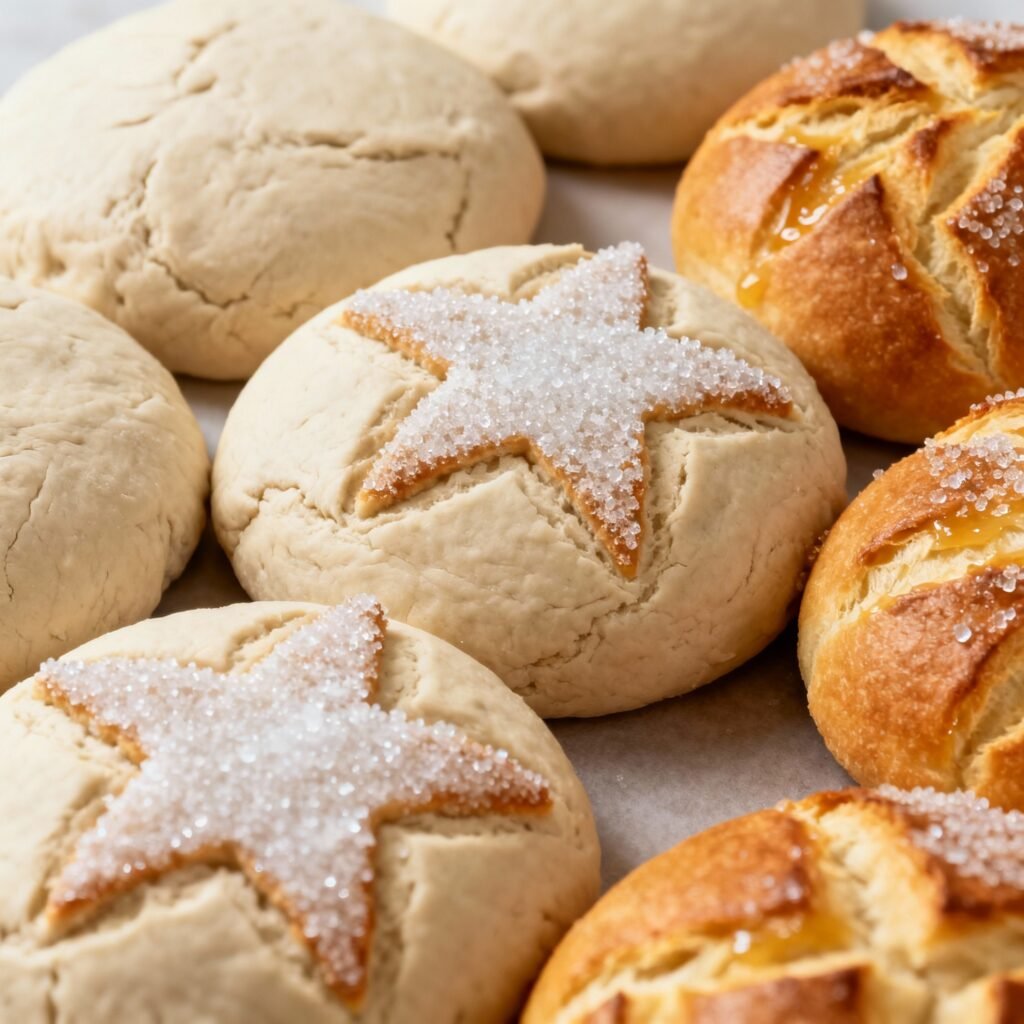
- Shape the Topping: Place each portion of topping between two sheets of parchment paper and roll it out to about 1/8 inch thickness. Use a concha cutter (or a knife) to cut out circles slightly larger than the size of your bread rolls.
- Shape the Bread: Punch down the risen dough and divide it into 8-10 equal portions. Roll each portion into a smooth ball.
- Assemble the Conchas: Place each dough ball on a baking sheet lined with parchment paper. Gently place a topping circle on top of each dough ball. Use a concha cutter or a sharp knife to score the topping with a seashell pattern. Be careful not to cut into the bread dough.
- Second Proof: Cover the assembled conchas with plastic wrap or a clean kitchen towel and let rise for another 30-45 minutes, or until slightly puffed up.
- Bake: Preheat oven to 350°F (175°C). Bake the conchas for 15-20 minutes, or until the bread is golden brown and the topping is set.
- Cool: Let the conchas cool on the baking sheet for a few minutes before transferring them to a wire rack to cool completely.
- Enjoy: Serve and enjoy your delicious homemade conchas!
Tips for Success
- Lukewarm Milk: Make sure the milk is lukewarm, not hot, to avoid killing the yeast.
- Don’t Over-Knead: Over-kneading can result in tough bread. Knead until the dough is smooth and elastic.
- Warm Place for Proofing: A warm place helps the dough rise properly. You can place the bowl in a slightly warmed oven (turned off) or near a sunny window.
- Softened Butter/Shortening: Ensure the butter and shortening are softened, not melted, for the best texture in both the dough and topping.
- Scoring the Topping: Be gentle when scoring the topping to avoid tearing it. A sharp knife or concha cutter will help.
- Baking Time: Baking time may vary depending on your oven. Keep a close eye on the conchas and adjust the baking time accordingly. They should be golden brown, not burnt.
- Experiment with Flavors: Get creative with the topping! Add cocoa powder for chocolate conchas, cinnamon for a warm spice, or even a touch of lemon zest for a citrusy twist.
Storage Instructions
Conchas are best enjoyed fresh, but they can be stored in an airtight container at room temperature for up to 2-3 days. To keep them soft, you can place a slice of bread in the container. You can also freeze conchas for longer storage. Wrap them individually in plastic wrap and then place them in a freezer-safe bag. They can be frozen for up to 2 months. Thaw them at room temperature before serving.
FAQ
Q: Can I use instant yeast instead of active dry yeast?
A: Yes, you can. Use the same amount (2 1/4 teaspoons or 7g). You can add it directly to the dry ingredients without proofing it first.
Q: Can I use butter instead of shortening in the topping?
A: Yes, you can, but the texture will be slightly different. Butter will give the topping a slightly softer, less crisp texture compared to shortening. Shortening tends to create a more crisp and crumbly topping.
Q: My dough is too sticky. What should I do?
A: Add a tablespoon of flour at a time until the dough is no longer sticky but still soft.
Q: My topping is too dry. What should I do?
A: Add a teaspoon of milk or water at a time until the topping comes together into a smooth dough.
Q: The topping is cracking when I score it. What am I doing wrong?
A: The topping might be too cold or dry. Let it sit at room temperature for a few minutes to soften slightly. Also, make sure it’s rolled out thinly enough.
Q: Can I make these vegan?
A: Yes, you can! Substitute the milk with plant-based milk (like almond or soy milk), the butter with vegan butter, and the eggs with an egg replacer like flax eggs (1 tablespoon of ground flaxseed mixed with 3 tablespoons of water per egg).
Conclusion
Making Mexican conchas at home is a rewarding experience that allows you to share a piece of Mexican culture with your loved ones. With this recipe and a little patience, you can create bakery-worthy conchas that are sure to impress. So, gather your ingredients, roll up your sleeves, and get ready to bake some sweet memories! Don’t be afraid to experiment with different colors and flavors to create your own unique concha masterpieces. ¡Buen provecho!