Molasses Bread Recipe: A Taste of Nostalgia in Every Slice
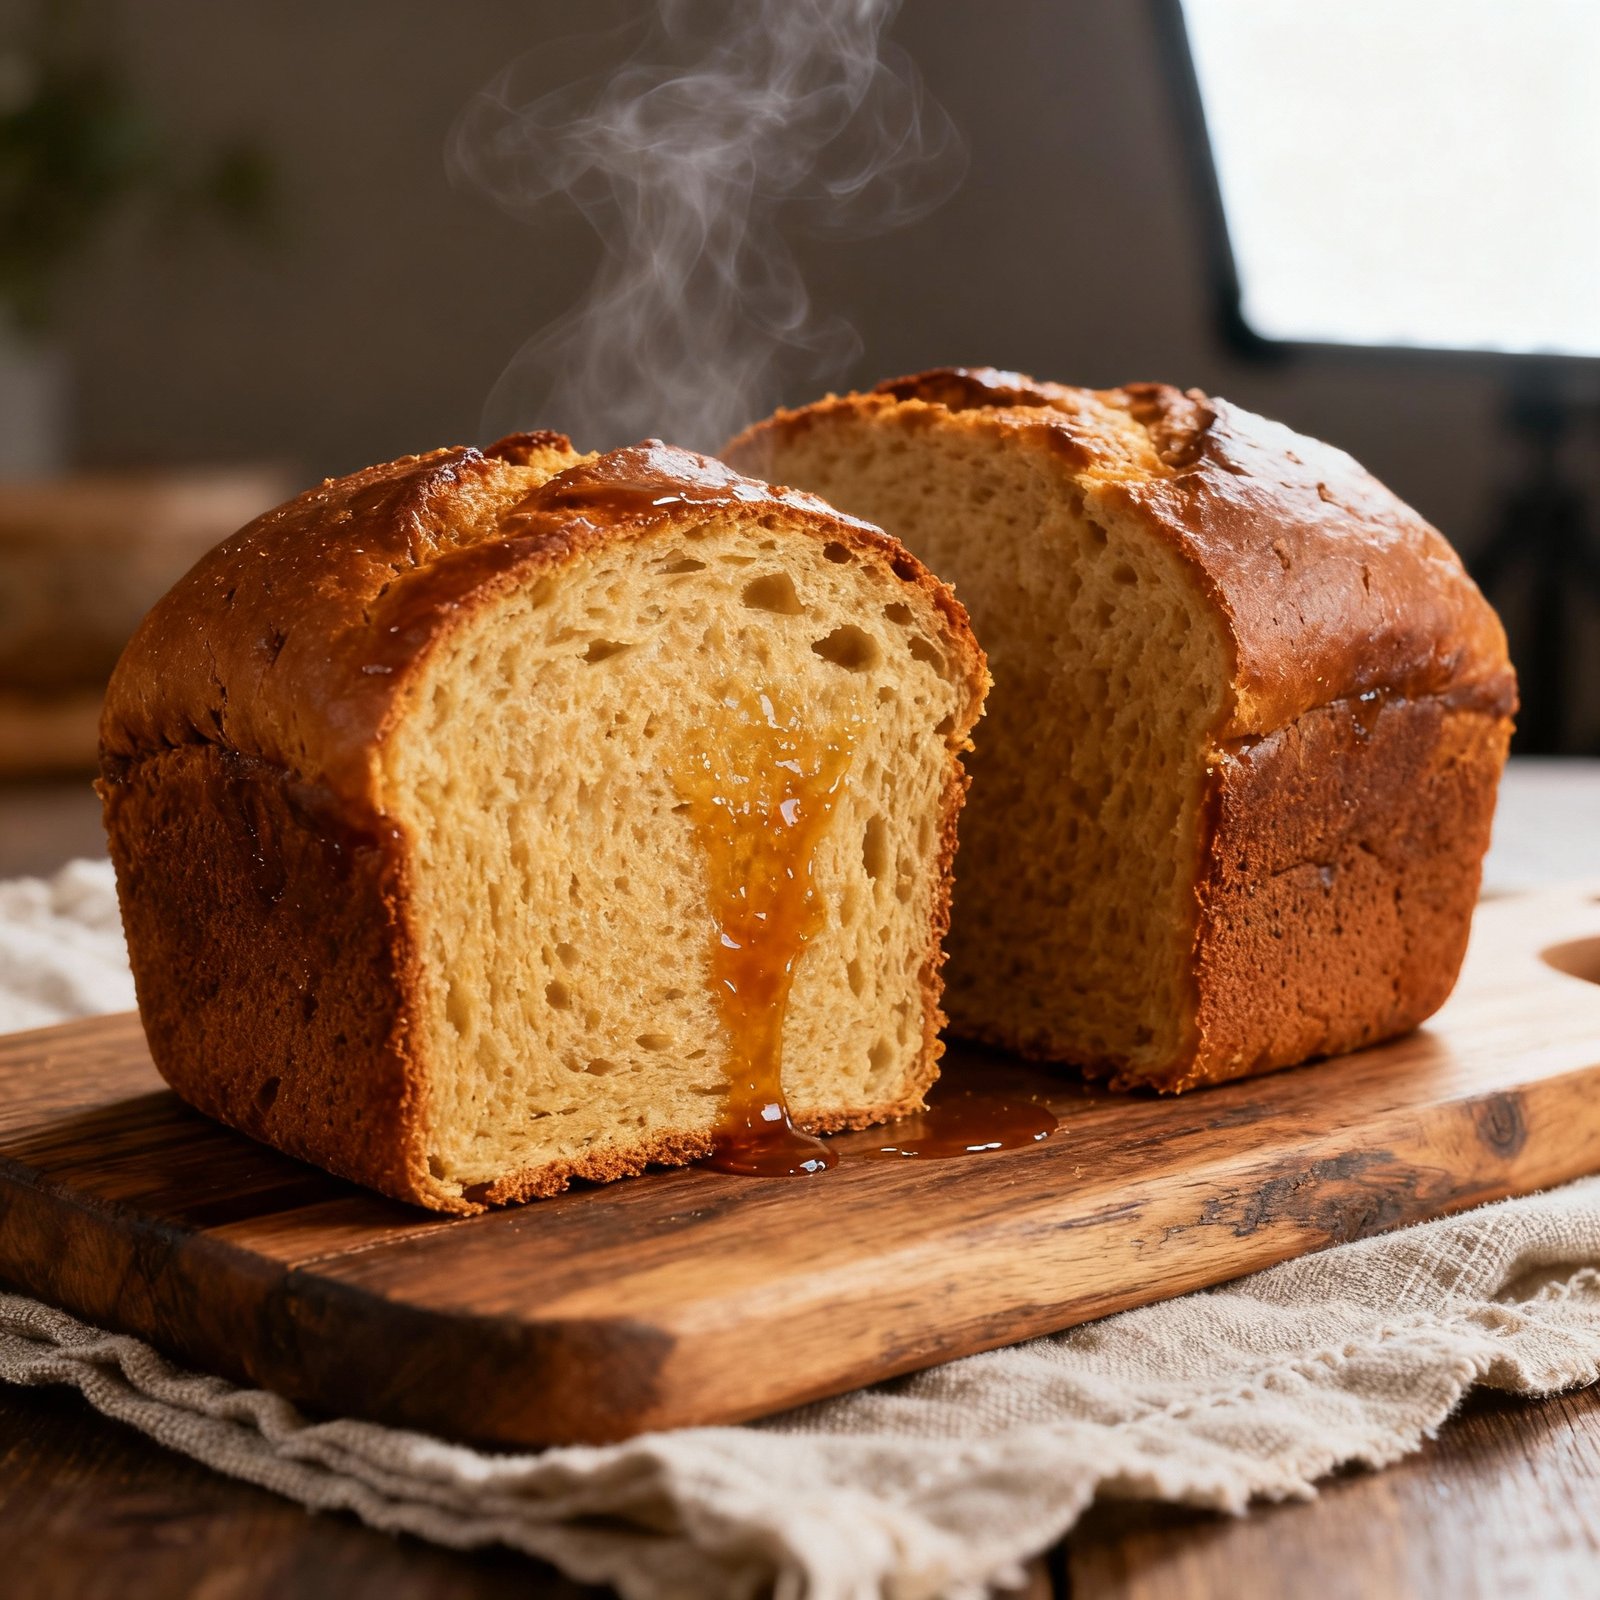
The aroma of freshly baked bread is a universal comfort, a scent that evokes memories of cozy kitchens and home-cooked goodness. But what if you could elevate that comforting aroma with a hint of warm, sweet, and slightly smoky complexity? Enter molasses bread, a loaf that’s more than just a carbohydrate source; it’s a journey back in time, a taste of tradition, and a delightful treat for the senses. This recipe delivers a perfectly moist, slightly dense, and deeply flavorful molasses bread that’s perfect for toast, sandwiches, or simply enjoying warm with a pat of butter.
Why This Recipe Works
This molasses bread recipe is carefully crafted to achieve the ideal balance of flavors and textures. Here’s why it shines:
- Molasses Magic: We use the right amount of molasses – not too much to overpower, but enough to impart its signature sweetness, depth, and slightly bitter notes. The molasses also contributes to the bread’s beautiful dark color and moist crumb.
- Yeast Activation: Proper yeast activation is crucial for a good rise. We’ll guide you through the process, ensuring your yeast is lively and ready to do its job.
- The Right Flour Ratio: We use a combination of bread flour and all-purpose flour. Bread flour provides the gluten needed for structure and chewiness, while all-purpose flour keeps the bread tender.
- Kneading Know-How: The kneading process develops the gluten, resulting in a strong and elastic dough that can hold its shape during baking. We’ll give you tips on how to knead effectively, whether by hand or with a stand mixer.
- Perfect Proofing: Allowing the dough to proof in a warm environment is essential for achieving a light and airy loaf. We’ll outline the ideal proofing conditions and tell you what to look for.
- Oven Temperature Control: Baking at the correct temperature ensures that the bread is cooked through evenly, with a golden-brown crust and a soft interior.
Ingredients
- 1 cup warm water (105-115°F)
- 2 ¼ teaspoons (1 packet) active dry yeast
- 2 tablespoons granulated sugar
- ¼ cup unsalted butter, melted
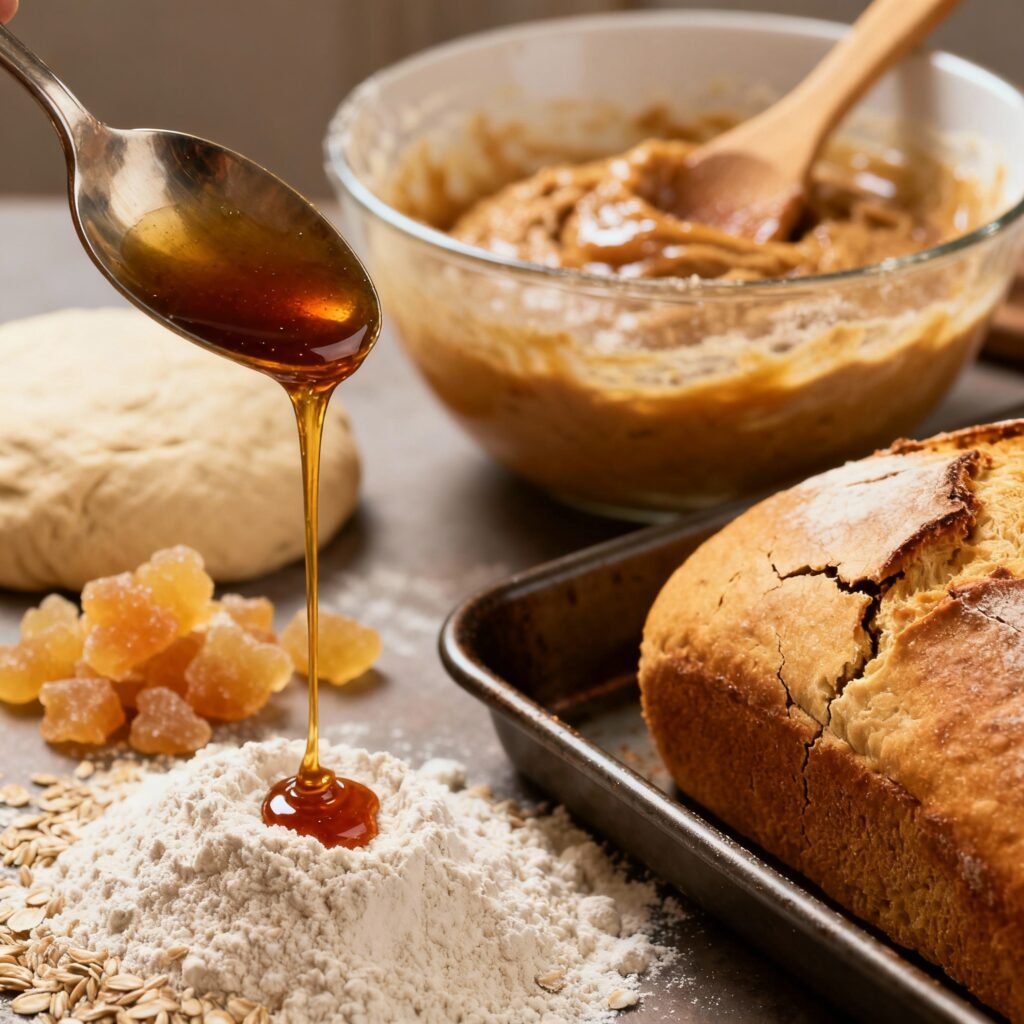
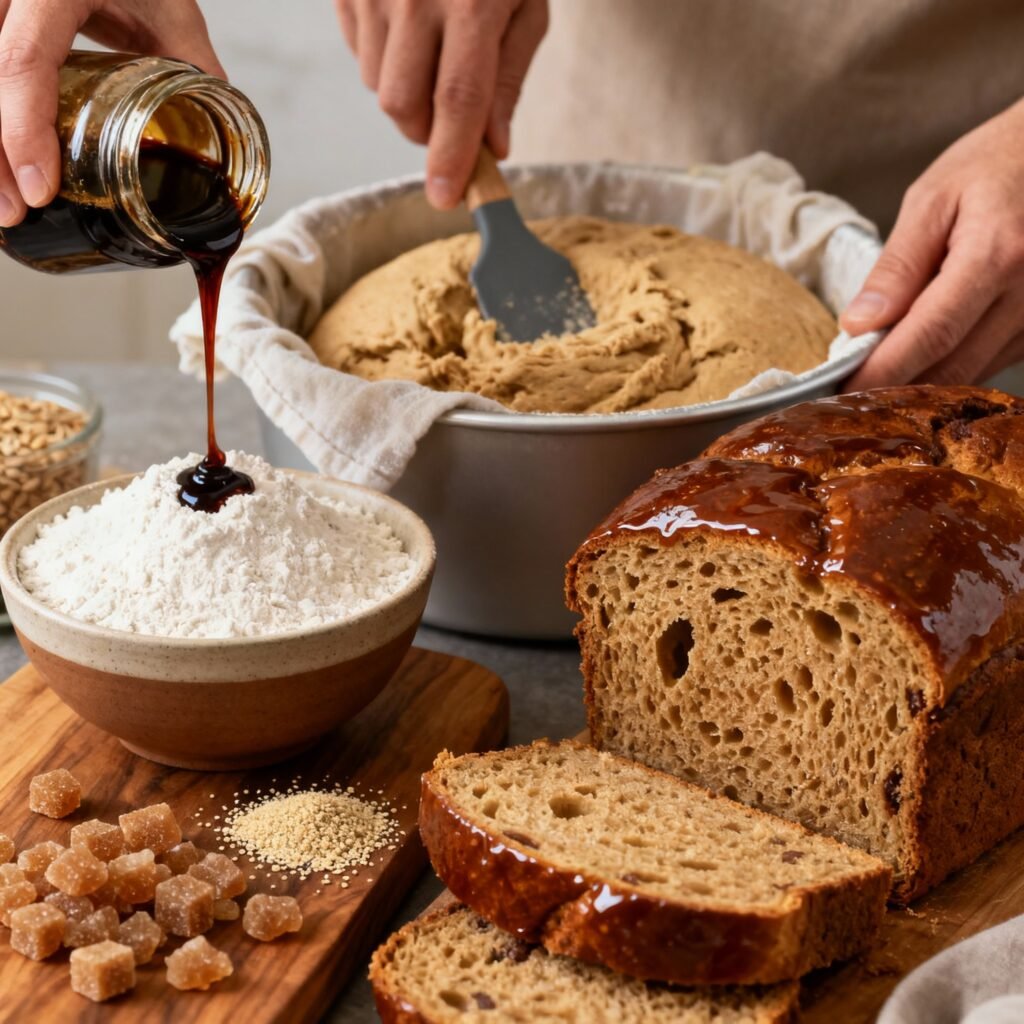
- ¼ cup molasses (unsulphured)
- 1 teaspoon salt
- 2 ½ cups bread flour
- 1 ½ cups all-purpose flour
- 1 tablespoon butter, softened (for greasing the pan)
Instructions
- Activate the Yeast: In a large bowl, combine the warm water, yeast, and sugar. Stir gently and let stand for 5-10 minutes, or until foamy. This indicates that the yeast is active and ready to use.
- Combine Wet Ingredients: Add the melted butter and molasses to the yeast mixture. Stir to combine.
- Add Dry Ingredients: In a separate bowl, whisk together the bread flour, all-purpose flour, and salt. Gradually add the dry ingredients to the wet ingredients, mixing until a shaggy dough forms.
- Knead the Dough: Turn the dough out onto a lightly floured surface. Knead for 8-10 minutes, or until the dough is smooth and elastic. Alternatively, use a stand mixer with a dough hook on medium speed for 6-8 minutes. The dough should be slightly tacky but not sticky.
- First Proof: Place the dough in a lightly oiled bowl, turning to coat. Cover with plastic wrap or a clean kitchen towel and let rise in a warm place for 1-1.5 hours, or until doubled in size.
- Shape the Dough: Gently punch down the dough to release the air. Turn it out onto a lightly floured surface and shape it into a loaf.
- Second Proof: Grease a 9×5 inch loaf pan with softened butter. Place the shaped dough into the prepared pan. Cover with plastic wrap or a clean kitchen towel and let rise in a warm place for 30-45 minutes, or until almost doubled in size.
- Bake the Bread: Preheat oven to 350°F (175°C). Bake for 30-35 minutes, or until the loaf is golden brown and sounds hollow when tapped on the bottom. An internal temperature of 200-210°F is ideal.
- Cool the Bread: Remove the loaf from the oven and let it cool in the pan for 10 minutes. Then, transfer it to a wire rack to cool completely before slicing.
Tips for Success
- Water Temperature is Key: Make sure the water is warm, not hot, to activate the yeast. Too hot water will kill the yeast.
- Don’t Over-Knead: Over-kneading can result in a tough bread. Knead until the dough is smooth and elastic, but not overly so.
- Warm Environment for Proofing: A warm environment is crucial for the dough to rise properly. You can create a warm environment by placing the bowl in a slightly warmed oven (turned off) or in a sunny spot.
- Check for Doneness: Use a toothpick or cake tester inserted into the center of the loaf to check for doneness. If it comes out clean, the bread is done.
- Cool Completely Before Slicing: This prevents the bread from becoming gummy.
- Experiment with Spices: For an extra layer of flavor, add ½ teaspoon of ground cinnamon, ginger, or cloves to the dry ingredients.
- Add Nuts or Seeds: Incorporate ½ cup of chopped walnuts, pecans, or sunflower seeds into the dough for added texture and flavor.
- Molasses Type Matters: Use unsulphured molasses for the best flavor. Blackstrap molasses can be used, but it will result in a stronger, more bitter flavor.
Storage Instructions
To keep your molasses bread fresh, store it properly:
- Room Temperature: Store the cooled loaf in an airtight container or wrapped tightly in plastic wrap at room temperature for up to 3 days.
- Freezer: For longer storage, slice the bread and wrap it tightly in plastic wrap or place it in a freezer-safe bag. Freeze for up to 2 months. Thaw at room temperature before serving.
FAQ
Q: Can I use whole wheat flour in this recipe?
A: Yes, you can substitute up to half of the all-purpose flour with whole wheat flour. Keep in mind that whole wheat flour will make the bread denser.
Q: Can I use a bread machine for this recipe?
A: Yes, most bread machines have a basic bread setting that will work well for this recipe. Follow your bread machine’s instructions.
Q: My bread is too dense. What went wrong?
A: Several factors can contribute to dense bread, including using old yeast, not kneading enough, not proofing long enough, or using too much flour.
Q: My bread is too sticky. What went wrong?
A: Too much molasses or not enough flour can result in a sticky bread.
Q: Can I make this recipe gluten-free?
A: This recipe is not designed for gluten-free baking. You would need to adapt it significantly using a gluten-free flour blend and other gluten-free baking techniques.
Q: Can I reduce the amount of sugar?
A: Yes, you can reduce the sugar to 1 tablespoon. The sugar primarily feeds the yeast, so a small reduction won’t drastically affect the bread.
Q: Why is my bread cracking on top?
A: This usually means the oven temperature is too high or the bread rose too quickly. Try lowering the oven temperature slightly and ensuring the dough proofs in a slightly cooler environment next time.
Conclusion
This molasses bread recipe is more than just a set of instructions; it’s an invitation to create a warm, comforting, and flavorful loaf that will delight your senses and transport you back to simpler times. With its rich molasses flavor, soft texture, and beautiful dark crust, this bread is sure to become a family favorite. So, gather your ingredients, preheat your oven, and get ready to experience the magic of homemade molasses bread. Enjoy!