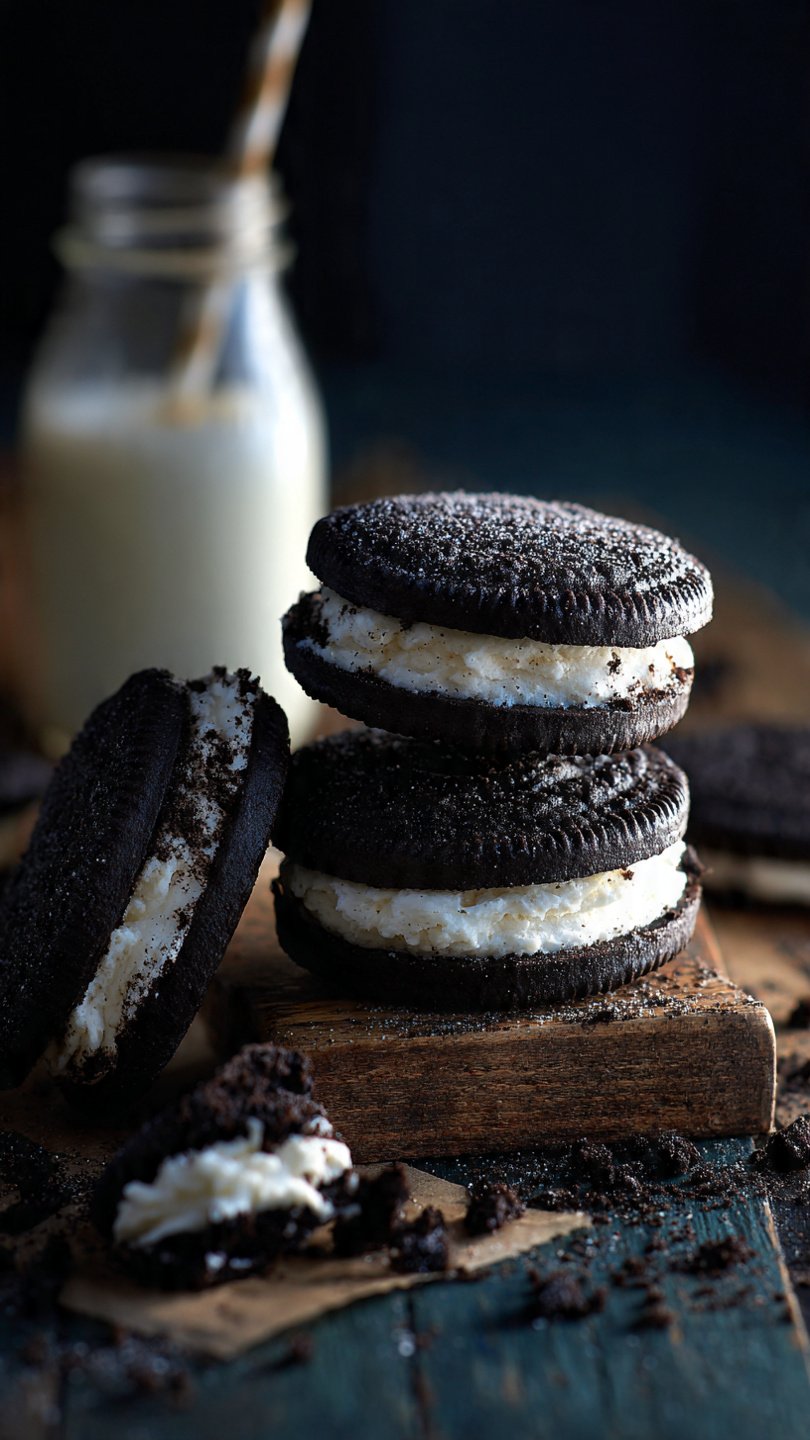
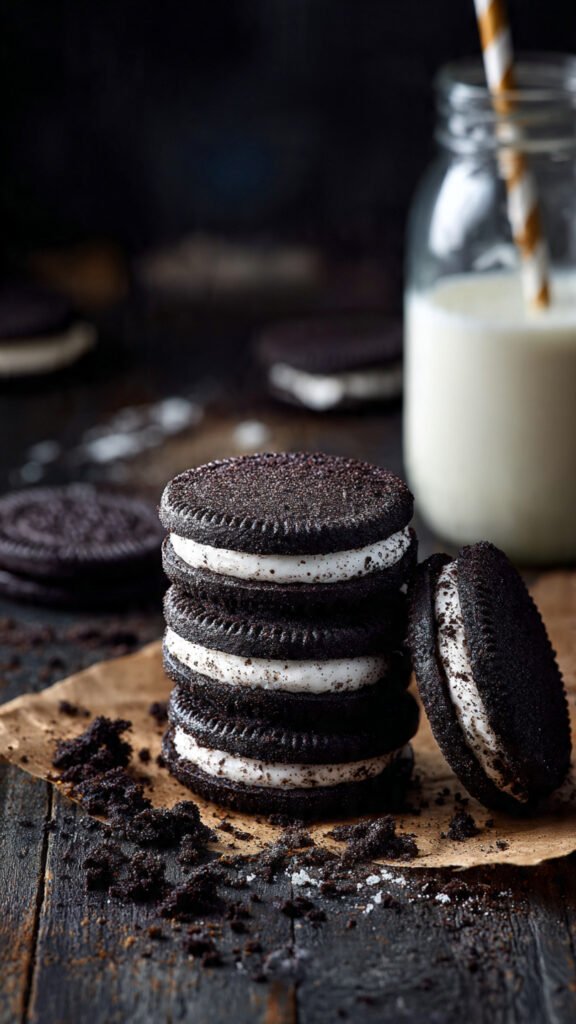
🍪 The Best Oreo Cakesters Recipe: Soft & Chewy Copycat
Let’s be real for a second. There is a very specific type of heartbreak that occurs when your favorite snack gets discontinued. But when Oreo Cakesters came back to the shelves, the world healed a little bit. However, as much as I love ripping open a plastic wrapper, there is something entirely superior about making them in your own kitchen.
So, you’re craving something tasty but too lazy to spend forever in the kitchen, huh? Same. But lucky for you, this isn’t a soufflé. It’s a soft, chocolatey, cream-filled cloud that practically begs to be dunked in milk. If you miss that soft-baked nostalgia but want to elevate it to “I can’t believe I made this” status, you have arrived at the right destination.
Why This Recipe is Awesome
Look, I don’t use the word “life-changing” lightly unless we are talking about finding money in the dryer or perfectly ripened avocados. But this Oreo Cakesters recipe is pretty close.
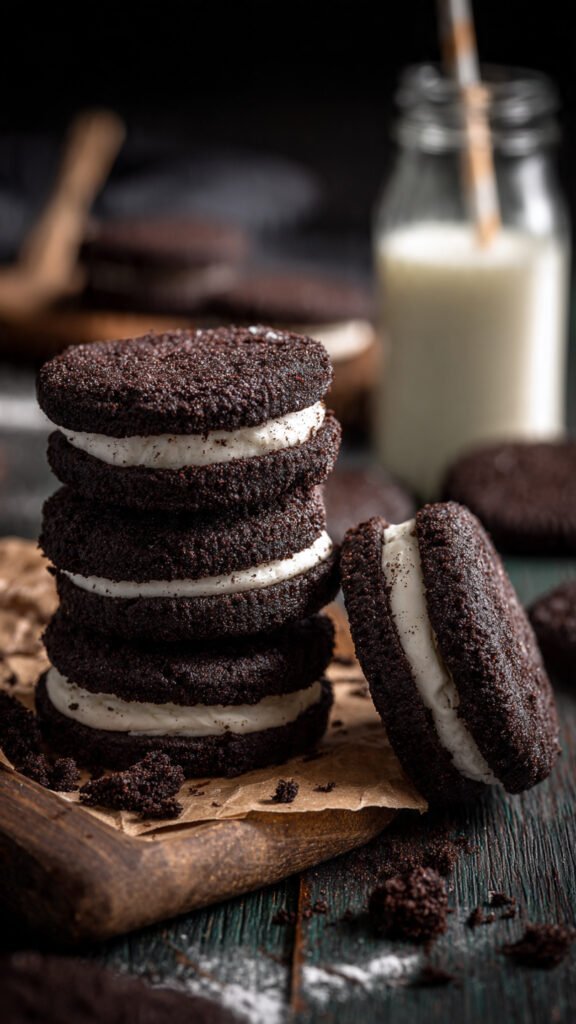
First off, let’s talk texture. A standard Oreo is great if you want crunch. But a Cakester? It’s a hybrid. It’s the lovechild of a devil’s food cake and a whoopie pie. This recipe nails that specific, elusive texture—soft, bouncy, and slightly dense—without turning into a dry hockey puck.
Secondly, we need to address the “Black Cocoa” factor. Most chocolate cookie recipes just tell you to grab whatever cocoa powder is sitting in the back of your pantry from 2019. Not here. To get that authentic, jet-black, distinctively “Oreo” flavor, we use Black Cocoa. It’s the secret sauce (well, powder). It changes the pH level of the dough and gives you that deep, charcoal-dark aesthetic that screams “store-bought” in the best way possible.
Also, it’s idiot-proof. Seriously, even I didn’t mess it up, and I once burned toast while looking directly at it. You don’t need to chill the dough for three hours while your cravings eat you alive. You mix, you scoop, you bake, you stuff. It is instant gratification in cookie form.
Finally, you control the filling. Store-bought Cakesters sometimes have that weird, waxy mouthfeel in the crème. When you make it homemade, you are using real butter and real vanilla. It melts in your mouth, not in your hand. Okay, it melts in your hand too if you hold it too long, so just eat it fast.
Ingredients You’ll Need
We are keeping this relatively simple, but don’t skimp on the quality of the chocolate. Here is your shopping list for greatness:
- All-Purpose Flour: The backbone of the operation. Nothing fancy needed here.
- Black Cocoa Powder: This is non-negotiable. If you use regular cocoa, they will taste like brownies. If you use Black Cocoa, they taste like Oreos. It’s science.
- Baking Powder & Baking Soda: The lifting team. We need both because we want these to puff up just enough to be cakey, but stay flat enough to stack.
- Salt: To cut the sweetness. If you skip salt in baking, we can’t be friends.
- Unsalted Butter: Room temperature. If it’s too cold, your lumps will have lumps. If it’s melted, your cookies will spread into puddles.
- Granulated Sugar: For structure and sweetness.
- Egg: Just one, large. Also room temp (put it in a bowl of warm water for 5 mins if you forgot).
- Vanilla Extract: Measure this with your heart, not a spoon. But officially, use a teaspoon.
- Sour Cream or Greek Yogurt: The secret ingredient. This ensures the “cake” part of the Cakester stays moist and tender for days.
- The Filling Squad: More butter, powdered sugar (confectioners’ sugar), a splash of heavy cream, and vanilla.
Step-by-Step Instructions
Alright, apron on. Or don’t, I’m not your mom. Let’s get baking.
Phase 1: The Cakey Cookie
1. Preheat and Prep: Set your oven to 350°F (175°C). Line two large baking sheets with parchment paper. Do not use foil unless you enjoy peeling silver scraps off the bottom of your cookies.
2. Whisk the Dry Stuff: In a medium bowl, whisk together the flour, black cocoa powder, baking powder, baking soda, and salt. Whisk it vigorously to break up those annoying little cocoa clumps. It should look like specialized dark dust.
3. Cream the Butter and Sugar: In a large bowl (or stand mixer), beat the butter and sugar together until light and fluffy. This usually takes about 2–3 minutes. You want it pale and aerated. This step traps air, which helps the cookies rise. Don’t rush it.
4. Add the Wet Stuff: Toss in the egg and vanilla. Beat until combined. Scrape down the sides of the bowl—don’t leave any ingredients behind! Add the sour cream (or yogurt) and mix again. The batter will look creamy and smell amazing.
5. The Union: Slowly add the dry ingredients to the wet ingredients. Mix on low speed just until the flour disappears. STOP! Do not overmix. If you keep mixing, you develop gluten, and your soft cakesters will turn into tough rubber pucks.
6. Scoop and Bake: Using a cookie scoop (about 1 tablespoon size), drop mounds of dough onto the baking sheets. Space them out, they need personal space (about 2 inches).
- Pro Tip: Wet your fingers slightly and gently pat down the tops if they look too pointy. We want domes, not pyramids.
7. The Oven Watch: Bake for 9 to 11 minutes. Here is the trick: They are done when the tops look set and “matte” rather than glossy. If you touch the top gently, it should spring back. Do not overbake! They continue cooking on the hot pan for a minute after you pull them out.
8. Cool Down: Let them sit on the pan for 5 minutes, then move them to a wire rack to cool completely. If you try to fill warm cookies, the frosting will melt, and you will have a sad, sticky mess.

Phase 2: The Crème Filling
9. Whip it Good: While cookies cool, clean your mixer bowl. Beat the butter for the filling until it’s super pale and creamy (3–4 minutes).
10. Sweeten the Deal: Gradually add the powdered sugar, about half a cup at a time, mixing on low so you don’t create a sugar cloud in your kitchen.
11. Fluff Factor: Add the heavy cream and vanilla. Crank the mixer up to high speed and whip that frosting for 2–3 minutes. It should be bright white and fluffy. If it’s too stiff, add a tiny bit more cream. If it’s too runny, add more sugar.
Phase 3: Assembly
12. Matchmaker: Pair up the cookies by size. It’s like Tinder for baked goods. Find each cookie its perfect soulmate.
13. The Stuffing: Pipe (or spoon) a generous dollop of filling onto the flat side of one cookie. I like using a piping bag with a round tip for that professional look, but a Ziploc bag with the corner snipped works too. Ideally, you want a high ratio of filling. Don’t be stingy.
14. The Sandwich: Place the second cookie on top and gently press down until the filling pushes right to the edges. Voila. You did it.
Common Mistakes to Avoid
Even though this is an easy Oreo Cakesters recipe, things can go sideways. Here is how to avoid disaster:
- Using melted butter: If you nuke your butter in the microwave until it’s liquid, your cookies will spread thin and lose that cake-like structure. Patience, grasshopper. Let it soften on the counter.
- Ignoring the Black Cocoa: I mentioned this before, but if you use standard Hershey’s cocoa, the cookies will be brown, not black. They will still taste good, but they won’t look or taste like the real deal.
- Overbaking: This is the cardinal sin of soft cookies. If you wait until they look hard, it’s too late. Trust the “spring back” test.
- Filling while warm: I know you are hungry. I know they smell good. But if you put butter-cream on a hot cookie, it becomes butter-soup. Wait 20 minutes.
- Overcrowding the pan: If you put the dough balls too close together, they will fuse into one giant mega-cookie. Actually… that doesn’t sound too bad. But for the sake of aesthetics, space them out.
Alternatives & Substitutions
Cooking is an art, baking is a science, but we can still break a few rules.
- Golden Cakesters: Want the vanilla version? Swap the black cocoa for the same amount of extra flour, and add some white chocolate chips if you’re feeling fancy.
- Peanut Butter Filling: Swap half the butter in the filling for creamy peanut butter. You’re welcome.
- Mint Condition: Add a few drops of peppermint extract and a drop of green food coloring to the filling. Boom. Mint Oreo Cakesters.
- Gluten-Free: You can use a high-quality 1:1 Gluten-Free All-Purpose flour blend (like King Arthur or Bob’s Red Mill). The texture might be slightly less fluffy, but still delicious.
- Dairy-Free: Swap the butter for a stick of plant-based butter (the kind that comes in sticks, not the tub) and use coconut cream instead of heavy cream.
FAQ (Frequently Asked Questions)
1. Can I use Dutch-process cocoa instead of Black Cocoa? Technically, yes. It will be darker than natural cocoa, but it won’t be midnight black. The flavor will be more “brownie” and less “Oreo.” But hey, it’s your kitchen.
2. Why are my cakesters flat? You probably beat the eggs too much (incorporating too much air that collapsed) or your butter was too warm. Or, your baking soda is expired. Check the date on the box!
3. How do I store these? Keep them in an airtight container at room temperature for up to 3 days. If you keep them in the fridge, the cookie gets a bit firm, but the frosting tastes like ice cream. Choose your fighter.
4. Can I freeze them? Yes! Wrap them individually in plastic wrap and freeze for up to 2 months. Thaw on the counter for 30 minutes before eating. Or eat them frozen if you have strong teeth.
5. Can I use margarine instead of butter? Well, technically yes, but why hurt your soul like that? Margarine has a higher water content and will make the cookies spread more. Stick to real butter.
6. My filling is squeezing out everywhere when I bite it. Why? You might have made the filling too soft (too much liquid), or you are just biting with aggressive enthusiasm. Try chilling the assembled cookies for 20 minutes to set the buttercream.
7. Can I double the recipe? Absolutely. And you should. One batch is never enough.
Final Thoughts
There you have it. You have successfully navigated the journey to making the best Oreo Cakesters recipe on the internet. These little black-and-white discs of joy are perfect for parties, bake sales, or—let’s be honest—eating over the sink at 11 PM while scrolling TikTok.
Making these from scratch is a flex. It shows you care about quality, but you also know how to have fun. So, grab a glass of milk (oat, almond, cow, whatever floats your boat) and get dunking.
Now go impress someone—or yourself—with your new culinary skills. You’ve earned it!