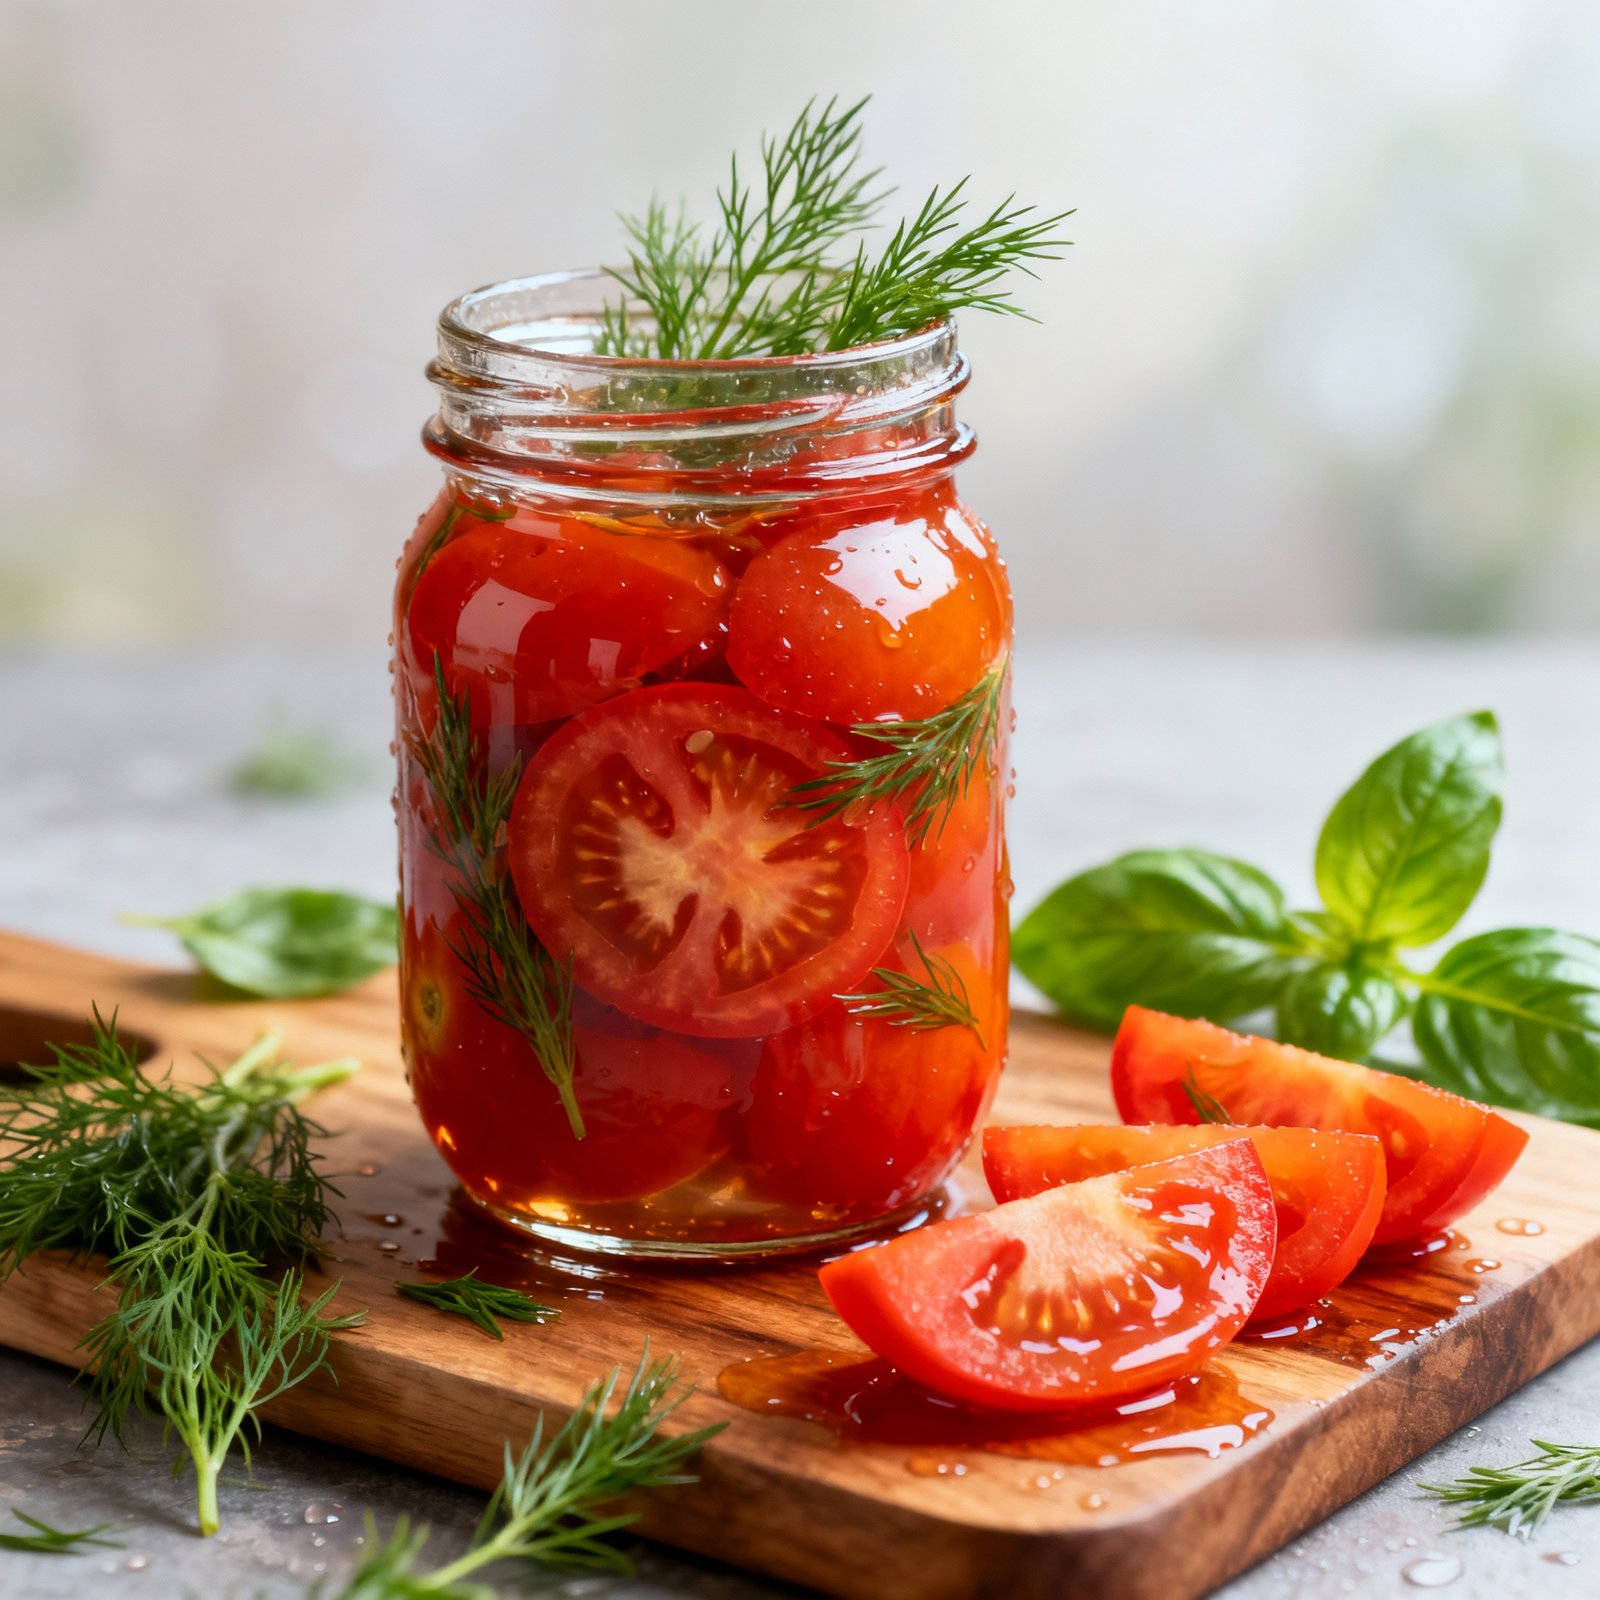
Pickled Tomatoes Recipe: A Burst of Summer in Every Bite!
Imagine capturing the bright, tangy essence of summer tomatoes and preserving it for enjoyment throughout the year. With this pickled tomatoes recipe, you can do just that! These aren’t your grandma’s bland pickles; we’re talking about a vibrant, flavorful condiment that adds a zesty kick to everything from sandwiches and salads to charcuterie boards and grilled meats. Whether you have a glut of garden tomatoes or simply crave a unique and delicious pickle, this recipe is your ticket to a delightful culinary adventure.
Why This Recipe Works
This recipe isn’t just about preserving tomatoes; it’s about creating a flavor explosion. Here’s why it’s so successful:
- Vinegar Balance: The carefully calibrated ratio of vinegar to water ensures optimal preservation while preventing the tomatoes from becoming overly acidic. We use a combination of white vinegar for its clean tang and apple cider vinegar for a subtle sweetness and depth of flavor.
- Spice Infusion: A blend of mustard seeds, coriander seeds, red pepper flakes, and garlic infuses the tomatoes with a warm, aromatic, and slightly spicy profile that complements their natural sweetness. You can adjust the amount of red pepper flakes to control the heat.
- Sugar Enhancement: A touch of sugar balances the acidity of the vinegar and enhances the tomatoes’ natural sweetness, creating a harmonious flavor profile.
- Proper Canning Technique: While optional, water bath canning ensures the pickles are shelf-stable for long-term storage, allowing you to enjoy your summer harvest well into the colder months. If you choose not to can, refrigeration is key.
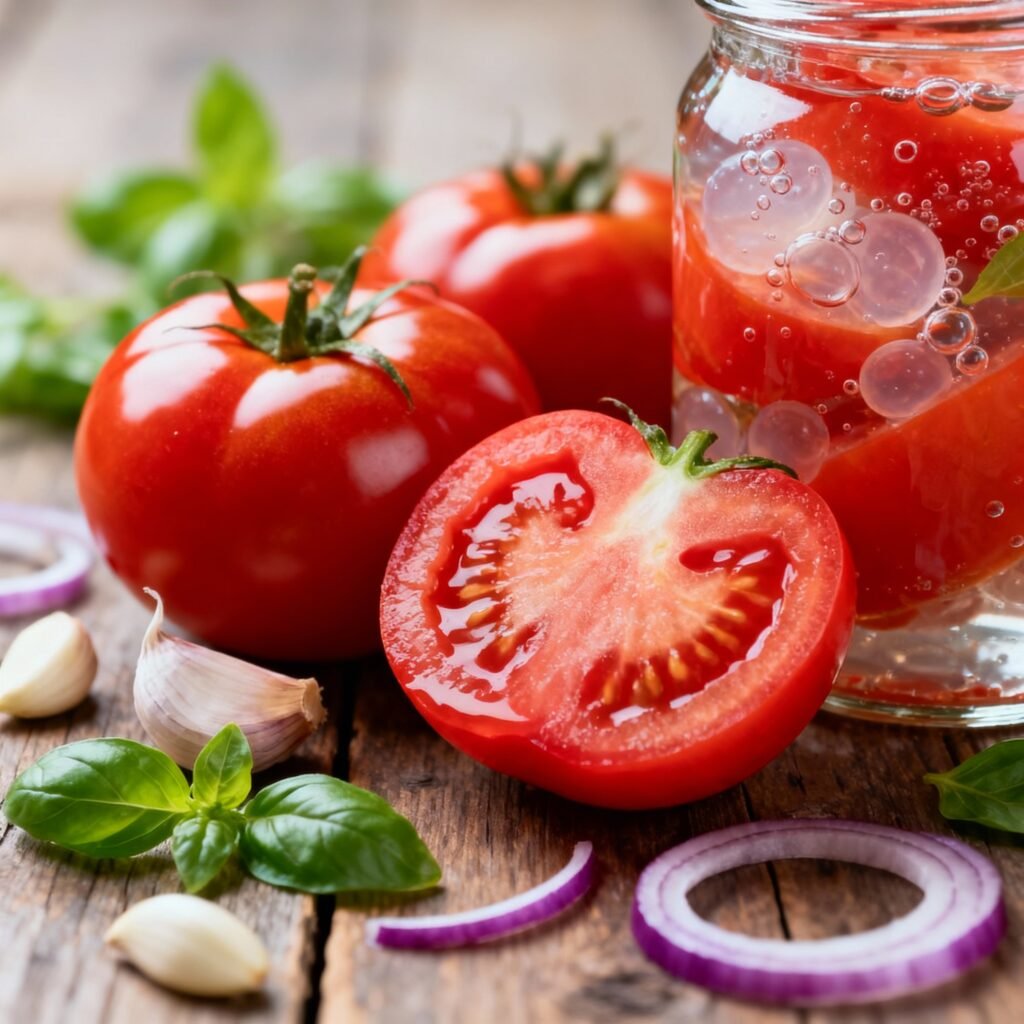
- Versatile Tomato Choice: This recipe works beautifully with a variety of tomato types, from cherry tomatoes and grape tomatoes to Roma and even slightly underripe larger tomatoes. This adaptability makes it perfect for using up whatever you have on hand.
Ingredients
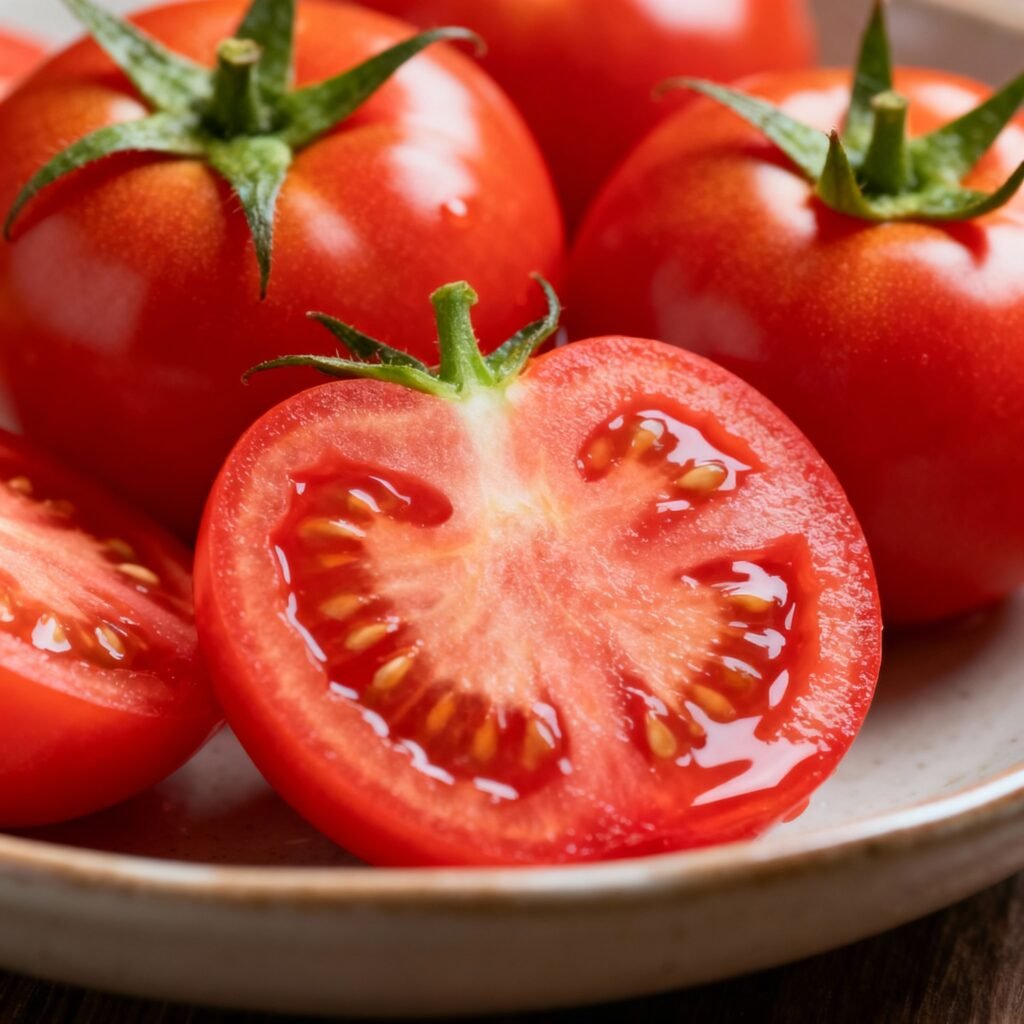
- 2 pounds ripe but firm tomatoes (cherry, grape, Roma, or a mix)
- 1 cup white vinegar (5% acidity)
- 1 cup apple cider vinegar (5% acidity)
- 1 cup water
- 1/4 cup granulated sugar
- 2 tablespoons kosher salt
- 2 tablespoons mustard seeds
- 1 tablespoon coriander seeds
- 1 teaspoon red pepper flakes (adjust to taste)
- 4 cloves garlic, peeled and smashed
- Optional: Fresh dill sprigs, bay leaves
Instructions
- Prepare the Tomatoes: Wash the tomatoes thoroughly. If using cherry or grape tomatoes, leave them whole. For larger tomatoes, cut them into wedges or chunks, about 1-inch in size.
- Prepare the Brine: In a large, non-reactive saucepan (stainless steel or enamel-coated), combine the white vinegar, apple cider vinegar, water, sugar, and salt. Bring to a boil over medium-high heat, stirring until the sugar and salt are dissolved.
- Add Spices and Garlic: Once the brine is boiling, add the mustard seeds, coriander seeds, red pepper flakes, and smashed garlic cloves. Reduce heat to low and simmer for 5 minutes to allow the spices to infuse the brine.
- Pack the Jars (for canning, otherwise skip to step 6): If canning, prepare your canning jars according to standard canning procedures. This typically involves sterilizing the jars and lids in boiling water. Leave about 1/2 inch of headspace.
- Add Tomatoes to Jars (for canning, otherwise skip to step 6): Pack the tomatoes into the sterilized jars, leaving about ½ inch of headspace. You can add fresh dill sprigs or bay leaves to each jar for added flavor, if desired.
- Pour Brine Over Tomatoes: Carefully pour the hot brine over the tomatoes in the jars, leaving about ½ inch of headspace. Use a non-metallic utensil to remove any air bubbles trapped inside the jars.
- Wipe Jar Rims (for canning, otherwise skip to step 8): Wipe the rims of the jars clean with a damp cloth. This is crucial for ensuring a proper seal during canning.
- Process Jars (if canning): Place the lids on the jars and screw on the bands until fingertip tight (not too tight). Process the jars in a boiling water bath canner for 15 minutes for pint jars and 20 minutes for quart jars. Adjust processing time for altitude according to your canner’s instructions.
- Cool and Check Seals (if canning): Carefully remove the jars from the canner and place them on a towel-lined surface to cool completely. As the jars cool, you should hear a “pop” sound indicating that the lids have sealed. After 24 hours, check the seals by pressing down on the center of each lid. If the lid doesn’t flex, it’s properly sealed. If the lid flexes, the jar didn’t seal and should be refrigerated and eaten within a few weeks.
- Cool and Refrigerate (if not canning): Allow the jars to cool completely at room temperature. Once cooled, refrigerate for at least 24 hours before enjoying. This allows the flavors to meld and the tomatoes to properly pickle.
Tips for Success
- Use Ripe but Firm Tomatoes: Overripe tomatoes will become mushy during the pickling process. Choose tomatoes that are ripe but still firm to the touch.
- Don’t Overpack the Jars: Leaving enough headspace is crucial for proper sealing during canning. Overpacking can prevent a good seal and lead to spoilage.
- Sterilize Your Jars Properly (if canning): Proper sterilization is essential for preventing bacterial growth and ensuring the safety of your canned goods. Follow standard canning procedures carefully.
- Adjust Spices to Your Taste: Feel free to experiment with different spices and herbs to customize the flavor of your pickled tomatoes. Add a pinch of dried oregano, a sprig of rosemary, or a few black peppercorns for a unique twist.
- Be Patient: While you can technically eat the pickled tomatoes after 24 hours, the flavor will continue to develop and improve over time. For the best flavor, wait at least a week before enjoying them.
Storage Instructions
- Canned Pickled Tomatoes: Properly canned and sealed pickled tomatoes can be stored in a cool, dark place (like a pantry) for up to one year.
- Refrigerated Pickled Tomatoes: Pickled tomatoes that are not canned must be stored in the refrigerator. They will last for up to 2-3 weeks.
- Once Opened: Once a jar of pickled tomatoes is opened, it should be stored in the refrigerator and consumed within one week.
FAQ
Q: Can I use green tomatoes for this recipe?
A: Yes, you can use green tomatoes, but the flavor will be different. Green tomatoes will have a more tart and less sweet flavor compared to ripe tomatoes.
Q: Can I use a different type of vinegar?
A: While white and apple cider vinegar are recommended, you can experiment with other types of vinegar, such as rice vinegar or white wine vinegar. However, be mindful of the acidity level, as it’s crucial for proper preservation.
Q: Can I reduce the amount of sugar?
A: Yes, you can reduce the amount of sugar to your liking. However, keep in mind that sugar helps balance the acidity of the vinegar, so reducing it too much may result in a more tart pickle.
Q: My tomatoes are floating in the jars. Is this normal?
A: Some settling and floating is normal. Just make sure the tomatoes are completely submerged in the brine when you seal the jars. If you’re canning, ensure proper headspace to minimize floating.
Conclusion
This pickled tomatoes recipe is a delightful way to preserve the taste of summer and add a zesty kick to your meals. Whether you’re a seasoned canner or a beginner in the kitchen, this recipe is easy to follow and yields delicious results. So, gather your tomatoes, spices, and jars, and get ready to create a batch of these irresistible pickled delights! Enjoy the burst of summer in every bite, all year round.