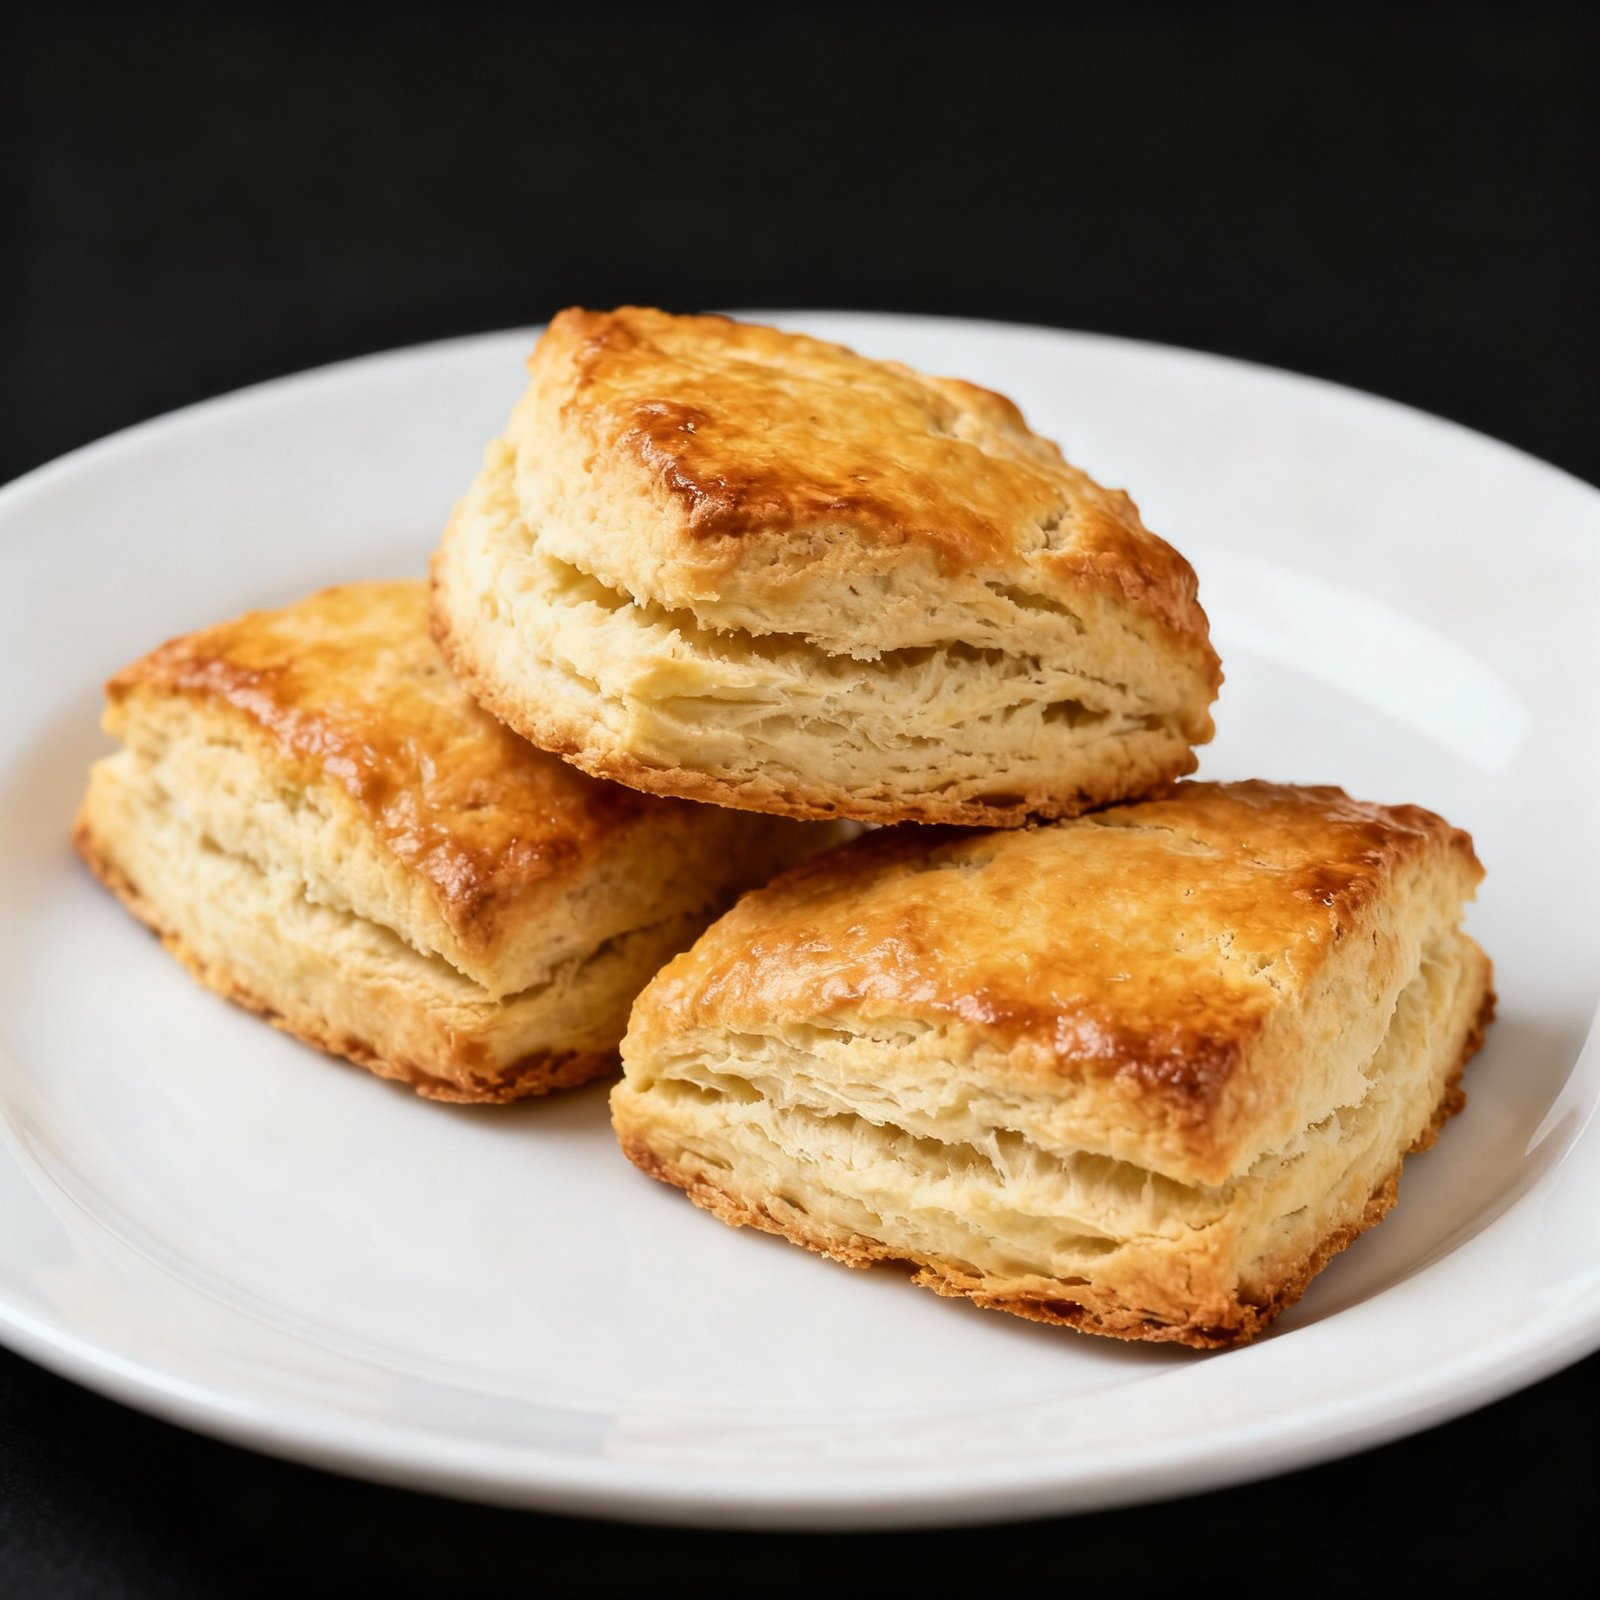
Plain Scones Recipe: The Perfect Afternoon Treat
There’s something undeniably comforting about a warm, freshly baked scone. Their slightly crumbly texture, subtle sweetness, and endless versatility make them the perfect accompaniment to a cup of tea, a dollop of clotted cream, and a generous spoonful of jam. While fancy scones with dried fruit, chocolate chips, or savory herbs have their place, sometimes you just crave the simple perfection of a plain scone. This recipe delivers exactly that: a classic, foolproof plain scone that’s easy to make and utterly delicious.
Why This Recipe Works
This recipe is designed for success, even for novice bakers. Here’s why it works:
- Cold Ingredients are Key: Using cold butter and cold milk is crucial. The cold butter creates pockets of steam as it bakes, resulting in a light and flaky texture. Warm butter will melt into the flour, creating a denser, less desirable scone.
- Gentle Mixing: Overmixing develops gluten, leading to tough scones. We emphasize gentle handling of the dough to keep it tender.
- Proper Leavening: The combination of baking powder and self-rising flour (or a calculated addition of baking powder to all-purpose flour) ensures a good rise and a light, airy interior.
- Hot Oven: A hot oven helps the scones rise quickly and evenly, creating a beautiful golden-brown crust.
- No-Fuss Technique: This recipe avoids complicated techniques, making it accessible and quick to prepare.
Ingredients
- 225g (8 oz) Self-Rising Flour (or 225g (8oz) All-Purpose Flour + 2 tsp Baking Powder)
- 50g (2 oz) Cold Unsalted Butter, cubed
- 25g (1 oz) Granulated Sugar
- Pinch of Salt
- 120ml (4 fl oz) Cold Milk, plus extra for glazing
Instructions
- Preheat and Prepare: Preheat your oven to 220°C (425°F, Gas Mark 7). Lightly grease a baking sheet or line it with parchment paper.
- Combine Dry Ingredients: In a large bowl, whisk together the self-rising flour (or all-purpose flour and baking powder), sugar, and salt. This ensures the baking powder is evenly distributed.
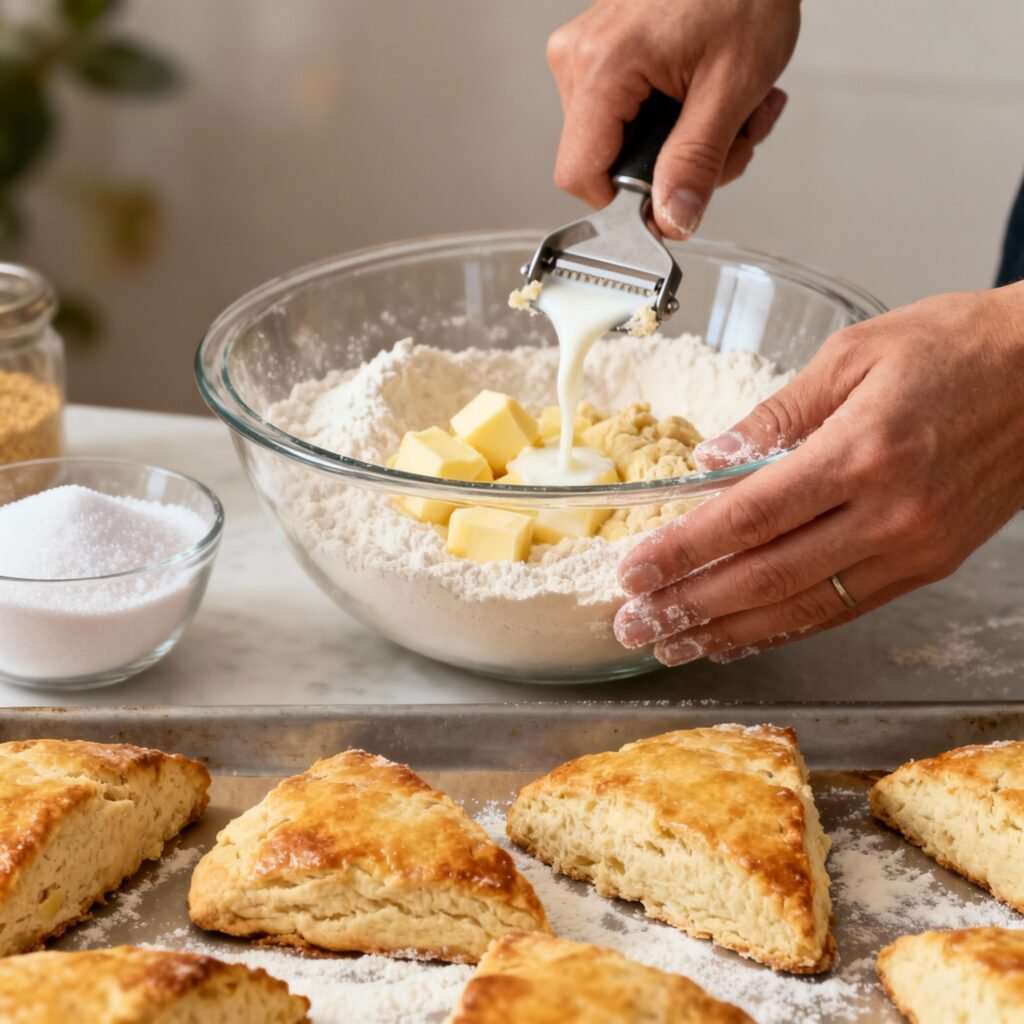
- Rub in the Butter: Add the cold, cubed butter to the flour mixture. Using your fingertips, rub the butter into the flour until the mixture resembles coarse breadcrumbs. Work quickly to prevent the butter from melting. You can also use a pastry blender for this step.
- Add the Milk: Gradually add the cold milk to the bowl, mixing with a knife or spatula until a soft, slightly sticky dough forms. Be careful not to overmix.
- Turn Out and Shape: Lightly flour a clean work surface. Turn the dough out onto the floured surface and gently pat it into a round about 2cm (¾ inch) thick.
- Cut Out Scones: Use a 6cm (2 ½ inch) round cutter (or a sharp knife) to cut out scones. Press the cutter straight down and avoid twisting, as this can seal the edges and prevent them from rising properly.
- Place on Baking Sheet: Place the scones onto the prepared baking sheet, leaving a small gap between each one.
- Glaze and Bake: Brush the tops of the scones with a little milk. This will give them a golden-brown color.
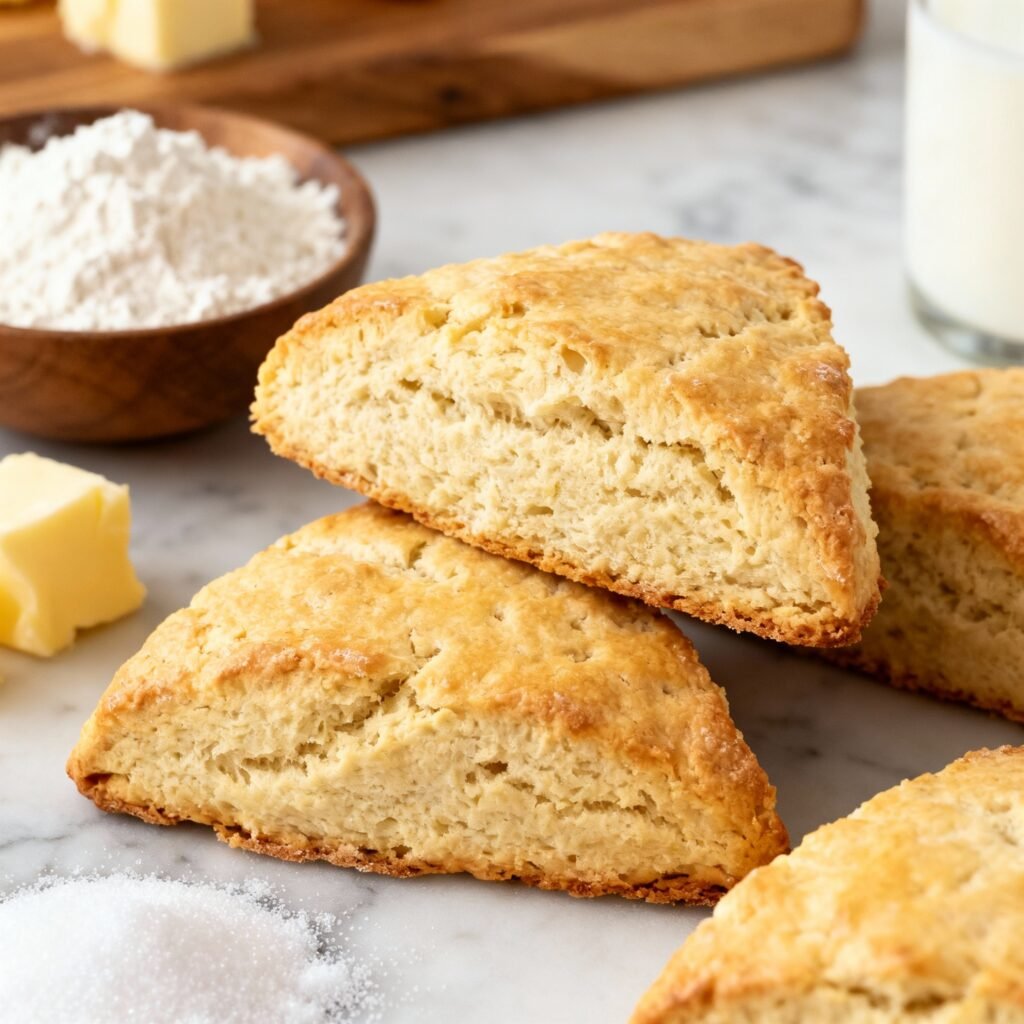
- Bake: Bake for 12-15 minutes, or until the scones are golden brown and well-risen.
- Cool and Serve: Transfer the scones to a wire rack to cool slightly. Serve warm with clotted cream, jam, and a cup of tea.
Tips for Success
- Keep Everything Cold: This is the most important tip! Cold ingredients are the key to light and flaky scones. Chill the butter, milk, and even the bowl you’re using if possible.
- Don’t Overmix: Overmixing develops the gluten in the flour, resulting in tough scones. Mix only until the dough just comes together.
- Handle with Care: Be gentle when shaping and cutting the scones. Avoid pressing down too hard, as this can compress the dough and prevent them from rising properly.
- Hot Oven is Essential: A hot oven is crucial for a good rise and a beautiful golden-brown crust. Make sure your oven is fully preheated before baking the scones.
- Don’t Twist the Cutter: When cutting out the scones, press the cutter straight down and avoid twisting. Twisting can seal the edges and prevent them from rising properly.
- Experiment with Add-Ins: While this is a plain scone recipe, feel free to add a handful of dried fruit, chocolate chips, or herbs to the dough for a different flavor.
- Use Self-Rising Flour: If you don’t have self-rising flour, you can easily make your own by adding 2 teaspoons of baking powder per 225g (8oz) of all-purpose flour.
Storage Instructions
Scones are best enjoyed fresh on the day they are baked. However, they can be stored in an airtight container at room temperature for up to 2 days. To refresh them, warm them in a low oven (150°C/300°F) for a few minutes. You can also freeze baked scones for up to 2 months. Wrap them individually in plastic wrap and then place them in a freezer bag. To thaw, leave them at room temperature for a few hours or warm them in a low oven.
FAQ
Q: Can I use margarine instead of butter?
A: While you can use margarine, butter will give you the best flavor and texture. If using margarine, make sure it’s cold and solid.
Q: Can I use a different type of milk?
A: Yes, you can use any type of milk you prefer, such as whole milk, semi-skimmed milk, or even plant-based milk like almond or soy milk. However, whole milk will give you the richest flavor.
Q: My scones are flat and didn’t rise. What went wrong?
A: There are several reasons why your scones might not have risen. Make sure your baking powder is fresh, that you used cold ingredients, and that you didn’t overmix the dough. A hot oven is also essential for a good rise.
Q: Can I make these scones ahead of time?
A: You can prepare the dough ahead of time and store it in the refrigerator for up to 24 hours. However, it’s best to bake the scones fresh for the best results.
Q: What can I serve with plain scones?
A: Plain scones are delicious with clotted cream, jam, butter, honey, or even a savory spread like cream cheese and smoked salmon.
Conclusion
This plain scone recipe is a simple and satisfying way to enjoy a classic treat. With a few basic ingredients and some simple techniques, you can bake up a batch of warm, fluffy scones that are perfect for any occasion. So go ahead, preheat your oven, gather your ingredients, and get ready to enjoy the perfect afternoon tea companion.