🥨 The Ultimate Fluffy Pretzel Buns Recipe (Better Than Takeout!)
Okay, let’s be real for a second. You’re here because you are tired of those sad, squishy, flavorless sponges that grocery stores have the audacity to call “hamburger buns.” You know the ones—they disintegrate the moment a drop of ketchup hits them, leaving you holding a messy burger patty with your bare hands like a caveman. We can do better.
So, you’re craving something savory, chewy, and mahogany-brown, but you’re maybe a little lazy and intimidated by the idea of boiling bread? Same. But listen to me: making your own pretzel buns is genuinely a power move. It’s the kind of thing that makes people think you went to culinary school, when in reality, you just played with some dough and dipped it in hot water.
This isn’t just a recipe; it’s an intervention for your sandwich game. Put on your apron (or don’t, I’m not your mom) and let’s make some carbs that actually taste like something.
Why This Recipe is Awesome
Look, I don’t use the word “life-changing” lightly—mostly because I save it for when I find a parking spot right in front of the store—but this pretzel buns recipe is close. Here is precisely why you need to stop what you are doing and make these immediately:
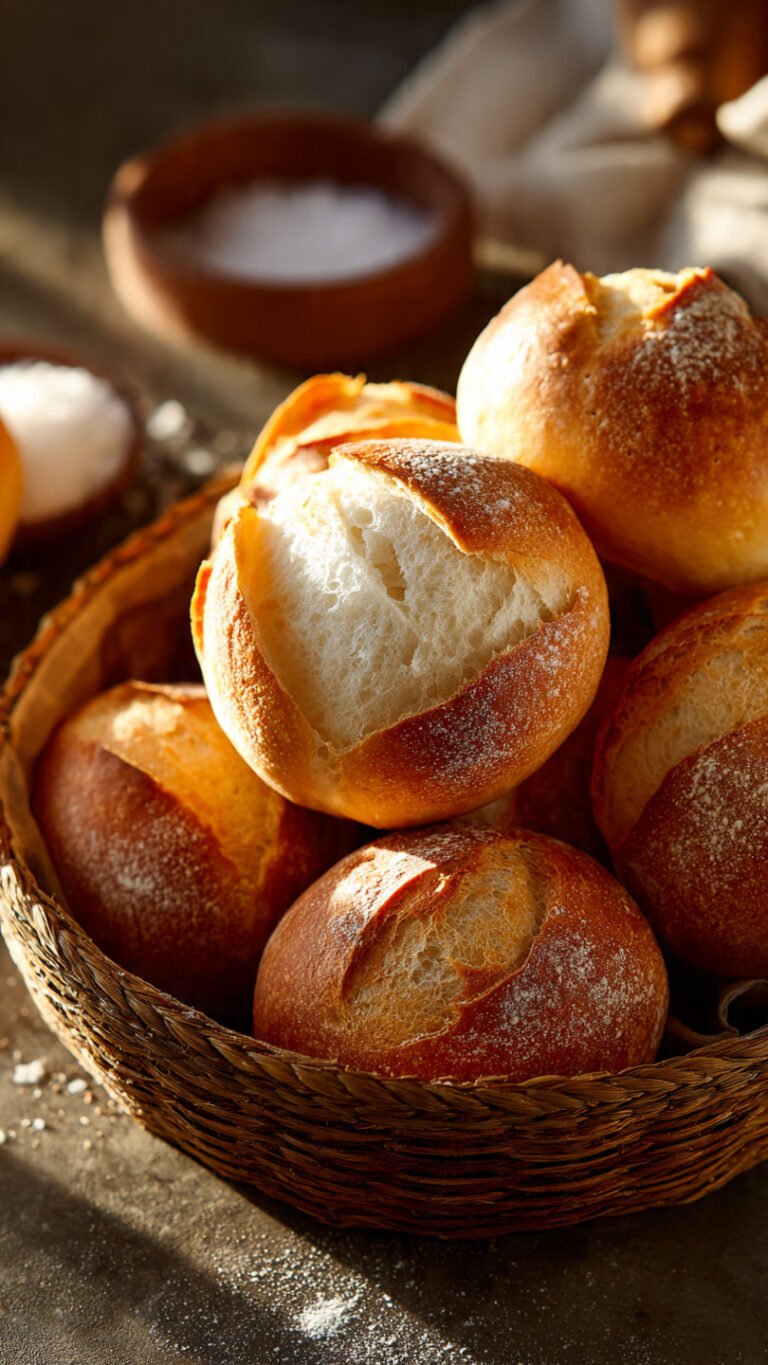
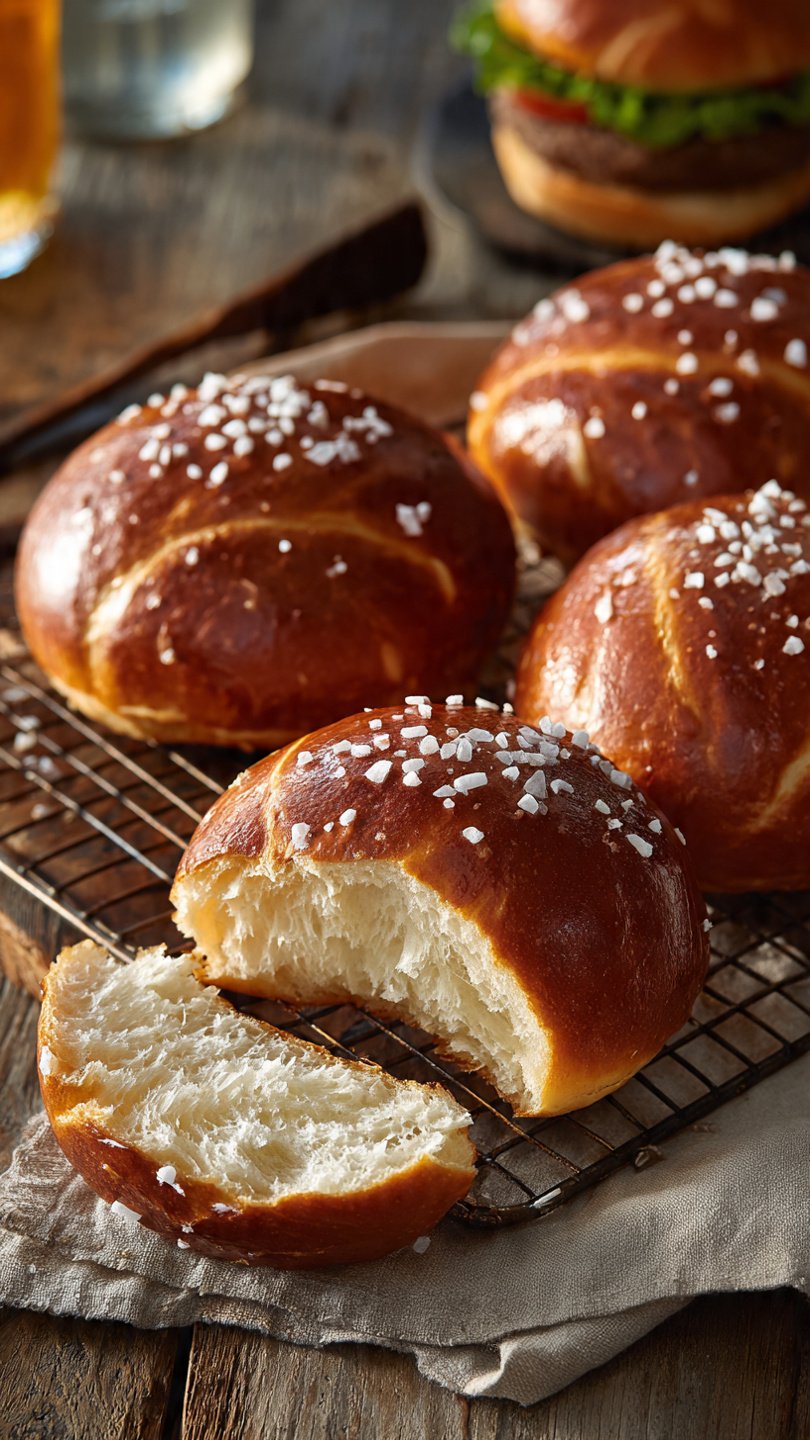
- The Texture is Unreal: We are talking about a crust that offers a slight resistance—that signature pretzel “snap”—followed immediately by an interior so soft and pillowy it feels like a hug. Store-bought buns are all fluff; these have substance. They can hold up to the juiciest, messiest burger you can throw at them without falling apart.
- The “Cheat” Factor: Traditional German pretzels use lye. Lye is scary. Lye can burn you. We aren’t using lye. We are using baking soda, which achieves 90% of the result with 0% of the risk of chemical burns. It’s idiot-proof. Even I didn’t mess it up the first time, and I once burned cereal.
- The Smell: There is a specific, intoxicating aroma that fills your kitchen when dough hits alkaline water and then the hot oven. It smells like a German bakery and savory butter had a baby. If you want to impress a date, forget cologne; just bake these.
- Versatility: Sure, they make the best burger buns on the planet. But they are also incredible as sandwich rolls for roast beef, perfect for dipping into beer cheese soup, or honestly? Just toasted with a embarrassing amount of salted butter.
Ingredients You’ll Need
Don’t panic. You probably have most of this stuff in your pantry already. If not, a quick run to the store is worth it.
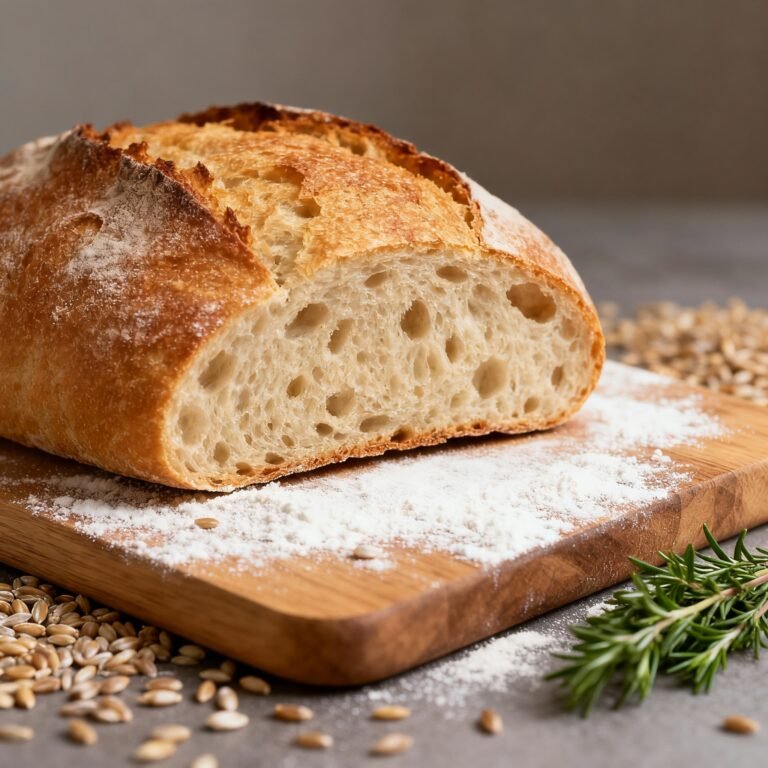
- Bread Flour: Do not ignore me on this. You cannot use cake flour, and All-Purpose is just “okay.” You need the high protein content of bread flour to develop the gluten strands that give the pretzel its signature chew. If you use weak flour, you get soft rolls, not pretzels.
- Yeast: Instant yeast or Active Dry works. If you’re impatient (like me), Instant is faster. If you want to feel like a scientist, use Active Dry and watch it foam.
- Brown Sugar: Just a little bit. It feeds the yeast and adds that subtle background sweetness that balances the salty crust.
- Warm Water: Think “baby bath” temperature. Too hot and you kill the yeast (murderer), too cold and the yeast stays asleep (lazy).
- Butter: Unsalted, melted, and slightly cooled. This enriches the dough, making the crumb tender rather than tough.
- Baking Soda: The MVP. This is what transforms a bagel into a pretzel. You need a lot of it for the boiling water bath.
- Coarse Sea Salt (or Pretzel Salt): For the top. Do not use table salt unless you want your buns to look like they have dandruff. You want big, crunchy crystals.
- Egg Yolk + Water: For the egg wash. This is the lacquer that makes the buns shiny and golden.
Step-by-Step Instructions
1. Wake Up the Yeast
First things first. In the bowl of your stand mixer (or a large bowl if you’re looking for an arm workout), combine your warm water (about 110°F/45°C), the brown sugar, and the yeast. Give it a little whisk.
- Science Tip: If you see bubbles forming after 5 minutes, your yeast is alive and ready to party. If it looks like gray pond water and does nothing, throw it out. Your yeast is dead, and no amount of hoping will fix it.
2. Mix and Knead
Add the melted butter and the flour. If you are using a stand mixer, attach the dough hook and let it run on low speed. Once the flour is incorporated, kick it up to medium-low. You want to knead this for about 5–7 minutes.
- The Vibe: You are looking for a dough that is smooth, elastic, and slightly tacky (sticky like a Post-it note, not sticky like gum). If it’s sticking to the sides of the bowl, add a tablespoon of flour. If it looks dry and shaggy, add a teaspoon of water.
3. The First Rise (The Nap)
Grease a large bowl with a little oil or cooking spray. Form your dough into a nice round ball, place it in the bowl, and cover it with plastic wrap or a warm, damp towel.
- Timing: Let it sit in a warm, draft-free spot for about 60 minutes, or until it has doubled in size. This is a great time to clean your kitchen or scroll TikTok.

4. Divide and Conquer
Punch the dough down (satisfying, right?). Turn it out onto a clean surface. You don’t need much flour here; you actually want a little friction to help shape them. Divide the dough into 8 equal pieces.
- Pro Tip: If you have a kitchen scale, weigh them to be exact. If not, eyeballing it is fine—we’re making dinner, not building a bridge.
5. Shaping (The Claw Method)
This is the most technical part, but don’t sweat it. Take a piece of dough. Cup your hand over it like a claw. Move your hand in a circular motion, keeping your fingers touching the counter. The friction will pull the dough skin tight and create a smooth ball.
- Place the formed balls on a baking sheet lined with parchment paper. Crucial: Flatten them slightly with your palm. Remember, we want buns for burgers, not baseballs. Let them rest (uncovered) for another 15–20 minutes.
6. The Baking Soda Bath
Preheat your oven to 425°F (220°C). Bring a large pot of water to a boil. deeply inhale… actually, don’t. Once boiling, carefully add the baking soda.
- Warning: It will fizz up aggressively like a science fair volcano. Be careful.
- Drop 2–3 buns into the boiling water at a time. Cook for 30 seconds per side. Use a slotted spoon or spider strainer to flip them. They will look weird and wrinkly when you take them out. This is normal. Put them back on the baking sheet.
7. Glaze and Bake
Brush the tops of the boiled buns with your egg wash mixture. This gives them that glossy magazine-cover look. Sprinkle generously with coarse salt. If you’re feeling fancy, use a sharp knife to slash an ‘X’ or two parallel lines on top.
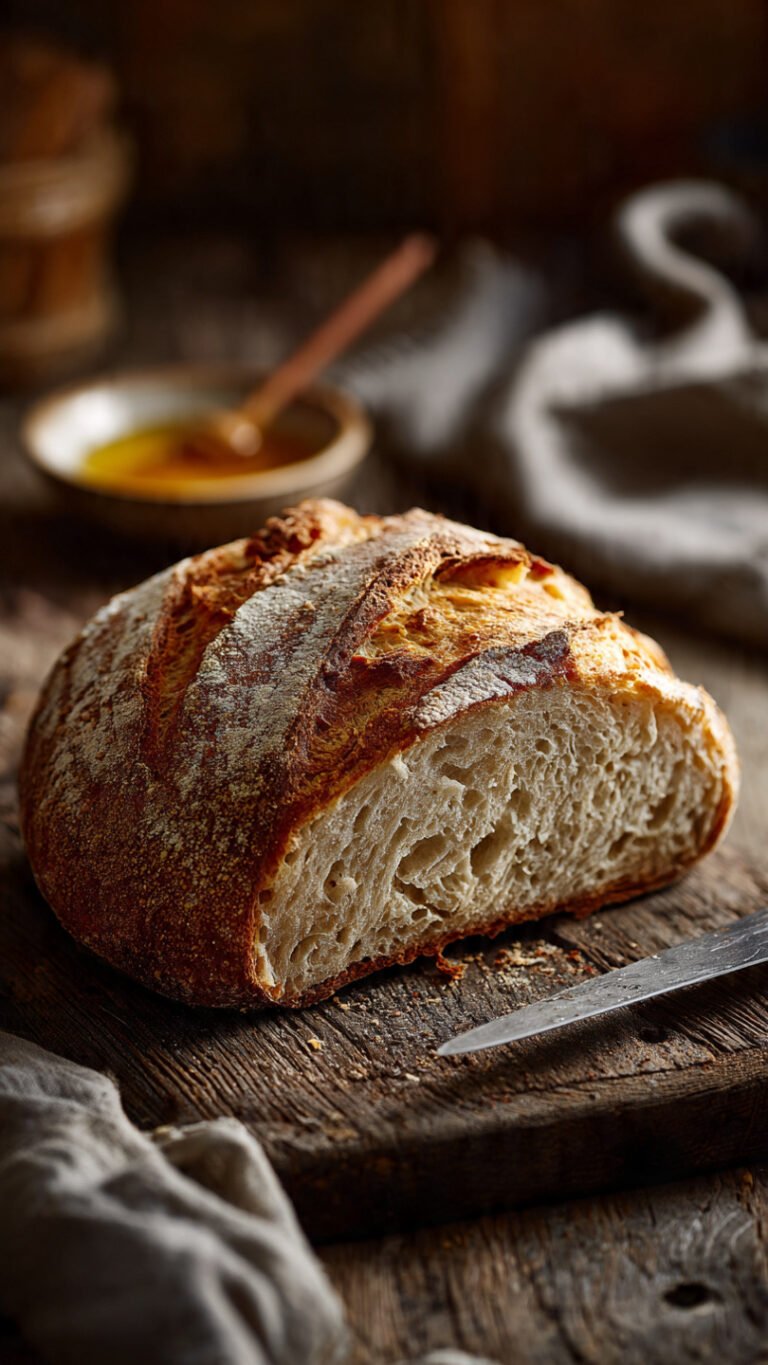
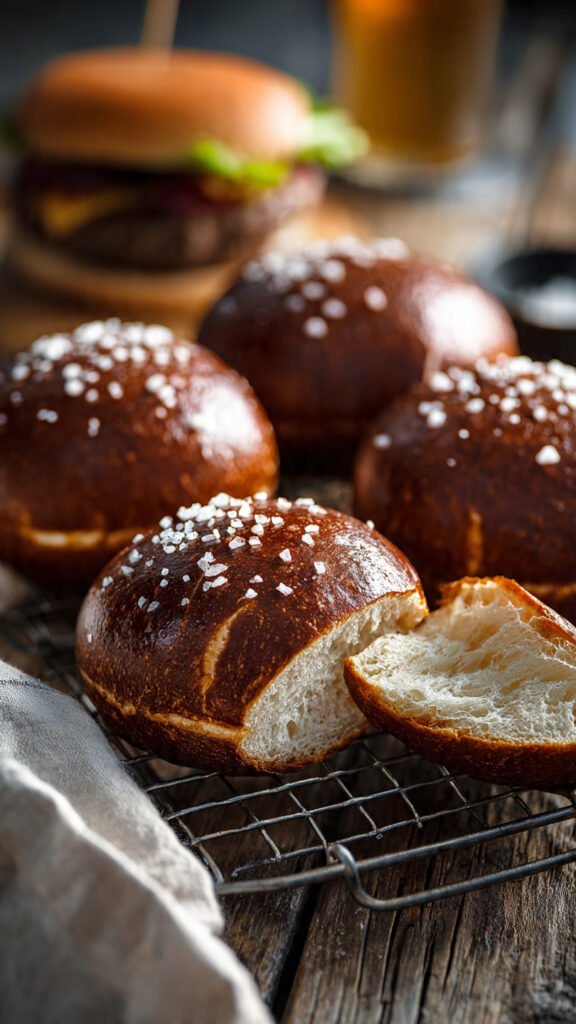
- Bake for 15–18 minutes. You are looking for a deep, dark mahogany color. Don’t pull them out when they are light gold—that’s just bread. We want pretzel.
8. Cool Down
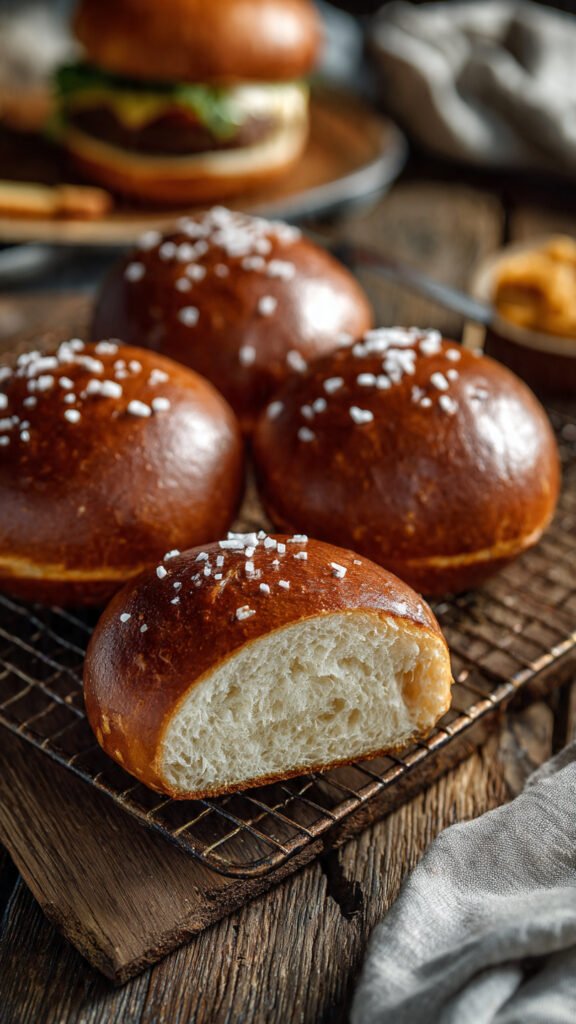
Transfer to a wire rack. I know you want to eat one immediately, but let them cool for at least 10 minutes so the crumb sets. Otherwise, it’ll be doughy inside.
Common Mistakes to Avoid
We’ve all been there. Here is how to avoid the “Pinterest Fail” version of this recipe.
- The “Wrinkly Old Man” Bun: If your buns deflate and look incredibly wrinkly after the bath, you likely over-proofed them (let them rise too long). Yeast has a limited gas tank; if you use it all up on the counter, it has nothing left for the oven. Watch the size, not just the clock.
- The Pale Pretzel: If your buns come out looking like regular dinner rolls, your oven wasn’t hot enough, or your baking soda water wasn’t alkaline enough. Don’t skimp on the soda, and trust the high heat.
- The “Soggy Bottom”: If you put the wet, boiled buns directly onto a non-greased pan or parchment that isn’t high quality, they will stick. I mean cement themselves. Use silicone baking mats if you have them, or grease your parchment paper.
- Thinking You Don’t Need to Preheat: Rookie mistake. Bread needs a blast of heat immediately to spring up (Oven Spring). Putting dough in a cold oven is a death sentence.
Alternatives & Substitutions
Cooking is jazz, baby. Improvise if you have to.
- Vegan Friends: Swap the butter in the dough for coconut oil or vegan butter sticks. For the egg wash, brush them with a mix of maple syrup and plant milk or just water. They won’t be quite as shiny, but they’ll still taste bomb.
- Topping Remix: Bored of salt? (How?) Try “Everything Bagel” seasoning, sesame seeds, poppy seeds, or—if you’re feeling dangerous—shredded sharp cheddar and jalapeño slices right before baking.
- Slider Size: Want cute little mini-burgers? Divide the dough into 12 or 16 pieces instead of 8. Just reduce the baking time by about 3–5 minutes.
- Sweet Tooth: Skip the salt on top. Brush with melted butter after baking and roll them in cinnamon sugar. You just made dessert. You’re welcome.
FAQ (Frequently Asked Questions)
1. Can I make these ahead of time? Yes! They are best the day they are made, but they hold up well for 2 days in an airtight container. If they get a little soft, pop them in the toaster or oven for 2 minutes to revive the crust.
2. Can I freeze the dough? Technically, yes, but I prefer freezing the baked buns. Bake them, cool them, bag them, freeze them. Thaw on the counter and reheat. Easy peasy.
3. Why do I have to boil them? Can I skip it? Absolutely not. If you skip the boil, you are just making round bread. The boiling water gelatinizes the starch on the surface, creating that chewy skin, and the baking soda promotes the Maillard reaction (super browning). No boil = No pretzel.
4. My baking soda bath is foaming everywhere! What did I do? You added the powder too fast to boiling water. Physics happened. Next time, turn the heat down slightly before adding the soda, or just use a bigger pot.
5. Can I use store-bought pizza dough? I mean… you can, but the texture won’t be right. Pizza dough is usually formulated for crispiness, not pillowy softness. But hey, if you’re desperate, try the baking soda bath method on it. It’ll be an interesting experiment.
6. Do I really need a stand mixer? No, you have hands! Kneading by hand is great stress relief. Just knead for about 10–12 minutes instead of 7. If you aren’t sweating, you aren’t done.
7. Can I use margarine instead of butter? Well, technically yes, but why hurt your soul like that? Butter provides flavor. Margarine provides… sadness. But if it’s all you have, it will chemically work.
Final Thoughts
There you have it. You have officially graduated from “person who buys bread” to “person who creates bread.” It’s a subtle distinction, but a powerful one.
Making this pretzel buns recipe might seem like a few extra steps compared to opening a plastic bag from the store, but the moment you sink your teeth into that salty, chewy, golden crust, you’ll realize there is no going back.
So, fire up that oven, don’t be afraid of the boiling water, and go impress someone—or just impress yourself. Frankly, you deserve a burger on a bun that doesn’t suck. Enjoy!