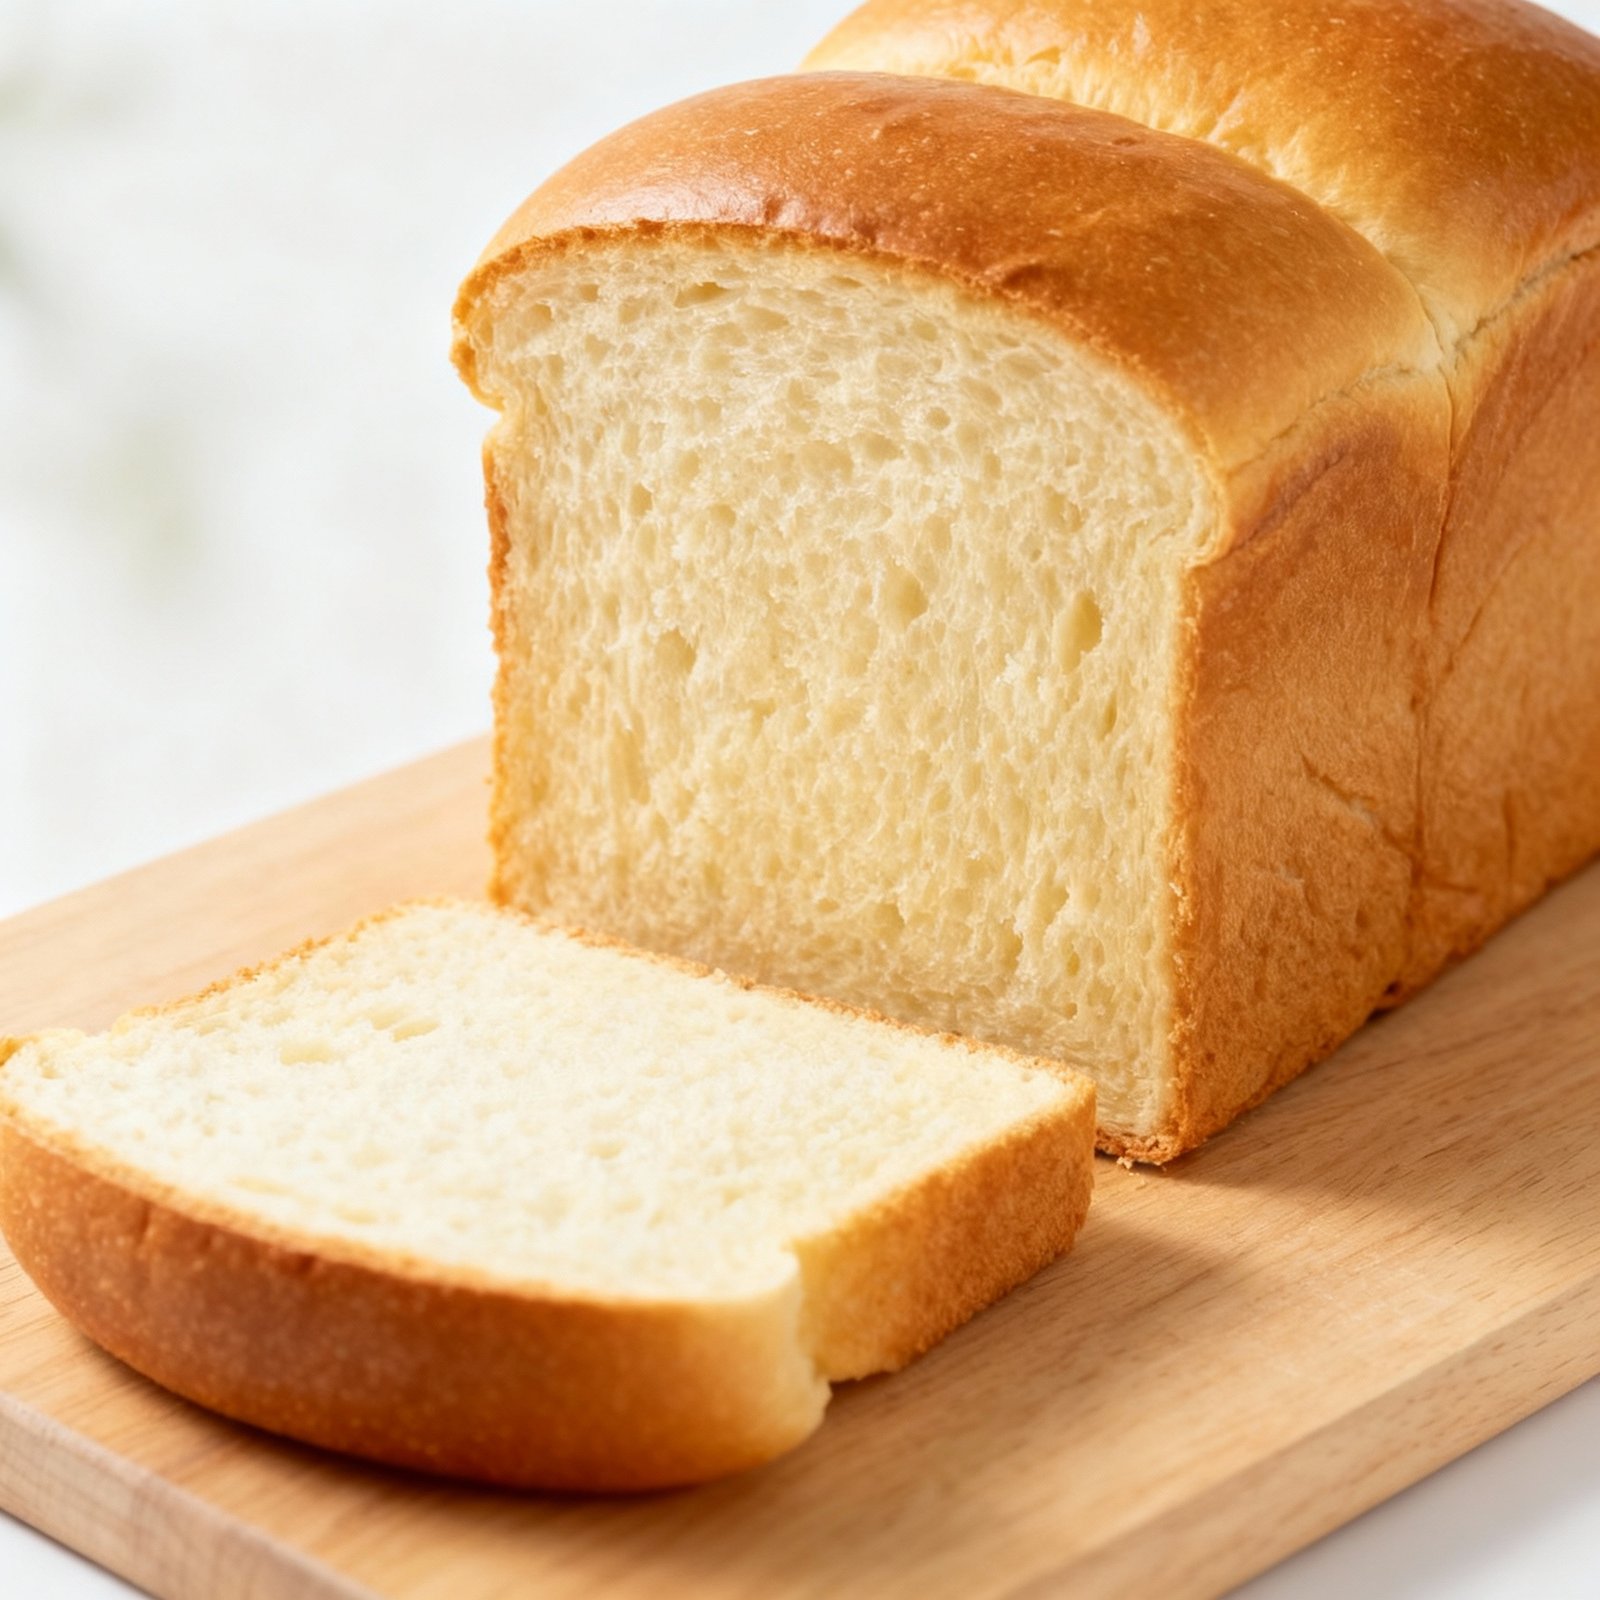
Pullman Bread Recipe: The Perfect Sandwich Loaf
Is there anything more satisfying than a perfectly sliced sandwich made with homemade bread? Enter the Pullman loaf – a tightly structured, fine-crumbed bread baked in a distinctive lidded pan, resulting in a uniform, square shape ideal for sandwiches, toast, and even elegant canapés. This recipe demystifies the process, guiding you through each step to achieve bakery-worthy results in your own kitchen. Get ready to impress your friends and family with this beautiful and delicious bread!
Why This Recipe Works
This Pullman bread recipe is designed for consistent success, even for beginner bakers. Here’s why it works:
- The right hydration: The dough is hydrated enough to create a tender crumb but not so wet that it’s difficult to handle.
- Proper kneading: Adequate kneading develops the gluten, providing structure and strength for the tall loaf. The windowpane test ensures the gluten is sufficiently developed.
- Controlled fermentation: The proofing times are carefully calculated to allow the dough to rise properly without over-proofing, which can lead to collapse in the oven.
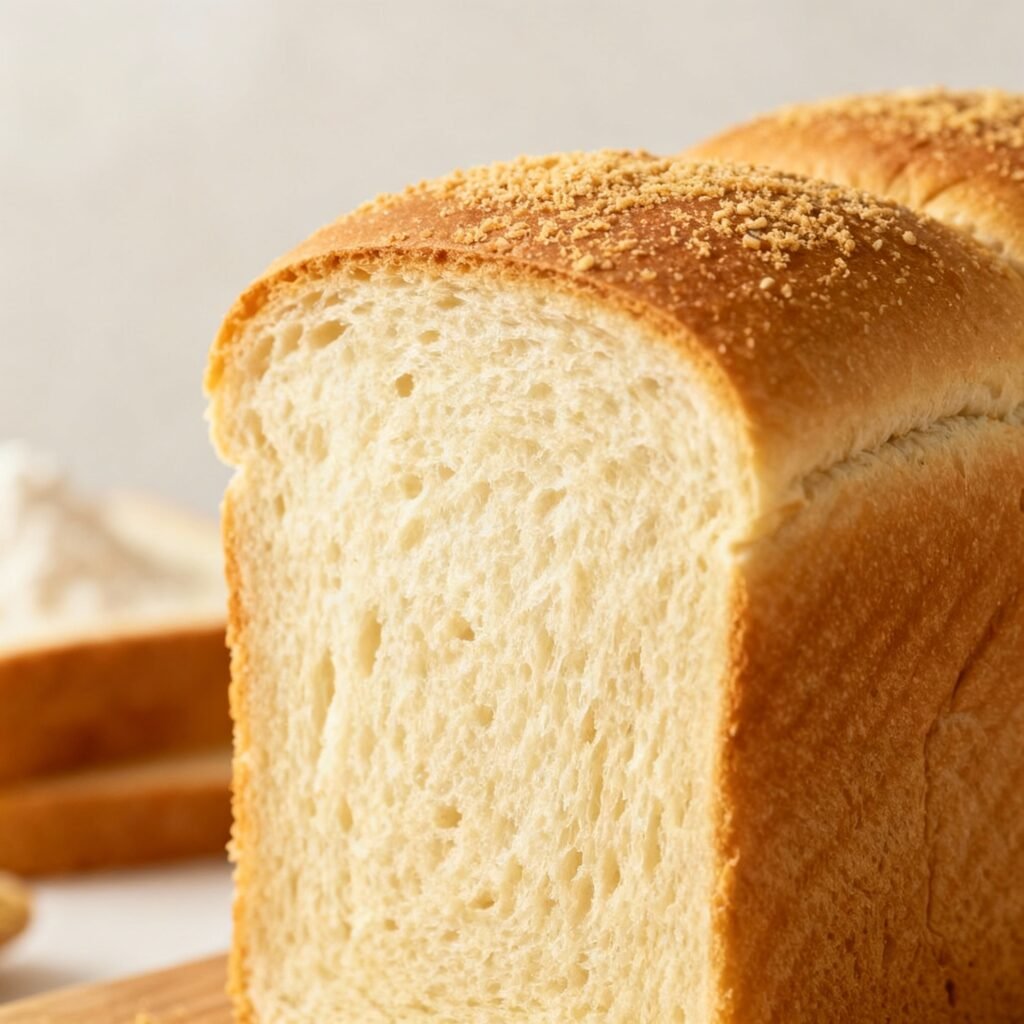
- The Pullman pan: The lidded Pullman pan traps steam and restricts the rise, resulting in the signature tight crumb and square shape. It also helps retain moisture, keeping the bread soft.
- Oven temperature and baking time: The oven temperature and baking time are optimized to ensure the bread is fully cooked without burning. Removing the lid for the last portion of baking allows for a beautifully browned crust.
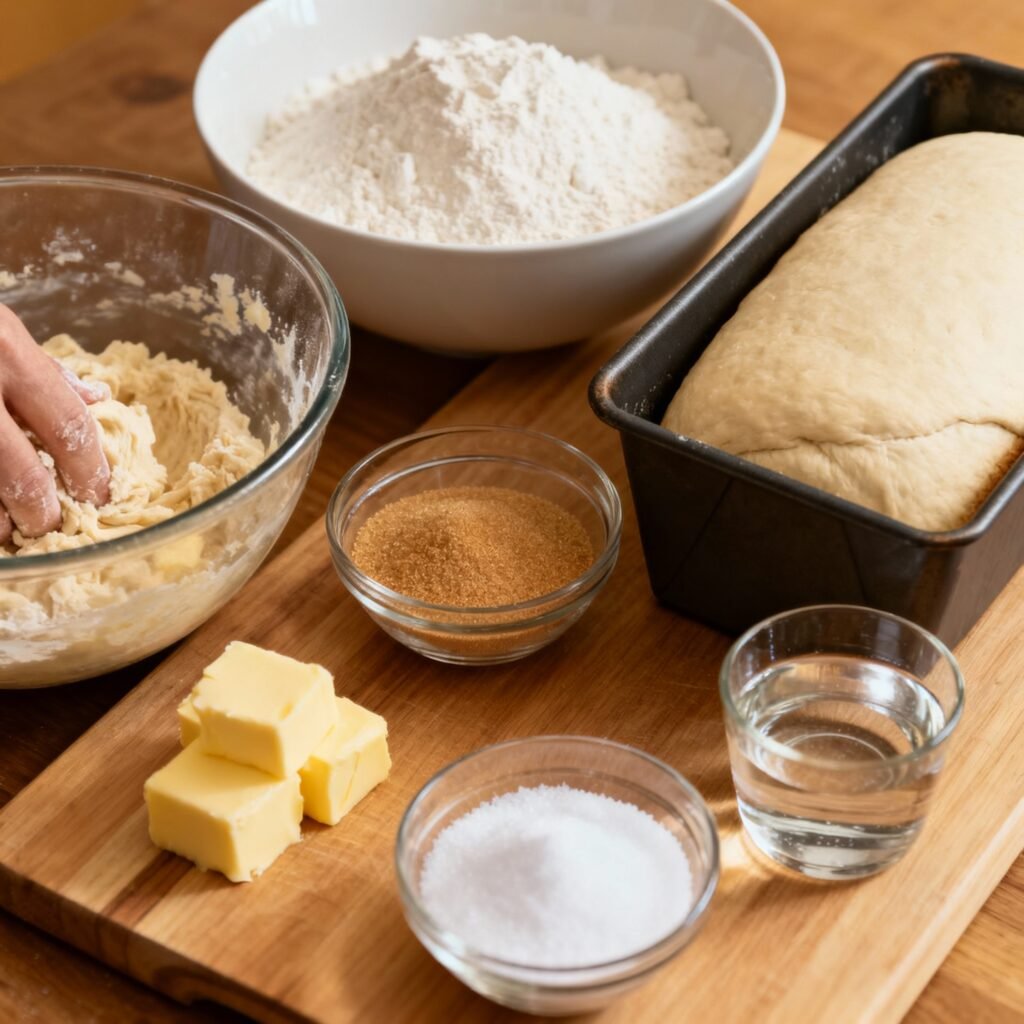
Ingredients
- 3 1/2 cups (420g) Bread Flour: Bread flour has a higher protein content than all-purpose flour, resulting in a stronger gluten network and a chewier texture.
- 1 1/2 cups (360ml) Lukewarm Water (105-115°F): Lukewarm water activates the yeast and helps it ferment properly.
- 2 1/4 teaspoons (7g) Active Dry Yeast: This is equivalent to one standard packet of yeast.
- 2 tablespoons (25g) Granulated Sugar: Sugar provides food for the yeast, helping it to rise. It also adds a touch of sweetness.
- 1 1/2 teaspoons (9g) Salt: Salt controls the yeast activity and enhances the flavor of the bread.
- 3 tablespoons (42g) Unsalted Butter, softened: Butter adds richness, flavor, and tenderness to the dough.
- Optional: 1 tablespoon Olive Oil (for greasing the pan)
Instructions
- Activate the Yeast: In a large bowl or the bowl of a stand mixer, combine the lukewarm water, sugar, and active dry yeast. Let stand for 5-10 minutes, or until foamy. This indicates that the yeast is active and ready to use.
- Combine Ingredients: Add the bread flour and salt to the yeast mixture. If using a stand mixer, use the dough hook attachment. If mixing by hand, use a sturdy spoon or your hands.
- Knead the Dough: Knead the dough for 8-10 minutes in a stand mixer on medium speed, or 10-12 minutes by hand on a lightly floured surface. The dough should be smooth, elastic, and slightly tacky. Perform the windowpane test: stretch a small piece of dough between your fingers. If you can stretch it thin enough to see light through it without tearing, the gluten is sufficiently developed. If it tears easily, continue kneading for another minute or two.
- Incorporate the Butter: Add the softened butter to the dough, a tablespoon at a time, kneading until fully incorporated after each addition. The dough will become smoother and more pliable.
- First Rise: Place the dough in a lightly oiled bowl, turning to coat. Cover the bowl with plastic wrap or a damp towel. Let rise in a warm place for 1-1.5 hours, or until doubled in size.
- Shape the Dough: Gently punch down the dough to release the air. Turn the dough out onto a lightly floured surface. Shape the dough into a rectangle roughly the same length as your Pullman pan.
- Place in Pan: Grease the inside of your Pullman pan with olive oil or cooking spray. Fold the rectangle in thirds like a letter. Place the folded dough into the greased Pullman pan, seam-side down.
- Second Rise: Cover the pan with the lid. Let rise for 45-60 minutes, or until the dough has risen to about 1 inch below the top of the pan.
- Bake the Bread: Preheat your oven to 350°F (175°C). Place the Pullman pan in the preheated oven with the lid on. Bake for 30 minutes.
- Remove the Lid: Carefully remove the lid from the Pullman pan. Continue baking for another 15-20 minutes, or until the crust is golden brown and the internal temperature reaches 200-210°F (93-99°C). Use a digital thermometer inserted into the center of the loaf to check the temperature.
- Cool the Bread: Remove the Pullman pan from the oven and let the bread cool in the pan for 10 minutes. Then, gently remove the bread from the pan and let it cool completely on a wire rack before slicing. This is crucial to prevent a gummy texture.
Tips for Success
- Use fresh yeast: Expired yeast won’t rise properly. Check the expiration date before using.
- Accurate measurements: Use a kitchen scale for the most accurate measurements, especially for the flour.
- Don’t overheat the water: Water that is too hot will kill the yeast. Use a thermometer to ensure it’s between 105-115°F (40-46°C).
- Knead thoroughly: Proper kneading is essential for developing the gluten and creating a strong structure.
- Warm environment for rising: A warm environment will help the dough rise faster. You can create a warm environment by placing the bowl in a slightly warmed oven or near a warm appliance.
- Don’t over-proof: Over-proofed dough will collapse in the oven. Watch the dough closely and bake it when it has almost reached the top of the pan.
- Cool completely before slicing: Slicing the bread while it’s still warm will result in a gummy texture. Be patient and let it cool completely.
Storage Instructions
To keep your Pullman bread fresh, store it in an airtight container at room temperature for up to 3 days. For longer storage, wrap the bread tightly in plastic wrap and freeze it for up to 2 months. Thaw the bread completely at room temperature before slicing.
FAQ
Q: Can I use all-purpose flour instead of bread flour?
A: While you can use all-purpose flour, the bread will have a slightly less chewy texture and may not rise as high. Bread flour is recommended for the best results.
Q: Can I use instant yeast instead of active dry yeast?
A: Yes, you can substitute instant yeast for active dry yeast. You don’t need to activate instant yeast in water first. Simply add it directly to the flour and other dry ingredients.
Q: My bread is collapsing after baking. What went wrong?
A: This is likely due to over-proofing. The dough rose too much before baking, causing the gluten structure to weaken. Make sure to watch the dough closely during the second rise and bake it when it has almost reached the top of the pan.
Q: Can I add herbs or other flavorings to the dough?
A: Absolutely! Feel free to experiment with different herbs, spices, or even dried fruits and nuts. Add them to the dough after the first rise and knead them in gently.
Q: Where can I buy a Pullman pan?
A: Pullman pans are available at many kitchen supply stores and online retailers. Search for “Pullman loaf pan” to find a variety of options.
Conclusion
With this Pullman bread recipe, you can create a beautiful and delicious loaf of bread that’s perfect for sandwiches, toast, and more. The tight crumb and uniform shape make it ideal for any occasion. So, gather your ingredients, follow the instructions, and enjoy the satisfaction of baking your own homemade Pullman bread. Happy baking!