🌶️ The Ultimate Quick Chilli Recipe (Ready in 30 Mins!)
Let’s be real for a second. Sometimes you crave a bowl of deep, soul-hugging chili, but you also crave sitting on the couch in your sweatpants watching Netflix way sooner than six hours from now. I get it.
We’ve all seen those recipes that demand you simmer something until the end of time to develop “depth of flavor.” Yeah, nobody has time for that on a Tuesday. You want the flavor without the marathon commitment. You want something hot, smoky, and satisfying that you can magically whip up between finishing work and fearing starvation.
Well, my hungry friend, you’ve arrived. This is that recipe. It’s the cheat code to comfort food. Let’s get cooking before we get hangry.
Why This Recipe is Awesome
Look, I’m not gonna lie to you. Is this going to win a Texas chili cook-off against a guy named “Tex” who has been tending his pot for three days straight? Probably not.
But is it going to be the best damn thing you eat this week for the amount of effort you put in? absolutely.
Here is why this quick chilli recipe deserves a permanent spot in your rotation:
The Speed-to-Flavor Ratio is Insane
Usually, chili flavor relies on time. Time for the collagen in tough meat to break down, time for liquids to reduce, time for flavors to marry. We are cheating time. How? By using ingredients that are already flavor bombs (hello, fire-roasted tomatoes and a heavy hand with spices) and utilizing smart cooking techniques like blooming your spices in fat.
We aren’t waiting for flavor to happen; we are forcing it to happen. The result is a chili that tastes like it simmered all afternoon, but really only bubbled away while you set the table and doom-scrolled for 15 minutes.
It’s Basically Idiot-Proof
Seriously. Even I haven’t messed this up, and I once burned water. It’s a very forgiving recipe. Did you add a little too much liquid? Simmer it five minutes longer. Did you accidentally make it too spicy? Add a dollop of sour cream at the end. It’s highly adaptable to whatever sad looking vegetables are currently wilting in your crisper drawer.
The “Secret” Ingredients
We use a couple of tricks here to mimic long-cooked depth.
- Beef Base/Bouillon: Instead of weak boxed broth, we use concentrated beef base (like Better Than Bouillon) mixed with water. It packs a savory punch that takes hours to achieve naturally.
- A touch of Cocoa or Coffee: Stay with me here. IMO, this is crucial. We aren’t making chocolate chili. A teaspoon of unsweetened cocoa powder or a splash of leftover morning coffee adds an earthy, slightly bitter backbone that balances the acidity of the tomatoes. You won’t taste chocolate; you’ll just taste “mmm, what is that?”
The Leftover Situation
This might actually be better tomorrow. If you manage not to inhale the entire pot tonight, lunch tomorrow is going to be spectacular. It freezes like a dream, too. Future-you will be very grateful when you find a frozen puck of this gold mine on a lazy night.
Ingredients You’ll Need
Keep it simple. Don’t buy fancy artisanal chili powder unless you really want to show off. The standard stuff works just fine here.
- Olive oil or vegetable oil: Just a splash to get things going.
- 1 lb Ground Beef: Don’t go super lean here. We want something like an 85/15 or 80/20 blend. Fat equals flavor, and that fat is going to carry our spices later. You can drain the excess if you panic, but live a little.
- 1 medium Yellow Onion: Yes, you have to chop it. Yes, you might cry. It’s character building. Dice it up.
- 3 cloves Garlic: Minced. If you use the pre-minced stuff in a jar, I won’t tell anyone. But fresh is better.
- The Spice Blend (The Magic Dust):
- 2 Tbsp Chili Powder: The backbone of the operation.
- 1 Tbsp Ground Cumin: For that smoky, earthy vibe.
- 1 tsp Smoked Paprika: Regular paprika is boring; go smoked if you have it.
- 1/2 tsp Dried Oregano: Just a pinch of herbal freshness.
- 1/4 tsp Cayenne Pepper: Optional, depending on your bravery level. This brings the heat.
- Salt and lots of black pepper: To taste.
- 1 Tbsp Tomato Paste: This adds concentrated tomato sweetness and helps thicken things up.
- 1 (28 oz) can Diced Tomatoes: If you can find “fire-roasted,” grab those. They add a nice charred flavor note for free. Don’t drain the juice!
- 1 (15 oz) can Beans: Kidney beans are traditional, black beans are cool, pinto beans work too. Rinse and drain them unless you like your chili extra… musical.
- 1 cup Beef Broth: Use a strong broth or a bouillon cube mixed with water.
- The Secret Weapon: 1 tsp Unsweetened Cocoa Powder OR 2 Tbsp strong brewed coffee.
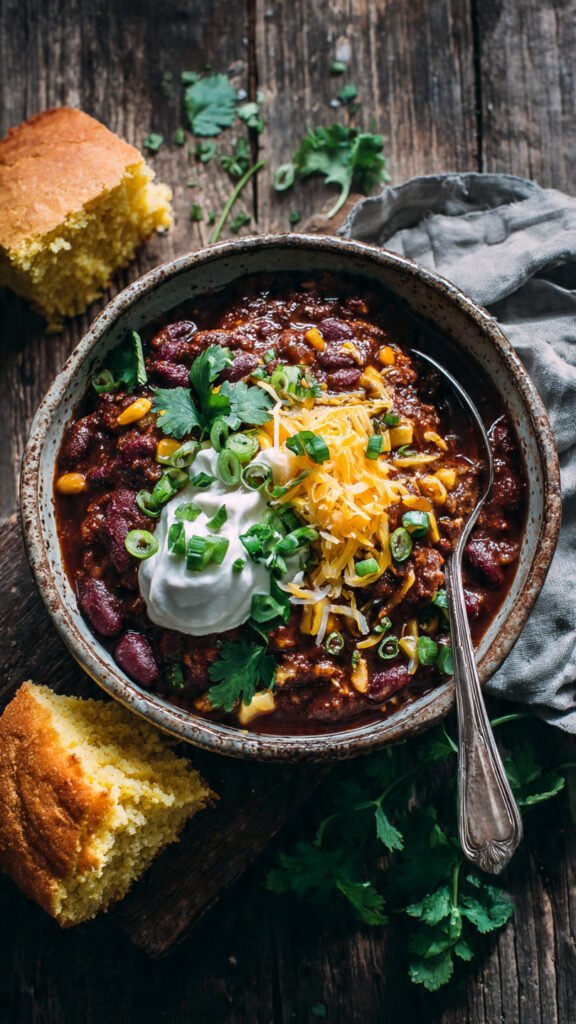
- Toppings (Mandatory, obviously): Shredded cheddar, sour cream, green onions, cilantro, Fritos, crushed crackers… go wild.
Step-by-Step Instructions
Alright, let’s make magic happen. Grab your favorite heavy-bottomed pot or Dutch oven.
1. The Sizzle (Browning the Beef)
Heat a tablespoon of oil over medium-high heat. Once it’s shimmering, toss in your ground beef. Now, here is the trick: break it up a little bit with a wooden spoon, and then stop touching it.
We want the meat to actually brown, not just steam in its own juices. Let it sit for 3–4 minutes until the bottom gets a nice, deep brown crust. That’s the Maillard reaction, and that is pure flavor currency. Once crusty, flip it over and break it down into smaller crumbles until it’s mostly cooked through.
2. Aromatics Assemble
Toss in your diced onion. Stir it around in the beef fat (yum) and cook for about 4–5 minutes until the onion is softened and translucent. It should start smelling really good right about now. Add the minced garlic and cook for just 60 seconds more. Do not burn the garlic—burnt garlic tastes bitter and sad.
3. The “Bloom” (Crucial Step!)
This is where the magic happens. Clear a little space in the center of the pot. Drop in the tomato paste, chili powder, cumin, smoked paprika, oregano, and cayenne.
Stir these spices directly into the hot fat and meat mixture for about 90 seconds. You aren’t just mixing them in; you are frying them. You’ll smell the change immediately—the aroma will go from “dusty spice jar” to “vibrant and intense.” This “blooming” process releases the essential oils in the spices, making them taste much bigger and bolder than if you just dumped them into liquid later.
4. The Dump and Scrape
Okay, hard part over. Pour in your can of diced tomatoes (juices and all), your drained beans, the beef broth, and your secret weapon (cocoa or coffee).
Give it a massive stir. Use your wooden spoon to scrape up any browned bits stuck to the bottom of the pot from when you cooked the beef. Those bits are called “fond,” and they are flavor gold mines. Don’t leave them behind!
5. The Quick Simmer
Bring the pot up to a boil, then immediately drop the heat down to low so it’s just maintaining a gentle bubble. Put the lid on slightly ajar (so steam can escape and it thickens up).
Let it simmer for at least 15 minutes, ideally 20. You want the liquid to reduce slightly and thicken into a rich sauce that coats the back of a spoon. Taste it. Does it need more salt? A bigger kick of cayenne? Now is the time to adjust.
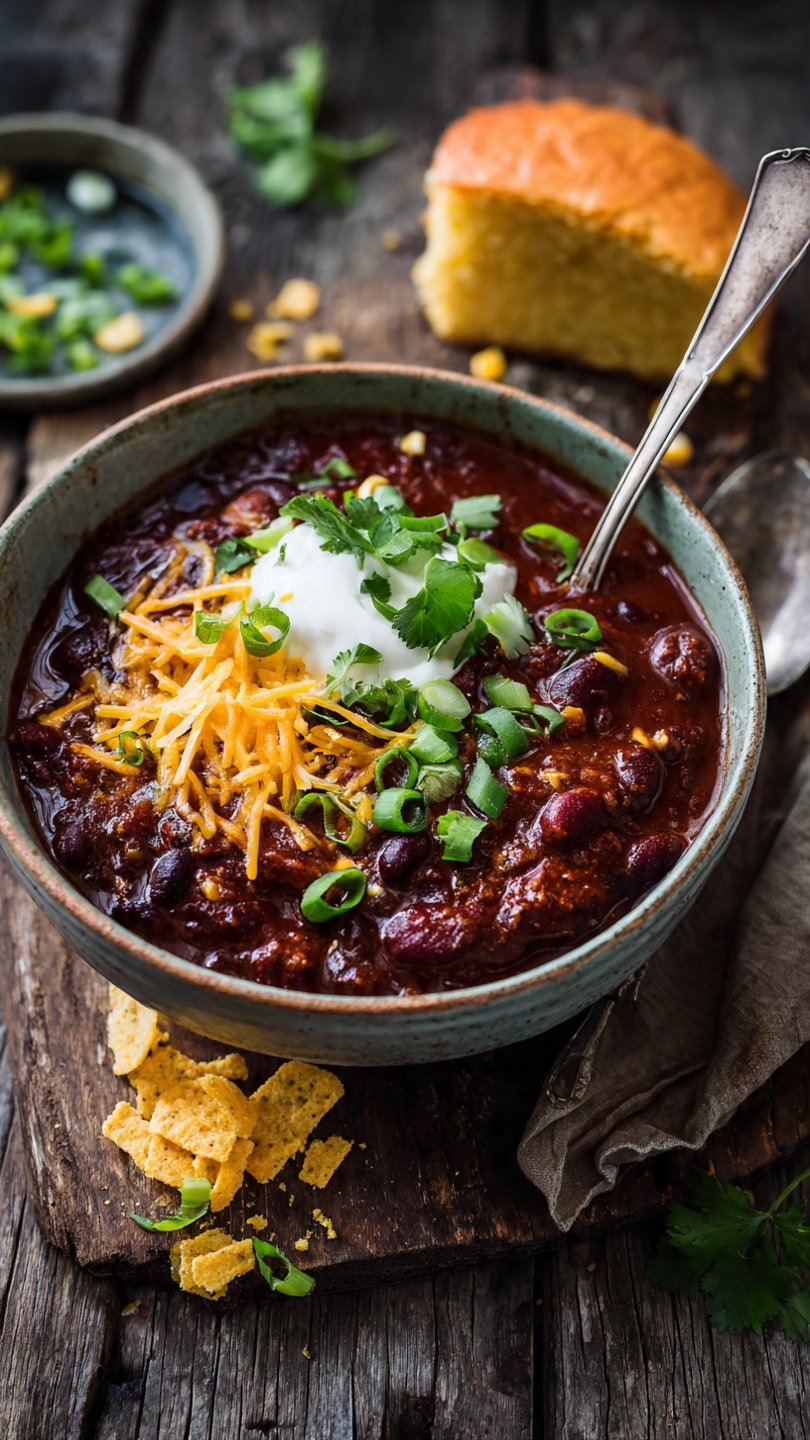
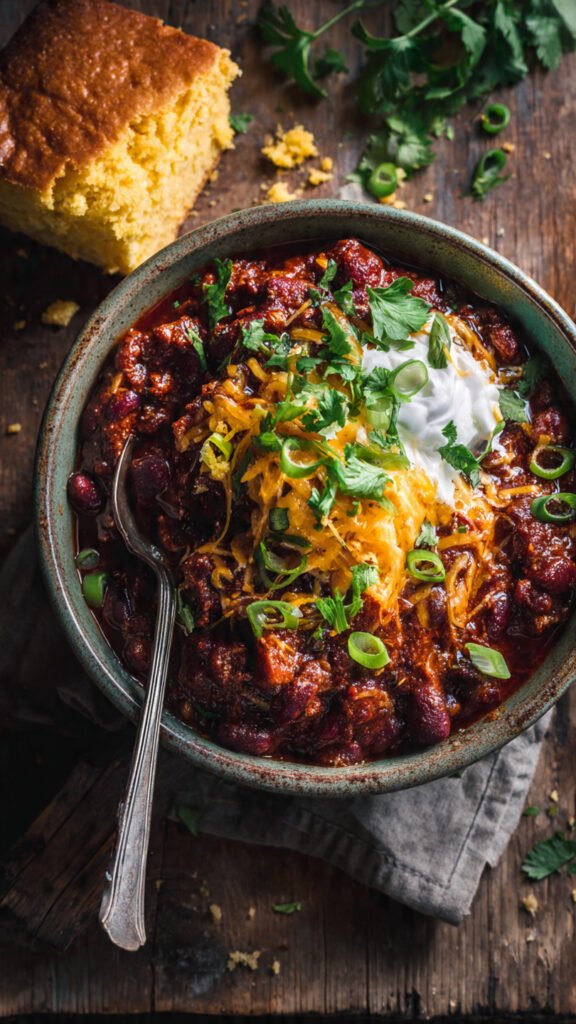
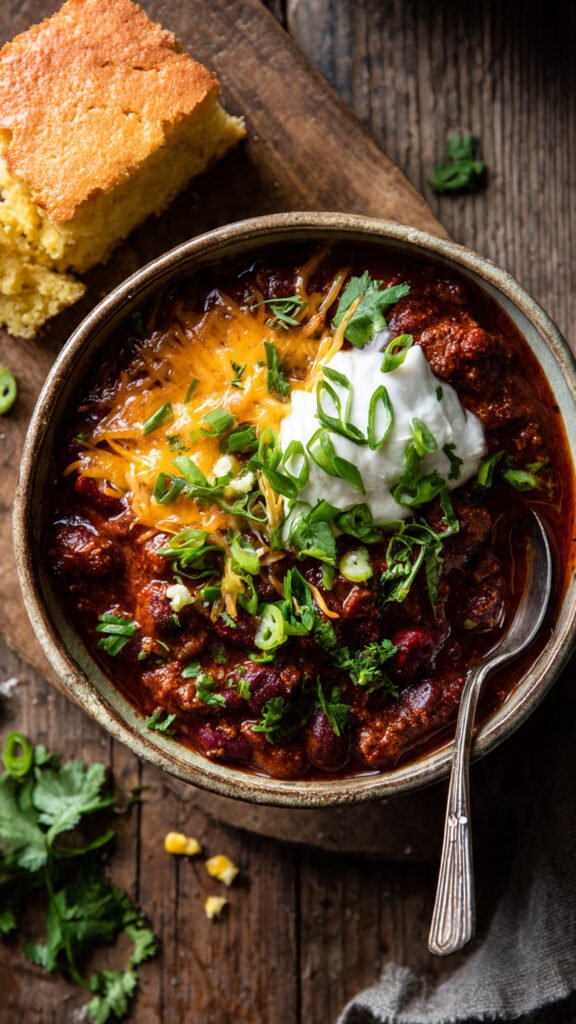
6. The Garnish Game
Ladle that gorgeous red sludge into bowls. Now, top it like you mean it. A mountain of sharp cheddar is non-negotiable in my house. A dollop of cold sour cream against the hot, spicy chili is heaven on earth. A handful of Fritos for crunch? Yes, please.
Common Mistakes to Avoid
Even though this is easy, there are a few pitfalls that can lead to mediocre chili.
- Rushing the Beef Browning: If your meat looks grey instead of brown, you rushed step one. Grey meat equals boring flavor. Let it get some crust!
- Dumping Spices into Liquid: As mentioned above, if you skip the “blooming” step where you fry the spices in the fat, your chili will taste dusty and flat. Don’t skip the bloom!
- Ignoring the Salt: Tomatoes and beans need a shocking amount of salt to wake up. If your chili tastes bland at the end, it probably just needs salt and pepper. Add a pinch, taste, and repeat until it sings.
- Using Old Spices: If that jar of cumin has been in your cabinet since the Obama administration, throw it out. Old spices have zero flavor. Buy fresh ones; it makes a massive difference.
Alternatives & Substitutions
Make it your own! This recipe is just a blueprint.
- Meat Swaps: Want to lighten it up? Use ground turkey or chicken instead of beef. Just make sure you add a tablespoon of oil when blooming the spices, as poultry is much leaner and won’t provide enough fat on its own.
- Veggie-fy It: Want to sneak some nutrition past picky eaters? Finely diced bell peppers (add them with the onions), zucchini, or even grated carrots disappear nicely into the rich sauce.
- The Bean Debate: Hate beans? Leave them out. You’ll have a meatier “Texas-style” (ish) chili. Want more fiber? Add a second can of a different type of bean.
- Heat Level: If you are feeding kids or people who think mayonnaise is spicy, leave out the cayenne entirely. You can always add hot sauce to your individual bowl later.
FAQ (Frequently Asked Questions)
Can I make this in a slow cooker? Technically, yes. You must brown the beef and onions and bloom the spices in a skillet first, though. Then dump everything into the slow cooker on low for 4–6 hours. But honestly? This recipe is so fast on the stove, the slow cooker seems like overkill.
Can I use dried beans instead of canned? Bless your heart, no. Not for a quick chili recipe. We are trying to eat tonight, not tomorrow. Dried beans need hours of soaking and simmering. Stick to the cans for this one.
My chili is too thin! How do I fix it? Keep simmering it with the lid off so the liquid evaporates. Or, if you’re really in a rush, mash some of the beans against the side of the pot with your spoon. The starch from the mashed beans will thicken the liquid instantly.
Is this chili spicy? As written, it has a gentle, warming hum, not a punch in the face. The heat comes from the cayenne. Adjust that 1/4 teaspoon up or down depending on your tolerance for pain.
How long does this last in the fridge? It will stay good for 4 to 5 days in an airtight container. As mentioned, it usually tastes even better on day two because the flavors have had a slumber party together.
Final Thoughts
See? That wasn’t so hard. You just created something deeply flavorful, comforting, and homemade in about the same amount of time it takes for a delivery driver to find your house.
This quick chilli recipe is your back-pocket savior for cold nights, busy weeknights, or whenever you just need a bowl of red, spicy goodness. Now go impress someone—or just yourself—with your culinary wizardry. Grab a spoon and dig in; you’ve earned it!