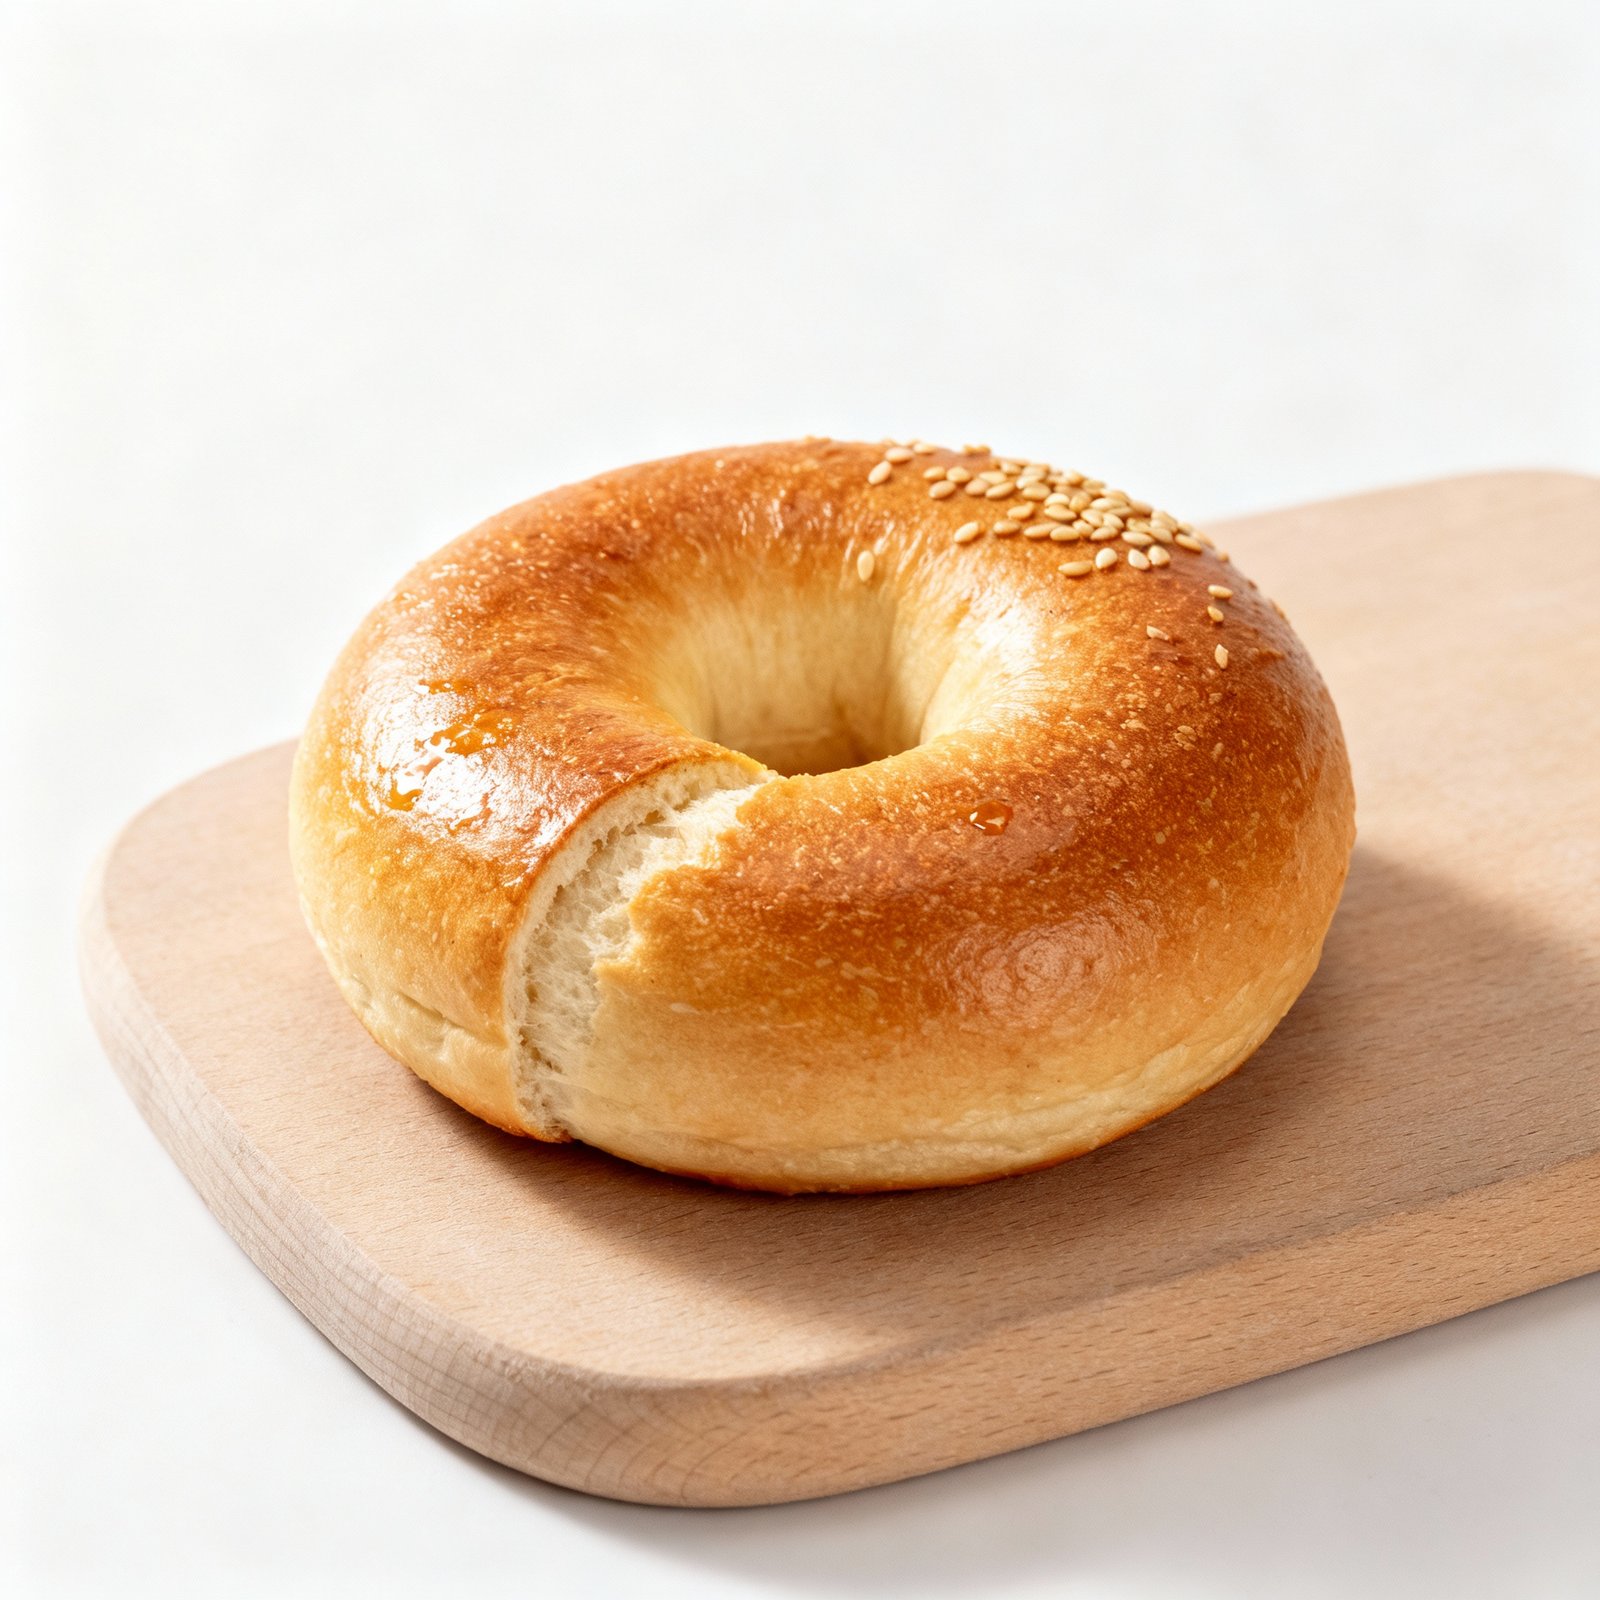
Simple Bagel Recipe: Achieve Authentic New York Taste at Home!
There’s nothing quite like a freshly baked bagel. The chewy crust, the soft interior, and that satisfying doughy aroma filling your kitchen – it’s a breakfast (or any time of day!) experience that’s hard to beat. But the thought of making bagels at home can seem intimidating. All that kneading, proofing, and boiling? Fear not! This recipe simplifies the process, making delicious, authentic-tasting bagels accessible to even the most novice baker. We’ve streamlined the steps and focused on techniques that guarantee success, so you can enjoy homemade bagels without spending all day in the kitchen. Get ready to impress your friends and family (and yourself!) with these surprisingly easy and incredibly delicious bagels.
Why This Recipe Works
This recipe isn’t just about throwing ingredients together and hoping for the best. We’ve carefully considered each step to ensure a consistently perfect bagel. Here’s why it works:
- High-Gluten Flour: Using bread flour, with its higher gluten content, is crucial for achieving that signature chewy texture. Gluten development is key to a good bagel, and bread flour provides the necessary protein for it.
- Slow, Cold Proofing: Allowing the dough to proof slowly in the refrigerator develops complex flavors and strengthens the gluten structure. This results in a more flavorful and chewier bagel.
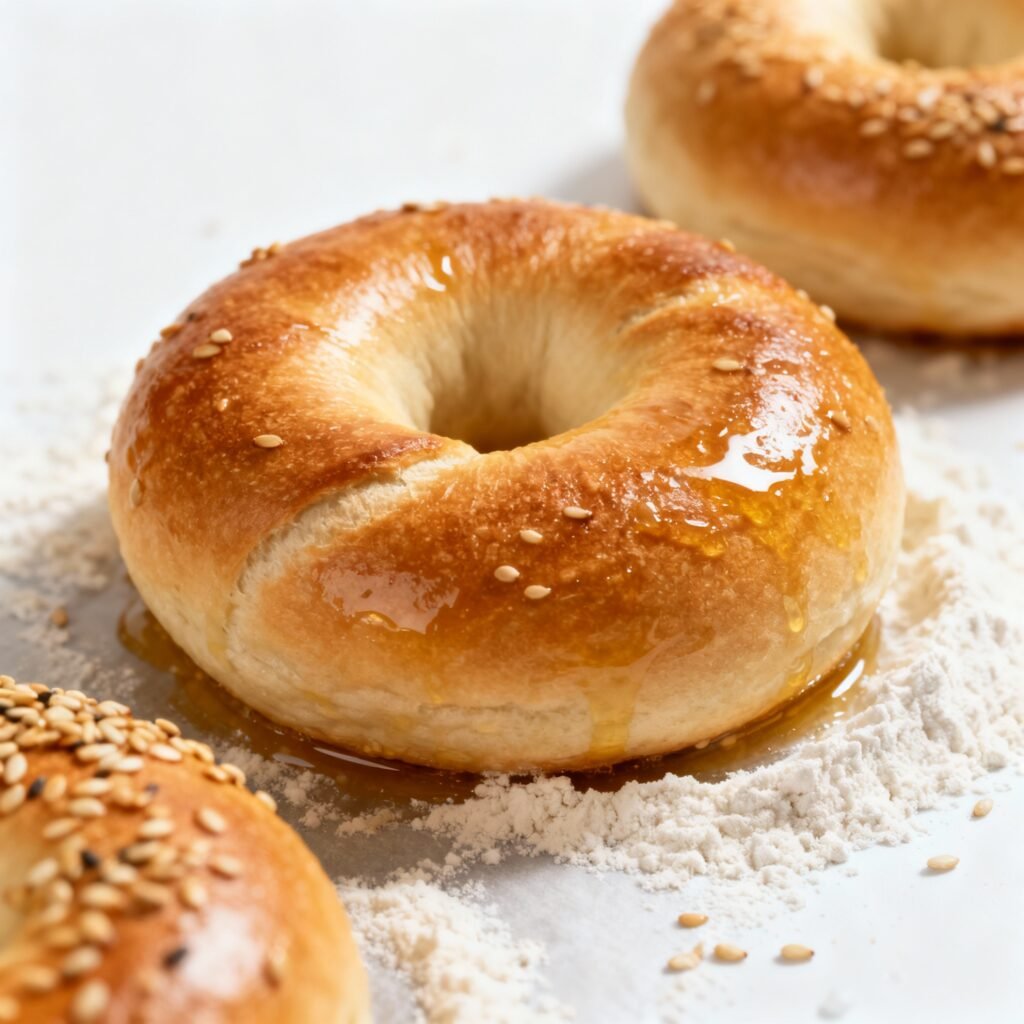
- The Honey-Water Bath: Boiling the bagels in a honey-sweetened water bath before baking is what gives them their characteristic shiny crust and slightly sweet flavor. The honey also aids in browning.
- Oven Temperature: A high oven temperature ensures a quick rise and a beautifully browned crust. The initial high heat blasts the bagels, creating that essential crust before the interior dries out.
- Simple Ingredients: We’ve kept the ingredient list short and sweet, focusing on quality over quantity. You don’t need a pantry full of exotic ingredients to make incredible bagels.
Ingredients
- 4 cups (500g) bread flour, plus more for dusting
- 1 ½ cups (355ml) warm water (about 105-115°F)
- 2 teaspoons (7g) active dry yeast
- 1 ½ teaspoons (9g) salt
- 2 tablespoons honey, plus more for the boiling water
- Optional toppings: Everything bagel seasoning, sesame seeds, poppy seeds, onion flakes, garlic flakes
Instructions
- Activate the Yeast: In a large bowl, combine the warm water and 2 teaspoons of honey. Sprinkle the active dry yeast over the water and let it sit for 5-10 minutes, until it becomes foamy. This indicates that the yeast is active and ready to use.
- Combine Dry Ingredients: Add the bread flour and salt to the bowl with the yeast mixture.
- Knead the Dough: Using a stand mixer with a dough hook attachment, knead the dough on medium speed for 8-10 minutes, until it forms a smooth and elastic ball. If kneading by hand, turn the dough out onto a lightly floured surface and knead for 10-12 minutes. The dough should be slightly sticky but not overly wet.
- First Proof: Place the dough in a lightly oiled bowl, turning to coat. Cover the bowl with plastic wrap or a clean kitchen towel and let it rise in a warm place for 1 hour, or until doubled in size.
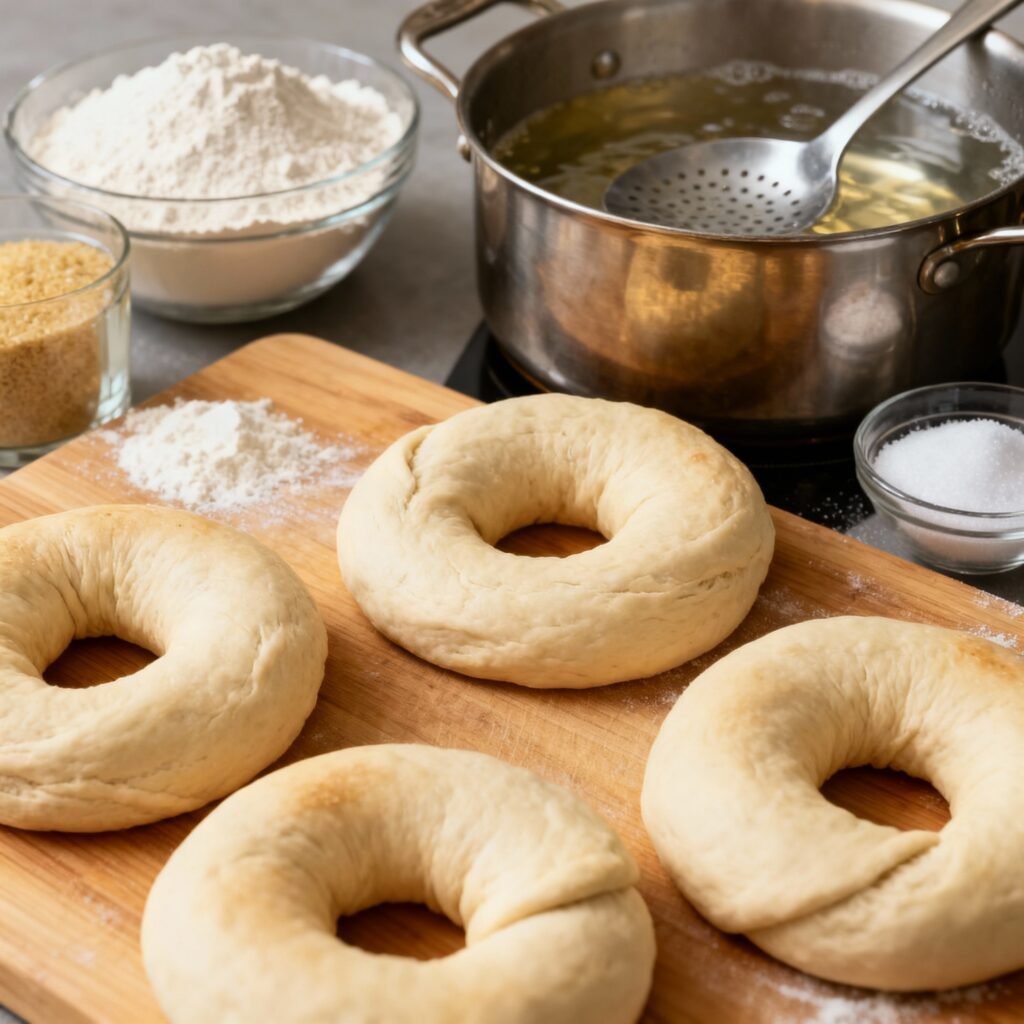
- Shape the Bagels: Punch down the dough to release the air. Divide the dough into 8 equal pieces. Roll each piece into a rope about 8 inches long. Bring the ends together to form a circle, overlapping them slightly. Pinch the ends together firmly to seal the bagel.
- Second Proof (Cold Proof): Place the shaped bagels on a baking sheet lined with parchment paper. Cover loosely with plastic wrap and refrigerate for at least 12 hours, or up to 24 hours. This slow, cold proof is crucial for developing flavor and texture.
- Preheat Oven and Prepare Boiling Water: Preheat your oven to 425°F (220°C). Bring a large pot of water to a boil. Add 2 tablespoons of honey to the boiling water.
- Boil the Bagels: Carefully drop 2-3 bagels into the boiling water at a time. Boil for 1 minute per side. Remove the bagels from the water with a slotted spoon and place them back on the prepared baking sheet.
- Add Toppings (Optional): If desired, sprinkle your favorite toppings onto the bagels while they are still wet. Everything bagel seasoning, sesame seeds, poppy seeds, onion flakes, and garlic flakes all work well.
- Bake the Bagels: Bake the bagels in the preheated oven for 20-25 minutes, or until they are golden brown.
- Cool and Enjoy: Transfer the baked bagels to a wire rack to cool completely before slicing and enjoying.
Tips for Success
- Use a Kitchen Scale: For the most accurate results, use a kitchen scale to measure your ingredients, especially the flour. This will help ensure consistency.
- Don’t Over-Knead: Over-kneading can result in tough bagels. Knead until the dough is smooth and elastic, but not overly stiff.
- Seal the Bagels Well: Make sure to pinch the ends of the dough together firmly when shaping the bagels to prevent them from opening up during boiling.
- Don’t Skip the Cold Proof: The cold proof is essential for developing flavor and texture. Don’t be tempted to skip this step!
- Adjust Baking Time: Baking times may vary depending on your oven. Keep an eye on the bagels and adjust the baking time as needed to achieve a golden-brown color.
- Experiment with Toppings: Get creative with your toppings! Try different combinations of seeds, spices, and herbs to create your own signature bagel.
Storage Instructions
These bagels are best enjoyed fresh, but they can be stored for later enjoyment. Here’s how:
- Room Temperature: Store bagels in an airtight container at room temperature for up to 2 days.
- Freezer: For longer storage, slice the bagels and store them in a freezer-safe bag or container for up to 2 months. To thaw, simply pop them in the toaster or oven.
FAQ
Q: Can I use all-purpose flour instead of bread flour?
A: While you can use all-purpose flour, the bagels will not be as chewy. Bread flour is highly recommended for the best results.
Q: Can I use instant yeast instead of active dry yeast?
A: Yes, you can substitute instant yeast for active dry yeast. You can add it directly to the flour without proofing it first. Use the same amount (2 teaspoons).
Q: Why do I need to boil the bagels?
A: Boiling the bagels before baking is what gives them their characteristic shiny crust and chewy texture. The hot water gelatinizes the starches on the surface of the dough, creating a barrier that prevents the bagels from rising too much in the oven.
Q: My bagels are flat. What did I do wrong?
A: Several factors can contribute to flat bagels. Make sure your yeast is active, you’re using bread flour, and you’re not over-proofing the dough. Also, be sure to boil the bagels for the correct amount of time.
Q: Can I add flavorings to the dough?
A: Absolutely! You can add flavorings like cinnamon, raisins, or even dried herbs to the dough for a unique twist.
Conclusion
Making bagels at home may seem like a daunting task, but with this simplified recipe, you can easily achieve delicious, authentic-tasting bagels in your own kitchen. From the chewy texture to the shiny crust and the endless topping possibilities, these homemade bagels are sure to become a family favorite. So, gather your ingredients, follow the steps, and get ready to enjoy the satisfying experience of baking your own bagels. Happy baking!