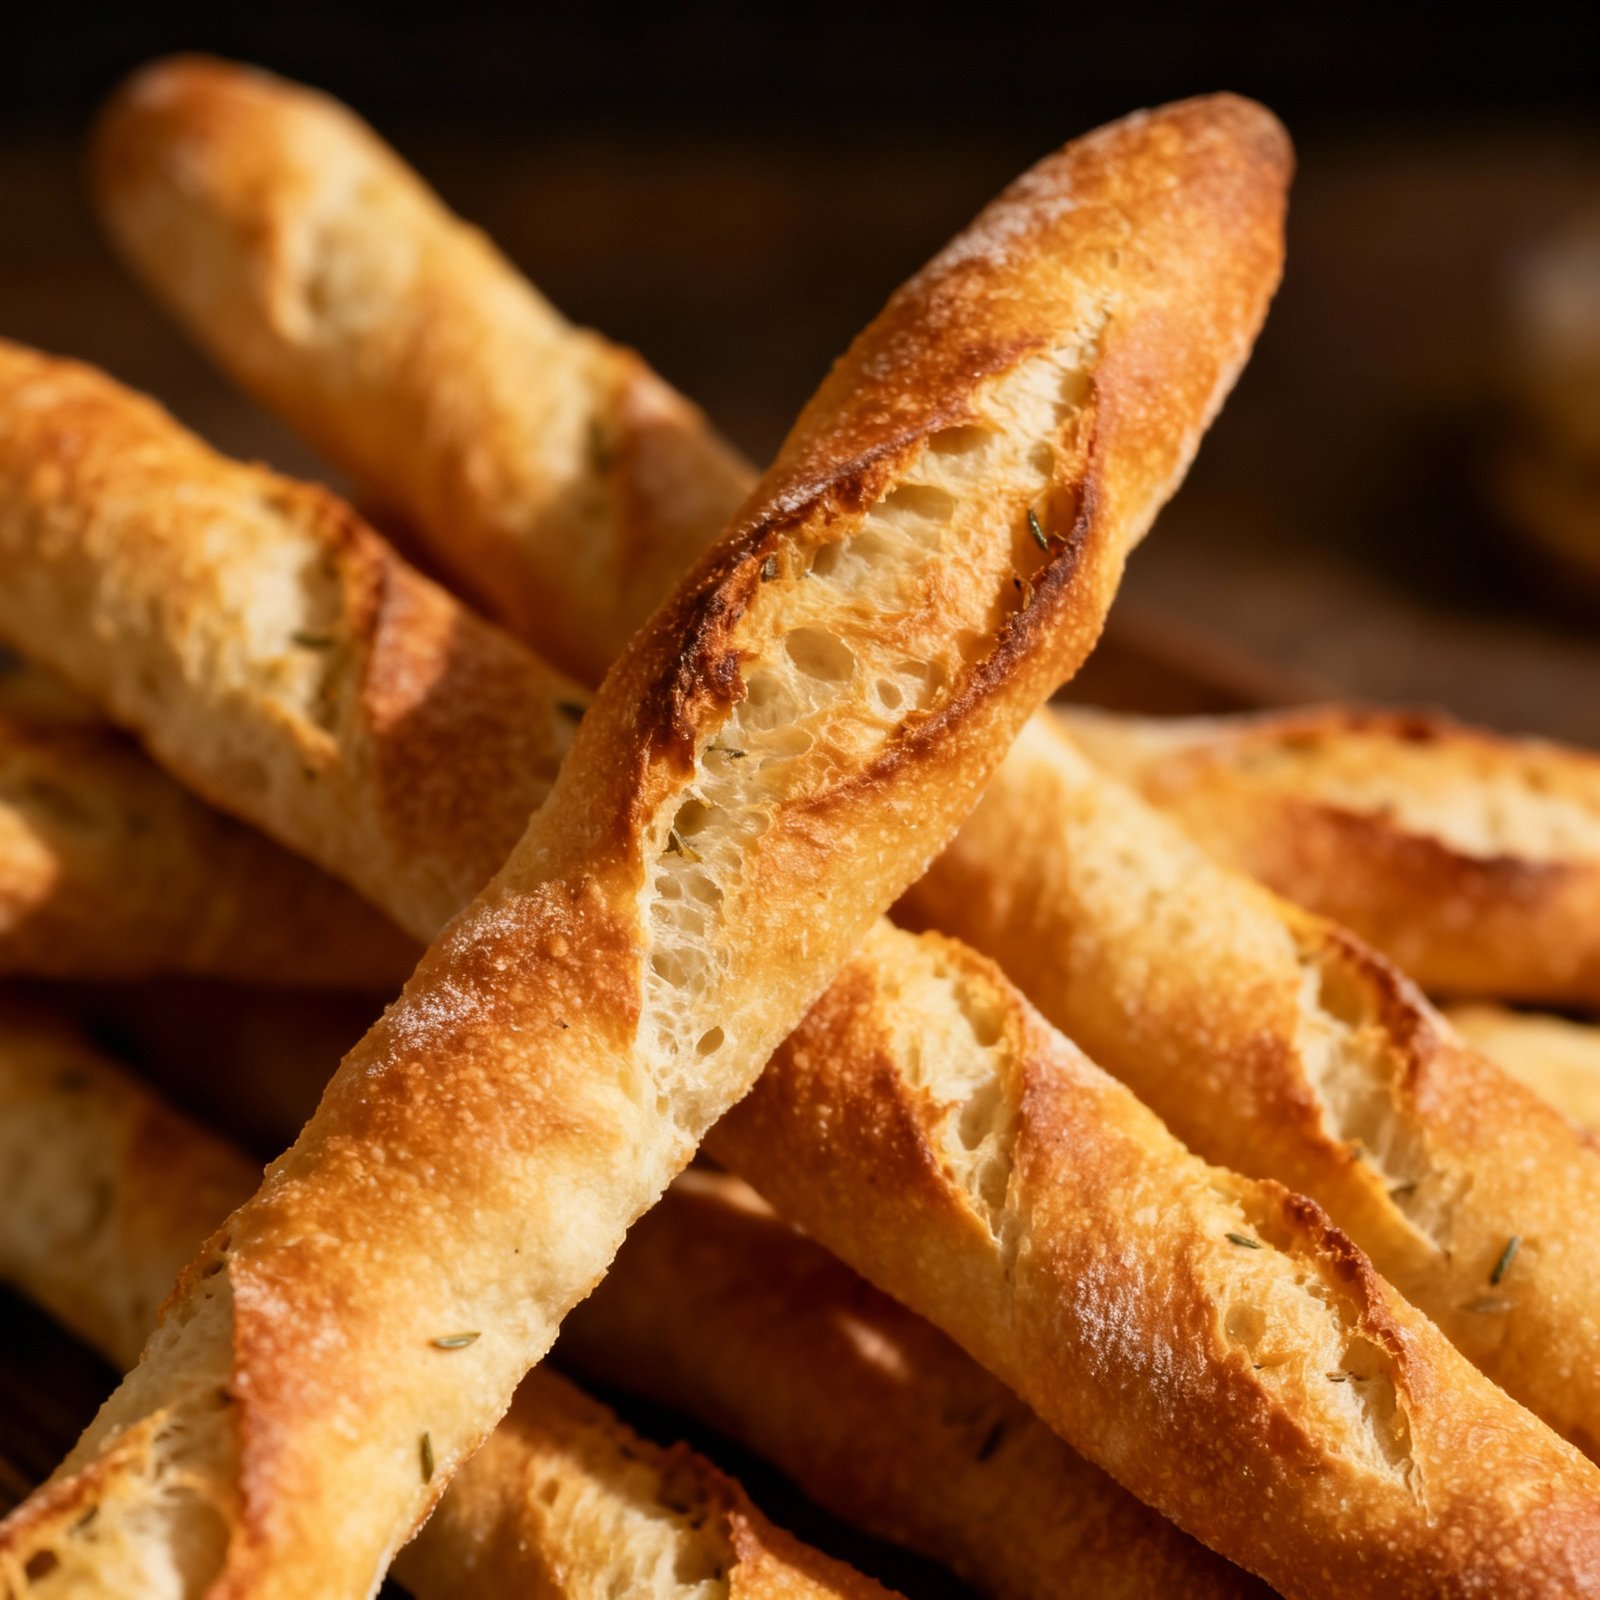
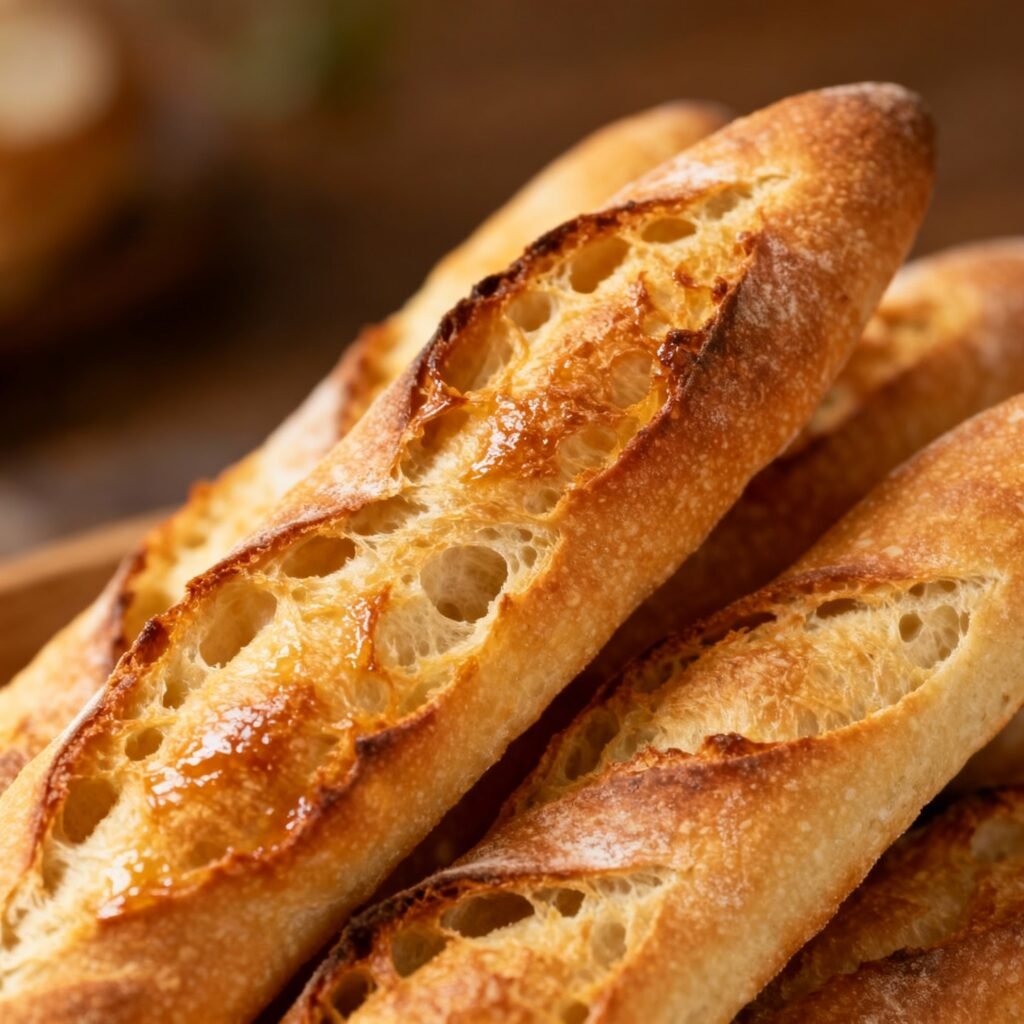
Sourdough Breadsticks Recipe: Crispy, Tangy Perfection!
There’s something incredibly satisfying about the simple pleasure of a crispy, savory breadstick. Now, imagine that classic treat elevated with the complex, tangy flavor of sourdough. These sourdough breadsticks are not only delicious but also surprisingly easy to make, even if you’re new to sourdough baking. They’re the perfect accompaniment to soups, salads, dips, or simply enjoyed on their own as a delightful snack. Get ready to impress your friends and family with these homemade, flavor-packed breadsticks!
Why This Recipe Works
This recipe strikes the perfect balance between simplicity and flavor. Here’s why it’s a winner:
- Sourdough Tang: The sourdough starter lends a unique, tangy flavor that store-bought breadsticks simply can’t match. The fermentation process also contributes to a more digestible and flavorful final product.
- Crispy Texture: We achieve the ideal crispy exterior by baking at a high temperature and utilizing a thin coating of olive oil.
- Versatile Flavor: The recipe is a blank canvas for your favorite seasonings. From garlic and herbs to parmesan cheese and everything bagel seasoning, the possibilities are endless.
- Easy to Customize: You can easily adjust the thickness and length of the breadsticks to suit your preferences. Want thinner, more delicate breadsticks? Simply roll the dough thinner. Prefer longer ones? Just adjust the length before baking.
- Minimal Kneading: This recipe uses a relatively short kneading time, making it accessible even for those who don’t have a lot of time or experience with bread making. The sourdough starter does most of the work!
Ingredients
- 150g Active Sourdough Starter (100% hydration): Your starter should be bubbly and doubled in size after feeding. A well-fed starter is crucial for achieving the desired rise and tangy flavor.
- 300g Bread Flour: Bread flour has a higher protein content than all-purpose flour, which helps develop gluten and creates a chewier, more structured breadstick.
- 180g Warm Water (85-95°F): Warm water activates the yeast in the sourdough starter and helps create a smooth dough.
- 8g Salt: Salt controls the yeast activity and enhances the flavor of the breadsticks.
- 2 Tablespoons Olive Oil: Used for coating the baking sheet and brushing the breadsticks before baking. Olive oil contributes to a crispy texture and adds flavor.
- Optional Toppings: Garlic powder, dried herbs (rosemary, thyme, oregano), grated Parmesan cheese, everything bagel seasoning, sesame seeds, poppy seeds, coarse sea salt.
Instructions
- Combine Ingredients: In a large bowl, combine the active sourdough starter, bread flour, warm water, and salt.
- Mix and Knead: Mix the ingredients until a shaggy dough forms. Turn the dough out onto a lightly floured surface and knead for 5-7 minutes, until the dough is smooth and elastic. The dough will be slightly sticky, but it should hold its shape.
- Bulk Fermentation (First Rise): Place the dough in a lightly oiled bowl, turning to coat. Cover the bowl with plastic wrap or a damp towel and let it rise at room temperature for 4-6 hours, or until doubled in size. The exact time will depend on the temperature of your kitchen and the activity of your starter. You can also perform this step in the refrigerator for a longer, slower fermentation (12-24 hours).
- Divide and Shape: Gently deflate the dough and turn it out onto a lightly floured surface. Divide the dough into 12-16 equal pieces. Roll each piece into a long, thin rope, about 8-10 inches long and ½ inch thick.
- Arrange on Baking Sheet: Lightly grease a baking sheet with olive oil. Place the breadsticks on the prepared baking sheet, leaving a little space between each one.
- Second Rise (Proofing): Cover the breadsticks loosely with plastic wrap or a damp towel and let them proof for 30-45 minutes, or until they have puffed up slightly.
- Preheat Oven: Preheat your oven to 450°F (232°C).
- Prepare for Baking: Brush the breadsticks with olive oil and sprinkle with your desired toppings.
- Bake: Bake for 12-15 minutes, or until the breadsticks are golden brown and crispy. Rotate the baking sheet halfway through baking to ensure even browning.
- Cool: Remove the breadsticks from the oven and let them cool on a wire rack before serving.
Tips for Success
- Use an Active Starter: A healthy, active sourdough starter is the key to achieving a good rise and tangy flavor. Make sure your starter is bubbly and doubled in size after feeding before using it in the recipe.
- Don’t Over-Knead: Over-kneading can result in tough breadsticks. Knead just until the dough is smooth and elastic.
- Adjust Bulk Fermentation Time: The bulk fermentation time will vary depending on the temperature of your kitchen and the activity of your starter. Keep an eye on the dough and let it rise until it has doubled in size.
- Roll Evenly: Try to roll the breadsticks to a uniform thickness to ensure they bake evenly.
- Don’t Overcrowd the Baking Sheet: Leave enough space between the breadsticks on the baking sheet to allow for proper air circulation and even browning.
- Monitor Baking Time: Baking times may vary depending on your oven. Keep an eye on the breadsticks and adjust the baking time as needed.
- Experiment with Toppings: Don’t be afraid to get creative with your toppings! Try different combinations of herbs, spices, and cheeses to create your own signature sourdough breadsticks.
- Use a Pizza Stone (Optional): For an even crispier crust, bake the breadsticks on a preheated pizza stone.
Storage Instructions
Store leftover sourdough breadsticks in an airtight container at room temperature for up to 3 days. They are best enjoyed fresh, but you can refresh them by briefly warming them in a preheated oven or toaster oven. For longer storage, you can freeze the breadsticks in a freezer-safe bag for up to 2 months. Thaw them completely before reheating.

FAQ
Q: Can I use all-purpose flour instead of bread flour?
A: While bread flour is recommended for its higher protein content, you can use all-purpose flour in a pinch. The texture of the breadsticks may be slightly less chewy.
Q: My sourdough starter isn’t very active. Can I still use it?
A: For best results, use an active starter. If your starter is sluggish, try feeding it more frequently and keeping it in a warmer environment to encourage activity. You may also need to extend the bulk fermentation time.
Q: Can I add more flavor to the dough itself?
A: Absolutely! You can add grated cheese, herbs, or spices directly to the dough when you combine the ingredients. About a tablespoon of dried herbs or a quarter cup of grated cheese should be sufficient.
Q: Can I make these without a stand mixer?
A: Yes, you can absolutely make these by hand! The kneading process will just take a little longer, but the results will be just as delicious.
Q: My breadsticks are browning too quickly. What should I do?
A: If your breadsticks are browning too quickly, reduce the oven temperature by 25°F (14°C) and continue baking until they are cooked through.
Conclusion
These sourdough breadsticks are a delightful and rewarding baking project that brings the tangy, complex flavor of sourdough to a classic snack. With their crispy texture and customizable toppings, they’re sure to be a hit with everyone. So, fire up your oven, gather your ingredients, and get ready to enjoy the irresistible taste of homemade sourdough breadsticks! They are the perfect addition to any meal or gathering, and a testament to the magic of sourdough baking.