Star Bread Recipe: A Showstopping Centerpiece That’s Easier Than You Think!
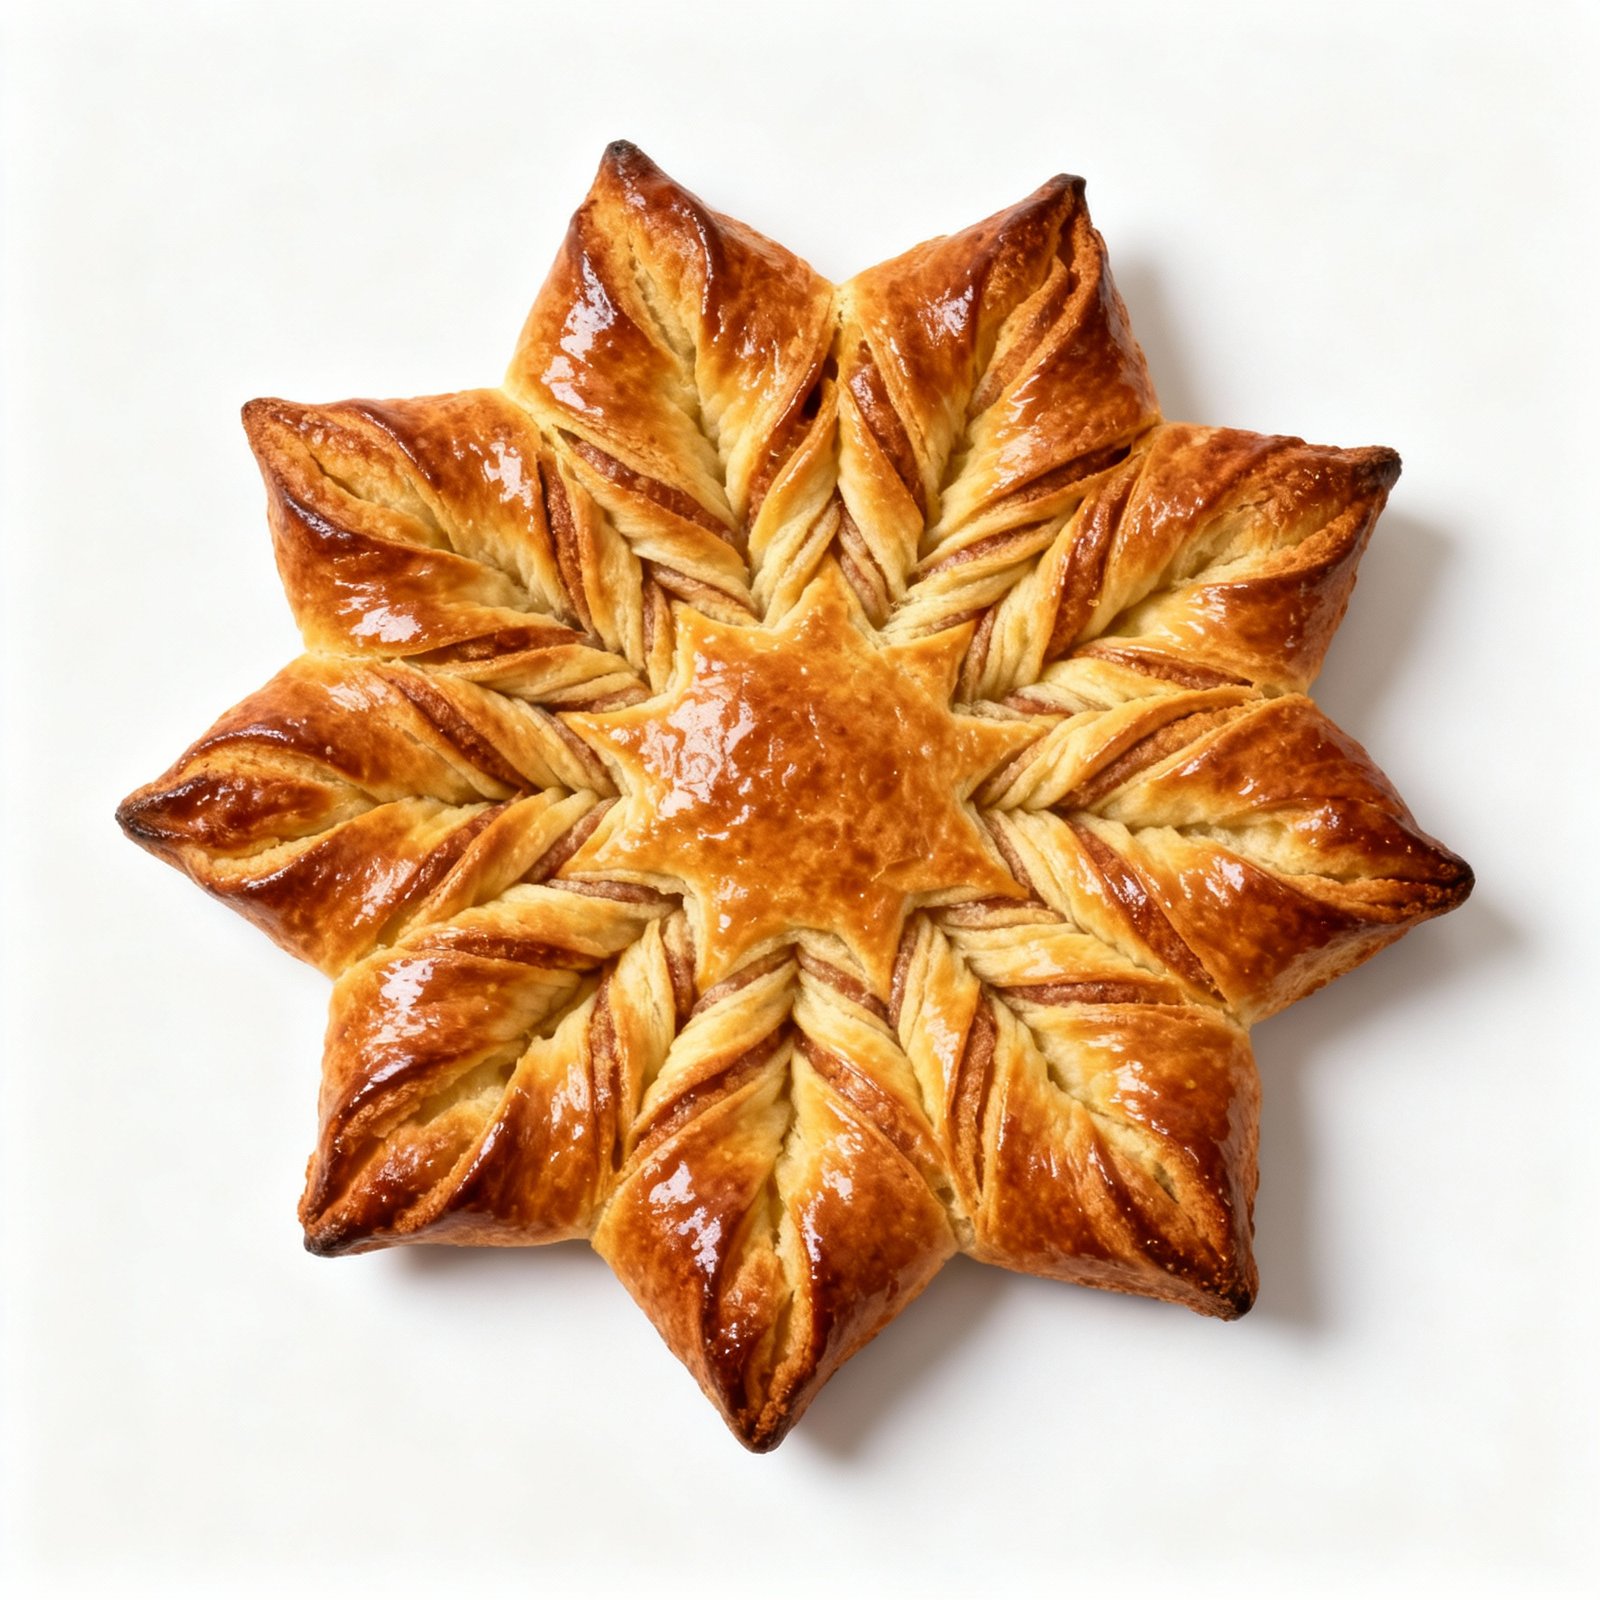
Imagine presenting a beautifully swirled, golden-brown star bread to your family or guests. The aroma of freshly baked bread fills the air, and the intricate design elicits gasps of admiration. Sounds intimidating, right? Wrong! This star bread recipe is surprisingly simple, even for beginner bakers. We’ll guide you through each step, ensuring you create a stunning and delicious loaf that will be the star of any table. Forget complicated techniques; this recipe focuses on clear instructions and readily available ingredients, making it a fun and rewarding baking experience.
Why This Recipe Works
This recipe is designed for success from the start. We’ve carefully balanced the ingredients to create a dough that’s easy to work with and yields a soft, flavorful bread. Here’s what makes it special:
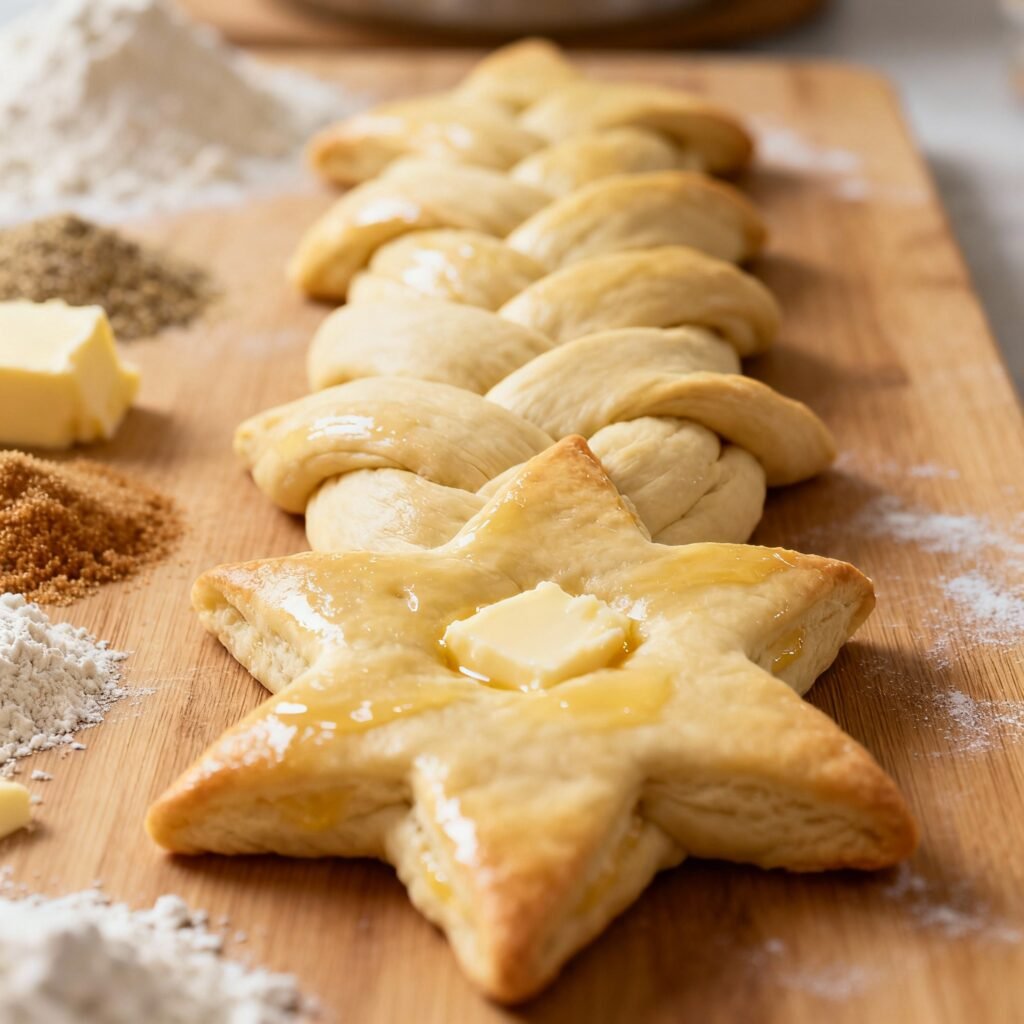
- Simple Dough: We use a straightforward enriched dough recipe, meaning it’s enriched with butter and milk for a tender crumb and rich flavor. No fancy techniques required!
- Clear Instructions: Each step is explained in detail, with helpful tips along the way. We break down the process into manageable chunks, so you never feel overwhelmed.
- Visual Appeal: The star shape is achieved through a simple stacking and twisting technique, making it visually impressive without being overly complicated.
- Versatile Filling: While we provide a delicious cinnamon-sugar filling, the possibilities are endless! You can easily adapt this recipe to suit your taste preferences.
- Reliable Results: We’ve tested this recipe extensively to ensure consistent results, so you can bake with confidence.
Ingredients
- For the Dough:
- 3 1/4 cups (400g) all-purpose flour, plus more for dusting
- 1/4 cup (50g) granulated sugar
- 1 teaspoon salt
- 1 packet (2 1/4 teaspoons) active dry yeast
- 1/2 cup (120ml) lukewarm milk (about 110°F/43°C)
- 1/4 cup (60ml) lukewarm water (about 110°F/43°C)
- 1 large egg, lightly beaten
- 1/4 cup (57g) unsalted butter, softened
- For the Filling:
- 1/2 cup (1 stick, 113g) unsalted butter, melted
- 1/2 cup (100g) granulated sugar
- 2 tablespoons ground cinnamon
- For the Egg Wash (Optional):
- 1 large egg, lightly beaten
- 1 tablespoon milk
Instructions
- Prepare the Dough: In a large bowl, whisk together the flour, sugar, and salt. In a separate small bowl, dissolve the yeast in the lukewarm milk and water. Let stand for 5-10 minutes, or until foamy.
- Combine Wet and Dry Ingredients: Pour the yeast mixture into the dry ingredients, along with the beaten egg and softened butter. Mix with a wooden spoon or spatula until a shaggy dough forms.
- Knead the Dough: Turn the dough out onto a lightly floured surface and knead for 8-10 minutes, or until smooth and elastic. Alternatively, use a stand mixer fitted with a dough hook and knead on medium speed for 6-8 minutes.
- First Rise: Place the dough in a lightly oiled bowl, turning to coat. Cover with plastic wrap or a clean kitchen towel and let rise in a warm place for 1-1.5 hours, or until doubled in size.
- Prepare the Filling: While the dough is rising, prepare the filling by combining the melted butter, sugar, and cinnamon in a small bowl.
- Divide the Dough: Once the dough has doubled, gently punch it down to release the air. Turn it out onto a lightly floured surface and divide it into four equal pieces.
- Roll Out the Dough: Roll out one piece of dough into a 10-12 inch circle. Place it on a parchment-lined baking sheet.
- Spread the Filling: Spread half of the cinnamon-sugar filling evenly over the dough circle.
- Repeat Layers: Roll out another piece of dough into a 10-12 inch circle and place it on top of the filling. Spread the remaining cinnamon-sugar filling over the second layer. Repeat with a third layer of dough.
- Top Layer: Roll out the final piece of dough into a 10-12 inch circle and place it on top of the third layer. Do not spread any filling on this top layer.
- Center Cut: Place a small glass or cookie cutter (about 2-3 inches in diameter) in the center of the dough stack. Using a sharp knife or pizza cutter, make 16 evenly spaced cuts from the edge of the glass to the edge of the dough. You should have 16 strips radiating from the center.
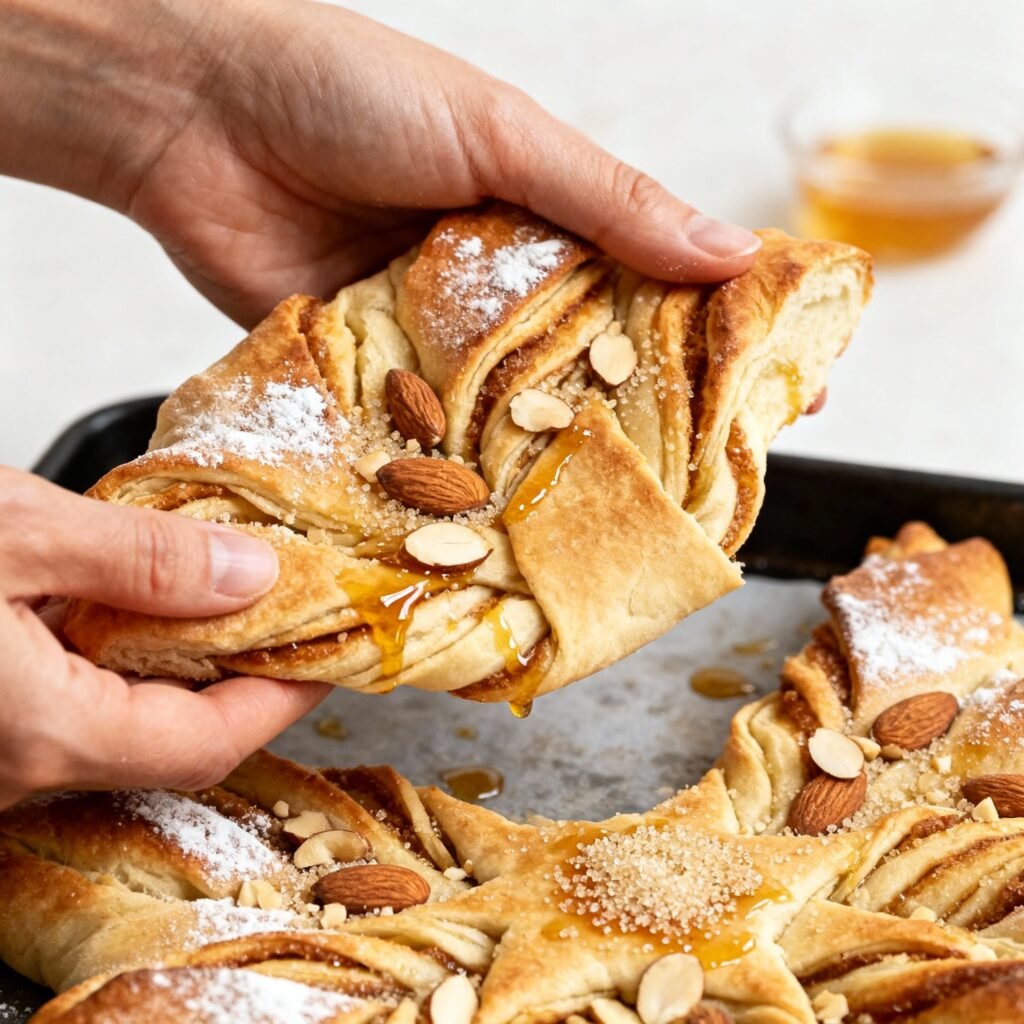
- Twist the Strips: Take two adjacent strips and twist them away from each other twice. Pinch the ends together to seal. Repeat with the remaining strips. You should have 8 pairs of twisted strips.
- Second Rise: Cover the star bread with plastic wrap or a clean kitchen towel and let rise for 30-45 minutes.
- Preheat Oven: Preheat your oven to 350°F (175°C).
- Egg Wash (Optional): Brush the star bread with the egg wash for a golden-brown finish.
- Bake: Bake for 20-25 minutes, or until golden brown.
- Cool: Let the star bread cool on the baking sheet for a few minutes before transferring it to a wire rack to cool completely.
Tips for Success
- Use Lukewarm Liquids: The milk and water should be lukewarm, not hot. Hot liquids can kill the yeast.
- Don’t Overknead: Overkneading can result in a tough bread. Knead until the dough is smooth and elastic.
- Warm Place for Rising: A warm place helps the dough rise properly. You can place it in a slightly warmed oven (turned off) or near a sunny window.
- Evenly Spaced Cuts: Making evenly spaced cuts is important for creating a symmetrical star shape.
- Don’t Overbake: Overbaking can make the bread dry. Keep a close eye on it and remove it from the oven when it’s golden brown.
- Filling Variations: Get creative with your fillings! Try Nutella, jam, pesto, or even savory fillings like cheese and herbs.
- Proofing Yeast: Proofing your yeast ensures it’s active. If it doesn’t foam after 5-10 minutes, your yeast may be old and need replacing.
Storage Instructions
Store leftover star bread in an airtight container at room temperature for up to 2 days. For longer storage, wrap it tightly in plastic wrap and freeze for up to 2 months. Thaw completely at room temperature before serving.
FAQ
- Can I use bread flour instead of all-purpose flour? Yes, you can use bread flour. It will result in a slightly chewier bread.
- Can I make this recipe without a stand mixer? Absolutely! You can knead the dough by hand. It will take a little more effort, but the results will be just as delicious.
- Can I make this recipe ahead of time? Yes, you can prepare the dough ahead of time and let it rise in the refrigerator overnight. Just bring it to room temperature before rolling it out and shaping the star.
- My dough is too sticky. What should I do? Add a tablespoon of flour at a time until the dough is no longer sticky.
- My bread is not rising. What could be the problem? Make sure your yeast is fresh and that the liquids are lukewarm, not hot. Also, ensure the rising environment is warm enough.
- Can I use a different filling? Yes! Feel free to experiment with different fillings, such as chocolate spread, fruit preserves, or even savory options like pesto or cheese.
Conclusion
This star bread recipe is a fantastic way to impress your friends and family with a beautiful and delicious homemade treat. With its stunning presentation and easy-to-follow instructions, it’s a baking project that’s both rewarding and achievable. So, gather your ingredients, put on your apron, and get ready to create a showstopping centerpiece that will leave everyone wanting more. Happy baking!