Summer Beer Recipe: Brew Your Own Sunshine!
👩🍳 The Busy Home Cook's Arsenal
Consistently cooking incredible meals for your family doesn't mean spending three hours in the kitchen every night. These are the 5 absolute life-saving appliances and culinary tools that dramatically cut down prep time while guaranteeing restaurant-quality results.
🌪️ Ninja 4-Quart Air Fryer
The machine that completely changed weeknight dinners. It preheats in seconds and cooks frozen vegetables, chicken wings, and battered fish to an incredibly crispy, deep-fried texture using 75% less oil and taking half the time of a traditional oven.
⏱️ Instant Pot Duo 7-in-1 Pressure Cooker
Forget slow cookers that take 8 hours. This legendary appliance aggressively pressure cooks tough cuts of meat into melt-in-your-mouth tender roasts, stews, and perfectly fluffy rice in under 45 minutes, saving you when you forget to defrost dinner.
🔪 Victorinox Fibrox Pro 8" Chef's Knife
A dull knife is dangerous and makes chopping vegetables a miserable chore. This exact blade reigns supreme in professional kitchens because it holds a terrifyingly sharp edge, features a non-slip grip, and costs significantly less than heavy German steel.
🌡️ ThermoPro Instant Read Thermometer
The secret difference between dry, rubbery chicken and juicy perfection. Stop nervously slicing your proteins open to check if they're done—this waterproof digital pen gives you a highly accurate temperature reading in less than three seconds.
🥤 Vitamix 5200 Professional-Grade Blender
Whether you are making silky-smooth breakfast smoothies, pureed soups from scratch, or blending absolutely lump-free sauces, this famously indestructible motor pulverizes anything you throw at it. It literally heats soup from the friction of the blades alone.
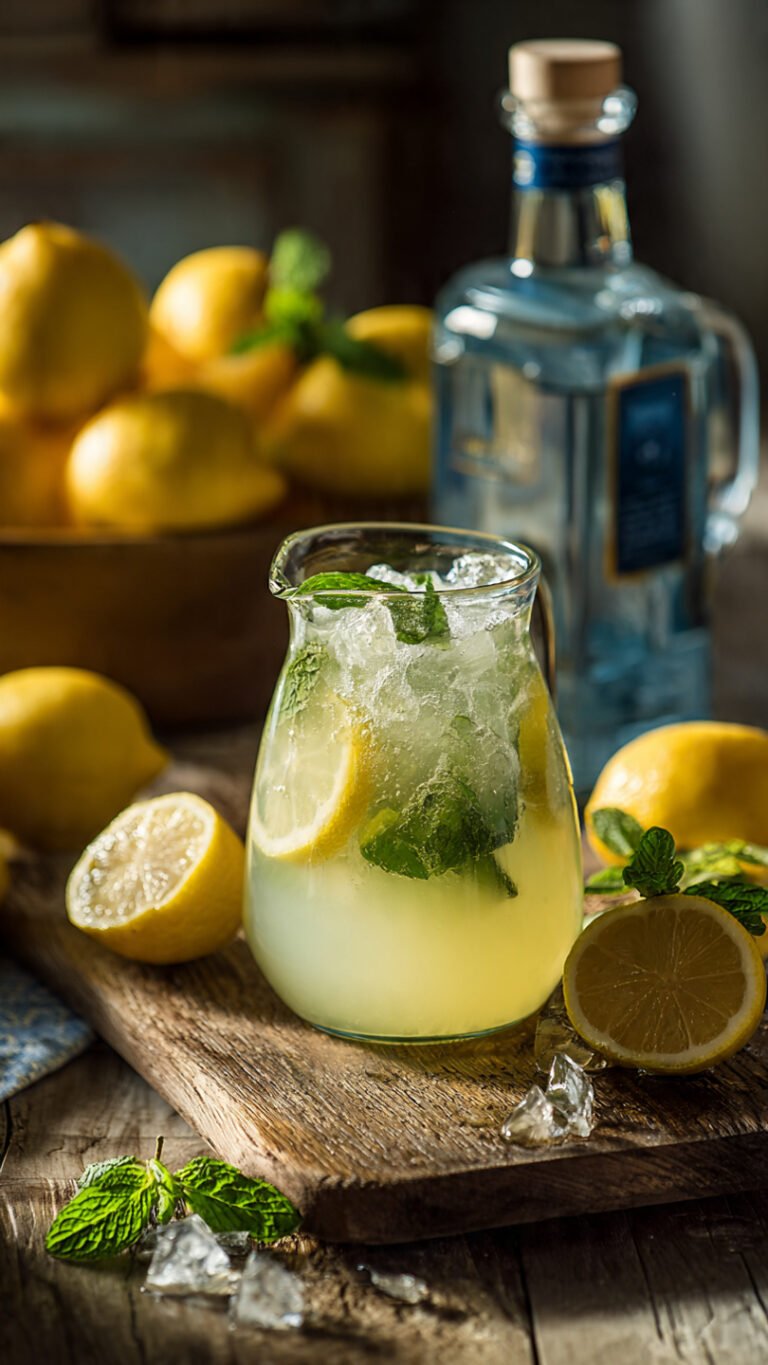
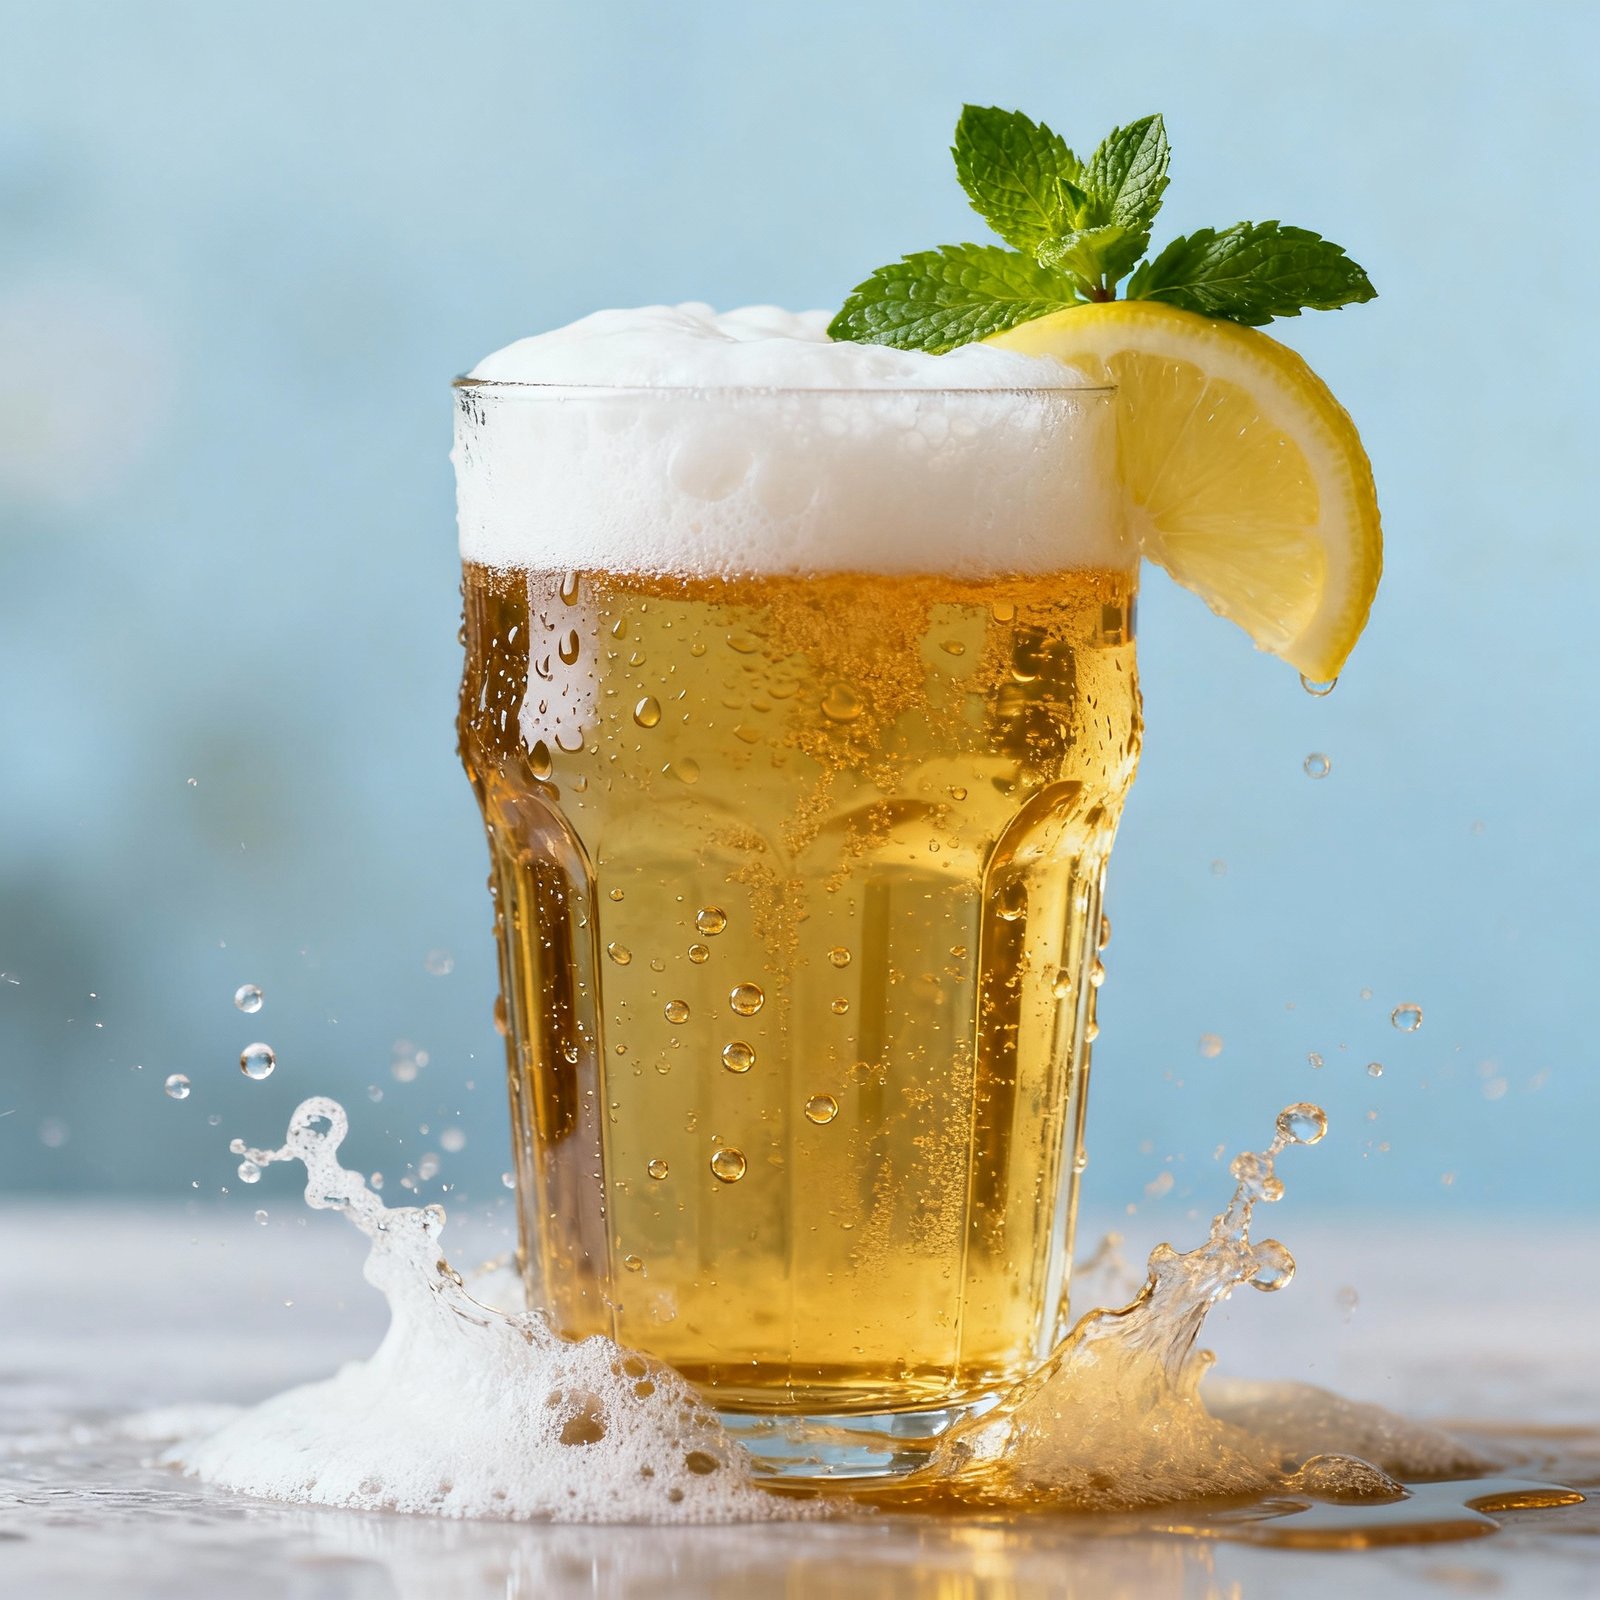
Summer is synonymous with sunshine, barbecues, and, of course, refreshing beer. But what if you could elevate your summer experience with a home-brewed beer tailored perfectly to the season? This recipe delivers a crisp, light, and incredibly drinkable beer that will be the star of your summer gatherings. Forget the mass-produced lagers; this is about crafting something special, something you can be proud of, and something that will have your friends begging for more. Get ready to dive into the world of homebrewing and create your own liquid sunshine!
Why This Recipe Works
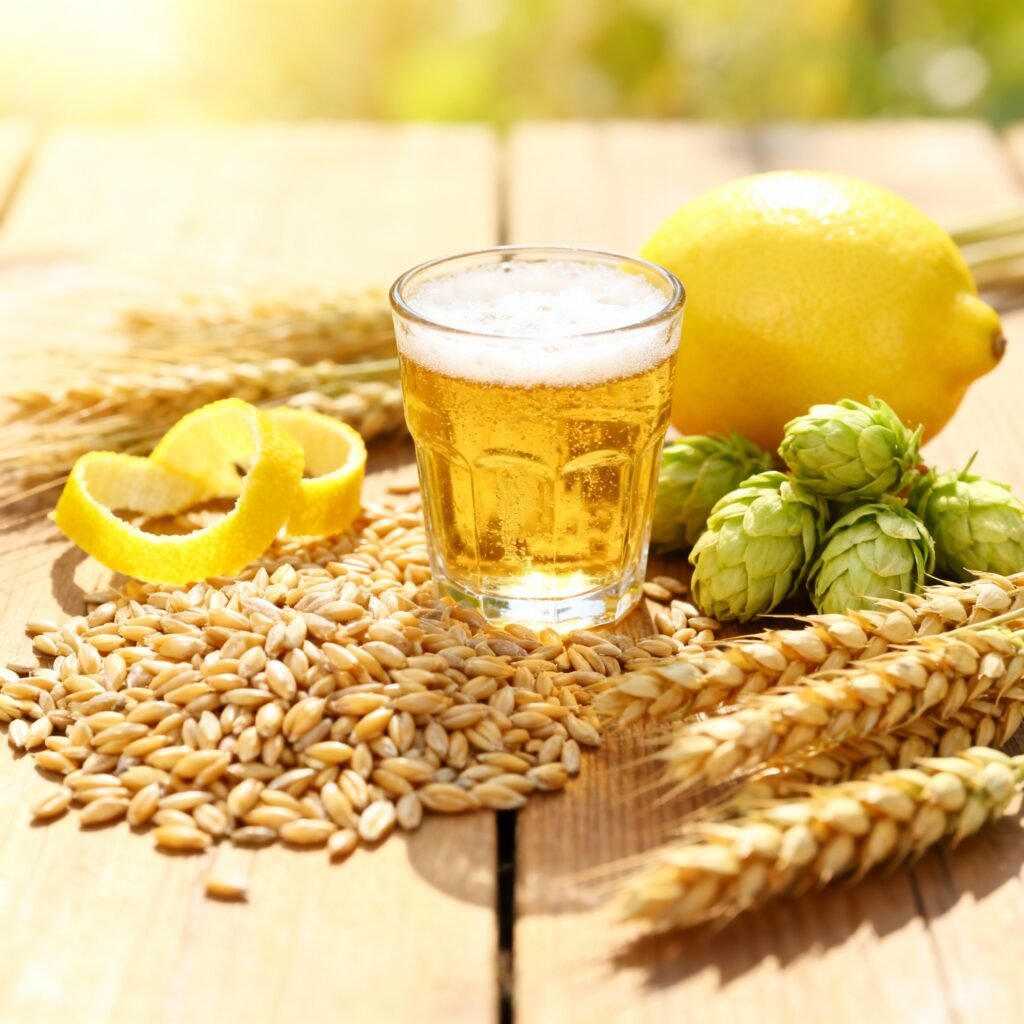
This recipe is designed for simplicity and maximum refreshment. We’re focusing on a light-bodied beer with subtle hop aromas and a clean finish. The use of pale malt provides a neutral base, while the addition of wheat contributes to a slightly creamy mouthfeel and enhanced head retention. The judicious use of noble hops adds a touch of floral aroma without overpowering the beer’s drinkability. Fermenting at a cooler temperature with a clean-fermenting yeast strain ensures a crisp and refreshing final product. This recipe is also relatively forgiving for beginner brewers, making it a great starting point for your homebrewing journey.
Ingredients
- Malt:
- 6 lbs Pale Malt (2-Row)
- 1 lb Wheat Malt
- Hops:
- 0.5 oz Hallertau Mittelfrüh (60 min boil)
- 0.25 oz Hallertau Mittelfrüh (15 min boil)
- Yeast:
- Wyeast 1056 – American Ale™ or White Labs WLP001 – California Ale Yeast® (or a similar clean-fermenting ale yeast)
- Other:
- ¾ cup Corn Sugar (for priming)
- 5 gallons of filtered water
Instructions
- Mash: Heat 2.5 gallons of water to 162°F. Mash in the grains and hold at 152°F for 60 minutes. This process converts the starches in the grains into fermentable sugars. Monitor the temperature closely and adjust as needed.
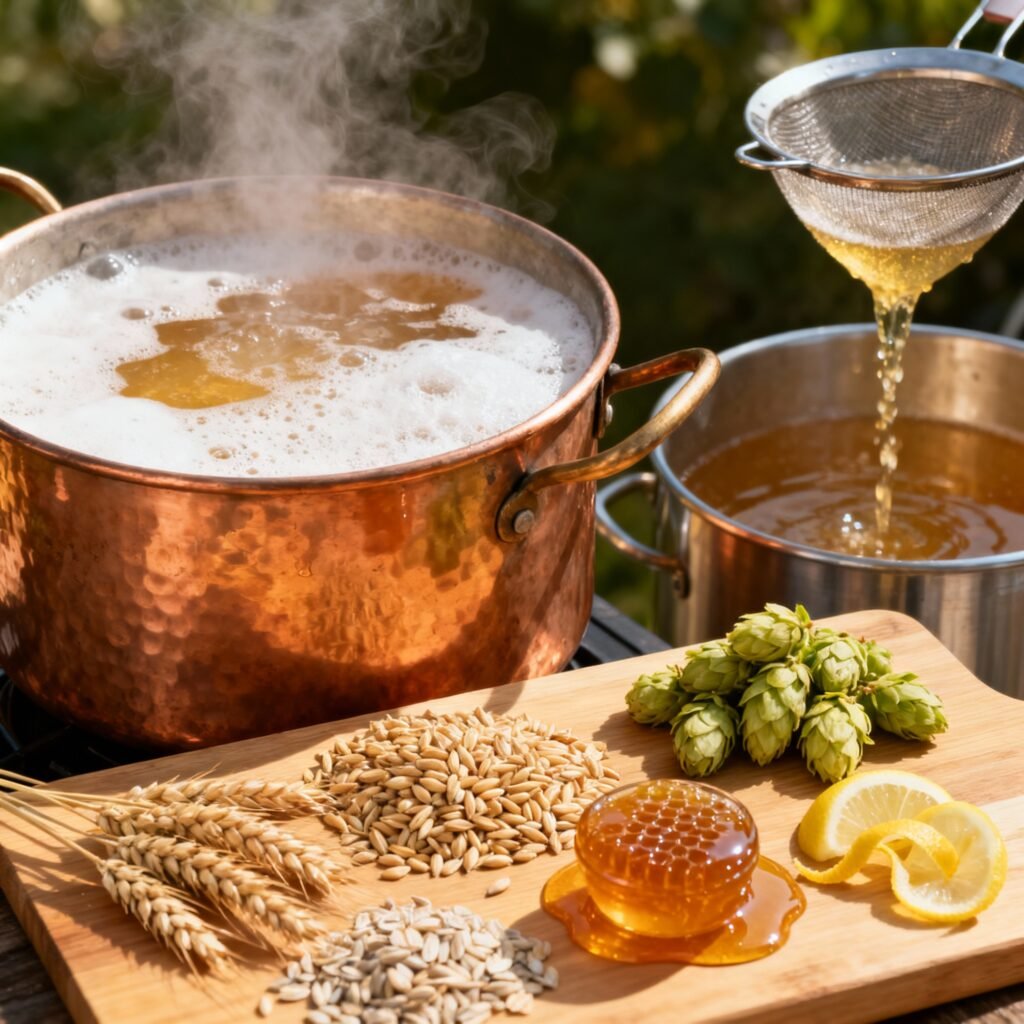
- Lauter: Slowly drain the sweet wort (sugar-rich liquid) from the mash tun, sparging (rinsing) with 4 gallons of water at 170°F to extract as much sugar as possible. This process separates the wort from the spent grains.
- Boil: Bring the wort to a rolling boil. Add 0.5 oz of Hallertau Mittelfrüh hops at the beginning of the 60-minute boil. This is your bittering addition.
- Hop Additions: Add 0.25 oz of Hallertau Mittelfrüh hops with 15 minutes remaining in the boil. This is your aroma addition.
- Cool: After the boil, rapidly cool the wort to 68°F using an immersion chiller or by placing the brew kettle in an ice bath. Rapid cooling is crucial to prevent off-flavors.
- Ferment: Transfer the cooled wort to a sanitized fermenter. Aerate the wort by shaking or using an aeration stone. Pitch the yeast.
- Fermentation: Ferment at a consistent temperature of 65°F for 1-2 weeks, or until fermentation is complete. Use an airlock to monitor fermentation activity.
- Secondary Fermentation (Optional): Transfer the beer to a secondary fermenter after primary fermentation is complete for further clarification. This step is optional but can improve the clarity of the beer.
- Bottle/Keg: After fermentation is complete, prime the beer with ¾ cup of corn sugar if bottling. If kegging, force carbonate to your desired level.
- Condition: Bottle condition for at least 2 weeks at room temperature (70°F) before refrigerating and enjoying. Kegged beer is ready to drink once carbonated.
Tips for Success
- Sanitation is Key: Thoroughly sanitize all equipment that comes into contact with the wort after the boil. This is crucial to prevent infections that can ruin your beer.
- Temperature Control: Maintaining consistent fermentation temperature is vital for a clean-tasting beer. Invest in a temperature controller if necessary.
- Water Chemistry: While not essential for beginners, understanding your water chemistry can significantly improve the quality of your beer. Consider using filtered water or adjusting your water profile.
- Patience is a Virtue: Don’t rush the fermentation or conditioning process. Allowing the beer to mature properly will result in a smoother, more flavorful final product.
- Take Good Notes: Keep a detailed record of each batch you brew, including ingredients, process, and tasting notes. This will help you improve your recipes and troubleshoot any issues.
Storage Instructions
Once bottled or kegged, store your beer in a cool, dark place. Bottles should be stored upright to prevent sediment from affecting the taste. Refrigerating the beer for at least a few hours before serving will enhance its crispness and refreshment. Properly stored beer can last for several months, but it’s best enjoyed fresh.
FAQ
- Can I use a different type of hops? Yes, you can substitute other noble hops like Saaz or Tettnang. Just be aware that the flavor profile will be slightly different.
- Can I use dry yeast instead of liquid yeast? Yes, you can use a dry ale yeast like Safale US-05. Rehydrate the yeast according to the manufacturer’s instructions before pitching.
- What if I don’t have an immersion chiller? You can use an ice bath to cool the wort, but it will take longer. Be sure to stir the wort occasionally to speed up the cooling process.
- How do I know when fermentation is complete? Use a hydrometer to measure the specific gravity of the beer. Fermentation is complete when the gravity remains stable for several days.
- My beer is cloudy. What can I do? Cold crashing (cooling the beer to near freezing for a few days) can help to clarify the beer. You can also use fining agents like gelatin or Irish moss.
🍽️ The Entertainer's Presentation Kit
We eat with our eyes first. If you love hosting friends for dinner, drinks, or holiday parties, these 5 elegant serving upgrades instantly transform casual home cooking into a luxurious, highly photogenic fine-dining experience.
🍲 Le Creuset Enameled Cast Iron Dutch Oven
The ultimate flex for a dinner party. You can braise short ribs or bake sourdough bread in the oven, then bring this stunning enameled pot directly to the center of your dining table to serve your guests from its wildly beautiful colored casing.
🍷 RIEDEL Crystal Wine Glass Set
Stop serving good wine in cheap, thick-rimmed glasses. The remarkably thin crystal lip and specifically engineered bowl shapes of these glasses genuinely elevate the aroma and flavor profiles of your favorite vintages, making a $15 bottle taste significantly more expensive.
🧀 Premium Bamboo Charcuterie Board Set
The easiest appetizer strategy ever invented. This massive carved board features hidden slide-out drawers containing stainless steel cheese knives and ceramic ramekins, giving you the perfect canvas to build massive, Instagram-worthy grazing spreads.
✨ Genuine Marble Drink Coasters
A simple, brilliant aesthetic upgrade that protects your expensive furniture. These heavy, elegant real marble coasters with subtle gold accents look incredibly chic tossed around a living room while completely preventing water rings from sweaty cocktails.
🌿 100% Cotton Cloth Dinner Napkins
Throwing away a mountain of paper towels at a dinner party ruins the vibe. Swapping to soft, highly-absorbent, fully machine-washable cloth napkins instantly pulls a tablescape together and makes even a Tuesday night pizza feel like a fancy event.
Conclusion
Brewing your own summer beer is a rewarding experience that allows you to create a truly unique and refreshing beverage. This recipe provides a solid foundation for your homebrewing adventures. Don’t be afraid to experiment with different ingredients and techniques to create your own signature summer brew. So, gather your equipment, follow the instructions, and get ready to enjoy the taste of summer, brewed by you!