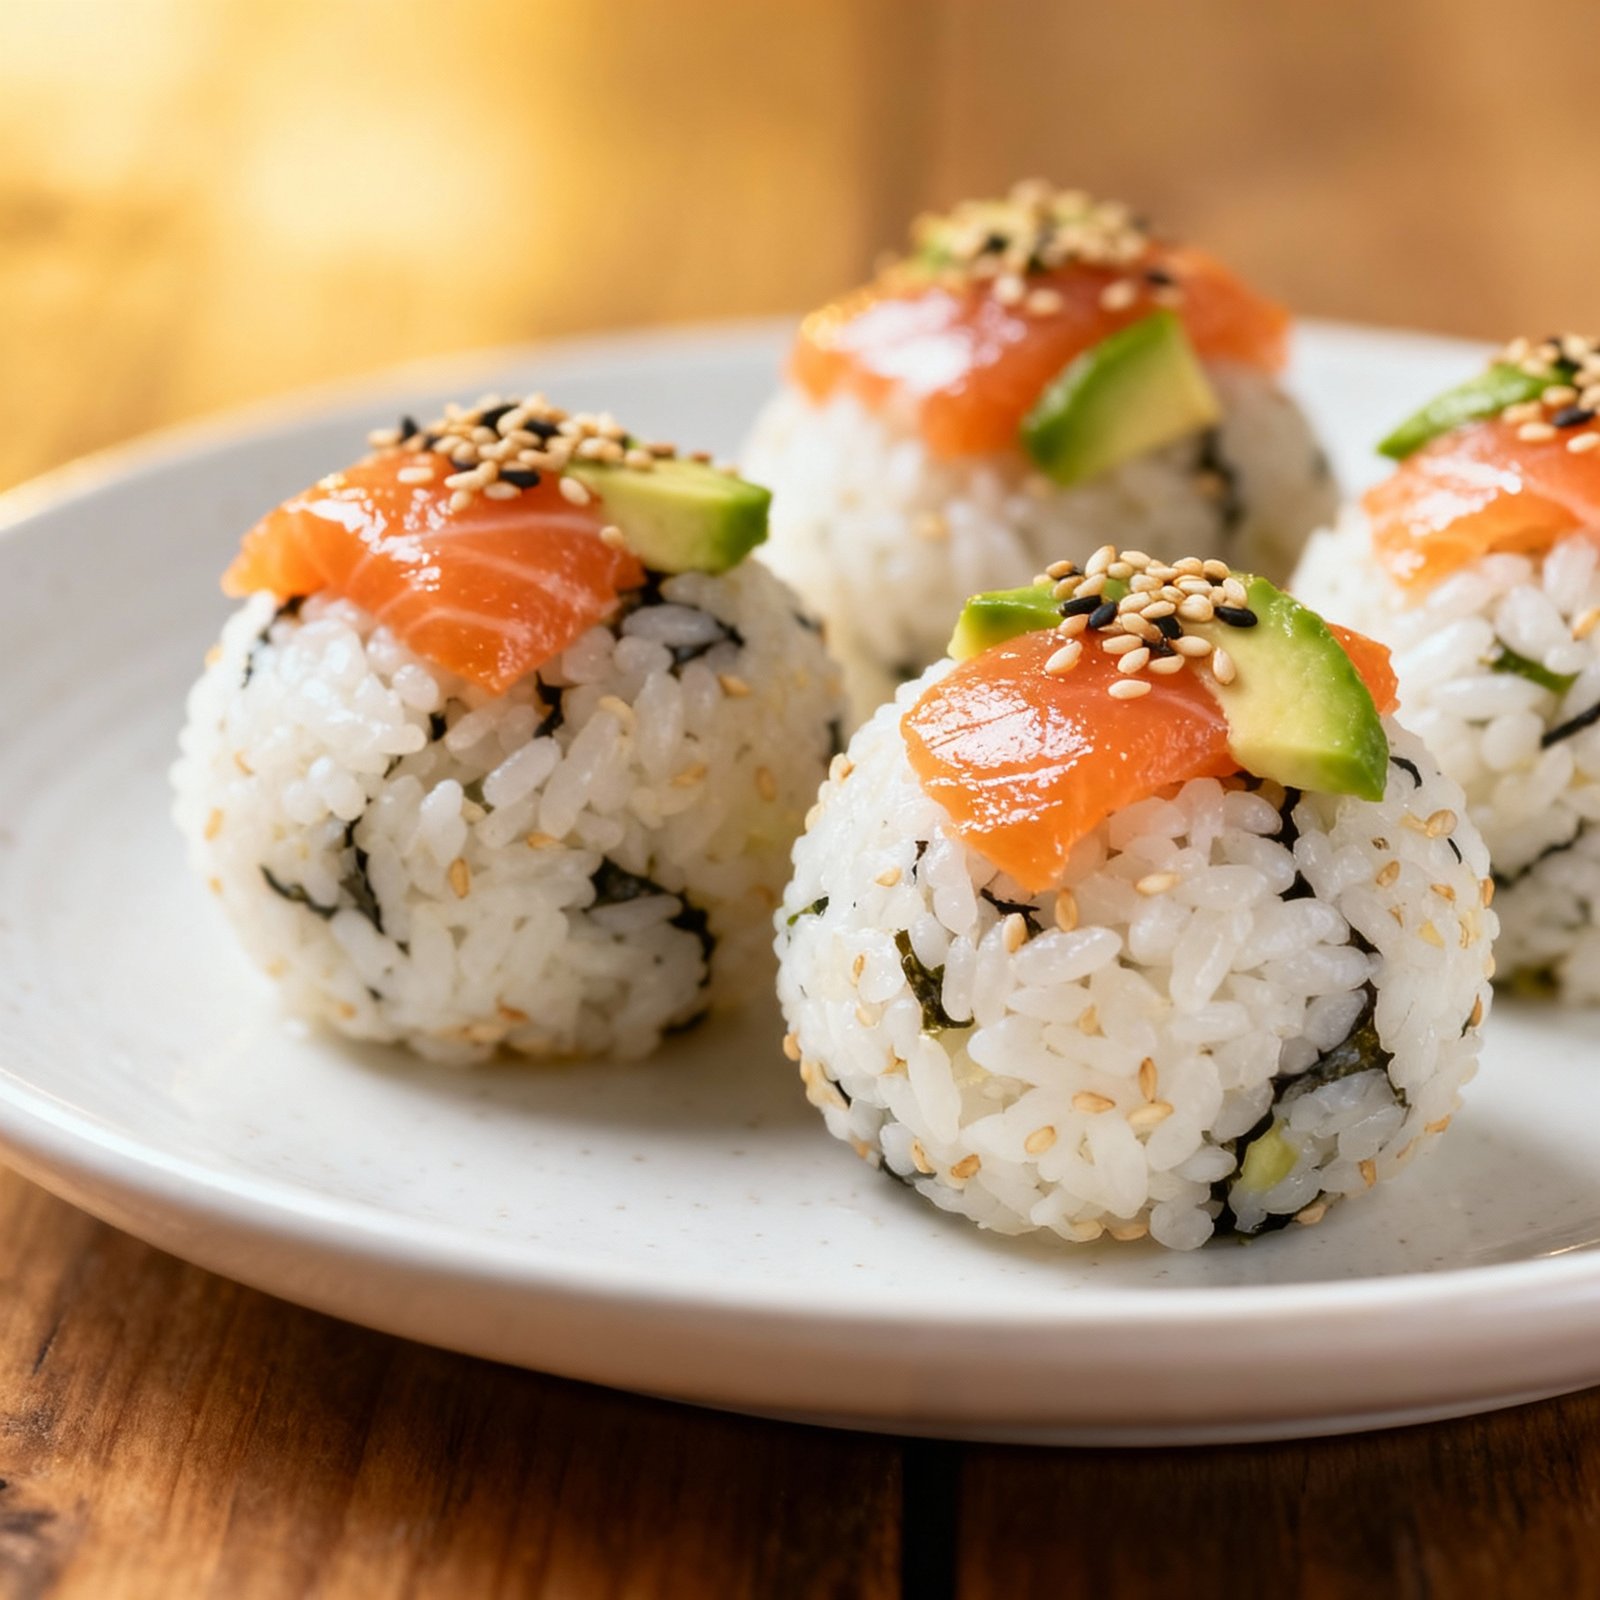
Sushi Balls Recipe: Bite-Sized Delight in Every Sphere!
Tired of the same old sushi rolls? Craving a fun, interactive, and totally adorable way to enjoy your favorite flavors? Look no further! This Sushi Balls recipe is your answer. Imagine perfectly seasoned sushi rice, studded with your choice of fillings, formed into delightful little spheres, and ready to be devoured in a single bite. They’re easier to make than traditional sushi, incredibly versatile, and guaranteed to be a hit at parties, picnics, or even a simple weeknight dinner. Get ready to roll (pun intended!) with this simple and satisfying recipe that will transform your sushi experience.
Why This Recipe Works
This Sushi Balls recipe is a winner for several reasons:
- Beginner-Friendly: No need for bamboo mats or specialized sushi rolling skills. Forming the balls is much simpler and more forgiving.
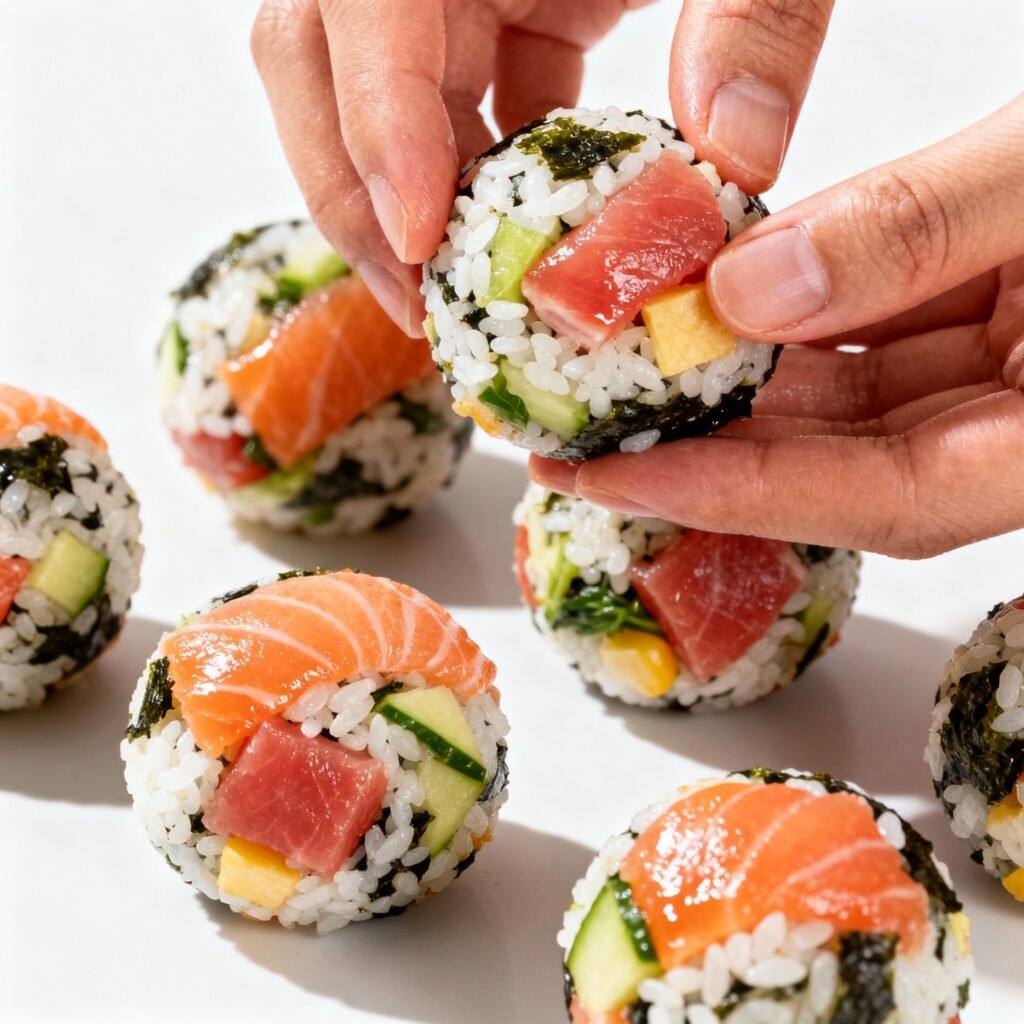
- Customizable: The filling options are endless! Use your favorite sushi ingredients, leftovers, or even pantry staples.
- Portable & Convenient: These bite-sized wonders are perfect for lunchboxes, picnics, and on-the-go snacking.
- Fun & Engaging: Kids love helping to make and eat these, making it a great family activity.
- Impressive Presentation: The spherical shape adds a touch of elegance and fun to your sushi experience.
- Reduced Food Waste: A great way to use leftover cooked rice and other ingredients.
Ingredients
- Cooked Sushi Rice: 3 cups (Use short-grain Japanese rice for the best texture. Day-old rice works even better!)
- Rice Vinegar: 3 tablespoons
- Sugar: 2 tablespoons
- Salt: 1 teaspoon
- Fillings (Choose your favorites!):
- Cooked Shrimp, chopped
- Smoked Salmon, chopped
- Imitation Crab Meat, flaked
- Avocado, diced
- Cucumber, diced
- Mango, diced
- Edamame, shelled
- Pickled Radish (Takuan), diced
- Sesame Seeds (Black or White), for coating
- Nori Seaweed, cut into small strips or flakes (optional)
- Optional Garnishes:
- Soy Sauce, for dipping
- Wasabi
- Pickled Ginger (Gari)
Instructions
- Prepare the Sushi Rice: In a small saucepan, combine the rice vinegar, sugar, and salt. Heat over low heat, stirring until the sugar and salt are dissolved. Do not boil. Let it cool slightly.
- Season the Rice: In a large bowl, gently fold the vinegar mixture into the cooked rice, making sure to distribute it evenly. Be careful not to mash the rice.
- Cool the Rice: Allow the seasoned rice to cool to room temperature. This is important for preventing sticky hands later.
- Prepare the Fillings: Chop or dice your chosen fillings into small, manageable pieces.
- Assemble the Sushi Balls:
- Wet your hands with water to prevent the rice from sticking.
- Take a small handful of seasoned rice (about 2 tablespoons).
- Flatten the rice slightly in the palm of your hand.
- Place a small amount of your chosen filling in the center of the rice.
- Gently close your hand around the filling, shaping the rice into a ball.
- Roll the ball gently between your palms to smooth the surface.
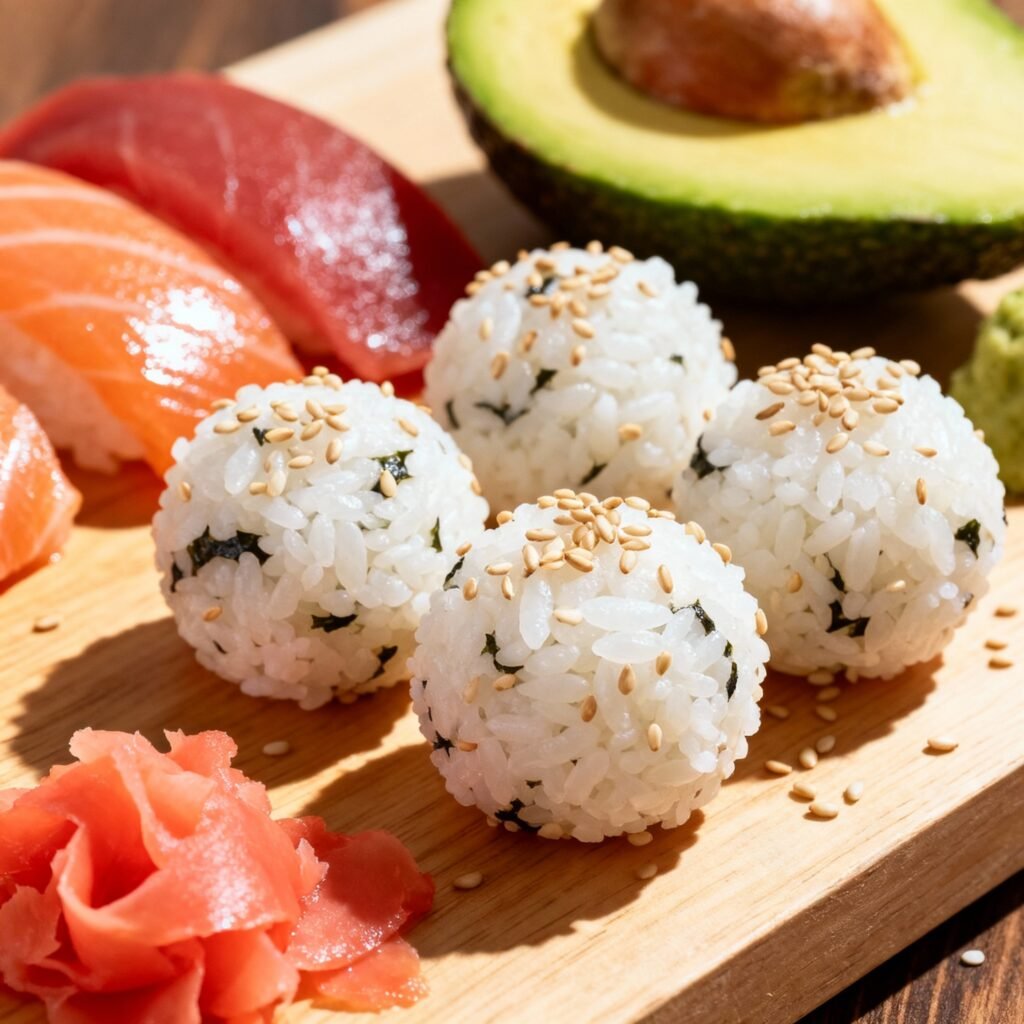
- If desired, roll the finished sushi ball in sesame seeds or sprinkle with nori flakes.
- Repeat: Repeat step 5 with the remaining rice and fillings.
- Serve: Arrange the sushi balls on a platter and serve with soy sauce, wasabi, and pickled ginger, if desired.
Tips for Success
- Use the Right Rice: Short-grain Japanese rice is essential for achieving the sticky texture needed for sushi balls.
- Don’t Overcook the Rice: Overcooked rice will be mushy and difficult to shape. Follow the package instructions carefully.
- Cool the Rice Properly: Cooling the rice to room temperature will prevent it from sticking to your hands and make it easier to handle.
- Wet Your Hands Frequently: Keeping your hands damp will prevent the rice from sticking and make shaping the balls much easier.
- Don’t Overfill the Balls: Too much filling will make it difficult to close the rice around it. Start with a small amount and adjust as needed.
- Get Creative with Fillings: Experiment with different combinations of fillings to find your favorites.
- Make Ahead: Sushi balls can be made a few hours ahead of time and stored in the refrigerator.
- Presentation Matters: Arrange the sushi balls attractively on a platter to make them even more appealing.
Storage Instructions
Sushi balls are best enjoyed fresh, but they can be stored in the refrigerator for up to 24 hours. To store them properly:
- Place the sushi balls in an airtight container.
- Line the container with a damp paper towel to prevent the rice from drying out.
- Store in the refrigerator.
Keep in mind that the texture of the rice may change slightly after refrigeration. It’s best to consume them as soon as possible for the best flavor and texture.
FAQ
- Can I use brown rice? While technically possible, brown rice doesn’t have the same stickiness as short-grain white rice, making it more difficult to form the balls. The flavor profile will also be different.
- Can I use different types of vinegar? Rice vinegar is the traditional choice for sushi rice because it has a mild flavor. Other vinegars, such as apple cider vinegar or white wine vinegar, can be used in a pinch, but they may alter the taste of the sushi rice.
- Can I make vegetarian sushi balls? Absolutely! There are plenty of vegetarian filling options, such as avocado, cucumber, mango, edamame, and pickled radish.
- Can I freeze sushi balls? Freezing is not recommended, as it can significantly alter the texture and flavor of the rice and fillings. The rice tends to become grainy and the fillings can become watery.
- How can I make the rice more sticky? Ensure you are using short-grain Japanese rice. Rinsing the rice thoroughly before cooking also helps remove excess starch that can hinder stickiness.
- My sushi balls are falling apart. What am I doing wrong? This is usually due to the rice not being sticky enough. Make sure you’re using the correct type of rice and that you’ve seasoned it properly with the vinegar mixture. Also, ensure the rice has cooled sufficiently before shaping. Wetting your hands is also crucial.
Conclusion
So there you have it! A simple, fun, and delicious Sushi Balls recipe that’s perfect for any occasion. Whether you’re a sushi novice or a seasoned pro, this recipe is sure to become a new favorite. The endless customization options mean you can create sushi balls that cater to your individual tastes and preferences. Gather your ingredients, get creative with your fillings, and enjoy the delightful bite-sized wonders you’ve created. Happy rolling!