Wheat Thins Recipe: Perfectly Crunchy Homemade Goodness!
Craving that familiar, subtly sweet, and perfectly crunchy snap of a Wheat Thin? But maybe you’re watching ingredients, or just love the satisfaction of making things from scratch? Look no further! This recipe brings that iconic cracker to your kitchen, allowing you to control every ingredient and enjoy a truly homemade treat. Forget store-bought – these homemade Wheat Thins are surprisingly easy to make and taste even better than the original! Get ready to impress your friends and family with this simple yet satisfying recipe.
Why This Recipe Works
This recipe is designed to mimic the texture and flavor of store-bought Wheat Thins while offering a healthier, homemade alternative. Here’s why it works:
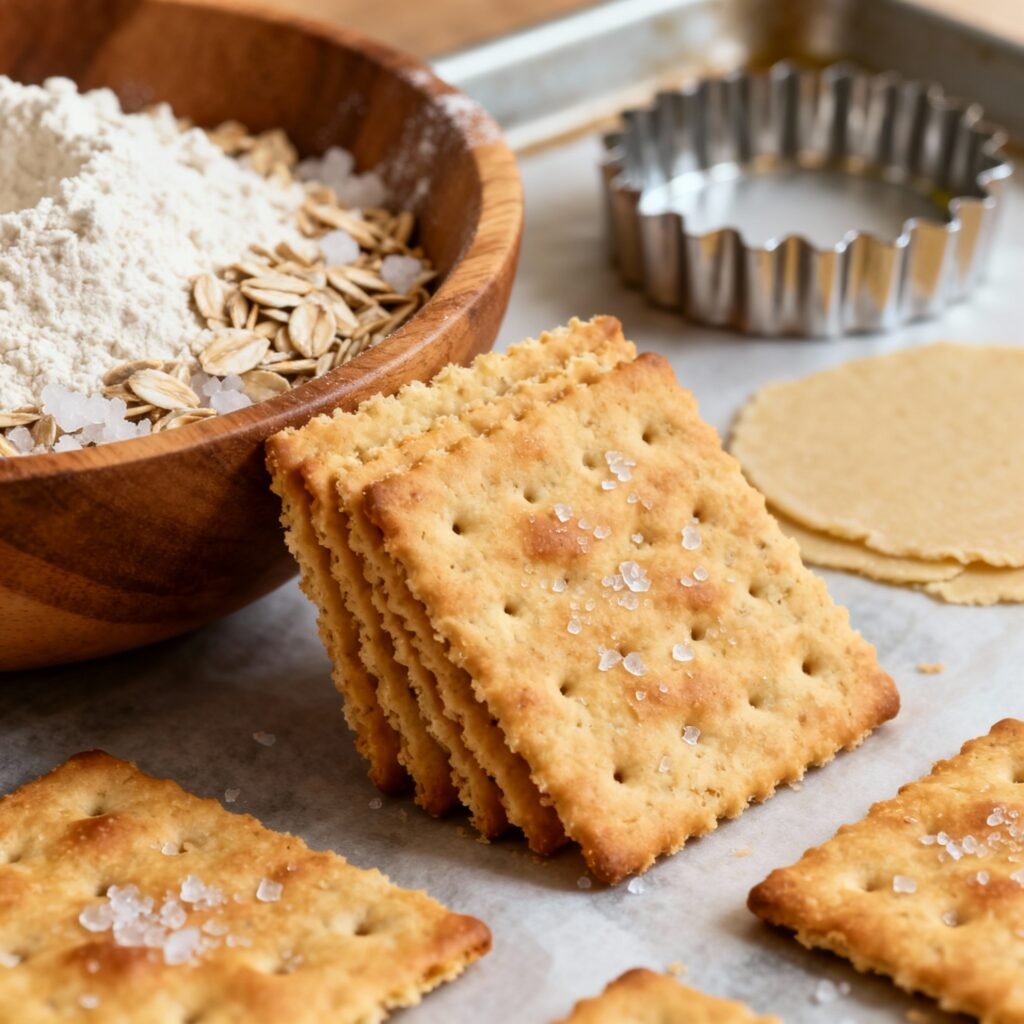
- Whole Wheat Flour: The foundation of a Wheat Thin! Using whole wheat flour provides that characteristic nutty flavor and hearty texture.
- Careful Hydration: The precise ratio of water to flour is crucial for achieving the right dough consistency. Too much water, and the crackers will be soft; too little, and they’ll be crumbly.
- The Right Fat: A touch of olive oil (or your preferred oil) adds tenderness and contributes to the crispy texture.
- Rolling Thin: The key to a perfect Wheat Thin is rolling the dough incredibly thin. This ensures a crisp, even bake.
- Docking the Dough: Poking holes in the dough with a fork prevents it from puffing up during baking, resulting in a flat, crisp cracker.
- Low and Slow Baking: Baking at a lower temperature for a longer time allows the crackers to dry out completely, achieving that signature crunch.
Ingredients
- 1 cup (120g) whole wheat flour
- 1/4 cup (30g) all-purpose flour (can substitute with more whole wheat for a slightly denser cracker)
- 1/2 teaspoon salt
- 1/4 teaspoon baking powder
- 2 tablespoons olive oil (or other vegetable oil)
- 1/3 cup (80ml) cold water
- 1 tablespoon honey or maple syrup (optional, for a touch of sweetness)
- Coarse sea salt (for sprinkling, optional)
Instructions
- Prepare the Dough: In a large bowl, whisk together the whole wheat flour, all-purpose flour, salt, and baking powder.
- Add Wet Ingredients: Add the olive oil and honey (or maple syrup, if using) to the dry ingredients.
- Combine: Gradually add the cold water, mixing until a dough forms. It should be slightly stiff but not dry.
- Knead: Turn the dough out onto a lightly floured surface and knead for 2-3 minutes until smooth and elastic.
- Rest: Wrap the dough in plastic wrap and let it rest at room temperature for at least 30 minutes. This allows the gluten to relax, making it easier to roll out.
- Preheat Oven: Preheat your oven to 325°F (160°C).
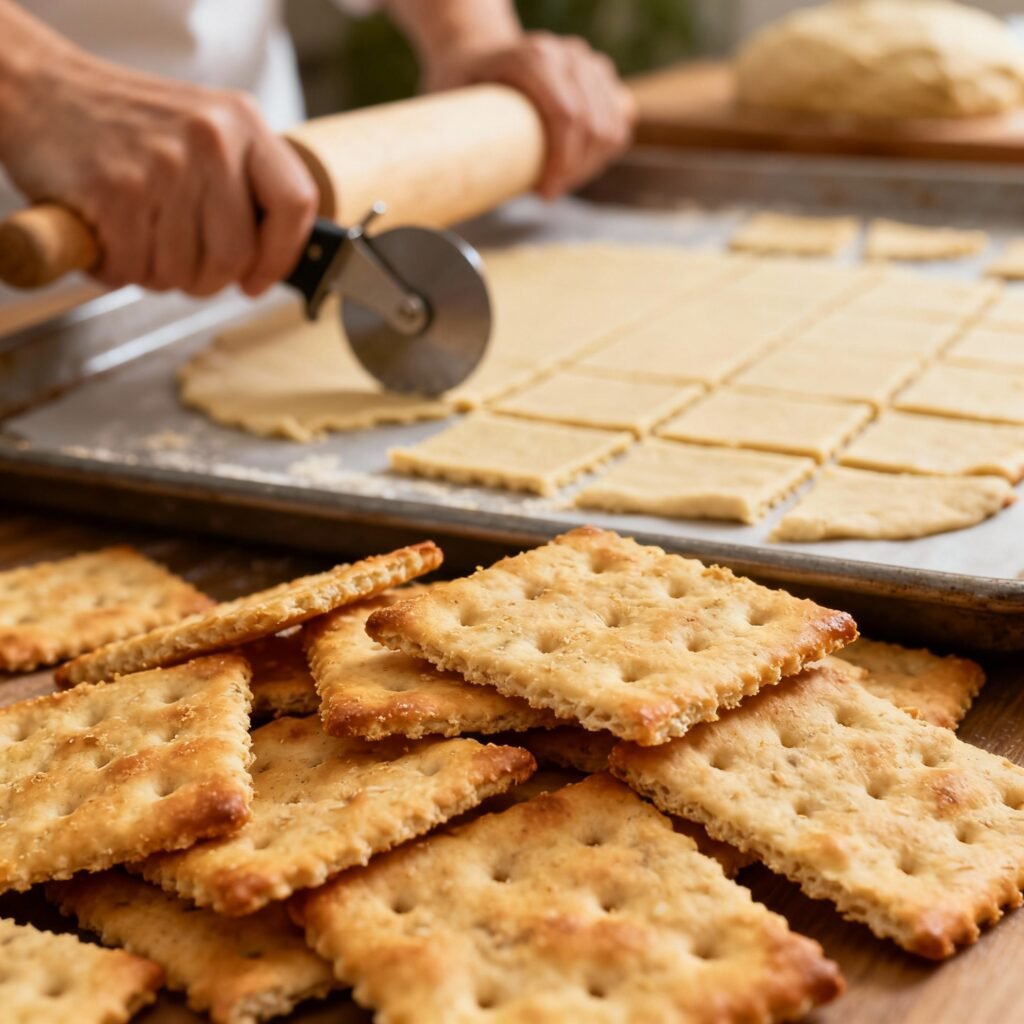
- Roll Out the Dough: Divide the dough in half. On a lightly floured surface, roll out one half of the dough as thinly as possible. Aim for about 1/16 inch thickness. The thinner, the better!
- Cut into Squares: Using a pizza cutter or sharp knife, cut the dough into small squares (approximately 1 inch).
- Dock the Dough: Use a fork to poke holes (dock) all over the surface of the squares. This prevents them from puffing up during baking.
- Transfer to Baking Sheet: Carefully transfer the squares to a baking sheet lined with parchment paper.
- Sprinkle with Salt (Optional): Lightly sprinkle the crackers with coarse sea salt, if desired.
- Bake: Bake for 15-20 minutes, or until the crackers are golden brown and crisp. Keep a close eye on them, as they can burn easily.
- Cool: Let the crackers cool completely on the baking sheet before transferring them to a wire rack. They will crisp up further as they cool.
- Repeat: Repeat steps 7-13 with the remaining dough.
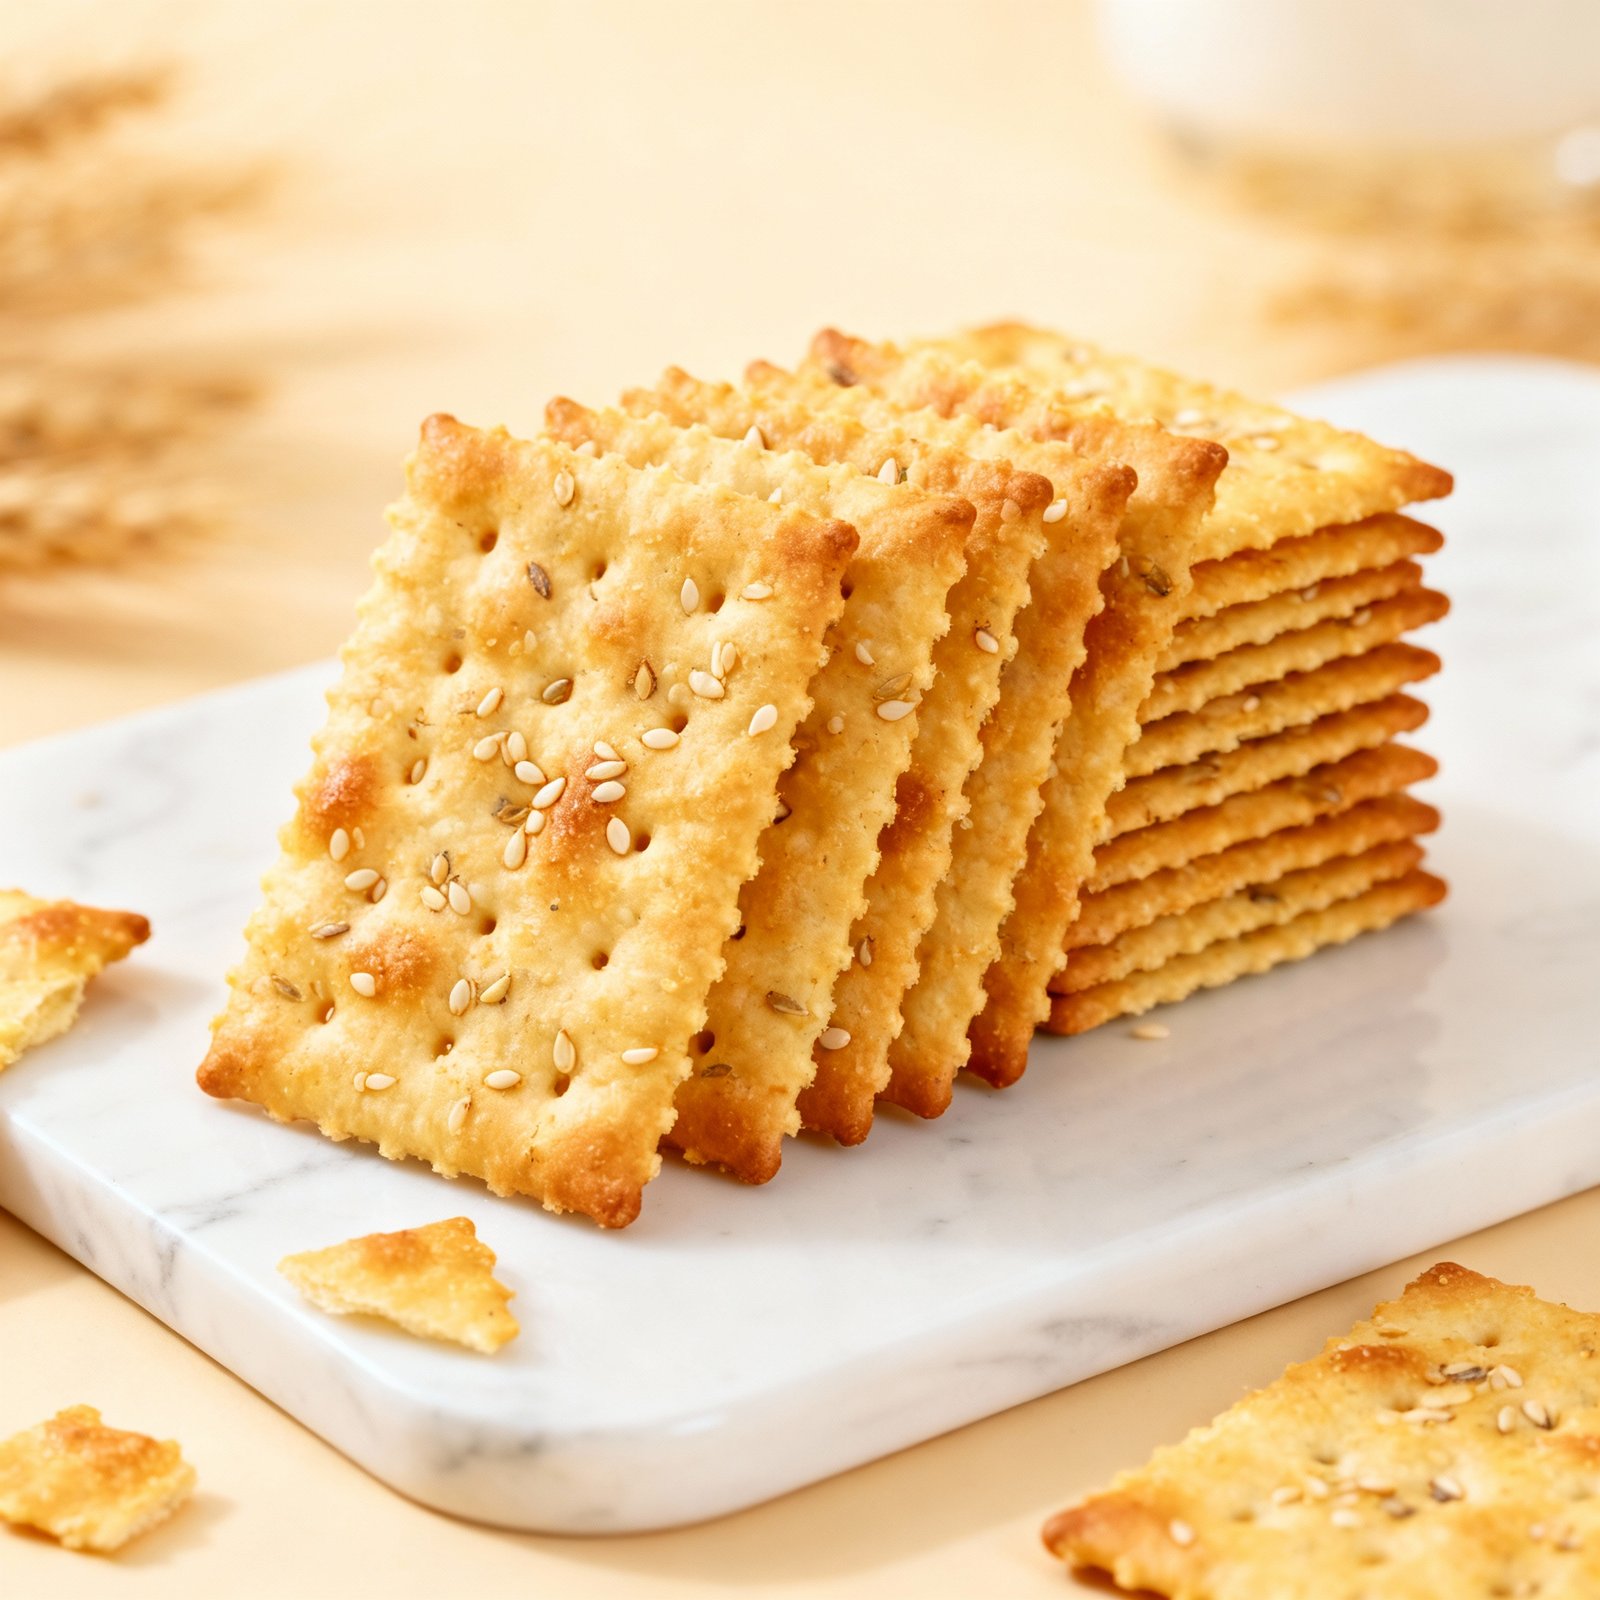
- Enjoy: Serve and enjoy your homemade Wheat Thins!
Tips for Success
- Roll Thin, Roll Thin, Roll Thin: Seriously, the thinner you roll the dough, the crispier your Wheat Thins will be. Don’t be afraid to use plenty of flour to prevent sticking.
- Don’t Overbake: Watch the crackers carefully towards the end of the baking time. They should be golden brown but not burnt.
- Use Cold Water: Cold water helps to prevent the gluten from developing too much, resulting in a more tender cracker.
- Experiment with Flavors: Feel free to add other spices to the dough, such as garlic powder, onion powder, or dried herbs.
- Adjust Sweetness: If you prefer a less sweet cracker, omit the honey or maple syrup.
- Parchment Paper is Your Friend: Using parchment paper ensures that the crackers won’t stick to the baking sheet and makes cleanup a breeze.
- Invest in a Pizza Cutter: A pizza cutter makes cutting the dough into even squares much easier and faster.
Storage Instructions
Store the cooled Wheat Thins in an airtight container at room temperature for up to 1 week. To maintain their crispness, avoid storing them in a humid environment.
FAQ
Q: Can I use all-purpose flour instead of whole wheat flour?
A: While you can, the flavor and texture will be different. The crackers will be less nutty and slightly less crisp. For the best results, stick with whole wheat flour.
Q: Can I make these gluten-free?
A: Yes, you can substitute the whole wheat and all-purpose flour with a gluten-free all-purpose flour blend. Be sure to choose a blend that works well for baking and adjust the liquid as needed, as gluten-free flours can absorb moisture differently.
Q: My dough is too dry/too wet. What should I do?
A: If the dough is too dry, add a teaspoon of water at a time until it comes together. If it’s too wet, add a tablespoon of flour at a time until it reaches the right consistency.
Q: Can I use a different type of oil?
A: Yes, you can use any neutral-flavored vegetable oil, such as canola oil, sunflower oil, or avocado oil.
Q: Why are my crackers not crispy?
A: The most common reason for soft crackers is not rolling the dough thin enough or not baking them long enough. Make sure to roll the dough as thinly as possible and bake until they are golden brown and crisp. Let them cool completely on the baking sheet, as they will continue to crisp up as they cool.
Conclusion
Making your own Wheat Thins at home is a rewarding experience. Not only do you get to enjoy a delicious and crunchy snack, but you also have complete control over the ingredients. This recipe is a great starting point, and you can easily customize it to your liking by adding different spices or adjusting the sweetness. So, ditch the store-bought crackers and give this homemade recipe a try. You’ll be surprised at how easy and satisfying it is to create your own batch of perfectly crunchy Wheat Thins!