Writing Icing Recipe: The Secret to Perfectly Detailed Decorations
Ever admired those flawlessly decorated cookies and cakes with intricate details that seem almost too perfect to eat? The secret often lies in mastering the art of writing icing. This isn’t your average frosting; it’s a specialized icing designed for creating fine lines, detailed patterns, and personalized messages. Whether you’re a seasoned baker or a complete beginner, this recipe will guide you through the process of making perfect writing icing that will transform your baked goods into edible masterpieces.
Why This Recipe Works
This writing icing recipe is formulated for optimal consistency and control. It strikes the perfect balance between being fluid enough to flow smoothly through a piping bag and firm enough to hold its shape once applied. Here’s why it works so well:
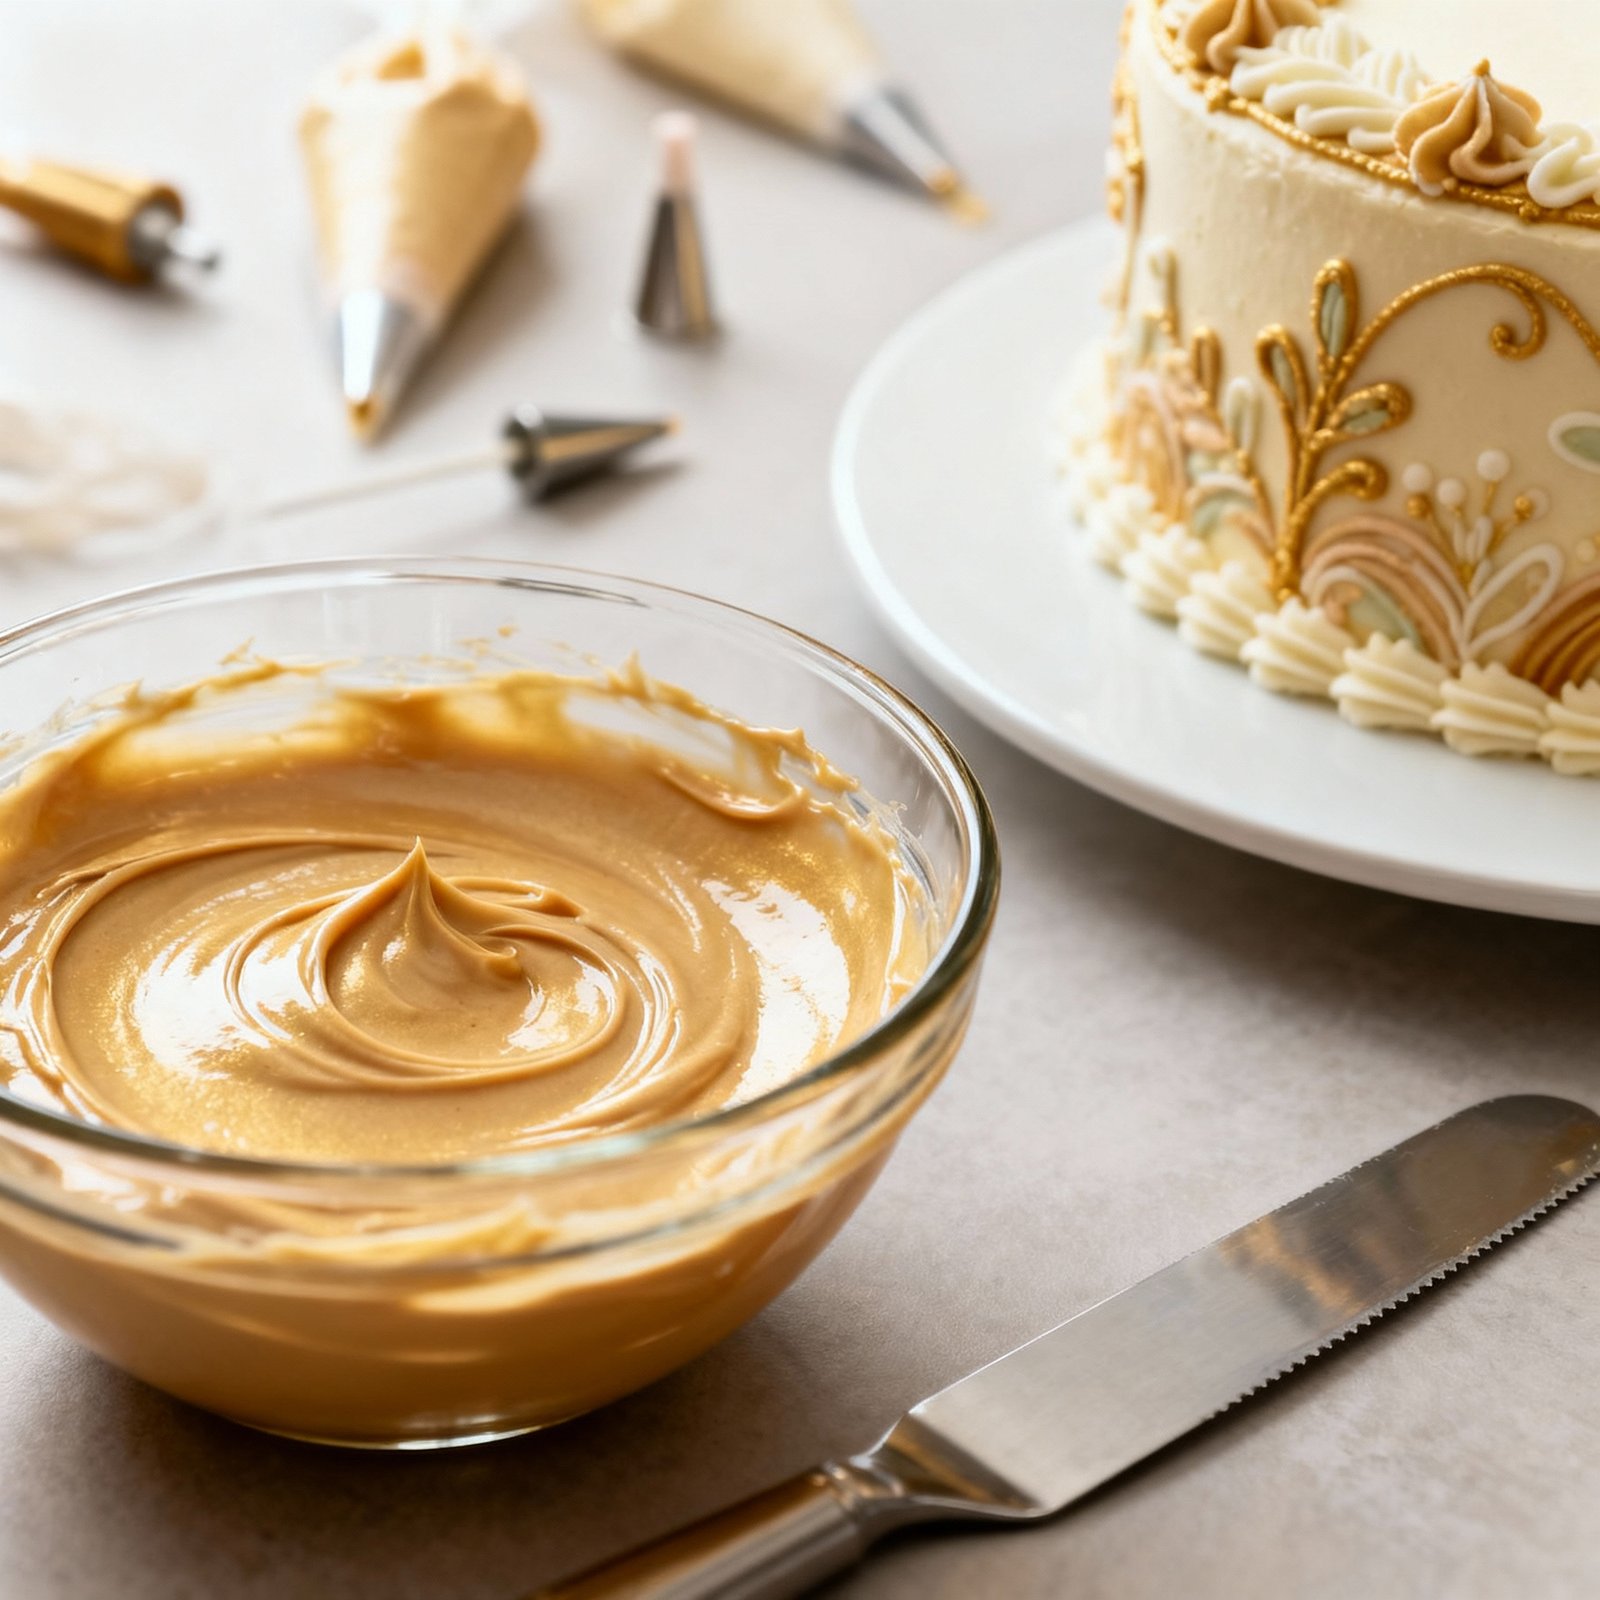
- Powdered Sugar: The finely ground texture of powdered sugar ensures a smooth, lump-free icing, essential for creating clean lines.
- Meringue Powder: This key ingredient provides stability and structure to the icing. It helps it to harden properly, preventing bleeding and smudging. It also contributes to a beautiful, glossy finish.
- Light Corn Syrup: A touch of light corn syrup adds shine and flexibility to the icing. It helps prevent it from becoming too brittle and cracking.
- Water: Water is used to adjust the consistency of the icing. Adding it gradually allows you to achieve the perfect piping consistency.
Ingredients
- 4 cups (480g) powdered sugar, sifted
- 3 tablespoons meringue powder
- 1/2 cup (120ml) warm water
- 1 teaspoon light corn syrup
- 1/2 teaspoon vanilla extract (optional)
- Gel food coloring (optional)
Instructions
- Combine Dry Ingredients: In a large bowl, whisk together the sifted powdered sugar and meringue powder until well combined. Sifting the powdered sugar is crucial to remove any lumps that could clog your piping tip.
- Add Wet Ingredients: Add the warm water, light corn syrup, and vanilla extract (if using) to the dry ingredients.
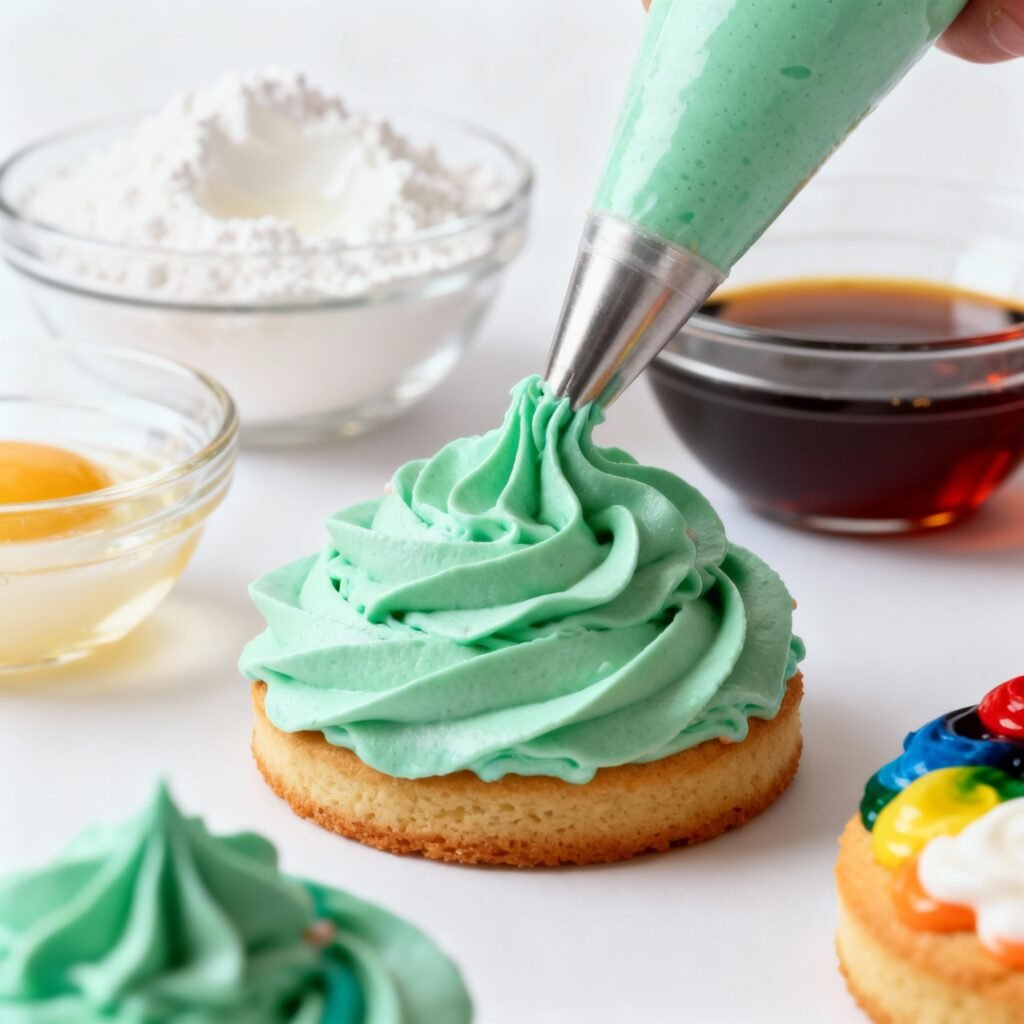
- Mix Until Smooth: Using an electric mixer (either a stand mixer or a handheld mixer), beat the mixture on low speed until the ingredients are just combined. Then, increase the speed to medium-high and beat for 5-7 minutes, or until the icing is smooth, glossy, and forms stiff peaks. The icing should be thick enough to hold its shape when a spoon is lifted.
- Adjust Consistency (If Needed): The perfect consistency for writing icing is similar to toothpaste. If the icing is too thick, add water, one teaspoon at a time, and mix until you reach the desired consistency. If the icing is too thin, add powdered sugar, one tablespoon at a time, and mix until it thickens.
- Color the Icing (Optional): If you want to color your writing icing, divide the icing into separate bowls, one for each color. Add a small amount of gel food coloring to each bowl and mix well. Remember that gel food coloring is highly concentrated, so start with just a drop or two and add more until you achieve the desired shade. Avoid liquid food coloring, as it can thin the icing too much.
- Transfer to Piping Bag: Transfer the icing to a piping bag fitted with a small round piping tip (such as a #1 or #2). If you don’t have piping bags, you can use a zip-top bag and snip off a tiny corner.
Tips for Success
- Sift the Powdered Sugar: This is a non-negotiable step! Sifting removes lumps and ensures a smooth, even icing.
- Use Meringue Powder: Don’t skip the meringue powder. It’s essential for stability and prevents the icing from bleeding.
- Adjust Consistency Gradually: Add water or powdered sugar a little at a time to avoid over-thinning or over-thickening the icing.
- Use Gel Food Coloring: Gel food coloring provides vibrant colors without thinning the icing.
- Practice Your Piping: Before decorating your cookies or cakes, practice your piping skills on a piece of parchment paper. This will help you get a feel for the icing and the piping tip.
- Keep Icing Covered: Writing icing dries out quickly, so keep it covered with a damp cloth or plastic wrap while you’re not using it.
- Avoid Overmixing: Overmixing can incorporate too much air into the icing, making it difficult to pipe smoothly.
- Work in a Cool Environment: A warm environment can cause the icing to soften and become difficult to work with.
Storage Instructions
Writing icing can be stored in an airtight container at room temperature for up to 2 weeks. If the icing has separated, simply stir it well before using. You can also freeze writing icing for up to 3 months. To thaw, let it sit at room temperature for several hours, or overnight in the refrigerator. Stir well before using.
FAQ
Q: Can I use royal icing instead of writing icing?
A: While royal icing is often used for decorating, writing icing is generally smoother and easier to work with for fine details. Royal icing can be a bit thicker and more prone to cracking.
Q: My icing is too thick. What should I do?
A: Add water, one teaspoon at a time, and mix until you reach the desired consistency.
Q: My icing is too thin. What should I do?
A: Add powdered sugar, one tablespoon at a time, and mix until it thickens.
Q: Can I use this icing for outlining and flooding cookies?
A: While you can, this recipe is specifically formulated for writing. For outlining and flooding, you’ll likely want a separate royal icing recipe with different consistencies.
Q: Why is my icing bleeding?
A: Bleeding can be caused by using too much liquid food coloring, using a low-quality meringue powder, or not allowing the icing to dry completely between layers.
Conclusion
With this writing icing recipe and a little practice, you’ll be creating stunning, detailed decorations on your cakes and cookies in no time. Don’t be afraid to experiment with different colors and designs. Remember to be patient and have fun! Happy decorating!