Tamale Dough Recipe: The Secret to Perfectly Pillowy Tamales
Making tamales can seem like a daunting task, a culinary project reserved for grandmothers and holiday gatherings. But the truth is, with a little patience and the right recipe, anyone can create delicious, authentic tamales at home. And the key to truly exceptional tamales? The masa, the heart and soul of this beloved dish. This tamale dough recipe will guide you through creating a masa that’s perfectly textured, subtly flavored, and ready to embrace your favorite filling.
Why This Recipe Works
This recipe isn’t just a list of ingredients; it’s a roadmap to tamale success. Here’s why it works:
- Traditional Ingredients, Simplified: We use authentic ingredients like masa harina and lard (or vegetable shortening for a vegetarian option), but we’ve streamlined the process to make it accessible for home cooks.
- Hydration is Key: Achieving the right consistency is crucial. This recipe provides clear guidance on the amount of broth needed, but also emphasizes the importance of adjusting based on your masa harina.
- The Float Test: The “float test” is a time-honored tradition for a reason. It’s the ultimate indicator of proper aeration and moisture content, guaranteeing light and fluffy tamales.
- Detailed Instructions: From mixing to resting, each step is explained in detail, eliminating guesswork and ensuring a smooth process.
- Flavor Focus: We don’t just focus on texture; we also build flavor into the masa itself with the addition of baking powder and salt, creating a balanced and delicious base for your fillings.
Ingredients
- 4 cups masa harina (instant corn flour for tamales)
- 2 teaspoons baking powder
- 2 teaspoons salt
- 1 cup lard or vegetable shortening, softened (see notes below)
- 3-4 cups warm chicken broth (or vegetable broth for vegetarian)
Ingredient Notes:
- Masa Harina: It’s crucial to use masa harina specifically labeled for tamales. This is different from regular corn flour or cornmeal. Maseca brand is widely available and works well.
- Lard vs. Shortening: Lard imparts a richer, more traditional flavor. However, vegetable shortening is a perfectly acceptable and delicious vegetarian alternative. Make sure your shortening is solid, not liquid.
- Broth: Homemade broth is always best, but a good quality store-bought broth will also work. Warm the broth before adding it to the masa harina; this helps it absorb more evenly.

Instructions
- Combine Dry Ingredients: In a large bowl, whisk together the masa harina, baking powder, and salt. This ensures even distribution of the leavening agent (baking powder) and seasoning.
- Incorporate the Fat: Add the softened lard or vegetable shortening to the dry ingredients. Use your hands or an electric mixer to work the fat into the masa harina until it resembles coarse crumbs. This step is crucial for creating a tender masa. If using your hands, rub the fat into the flour between your fingertips.
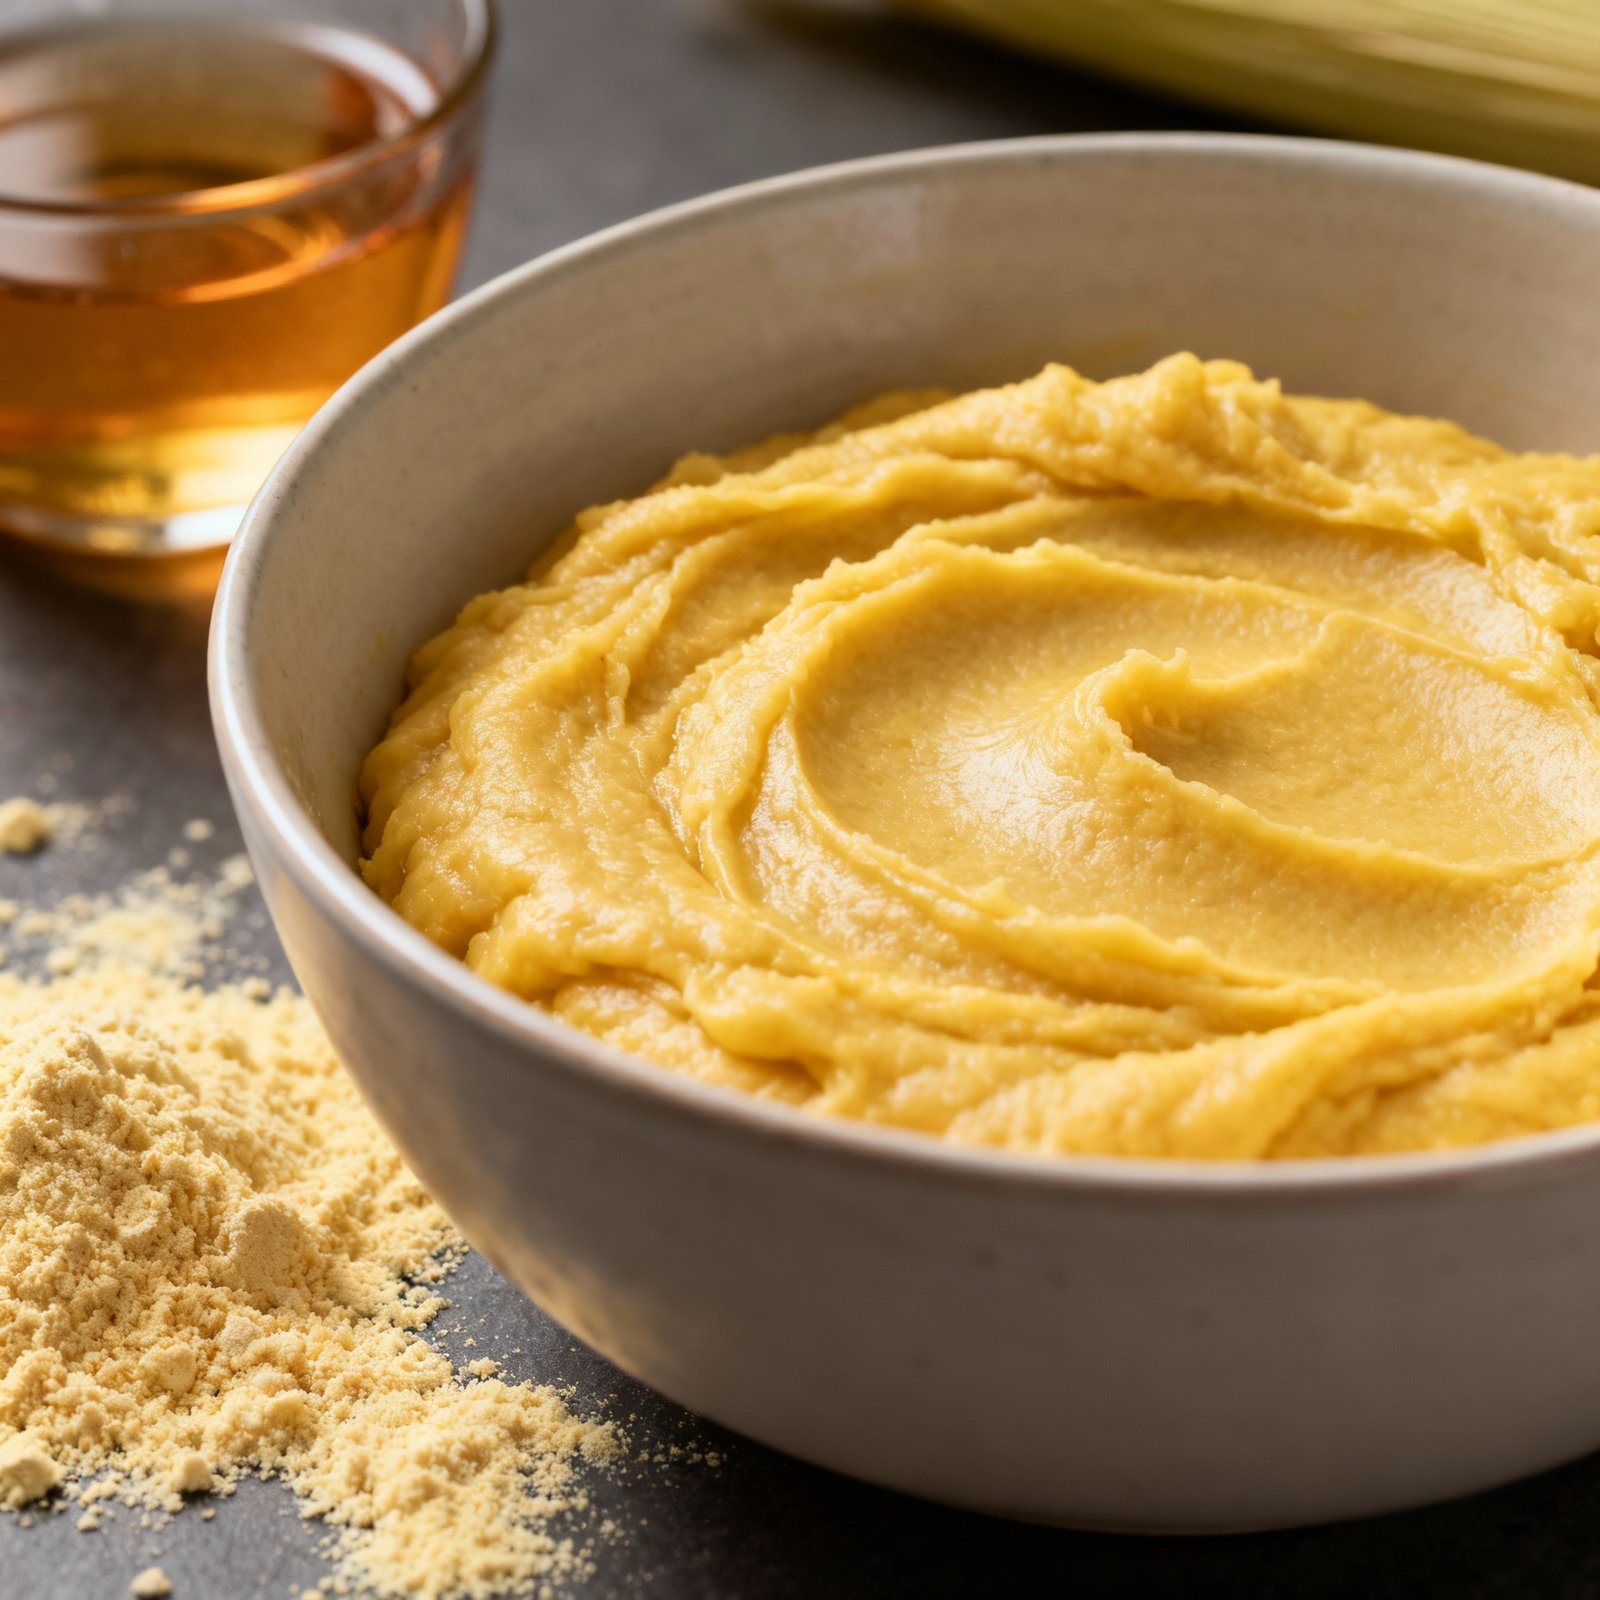
- Add Broth Gradually: Gradually add the warm chicken broth, starting with 3 cups. Mix well after each addition. The masa should come together to form a soft, slightly sticky dough.
- Assess Consistency: Continue adding broth, 1/4 cup at a time, until the masa reaches the desired consistency. It should be similar to thick, spreadable frosting. It should hold its shape but not be dry or crumbly.
- The Float Test: This is the most important step! Drop a small spoonful of the masa into a glass of cold water. If it floats, the masa is ready. If it sinks, continue beating the masa for another 5-10 minutes and test again. The beating incorporates air, which is essential for light and fluffy tamales.
- Rest the Masa: Cover the bowl with plastic wrap and let the masa rest for at least 30 minutes, or up to 2 hours, at room temperature. This allows the masa harina to fully hydrate and the flavors to meld.
Tips for Success
- Don’t Skimp on the Beating: Beating the masa incorporates air, which is essential for light and fluffy tamales. Use an electric mixer for best results, but you can also use your hands (it will just take longer).
- Adjust the Broth: The amount of broth needed may vary depending on the brand of masa harina you use. Start with the recommended amount and add more as needed until the masa reaches the desired consistency.
- Taste and Adjust Seasoning: Before assembling your tamales, taste the masa and adjust the seasoning as needed. You may want to add a pinch more salt or other spices to complement your filling.
- Warm the Corn Husks: Soak the corn husks in warm water for at least 30 minutes before using them. This will make them pliable and easier to work with.
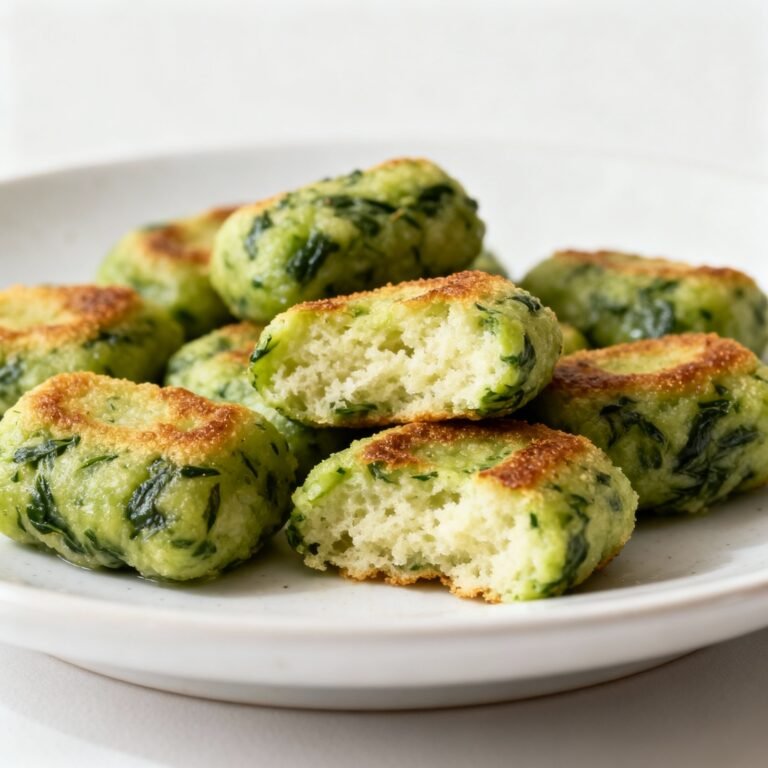
- Don’t Overfill the Tamales: Use a generous amount of masa, but don’t overfill the corn husks. Leave enough room to fold them properly.
- Steam Properly: Make sure your tamales are arranged in a steamer so that they are standing upright. This will allow the steam to circulate evenly and cook them properly.
Storage Instructions
Uncooked Masa: Uncooked masa can be stored in an airtight container in the refrigerator for up to 3 days. You may need to add a little broth to rehydrate it before using. You can also freeze uncooked masa for up to 3 months. Thaw it in the refrigerator overnight before using and add broth as needed.
Cooked Tamales: Cooked tamales can be stored in an airtight container in the refrigerator for up to 5 days. Reheat them in the microwave, steamer, or oven until heated through. You can also freeze cooked tamales for up to 3 months. Wrap them individually in plastic wrap and then place them in a freezer bag. Reheat them from frozen in the steamer for best results.

FAQ
Q: Can I make tamales without lard?
A: Yes! Vegetable shortening is a great substitute for lard. It will result in a slightly different flavor, but the texture will be similar.
Q: My masa is too dry. What should I do?
A: Add more warm broth, a tablespoon at a time, until the masa reaches the desired consistency.
Q: My masa is too wet. What should I do?
A: Add a little more masa harina, a tablespoon at a time, until the masa thickens up. Be careful not to add too much, or the tamales will be dry.
Q: How do I know when the tamales are done steaming?
A: The tamales are done when the masa pulls away easily from the corn husk. This usually takes about 1-2 hours, depending on the size of the tamales.
Q: Can I use this masa recipe for other dishes?
A: While specifically formulated for tamales, this masa can be adapted for other dishes like pupusas or gorditas with slight modifications to the texture and additions of other ingredients.
Conclusion
Making tamales from scratch is a labor of love, but the reward is well worth the effort. This tamale dough recipe provides a solid foundation for creating delicious, authentic tamales that your family and friends will love. With a little practice, you’ll be a tamale-making pro in no time. So, gather your ingredients, put on some music, and get ready to embark on a culinary adventure. Enjoy!